ronmanfredi
-
Posts
412 -
Joined
-
Last visited
Everything posted by ronmanfredi
-
False
-

Steering effort while standing still or tight maneuvers
ronmanfredi replied to Torqued's topic in 1965-85 Avanti
The system on the Avanti is more similar to the 60's Ford models where you have a control valve connected to the gear box that makes a hydraulic cylinder (ram) push or pull on a bell crank pivot (mounted on the crossmember under the engine) which connects to the wheels by 2 long tie rods. The design isn't as quick as a more modern GM PS gear box and there are several places where problems may occur. Usually it's either a sloppy, worn out bushings/pins or leaking control valve, ram and hoses. The control valve design does have 1 pressure adjustment that improves its effectiveness. The end cap of the valve assembly has 2 slotted screws in it. If you remove the end cap, there is a nut that you can adjust to change the pressure. You want to tighten the nut all the way to tight and then loosen by One Flat. This gives you the highest pressure. Any decent rebuilder should know this, but it needs to be check. If you have fluid in the cap when you remove it, then the spool valve seals are leaking. The control valve has a spool inside of it that moves back and forth to send fluid to the ram to either push or pull depending on the steering wheel / gear box action. The spool valve has identical ends as far as the seals go but it can be installed backwards, which can affect its effectiveness also. -
Please "REPLY TO THIS TOPIC" below with photos of your 1987-1991 Avanti! You can "drag and drop" or "select file" to add your photo(s)
-
The starter for a Stude mounts to the bellhousing, not the engine block like a GM does. The shim is used to space the starter away from the block to adjust the bendix gear to flywheel clearance on the GM starter. One could put washers between the starter and the transmission engine plate but all that would do is pull the starter out of the bell housing, which wouldn't make any difference. His problem is with a bad bendix gear (old and cheap new), a now common problem to the point that Jon Meyer has written articles about this.
-
There are a couple of chrome paint suppliers available today, who claim they offer a stable chrome product. Yet if it were me, I'd add a chrome vinyl wrap in that area instead of paint.
-
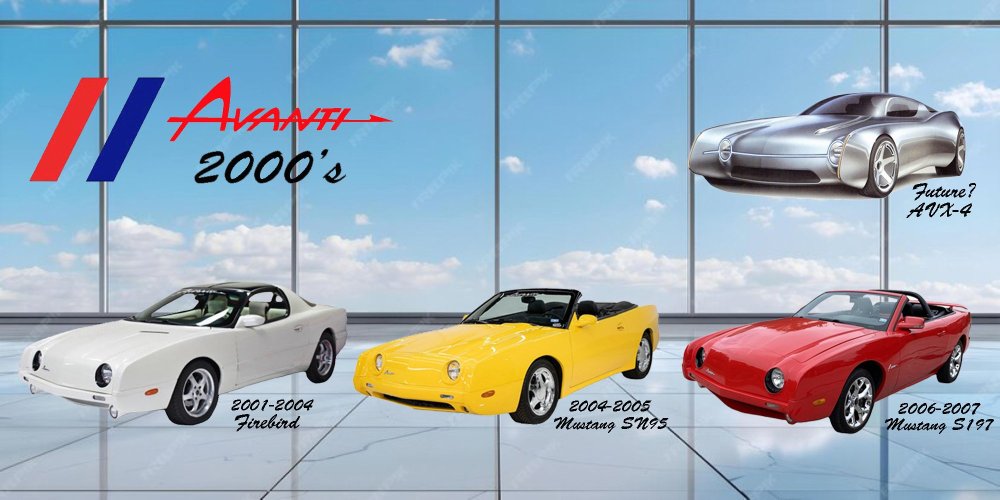
Facebook recently made a change to its page design that prevented visitors from posting to the "page". This has been corrected by creating a new Facebook Group for "Avanti Cars of the 2000's". If you own or have an interest in these cars, then please go to: Avanti Cars of the 2000's | Facebook
-
Phill Harris of Fairbourne Studebaker did just that. He is making them to original specs.
-
2"
-
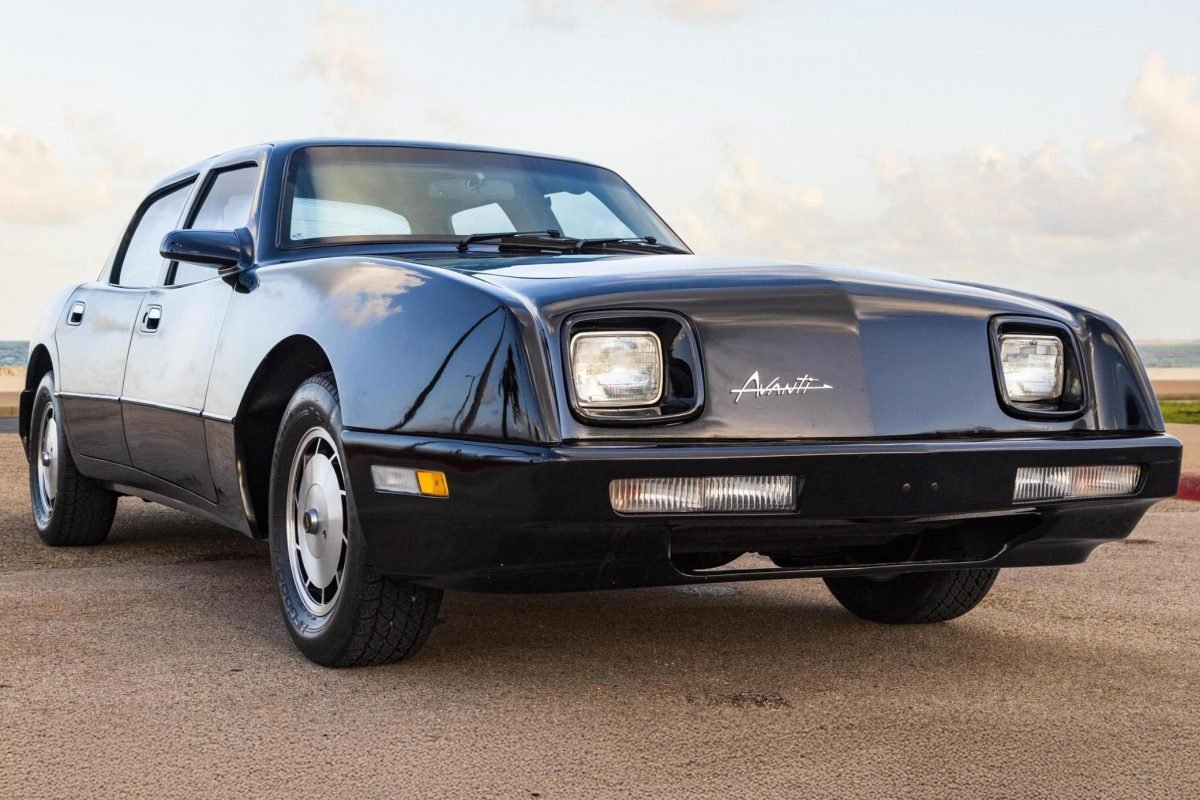
Avanti 4 Door for sale on eBay
ronmanfredi replied to ronmanfredi's topic in Avanti Car For Sale or Wanted
There were a little over 90 made. The original owners of the cars, husband and wife, were avid Avanti fans for many years. The cars both had low miles, the only one that was lower that I know of was the one that sold in Corpus Cristi Tx early in 2025 that had 1500 original miles. It went for less than $10k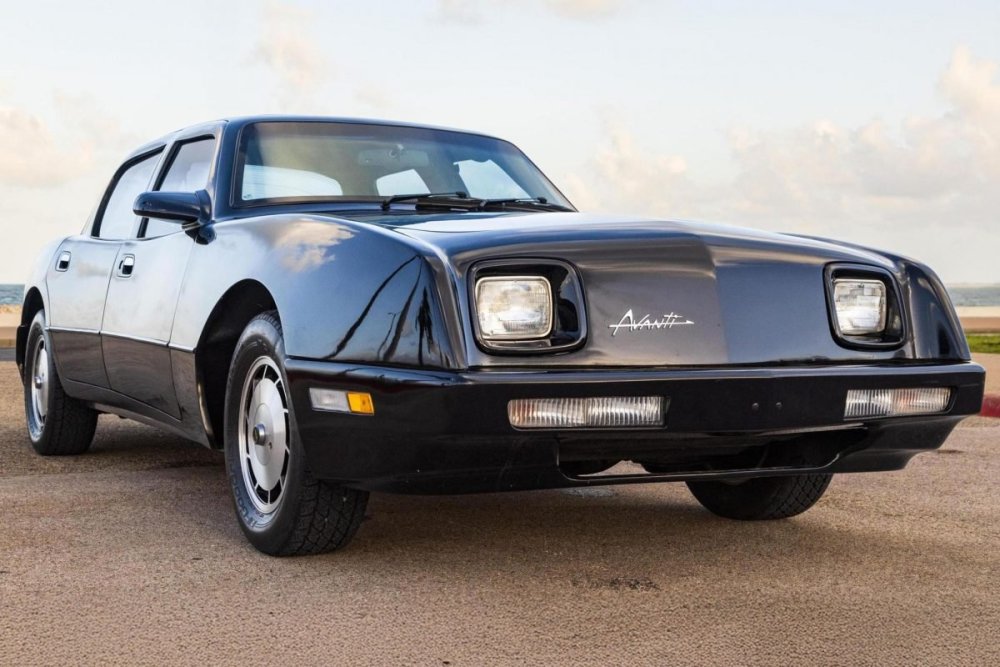
-
I don't know why. Back in the day, a lot of manufacturers were doing this in the early fall. Studebaker didn't really have new models each year like the big 3 did, they made ongoing running changes, so a "fall-winter" change over to the next year made sense even if the car didn't change.
-
Please "REPLY TO THIS TOPIC" below with photos of your 1966-1985 Avanti! You can "drag and drop" or "select file" to add your photo(s)

-
Please upload the documents to show us what it says.
-
It's a shame that we are all dealing with quality issues on vendor parts. If our company did that, we'd pay for return shipping and give a refund or send out a replacement part. Perhaps we need a Vendor Scoring section on the forums?
-
4313
-
Gold
-
Are you telling them that you have an Avanti or a Chevrolet Caprice? If it works with a Caprice, then it'll work on your Avanti.
-
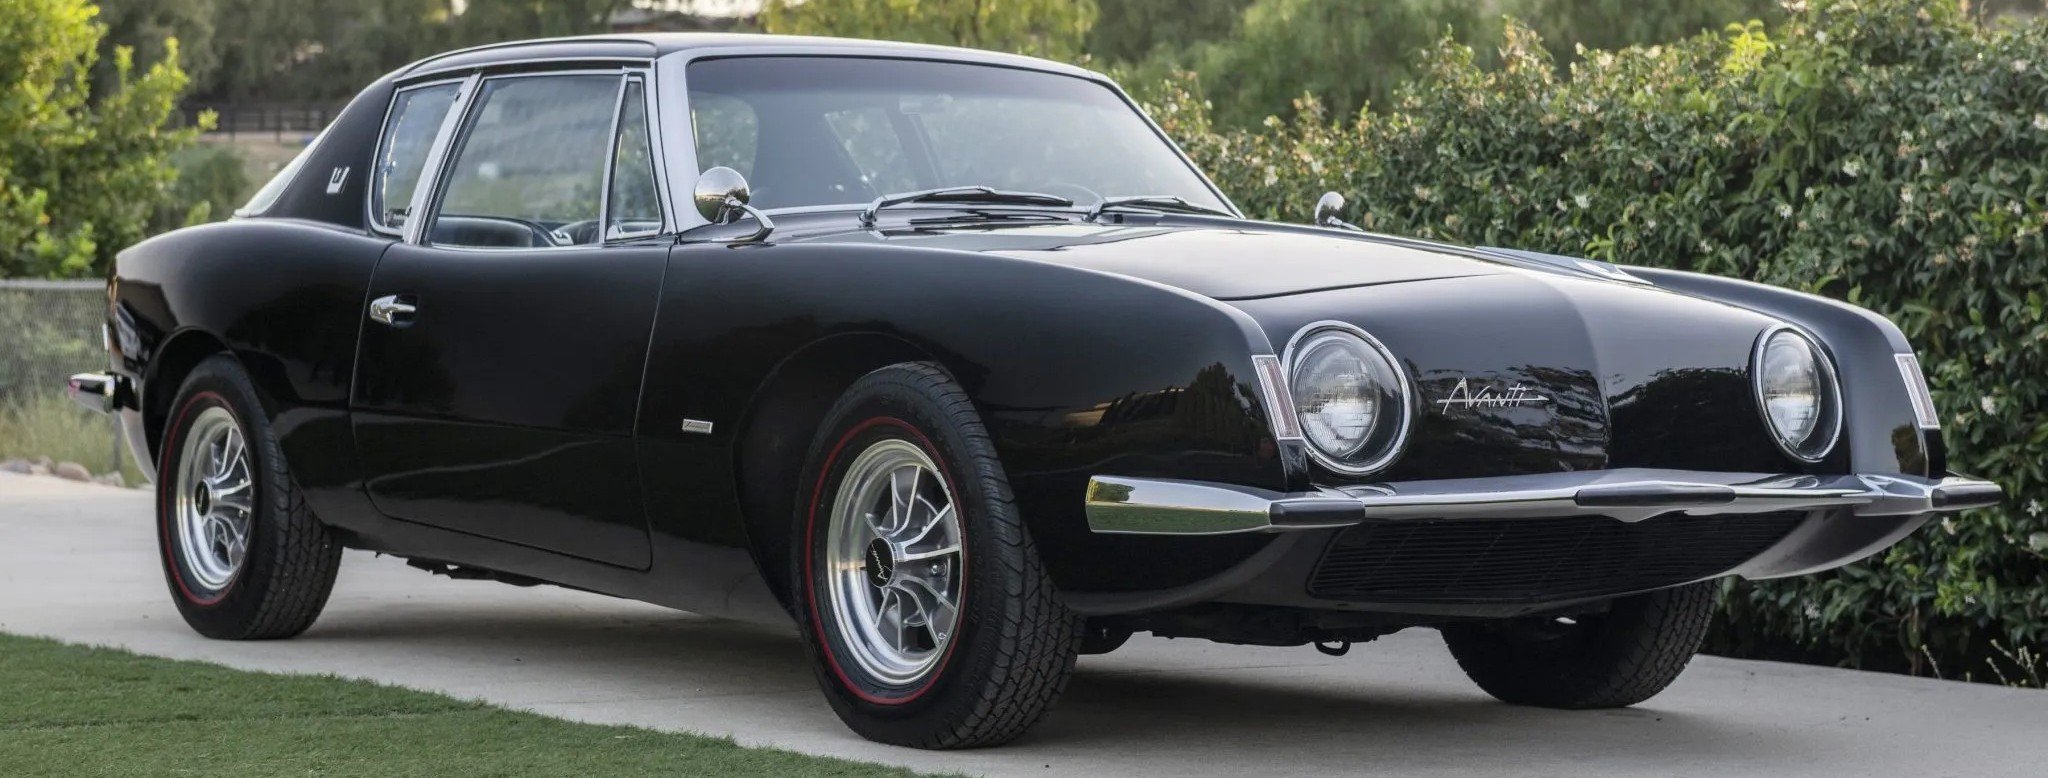
Who was the famous pop music band member
ronmanfredi replied to ronmanfredi's topic in Avanti Trivia
Yes, correct! I bought his old car a couple of years ago from its 3rd long time owner to restore and sell. This is how it looked when he bought it: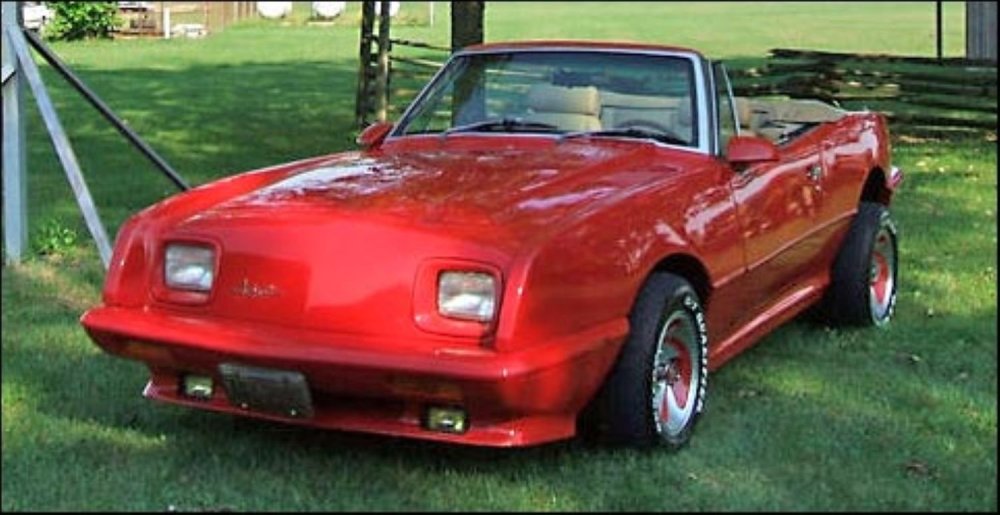
-
That bought the second to the last 1989 Avanti made?
-
Has your problem been solved?
-
I'd suggest the following on your car. With the shifter in park, disconnect the shift linkage from the shifter from underneath the car. Then move that linkage connected to the transmission to be sure it can be moved through all positions. If so, then put it back into park and then move it into reverse. Next go into the car and do the same exact thing. Be sure the shifter goes through all of the positions. Go to park, then reverse. Now under the car, loosen the linkage adjustment nuts and reinstall the linkage arm into the shifter. Tighten the nuts evenly on both sides. Go back into the car and test the shifter now. IF there was a problem with either the shifter or transmission when you checked them independently, then you know where the problem is. Usually, the linkage adjustment can be done in Neutral but the shifter can slide into drive when you are working on it so I use reverse since it locks into place.
-
Please "REPLY TO THIS TOPIC" below with photos of your 1963-1964 Avanti! You can "drag and drop" or "select file" to add your photo(s)
-
I did this same thing this morning to clear the 63R2 oil pan after I installed shorter motor mounts to lower the engine. It wasn't to fix the ram interference with the pulley, it was to prevent the bell crank from rubbing the pan. All it took was 1 standard thickness washer per bolt.
-
If your car is like my 63 with an auto trans, the bell housing isn't completely sealed at the bottom and those pieces could drop through the gaps to the floor.
-
I read somewhere where an owner replaced the end of the ram with a heim joint. Since I just lowered the engine in my 63, I'm sure I'm about to run into the same problem when I reinstall the bell crank and pivot.
-
The "Avanti of the Future Design Contest" information is attached as a photo in this message. It is open to all AOAI members, their families including children.