All Activity
- Today
-
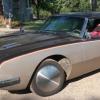
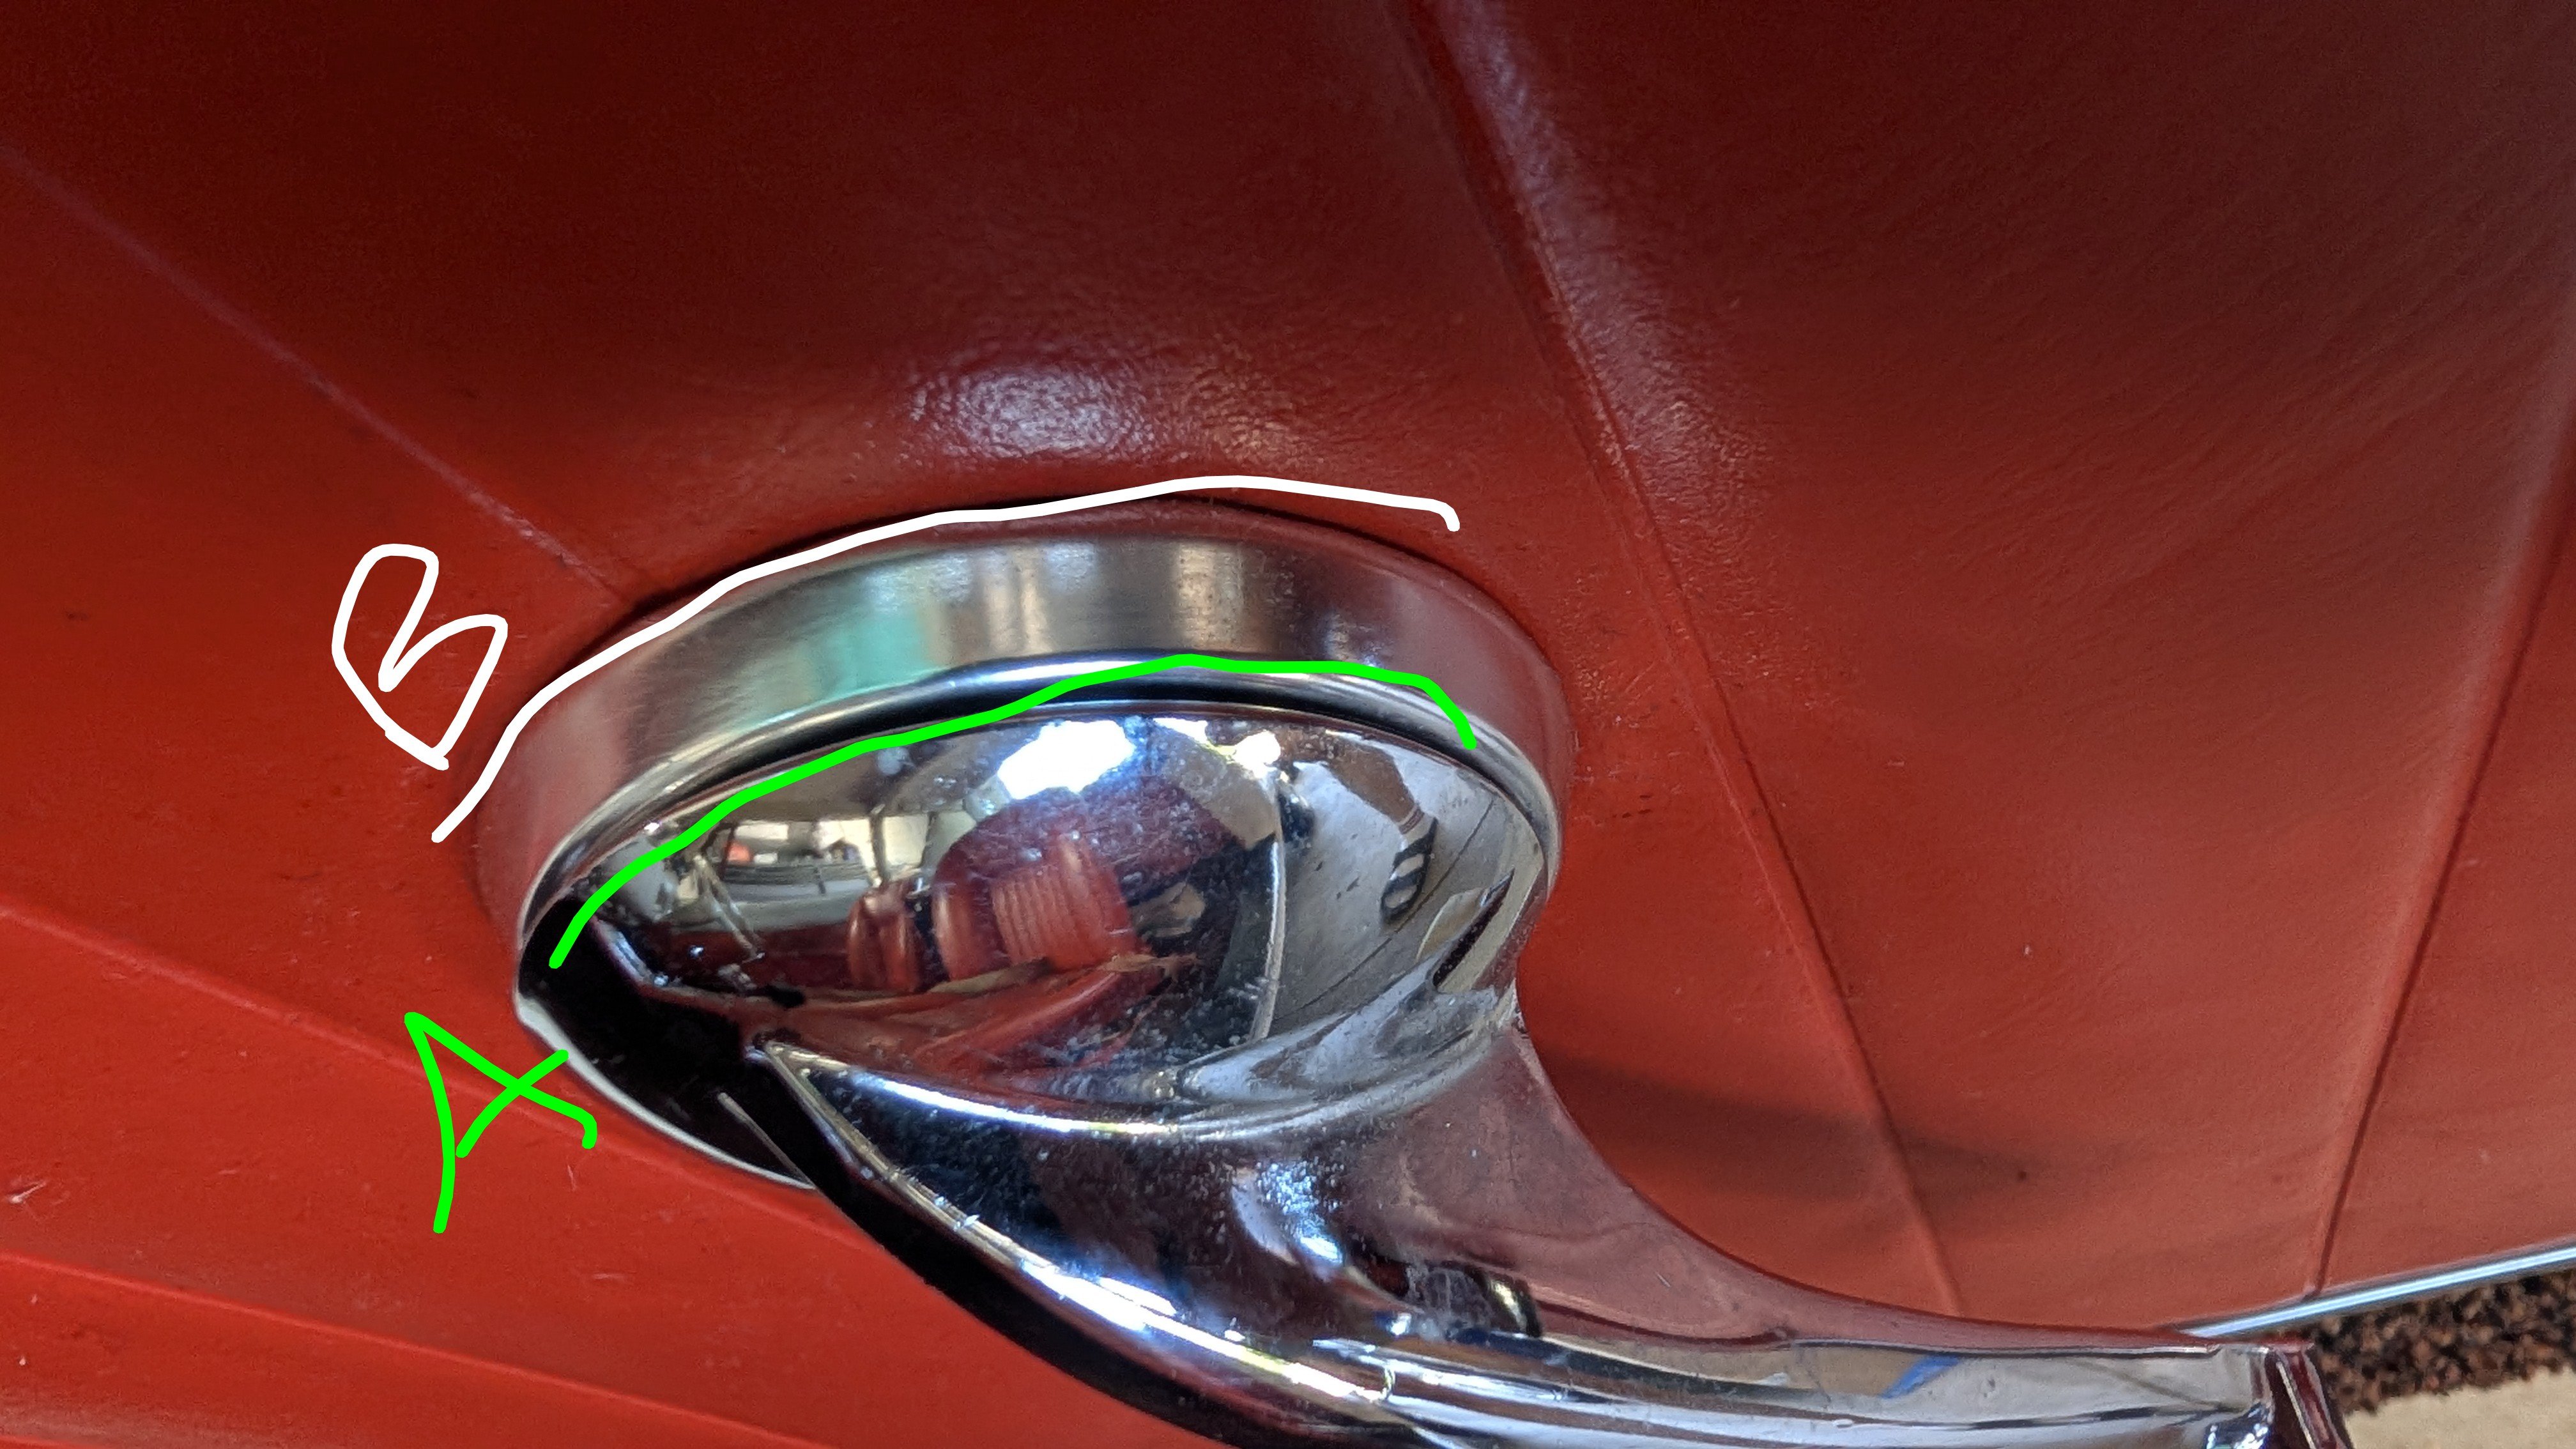
Thanks @ronmanfredi . Just to clarify my markup, B is the space between the leather door panel and metal piece, and A is is the crevice between that metal piece and the rotating handle.
-
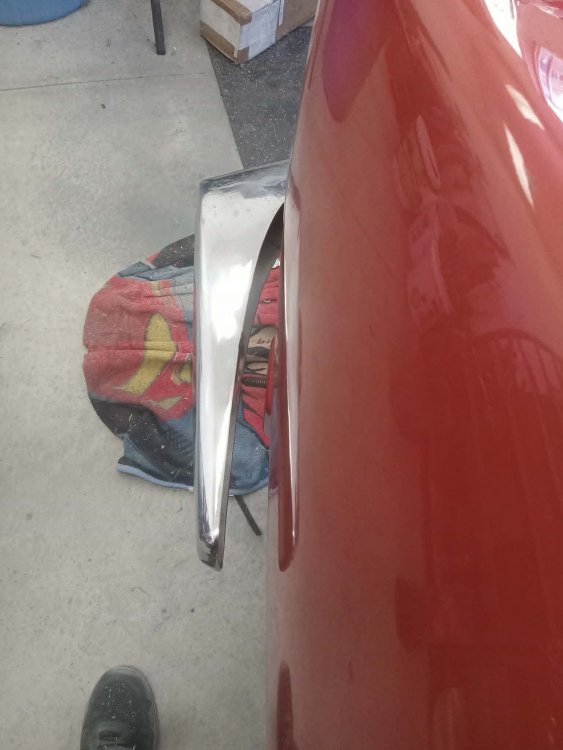
There is a standard spring clip between A and B. There is a clip removal tool available at most part stores, etc., designed for this. Then remove the door panel and the latch striker. Check the alignment at the front of the door. If it looks good, then loosen the hinge bolts on the door, leaving the lower bolt on the lower hinge snug. With the door closed, raise the back of the door until it is where you want it and snug one upper hinge bolt. Check all the gaps and if you are satisfied, then tighten all the bolts. Now reinstall the striker and adjust it to where the door closes correctly. Lastly, check the vent and window alignment with the top and adjust those before reinstalling the door panel.
-
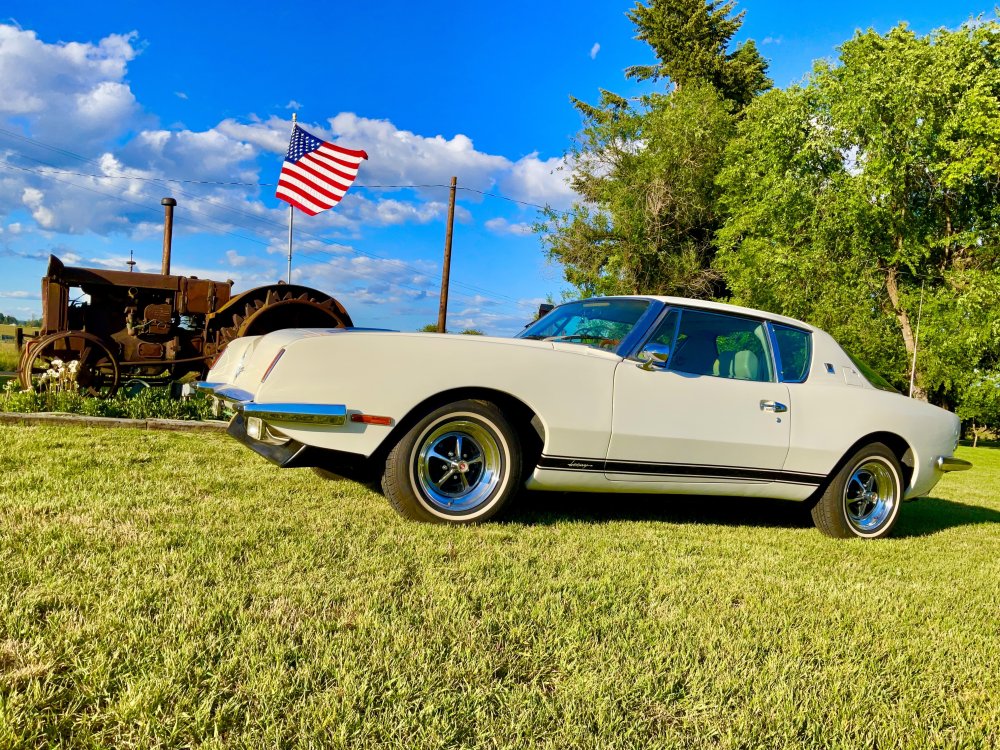
The passenger door on my 63R1 is sagging about a 1/4" and the kids are slamming it shut. To gently close it, I lift the handle as I close it. I understand how to adjust the hinges and striker. 1. Any words of wisdom? 2. When removing the window crank and door lever, do I separate at "A" or "B" in my attached photo? Thanks

-
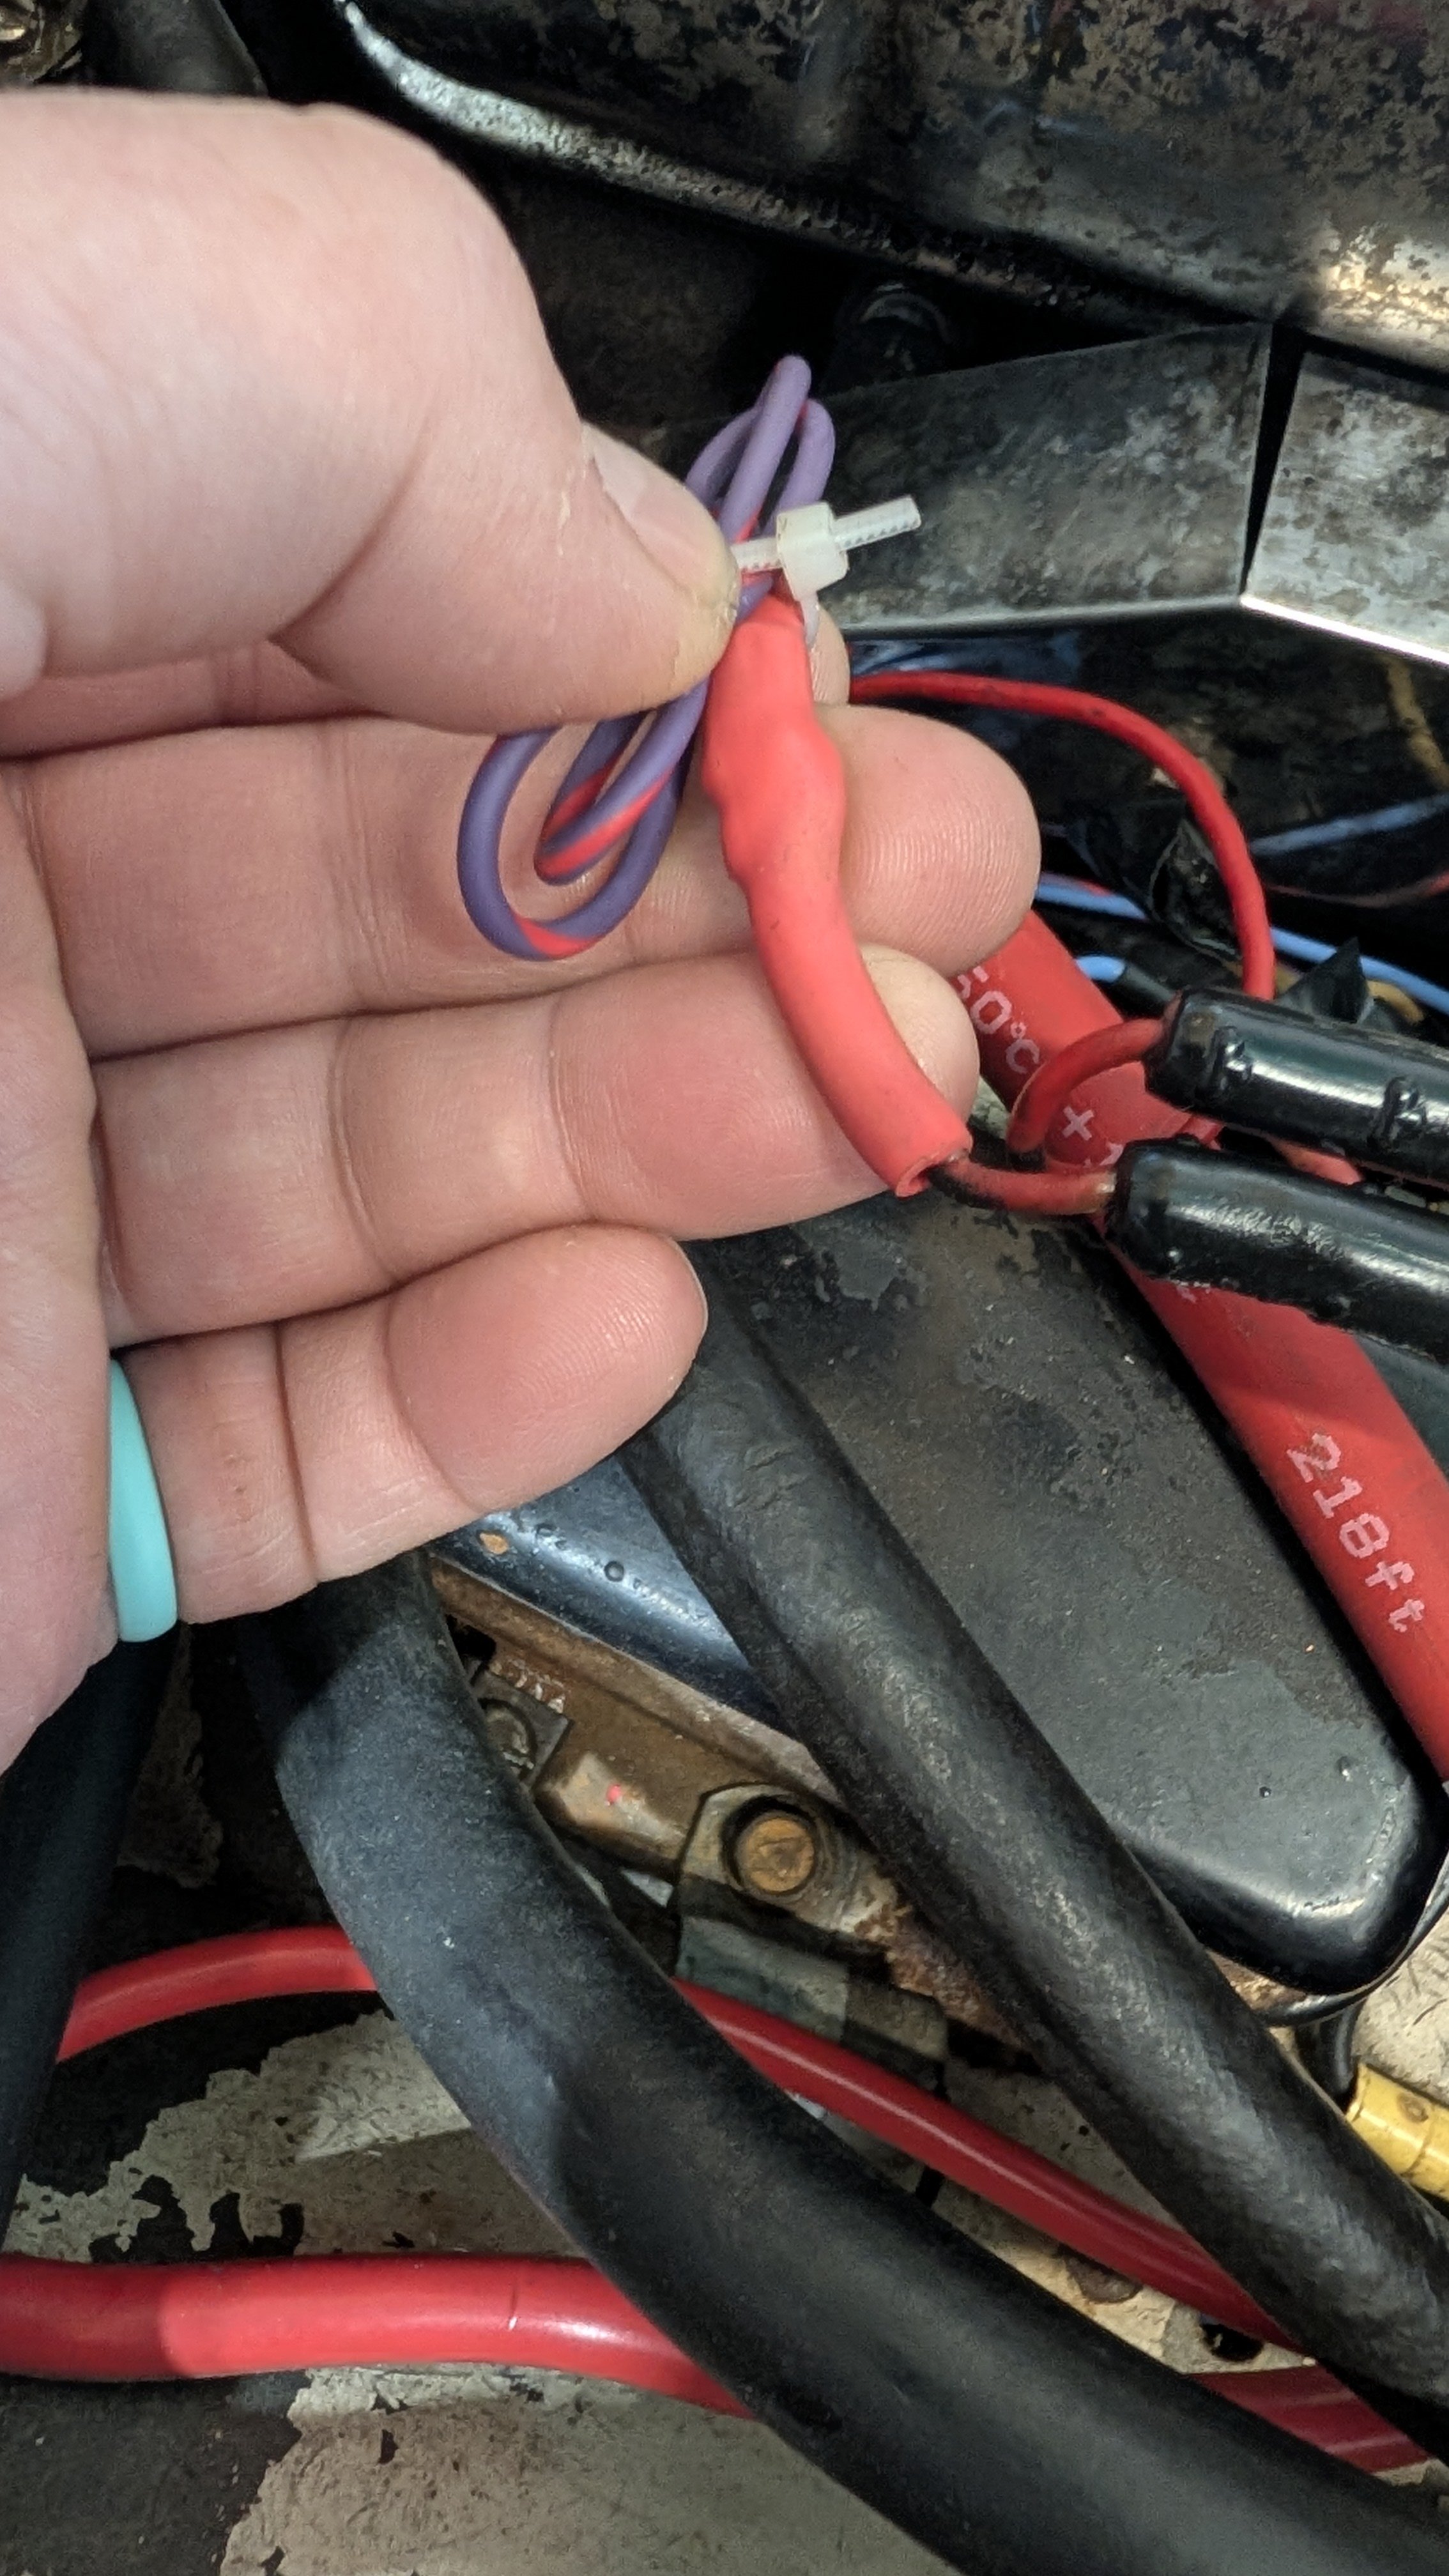
My grandfather the original owner of my 63 R1, put an analog third break in the lower window. There was some type of palm-sized black box that would take the brake/blinker signal at the trunk and operate the third light. I converted it to an LED strip light at the top of the window, but couldn't get the black box to interface with the LED. I wanted to run some power to the trunk anyway so I just included an 16awg wire (purple/red) from the brake cylinder to the trunk where it hooks up to the LED power leads.

-
One of them is the return line from the fuel pump. The other is an overflow line that just dumps gas on the ground.
-
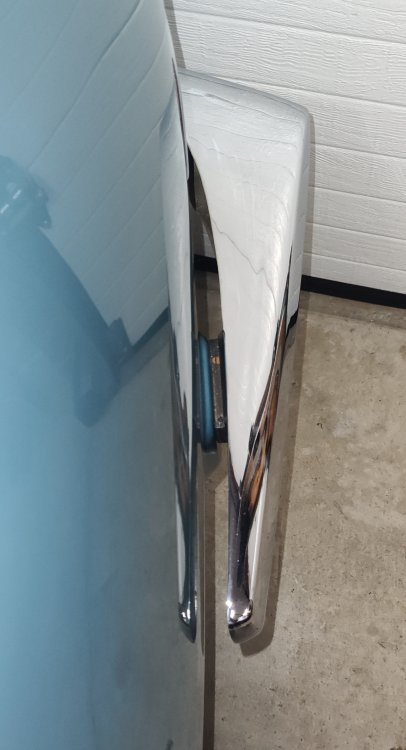
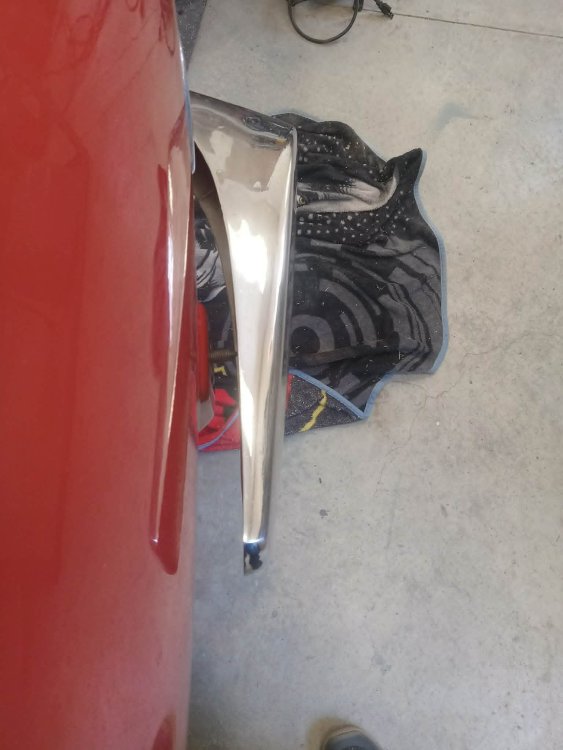
Obviously! My point here is to be careful if attempting to straighten an Avanti (steel) bumper off the car, as it’s quite easy to damage (crack) the chrome plate…. Also, if the Avanti in question is going to be driven more than occasionally, as I do mine, I believe that a bit of extra clearance over factory spec between the bumper and the fiberglass body is a prudent move. After repairing more Corvette and Avanti fiberglass bodies over the years than I care to remember, that’s my take on this.
-

Avanti Service Manuals - 1965 to 1985
64StudebakerAvanti replied to Blazest's topic in 1965-85 Avanti
info from front page of book. the website is no longer active.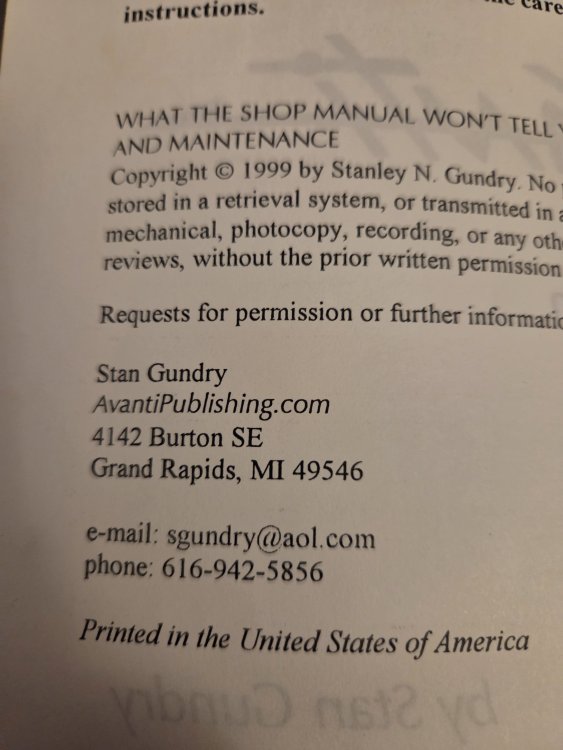
-
Avanti Service Manuals - 1965 to 1985
64StudebakerAvanti replied to Blazest's topic in 1965-85 Avanti
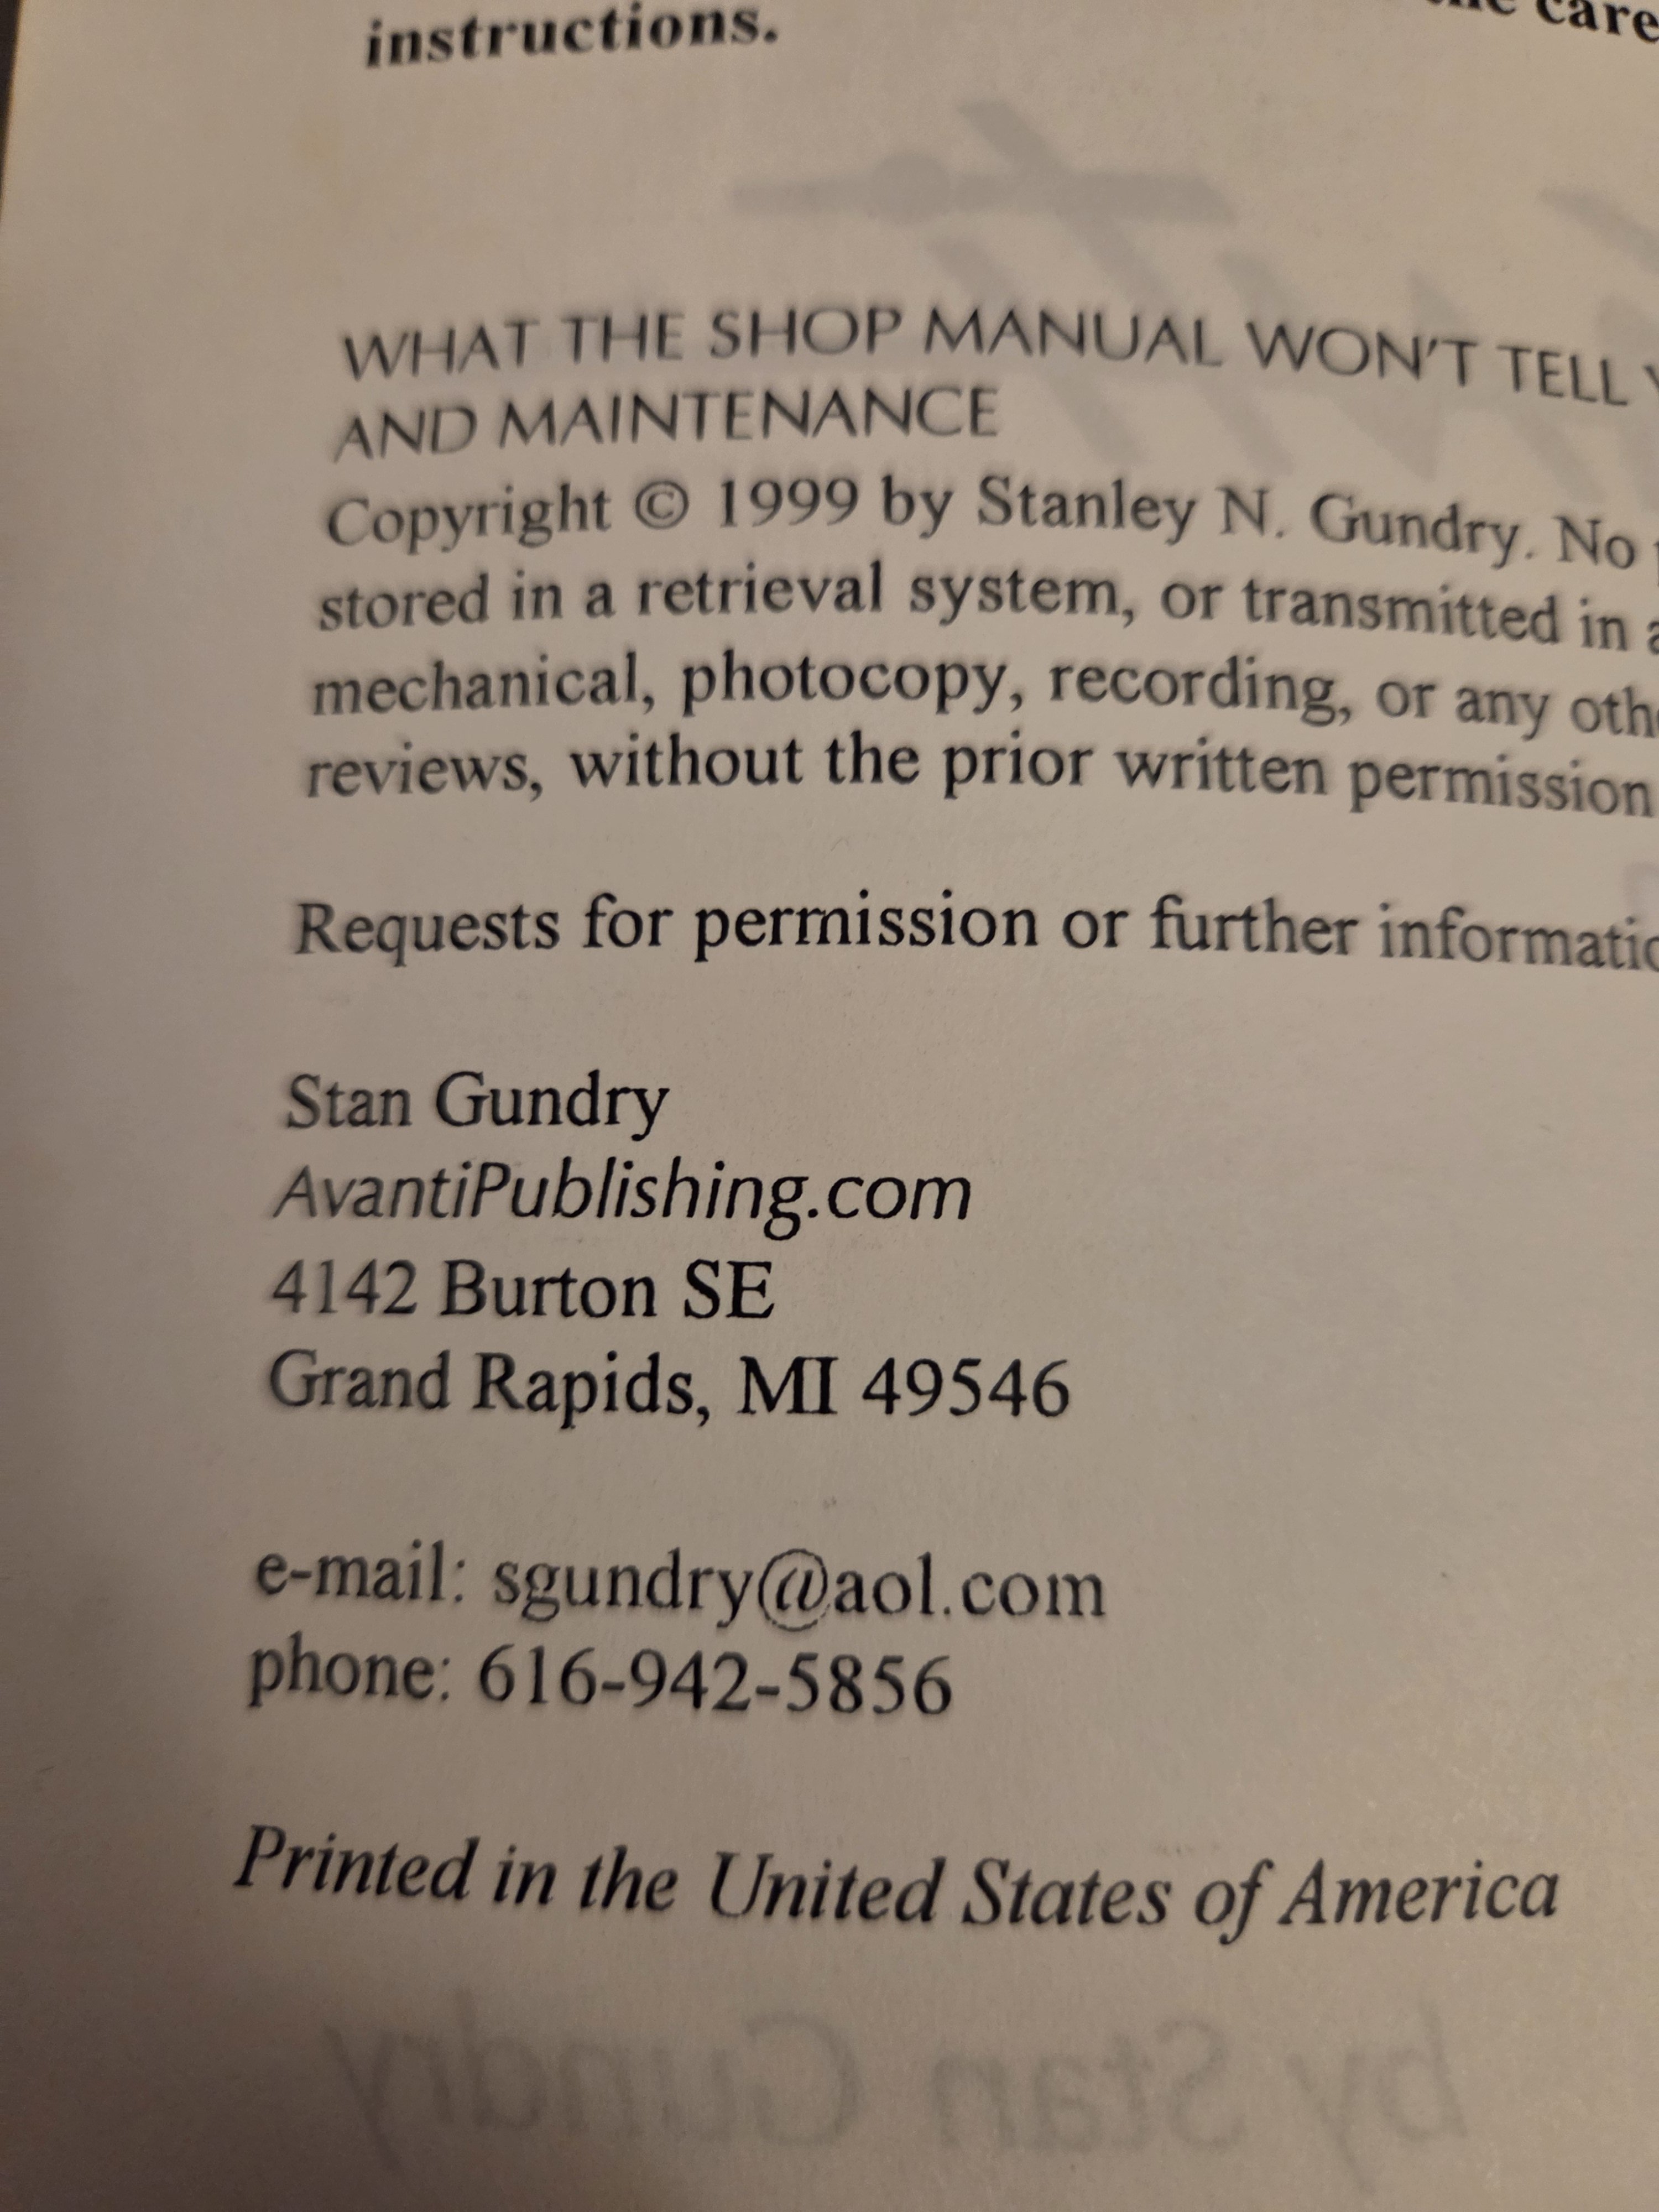
the last phone number I have is 616 942 5856. -
1966-1985 Virtual Car Show
Footer replied to ronmanfredi's topic in VIRTUAL CAR SHOW for 1966-1985 AVANTI II
-
Regnalbob's image is correct and looks just like my R2 rear bumper. IdahoBens bumper is obviously bent outward on each end.
- Yesterday
-
Email him Stan.gundry@gmail.com
-
1963-1964 Virtual Car Show
chdonley2 replied to ronmanfredi's topic in VIRTUAL CAR SHOW for 1963-1964 AVANTI
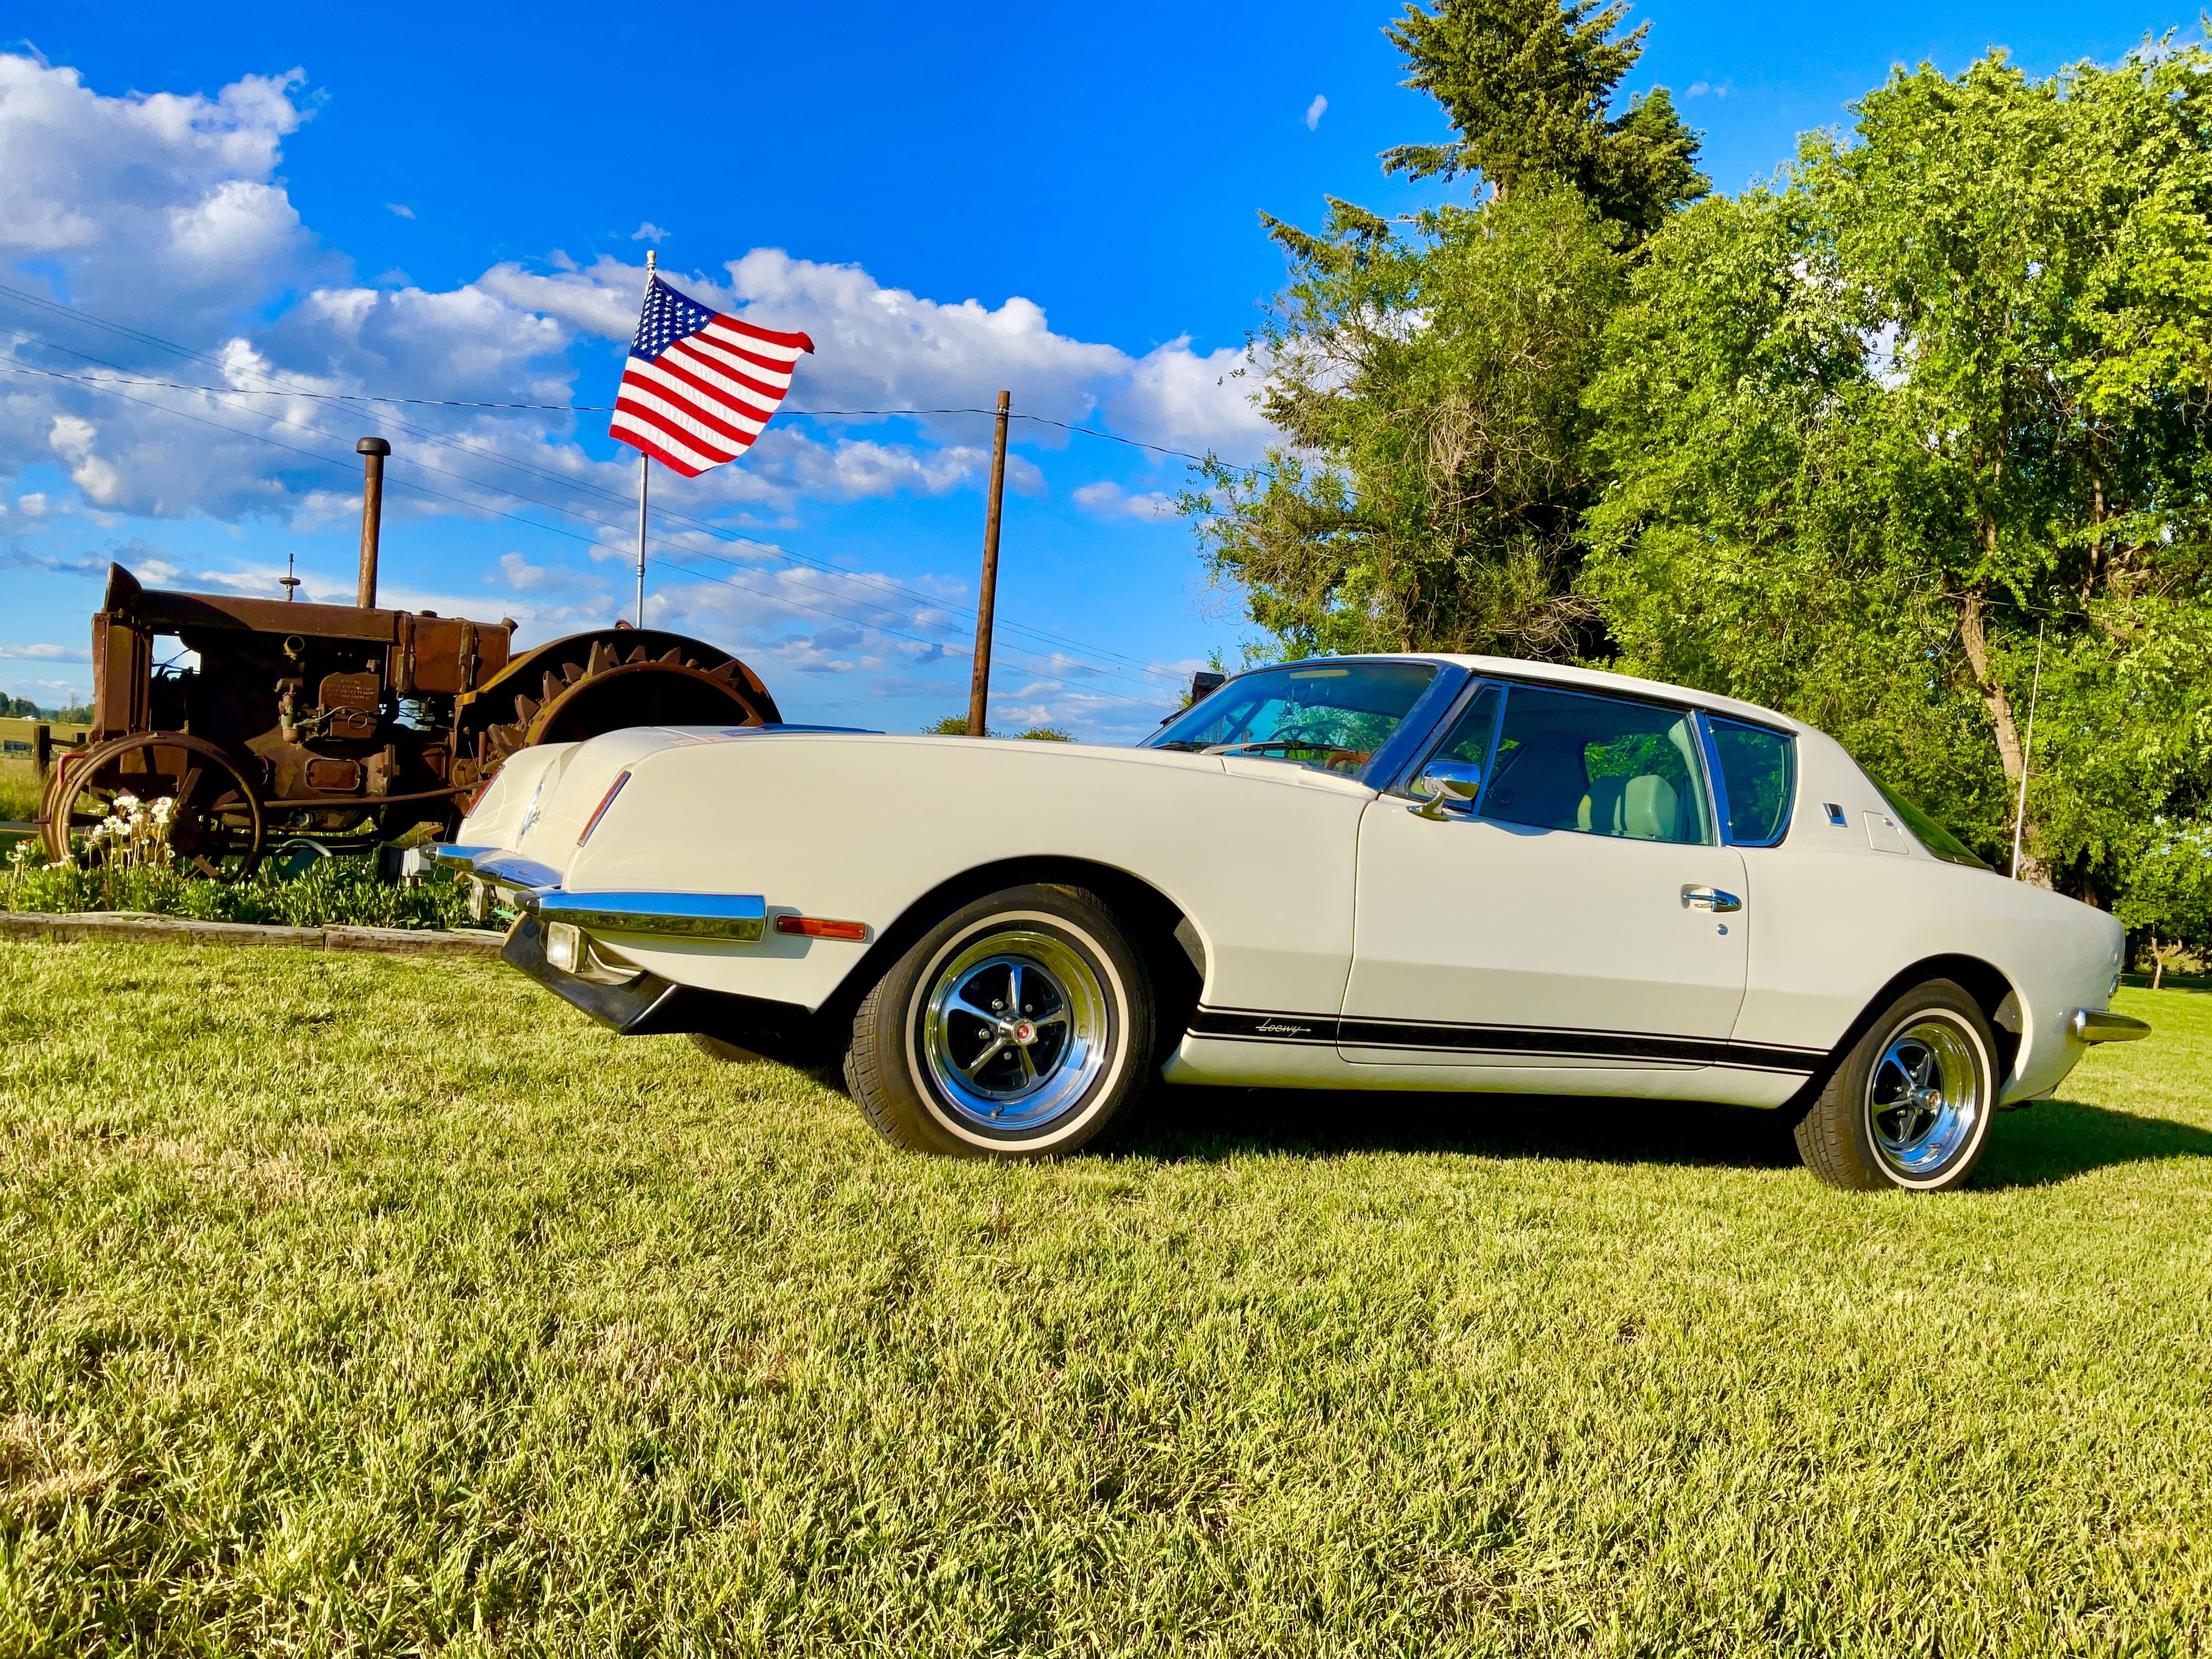
My 1963 road race Avanti.thumb.jpg.316f1658d899698f8f9a958e3c2ce03c.jpg)
-
 rdc joined the community
 -
The bumper is exactly the way it was installed at the factory with a 1/4 inch shim on each side. The gap is the same on both sides.
-
 Yes, PM me if interested.
 -
I’d go easy when doing this .. but it’s the bracket itself taking the strain... You don’t want the bumper too close to body, as shown in photo, as a possible side impact will mean certain fiberglass damage….. Also, those bumper sides come in fairly easy when tightening the side bolts… just go slowly… Trying to straighten the bumper off the car can be done, however that’s unfortunately a good way to crack the chrome plate.
-
dont think I like the idea of cranking on bolts to put that kind of constant strain on the body. I will try to bend the bumper tomorrow. Thanks regnalbob for the pictures and the measurements.
- Last week
-
You thought CORRECT!
-
Thought it was 1/4
-
The width of the bumper between inside edges is approximately 63 inches. The gap at the front edge is 1/2 inch. The gap at the shim is 5/8 inch.
-
There’s a 1/4” rubber shim that fits in between the bumper and the fiberglass body which will fill some of that gap. The gap on your Avanti does look excessive. I’d add a second rubber shim, then tighten the bolt to crank it in.
-
Installed the rear bumper and have excessive side clearance. Over an inch from the fiberglass to the mounting pad on the bumper. I think I need to bend the bumper. What is the standard gap? As it is the bolts do reach.
-
Studebaker recommended replacing the disc brake pads on their 1963 and 1964 passenger cars equipped with Bendix disc brakes when the pad thickness wore down to……?……. 1) 3/16”…..2) 1/4”…..3) 5/16”…..or…..4) 3/8”
-
 Rlowey2 joined the community
 -
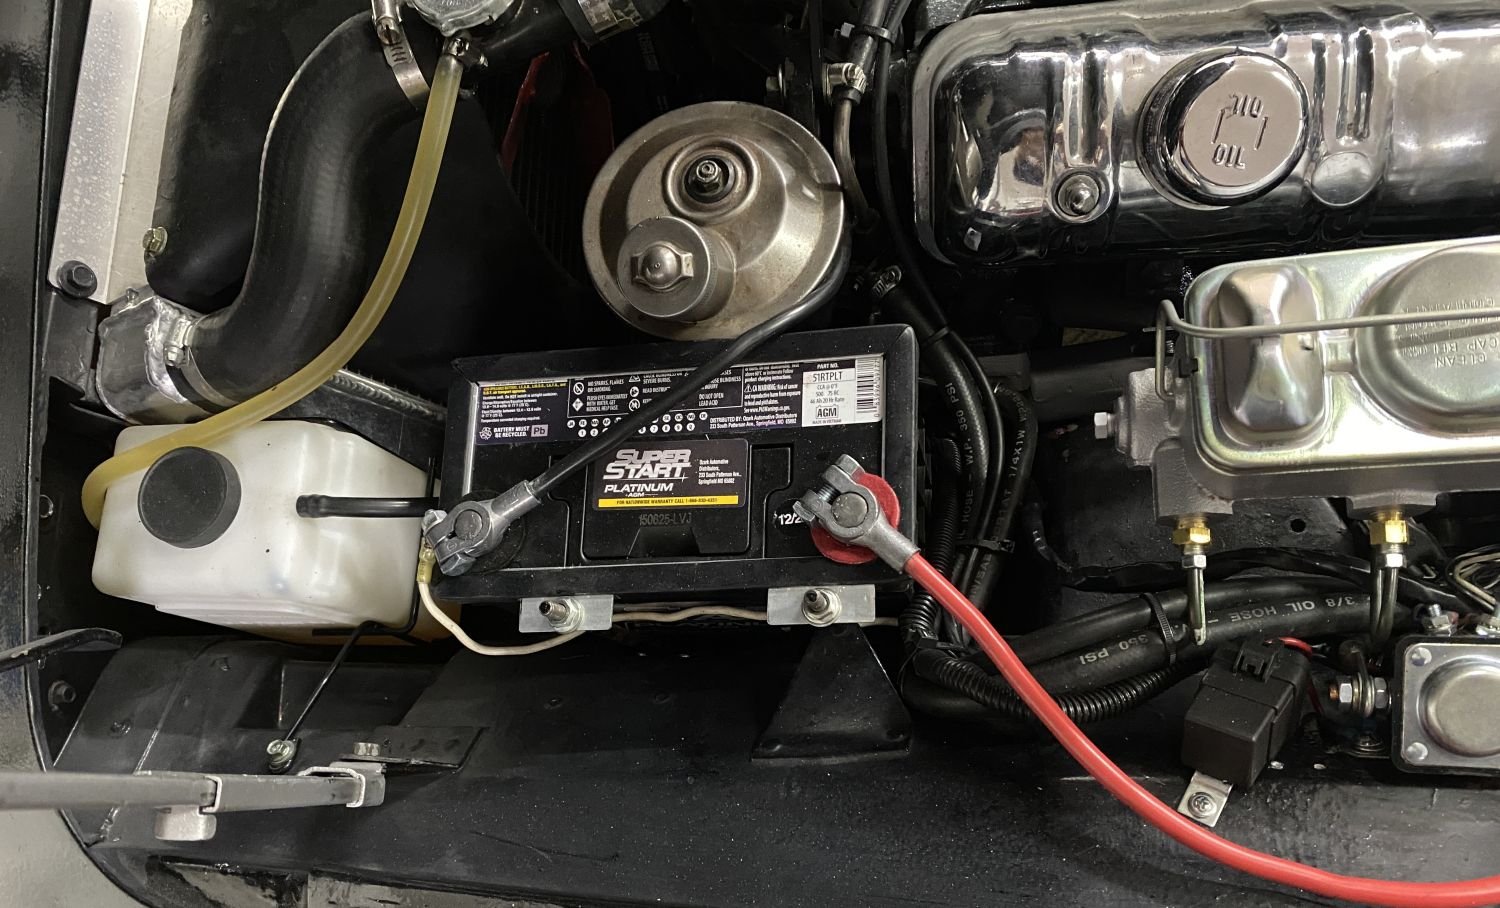
 In my 63, I installed the 51 by moving the oem front mounting bracket and making an aluminum battery frame. The frame is notched out around the terminals and then covered with some automotive rubber trim. This also gave me room to move the radiator overflow tank to the left side so I can make a CAI and place it on the right side.
-
Ben, I may have one. Please check your messages. Thanks
-
 I initially thought the same thing but then remembered it’s a fiberglass body and the bracket could lean against the positive post and never go to earth/ground.


.jpg.58fbf85377e17ec5e685ae3ea86badea.jpg)