


brad
-
Posts
1,045 -
Joined
-
Last visited
Content Type
Profiles
Forums
Events
Posts posted by brad
-
-
PM me f you need other parts. I have extra sets of fins....etc. I'm not going to be able to get to mine and am selling it. and most parts for it.
-
True, but there are two guest houses.
-
Are you sure it's a 56 engine? There were many upgrades to the 56 over the 55 engines. (valve keepers, oil deflectors, cam retaining plate, combustion chamber design) etc.
-
1/2" on manual transmission cars. The single spacer on the drivers side mount on automatic cars is 3/8"
-
#5 . From what I remember.
-
That, plus the link is through a middle man for the supplies that you can get 96 or 48" lengths direct from Steele Rubber.
-
When you said you went through the holes, I was assuming you ran it all the way up into the 1/4 panel like was original. When they built the car, they ran the vent up into the 1/4 panel, and looped it over a clip to about 4" from the TOP OF THE ROOF ! Then they glued the outside skin on.
-
South of St. Louis Missouri
-
Any excuse to purchase good tools is a good excuse!
-
Stock was 1 1/16" but as you go smaller, the line pressure increases, and the stroke increases also. A larger bore gets quicker pedal action, a smaller bore applies more force for less effort. I had a 15/16" on mine with a stock booster, and a Mopar 4 to 2 mounting adapter. It worked extremely well.
-
The Schrock brothers no longer do steering wheels, they retired from that, and sold the molds.
-
I'm glad you have faith, in him. I have faith in what works for me and my own experiences. I have never seen his work. Only HEARD about it. I HAVE had to fix many "dry" rear glass installs for leaks.
-
You really do not want to install the rubber on the glass dry, and try to seal it up later. It just doesn't work well at all. Thee is a reason the factory recommended non hardening sealer when putting the rubber on the glass AND also when installing the assembly into the body opening. Follow shop manual procedures and you won't get bit.
-
There are adjustments for fore and aft, and inwards tilt. The shop manual covers it somewhat. There are 9/16" nuts with slotted studs they go over. loosen the nuts, and unscrew the stud and check adjustment then tighten the nuts to hold adjustment.
-
yes, that is the fill location.
power steering fluid is fine for the system. -
Generally most of the slop is in the lower pivot from the gas pedal. There is a pivot block that passes through a hole, and it wears. The hole also wears egg shaped too.
-
The vent originally connected to a hard line, then the rubber line went up into the 1/4 panel, and was secured by a riveted on clip. then it went back down to the hole in the floor. That way it's up high enough that no amount of fuel sloshing would cause the vent line to fill up with fuel.
Also, check the fill tube large hose, they can hide cracks behind that are not visible unless you take it out. If you do, pay attention to the clocking of the fuel cap, so when tight the ear doesn't hit the filler door when it's closed. Also check the solder joints on both the return line and the vent line on the top of the tank. A poor trunk gasket, and also exhaust deflectors that have slots in the clamp end can all contribute to fumes.
-
Post some pics!
-
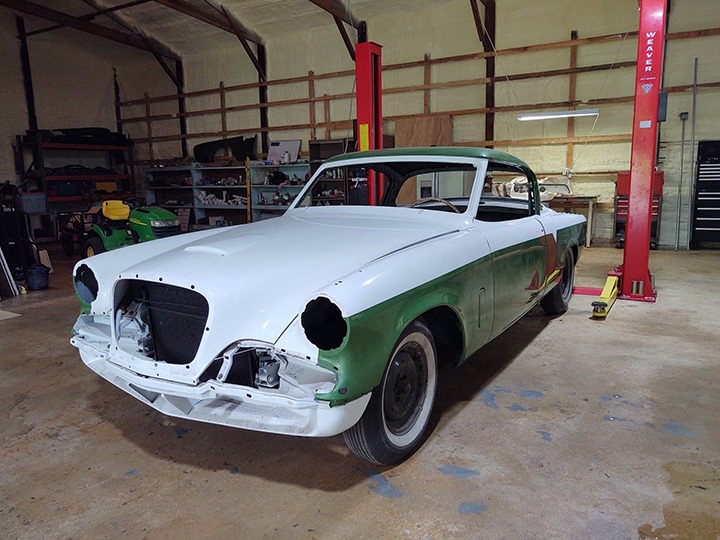
I purchased it this way. I don't like the green and white, as I already had that combination on a 56J back in high school. I want something different. I'm seriously thinking about painting it Congo ivory, and Pimlico grey. I know they are speedster colors, but they are some of the best Stude offered. It has a supposedly rebuilt Ultramatic. If it acts up, I'll make an adapter, and put in a GM 700R4.
-
The rear hole is pretty much even with the back edge of the hood.
-
I need to get going on mine one of these days. Let me know if you might need some parts. I might have something. (great taste in cars).
-
Some old Dodge vans used the same material, but it has to be cut to Avanti size, and painted white. It was originally pressed paper and styrofoam sandwiched together.
-
The is no "Vapor" return line off any Studebaker filter. It would be a "fuel" return line, which should be restricted to a .045" then it returns to the fuel tank. If you have an aftermarket filter, AND the return line fitting at the fuel pump, then there is your low pressure problems. Also the vacuum metering rod springs might be too weak, and leaning out your engine at steady high vacuum conditions. Often rebuilders "mess " with things and get them out of whack.
Also, nobody has mentioned the Prestolite distributor mechanical advance. They are notorious for wear, and sloppy advance results. The solution is Chrysler Prestolite weights with bronze bushings. They need to be from a big block Chrysler as they have the correct counter-clockwise rotation. Although you can press the weights advance pins through on small block weights, and mount them upside down as the spring attachments are countersunk to about the center of their width.
-
The weatherstrip you ae trying to install in that channel is designed for earlier cars that did not have the metal channel. It is designed to screw directly to the body under the drip rail. The retainer is for later foam extrusions without any metal in them. A good universal weather strip extrusion from Steele or Restoration specialties is far better than the factory early upper door seal. Something like the 70-3680-99 would be a good choice.
Sleepy Avanti!
in Avanti Trivia
Posted
The 2nd guest house has..the Kellogg room, and others. It is the guest house that is next door to the museum, not across the street from it.