


brad
-
Posts
1,045 -
Joined
-
Last visited
Content Type
Profiles
Forums
Events
Posts posted by brad
-
-
Don't forget to fold the "French Lock" on the crankshaft bolt.
-
Everything is painted except the pulley which is black.
-
How to lock out the mechanical advance...Locking Out The Mechanical Advance. (holley.com)
-
Here is the vacuum advance lock out holder. PerTronix D703700 PerTronix Vacuum Advance Lockouts | Summit Racing
-
Holley gives a circuit diagram for an MSD box. You can use the Pertronix distributor. You have to buy the "Phase able" rotor (small type) from MSD. and use that. Use a junk cap and cut a hole in the top neat the #1 tower. You have to lock out both the mechanical, and remove the vacuum advance, and lock it out too. Start the car and set the initial advance to 10 degrees. Check the rotor position through the "hole" and adjust the rotor so it is centered on the #1 tower. That's it. I would also recommend the progressive link for the secondaries that Holley sells for the Sniper.
-
Modern AGM sealed batteries don't need to be vented. Also, there are "remote" key fob operated battery disconnects. You leave a small wire to operate the relay, but the rest of the car is disconnected from power. On one car, I made a side panel in the trunk compartment, and also carpeted it in matching carpet. I put the battery behind it, and it was clean, and hidden from view. Run a good ground from the starter to the frame, and a heavy positive cable to the solenoid.
-
They "fixed" the wiper motor mounting so it doesn't break the wiper pivot point on the fiberglass.
-
Wheel lug adapters/ spacers.
-
They let the mice into the engine compartment to chew on the wiring. Also, they are the cooling holes in the rear inner fenders to let out the hot air from under the hood.
-
Don't worry about it. It's not from the pump. I've done enough of them and there's no spring that size anywhere on them.
-
Yes, they did use both. the thinner mounts, and the extra shims on the body. They also had to cut the lower scoop bumper openings so the bumper brackets didn't hit.
-
They shimmed up the body to clear the pressure box....that's the only thing right now I can think of.
-
Later post 61 Saginaw recirculating ball boxes have three spots on the pitman arm that have no splines so they only fit one way. I have broached splines in them and made them work. The pre 61 Larks had Ross steering boxes also. The Hawk pitman arm is longer and will change the steering ratio if used.
-
1/4" sticks in my mind.
-
I have suppled Dave with rebuilt valves before when he ran out. It is not just replacing two seals. Although, that is all you get in the Stude parts suppliers kits. There are hose seats at the bottom of every connection that need to be resurfaced or replaced, and there is a valve under the pressure fitting seat. Also, the spool valve needs to be perfect. The rubber bump-stop cushions are not in kits, and neither is the pitman arm seal. A half-ass job produces half-ass results.
-
You are all missing the two REAR pieces on either side of the lock panel. That makes 13
-
That one. NOT all. ONLY that one was. All others made by the Granatellis were red. So people that have only seen that one have copied it over the years.
-
Let us count out loud shall we...? The back panel is 1. the right and left wheel house is another two. The right and left side panels are another two. The "football shaped fillers both right and left are another 2, The right and left floor pieces are another 2, the spare tire cover is 1, and the right and left pieces by the latch panel is another t2...don't forget the latch cover itself, for the last piece. I count 13.

-
It was at the famous Hawkins & Powers facility at the Greybull airport in Wyoming. Last I saw it, it still had wings on it.
-
They also make many other great products for our Avantis. Weather seals, engine gaskets, seat hinge covers (new product) in all colors, Floor mats, and more in the works.
-
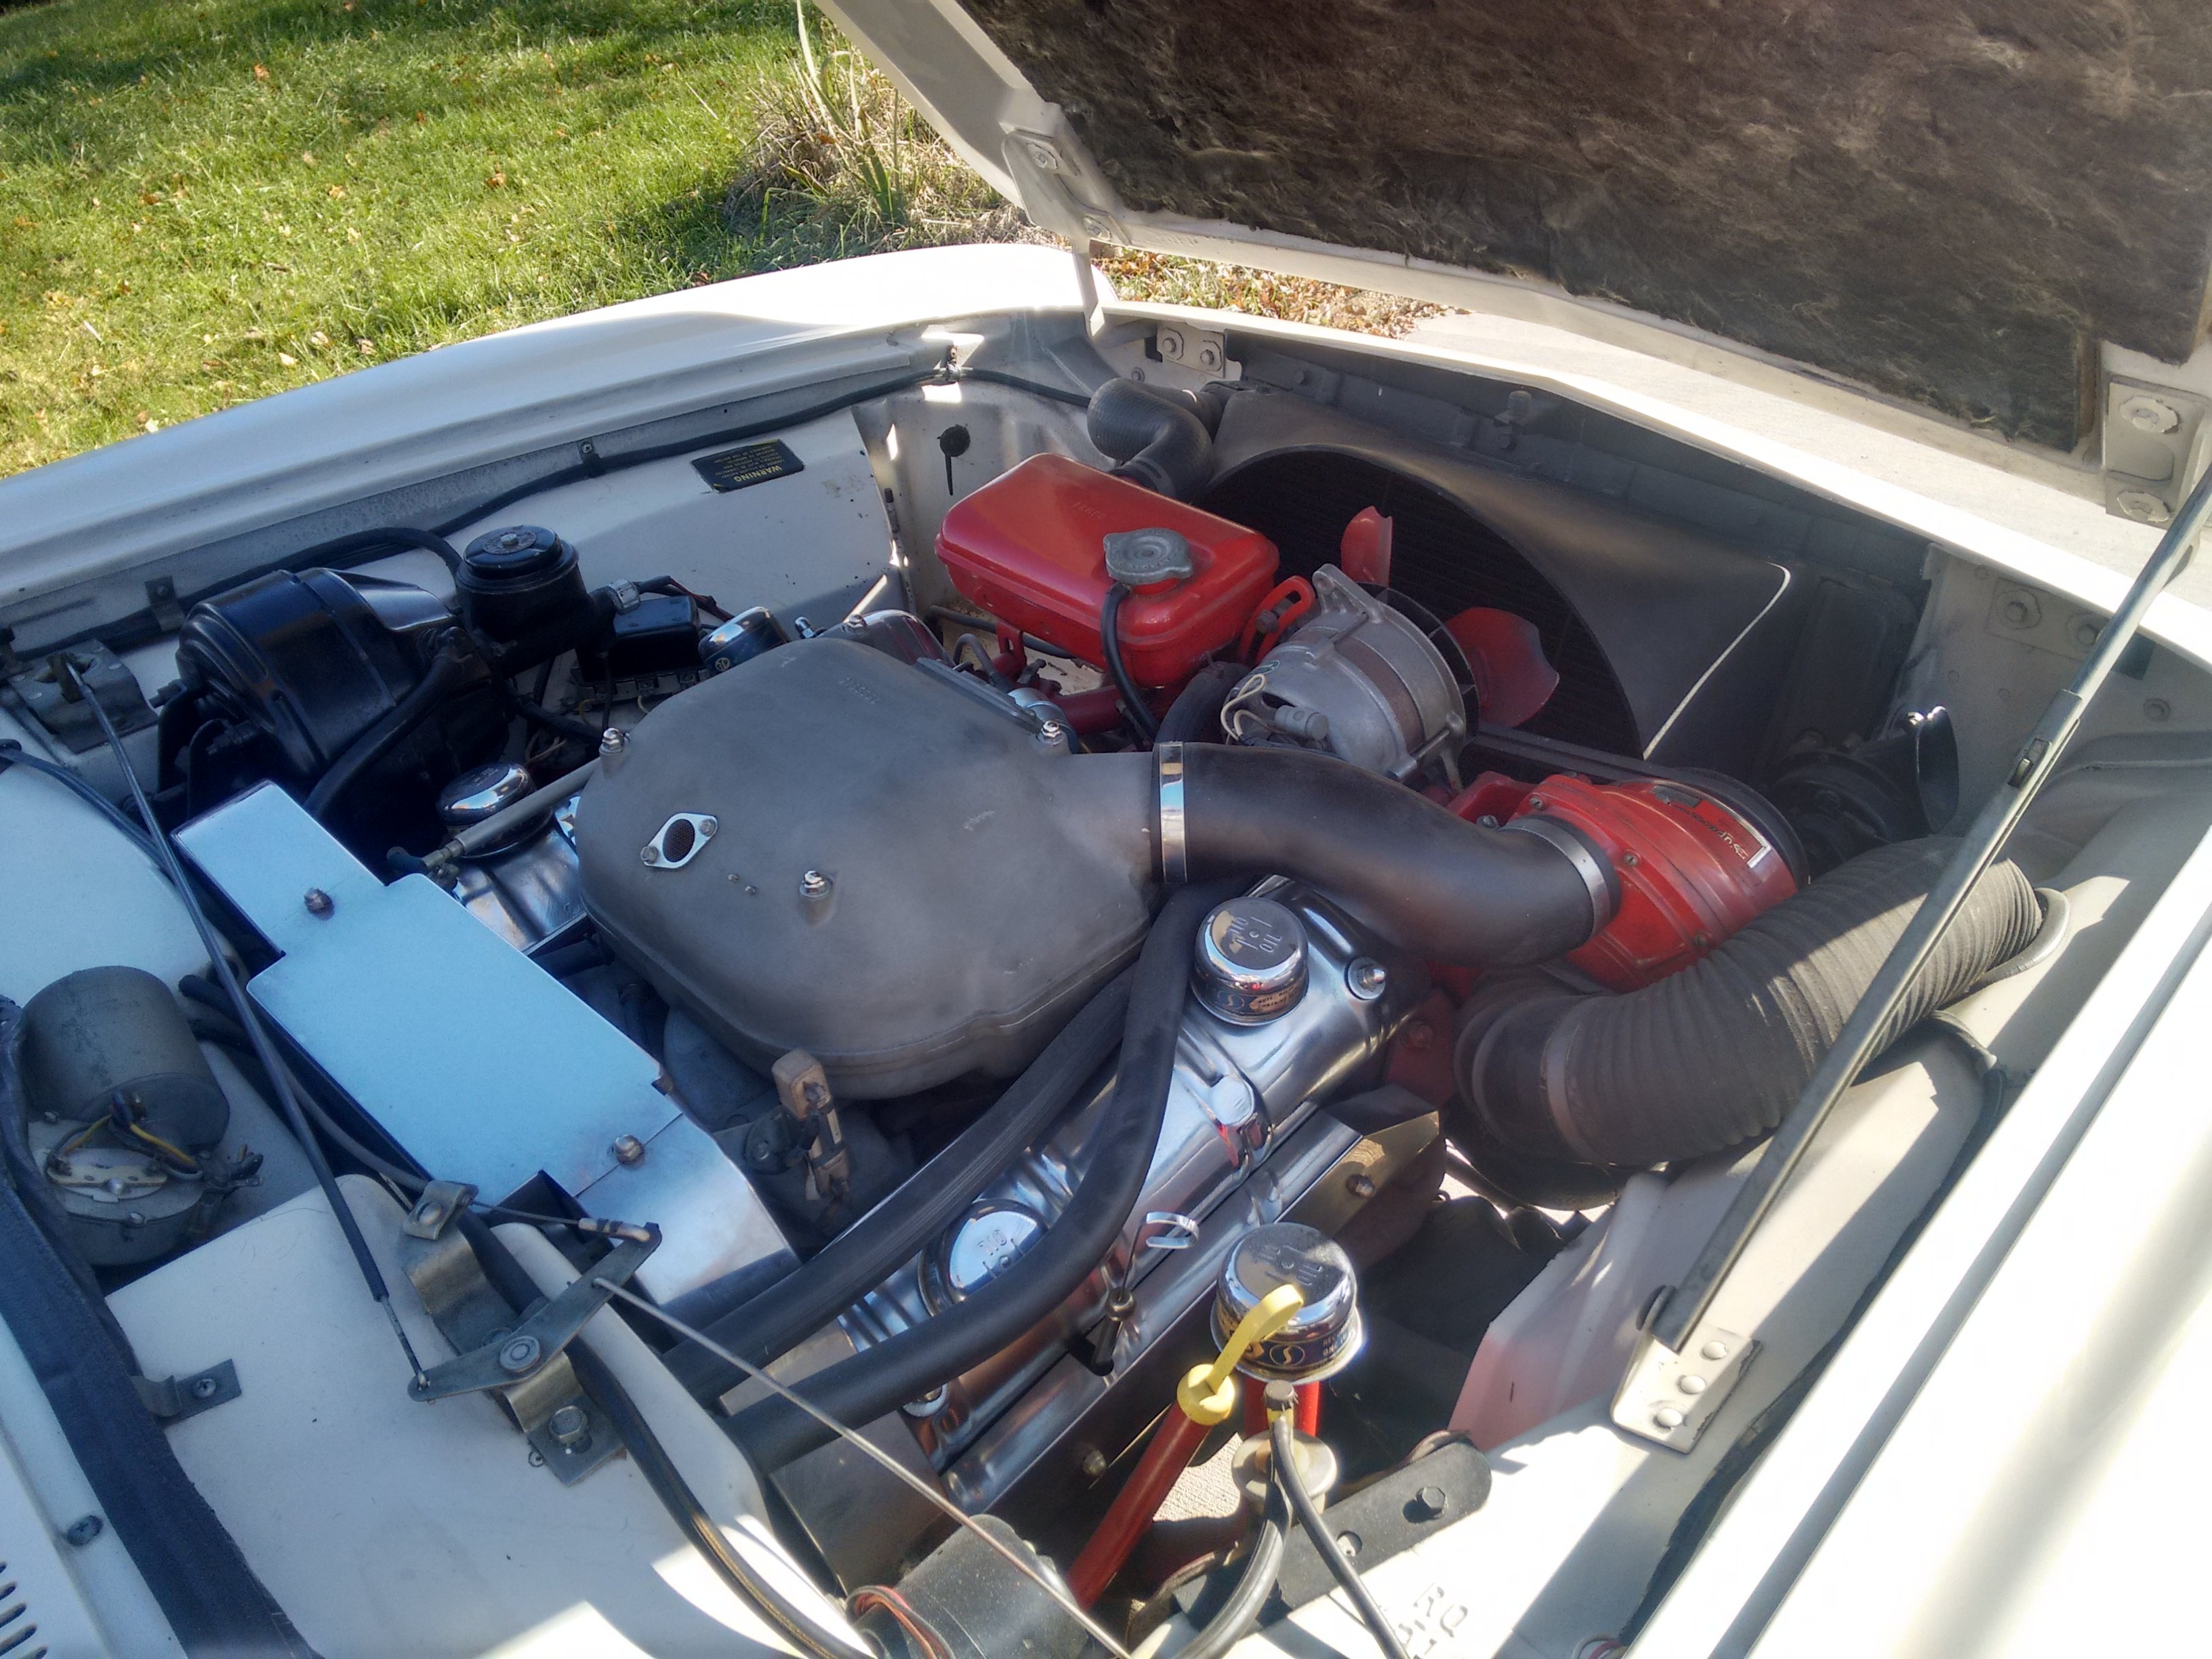
Cold air intake.
-
Usually, the rear track gets overlooked when replacing rollers. The clue is the crooked glass. Ther rear horizontal track that adjusts the "tilt" also has a nylon roller but is captured by the track holding nuts from easily replacing that roller. You generally have to remove the track and grind one of the nuts for clearance to slide the old roller out. Note that the track hold-down bolt holes are slotted for the tilt adjustment of the window.
You can try adjusting the tilt by loosening the bolts, and lift the track and retighten the bolts. Up on the track lifts the rear of the glass and down on the track, lowers the back .
-
It looks like it has the smaller fan to me.

-
22 hours ago, pantera928 said:
I just put in those LEDs from Superbright and so far, they aren't any brighter. Maybe worse. I do like the red color though
Did you use THIS bulb? don't use any other ones as they are not going to be bright enough. BA9s LED Bulb - 5 SMD LED Tower - BA9s Bulb | Super Bright LEDs
easy way to change instrument lights in 1964 R1?
in 1963-64 Avanti
Posted
They make Pulse width modulating LED dimmers... a very simple hookup. I've posted it several times here before.