


brad
-
Posts
1,045 -
Joined
-
Last visited
Content Type
Profiles
Forums
Events
Posts posted by brad
-
-
Ford called them Cruise-O-Matics. The front pump and tail shaft seals are exclusive to Studebaker. That is if you by a generic Borg Warner rebuild or seal kit, those two seals will have to be sourced separately.
-
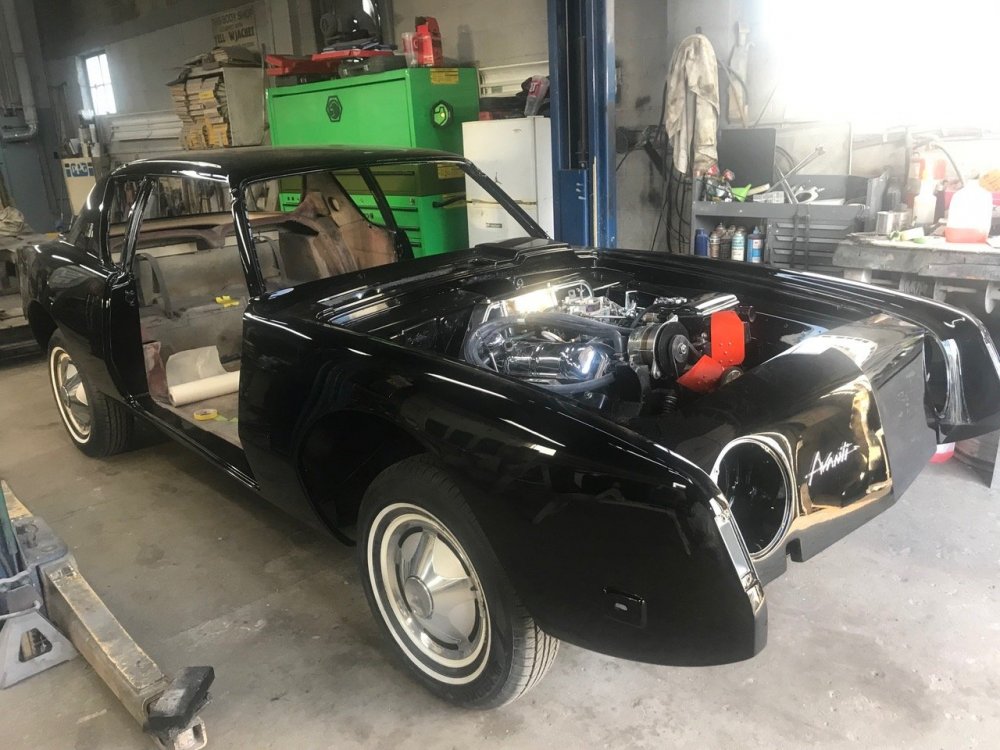
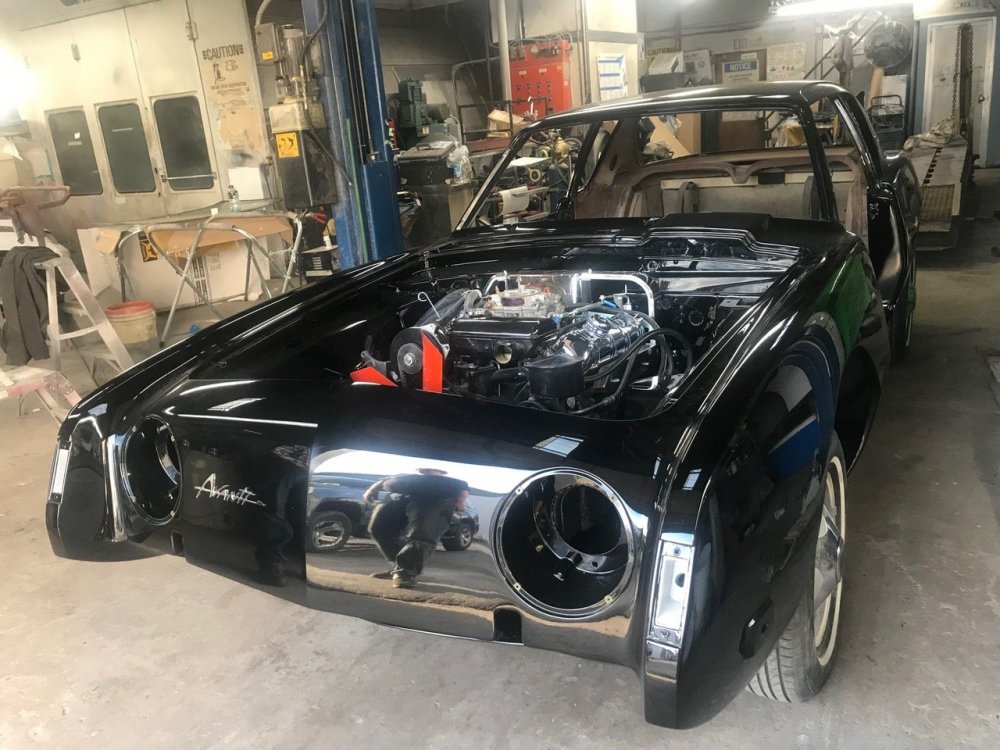
I used Sikkens single stage urethane. (meaning not clear coated). I never "bake" fiberglass cars. I do turn the booth temp to about 85 and let it run for about 4-5 hours. It's then ready for buffing the next day.
I have people in France, and Switzerland asking me to go there too! lol.
-
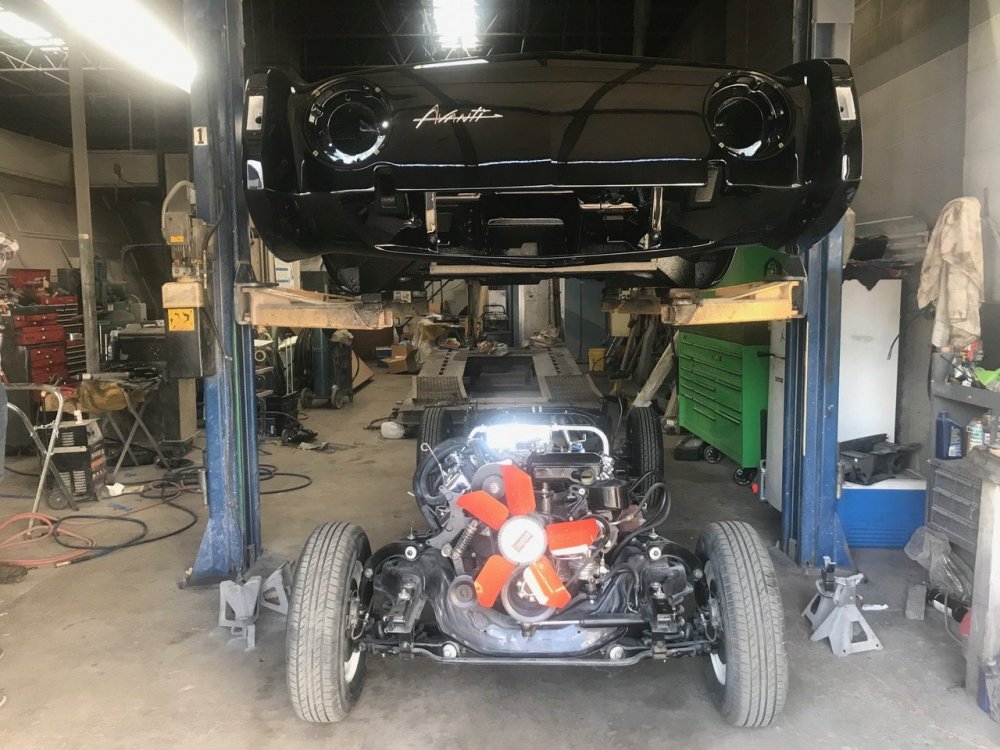
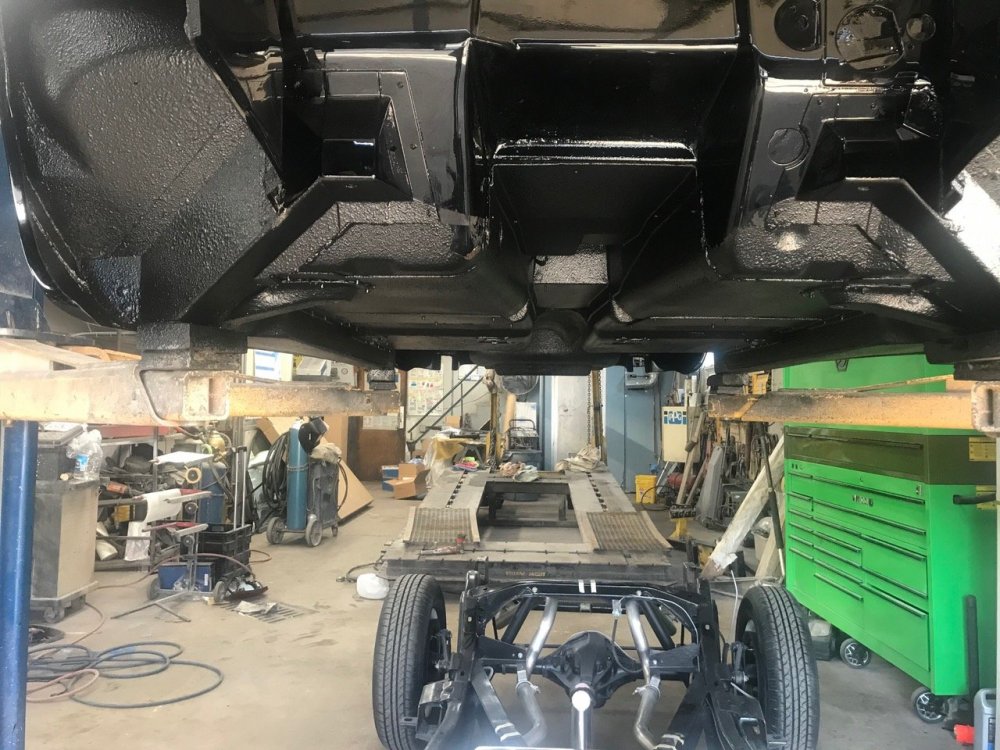
Got the Upol urethane bedliner applied as undercoating today. The got the body mounted back on the frame.
-
See my reply on the SDC forum. Beware of moving the arms to take care of a parking problem. You may end up with the wipers traveling across the cowl.
-
From what I was told, It has to do with slipping of the drive element without a load on it.
-
Sounds like you need to replace the nylon cancel cam on the switch. SI lists them. Also the metal ring that hits it on the back of the steering wheel, might be off. It is just held on by spring pressure, and can be moved if someone worked on the wheel in the past.
-
Out of the booth, and now on to the color sanding and buffing. It layed down pretty good, but there's always some dirt, no matter how careful. Then some urethane undercoating, and back on the frame. Black interior too.
Lew...Help, where did my pics go???
-
Actually the Buick column was shorter. I still think the universal Flaming River columns in paintable steel is the closest option. You can order them in different lengths, and transferring the bracket is then a simple matter. Also to be taken into consideration is the "bell" on the column. Not all early GM tilts had the smaller area just below the steering wheel. So you would have to use a later Avanti II dash with the larger steering column notch, or modify that.
-
No, they are not in any way "exact" the length, and mounts are far different. The only thing the same is the tilt mechanism, and the turn signal switch system. Yes, they were both manufactured by Saginaw, but that is where the similarities stop. Lew recently purchased one from an early Buick Riviera. Again it is a Saginaw column, but in no way shape or form will it bolt right in.
-
Most likely Paxton also installed the optional electric fuel pump. Therefor it would need regulating
-
You are probably ?looking for bleeding the peacock under the surge tank. But he is technically correct.
-
Yes, be careful of the mechanism when you unbolt the motor! it is under heavy spring tension!
-
The original switches and wiring was something like 8 wires through the door. Later on there were only 2 wires on the motor and the switches were somewhat simplified. The early to mid 80s they used the more common and robust Chrysler motors . For switches and wiring I love the Nu-Relics Ford kits that are almost an exact match for the early Avanti ones. If you want the later look they also have that. They even have if you want them in the console or on the doors.
https://www.nu-relics.com/category-s/545.htm
https://www.nu-relics.com/product-p/217.htm
-
I searched Oreilys auto parts for an 85 Jeep Cherokee....not $400 how does $65 sound? Don't settle for some lame price because they're an "expert" .
-
You can check the tach head separately from the sending unit to find out which is not working. Connect a 9 volt transistor battery across the tach terminals. If the meter is good, it will deflect fully.
-
I call B.S. it's Happy Holidays!
-
The kit Studebaker vendors supply consists of :
1 snap ring
2 retainer under the snap ring
3 rubber square scraper "O-ring"
4 plastic spacer under that
5 the main lip seal
6 an extra lip seal (unused)
7 a metal washer (also unused)
-
There is no "pointed tip" There is a tapered end on one side only, and that should be INWARD TOWARDS THE AXLE. The slot for the key in the axle also curves at it's end, and the curve of the key should correspond to the axle keyway . NEVER EVER EVER PUT THE KEY WITH THE CURVE FACING UP. Also there is no reason to install the key on the axle until you have the drum in place. THEN tap the key into the keyway with the taper TOWARDS the axle, and only flush with the end of the hub. The reason is that you want the taper of the hub to seat on the taper if the axle shaft. If you install the key first, you risk it riding up the end curve of the key slot in the axle before the hub is fully seated.
-
false, they give extra parts
-
Except for it will draw more current through the switch, which is already at it's limit. I would consider changing to LED bulbs to keep things from melting your switch or wires.
-
Many times it rears its head when the mounts get all worn out.
Make sure they are in good shape, and the transmission hasn't settled. Also make sure the spacer is under the drivers side mounting stud. If the trans has never been rebuilt previously use type F fluid. If it has been rebuilt then most likely it has the later replacement "paper" clutches, and requires Dexron. -
-
The reach rod is adjustable on the control valve to the belcrank. If that is off, or the Pittman arm (with the control valve assy.) Installed without the steering box centered on the 1/2 travel high spot, it will travel too far one direction. I think that is what happened. If you look very carefully, there is an alignment mark on both the Pittman arm, and the splined shaft of the steering box. Line up the marks with the box at the 1/2 travel and you should be good to go.
-
As an aside, the last versions of the ball-drive superchargers (sn-93 and up), used a larger volume oil pump. The plunger is a larger diameter, (as well as the pump body). And is a good upgrade for the SN-60 blowers. Also, the bronze ball driver is much better than the aluminum ones.


Boxed Avanti!
in Avanti Trivia
Posted
Actually several prototypes had the Saginaw recirculating ball steering box. And some had frames with a tag riveted on that read Midland -Ross. So, technically there is more than one correct answer.