-
Posts
149 -
Joined
-
Last visited
Content Type
Profiles
Forums
Events
Everything posted by tanda62
-
My car is not on the road yet so not sure about the cooling. Right now I am in the middle of putting In a new wiring harness one wire at a time. Not my favorite job.
-
While I did not paint in the car, I have used POR-15 with a brush and been very happy with the results. My 53 Dodge truck flathead engine looks great after 6 years using POR-15. My Avanti engine came out real nice and will hopefully look as good in 6 years as my truck. Good luck and hope you find something that works for you. Tom
-
Nice install ronmanfredi! Thanks for the compliment mfg! Tom
-
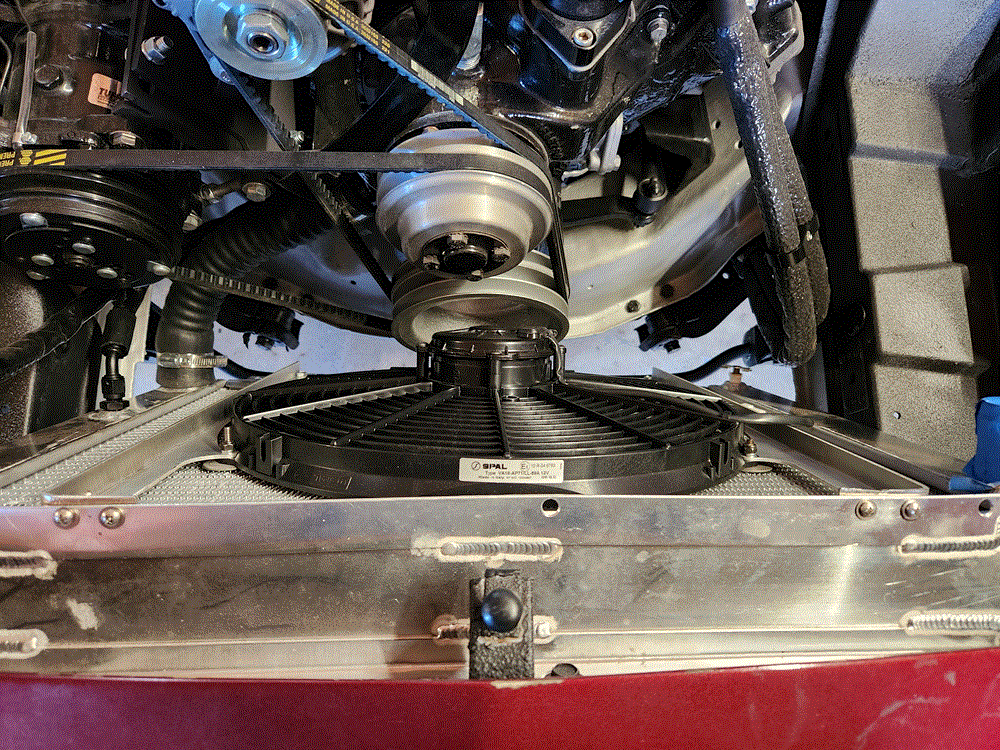
Installed my electric fan after doing some fabrication work. The fan is a Spal 30102049 16" High Performance Fan and the brackets are from Vivid Racing (https://www.vividracing.com/-p-151580481.html?gad_source=1&gclid=Cj0KCQiAm4WsBhCiARIsAEJIEzURgwM9W4Sbnl3ywYQ-k7V1u-H5Hlbx_pc9h3pc2_MGnjRKAy9CcgUaApMVEALw_wcB). The brackets are aluminum and had to be cut, bent and welded to fit the upper part of the aluminum radiator. All the hardware to bolt this up is stainless steel and the nuts are all nylon locking so hopefully it will stay together! Took a lot of looking around but this Spal fan clears the engine. I also got the relay kit and will connect this to my Sniper so it can control the fan. I also plan on installing the stock horseshoe shroud. When the time comes she should be a cool running Avanti. Tom
-
While restoring the headlight buckets on my 63 I scraped off some gasket material where the bucket comes in contact with the body. I cannot find any reference to a gasket and the parts book does not list one for the round headlight Avanti only for the square headlight. So I guess I need to make a gasket for this unless someone knows of a place that makes one for this location. Thanks, Tom
-
Here is an option I am considering: https://shopbraille.com/products/braille-g30-greenlite-lithium-battery At 6.4 pounds this really takes the stress off the fiberglass.
-
My issues, I believe, came from the bars being aftermarket. The one in the rear was just off enough in fit that I had to bend the tabs to make it work. The front however was so far off there was no way it could be installed without some serious bending which would have defeated the purpose of the bar. It may have just been a defective bar not sure. Since I have heavy duty springs, koni shocks, new bushings, etc. in the front I don't think the bar will make that much of a difference. Guess I will find out when I finish the project hopefully next year.
-
i installed the rear sway bar but the front bar would not fit unless it was bent quite severely so I am using the stock front bar. To install the rear bar I did have to bend the supports for the stabilizer bars to get the correct angle for it to line up and reinforce the welds - see the attached picture. I also am going with Koni shocks all around.
-
Here is a nice guide for LED lights that might help. https://www.superbrightleds.com/vehicle/?find=1963-studebaker-avanti-6664696
-
The valve you are using is the original style. The one I am using does not have a bend as you pointed out so I am using the molded bend in the hose to get to the engine compartment. Check out the tech article from Dan Booth, it does a nice job explaining the valve I am using. Yours looks nice and clean.
-
Thank you for the kind words. The hoses did come with a molded 90 degree bend. I got them from Avanti Parts, here is a link - https://avantiparts.biz/heater-hose-set-avanti/. Bob is great to deal with.
-
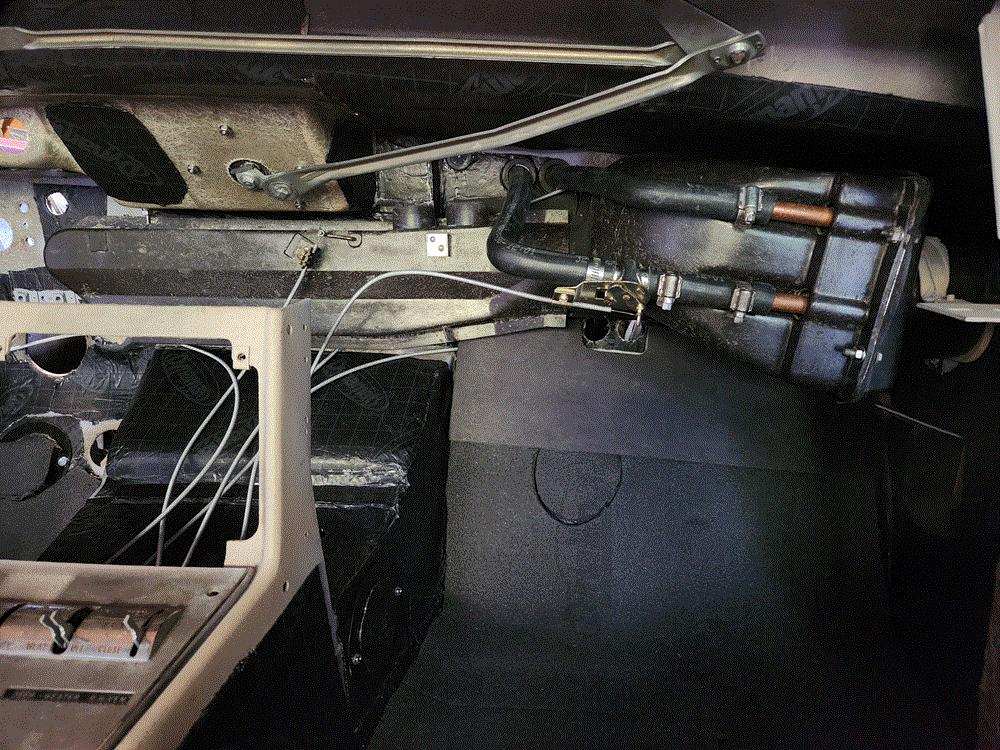
Got my heater box installed with a new core, hoses and valve. Amazing how much dirt and grime accumulated inside the box, took several cleanings to get everything. Making progress... Tom
-
The switch is a new one and came with the wires. There is a weatherproof rubberized coating over the wires so not sure how they are attached. Hope you are able to get yours attached.
-
Maybe try this one? https://instockmotorsports.com/omc-308165-ge-1445-small-red-bulb-nos/
-
Thanks for this information. I am going all led on my 63 and this is helpful. Tom
-
I do not have a source for the metal dome, luckily I have mine, hope you can locate one. As far as the bulb, I am changing all my lights to LED. While I have not ordered it yet, this is the bulb I plan to use for the shifter. https://www.superbrightleds.com/led-light-bulbs-universal-finder/miniature-and-subminiature-bulbs/ba9s-led-bulb-1-led-ba9s-retrofit-classic-car-bulb-ba9s-x-xvac-car+volts-12V~ACDC+color-Cool~6000K+packamt-Single Hope this helps, Tom
-
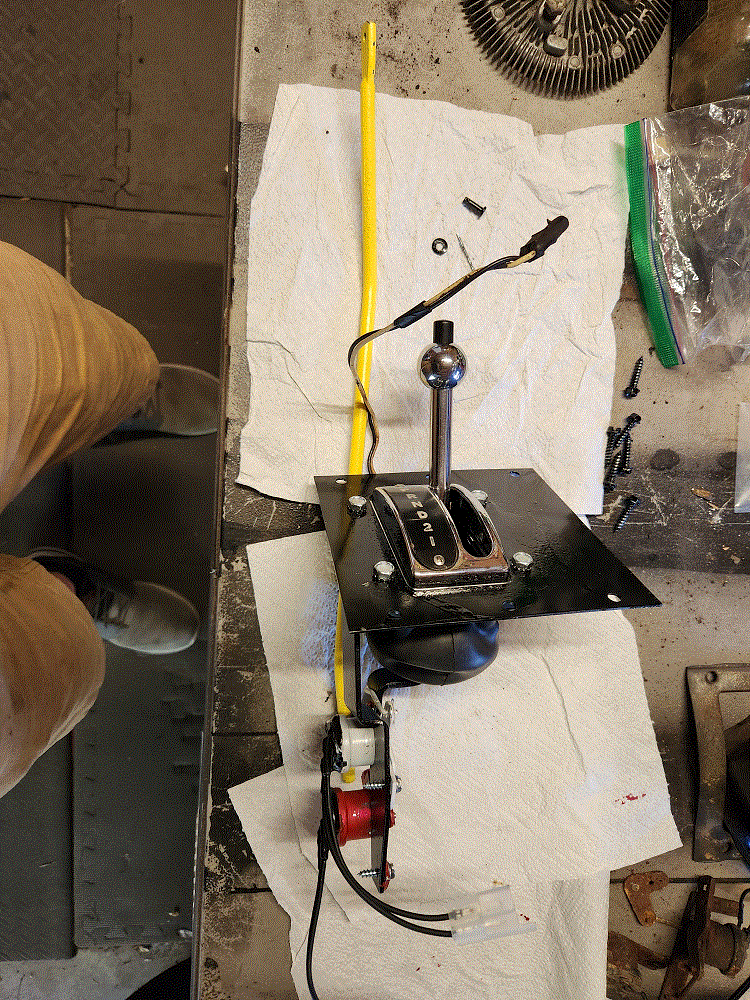
Got my shifter all painted and reassembled with some new parts and new rubber. I used high temp black paint and did the back up switch in white, the starter cut out in red for easy identification in the future. Also painted the shift rod yellow to make it easier to see under the car when it comes time to attach it to the transmission. All the new screws and bolts are stainless steel . Since all of the original studs broke during disassembly they have been replaced with stainless steel bolts. The cut outs in the cover that fits over this is large enough to accommodate the bolt heads which is nice. Another step closer...
-
Thank you for the measurement. The one I took out of the car matches the 19.5 inches you show and the one from SI is only 16.5 inches. Looks like I will be cleaning up the rod I took out and will be using it. Thanks again, Tom
-
I am in the process of rebuilding my automatic shifter and have run across an issue. The shift rod (part number 1557319) I received from Studebaker International is about 3 inches shorter than the rod that was in the car, please see attached picture. I looked in vain to find the proper length of this rod in the parts and workshop manuals along with a google search and search of this site. Does anyone know the proper length of this rod? Thanks for your help, Tom
-
Thank you for the great write up on the fan. I have a Holley Sniper EFI unit so I will compare how it controls the fan vs the Flex a lite unit. Thanks again, Tom
-
Very interesting article and nice drawings for the Avanti. Romanfredi - what fan did you install? I will be going the electric fan route myself and it looks like you found one that fits nicely. Thanks Tom
-
Agree with a thin coat of copper sealer.
-

Headlight high beam foot dimmer switch replacement
tanda62 replied to Mark L's topic in 1963-64 Avanti
There are two nuts on posts, one on top of the switch and one on bottom. They are small and you want to be careful with them. Use some penetrating spray to help. Replacement switches can be had from several vendors like avantiparts.biz. Hope this helps Tom -
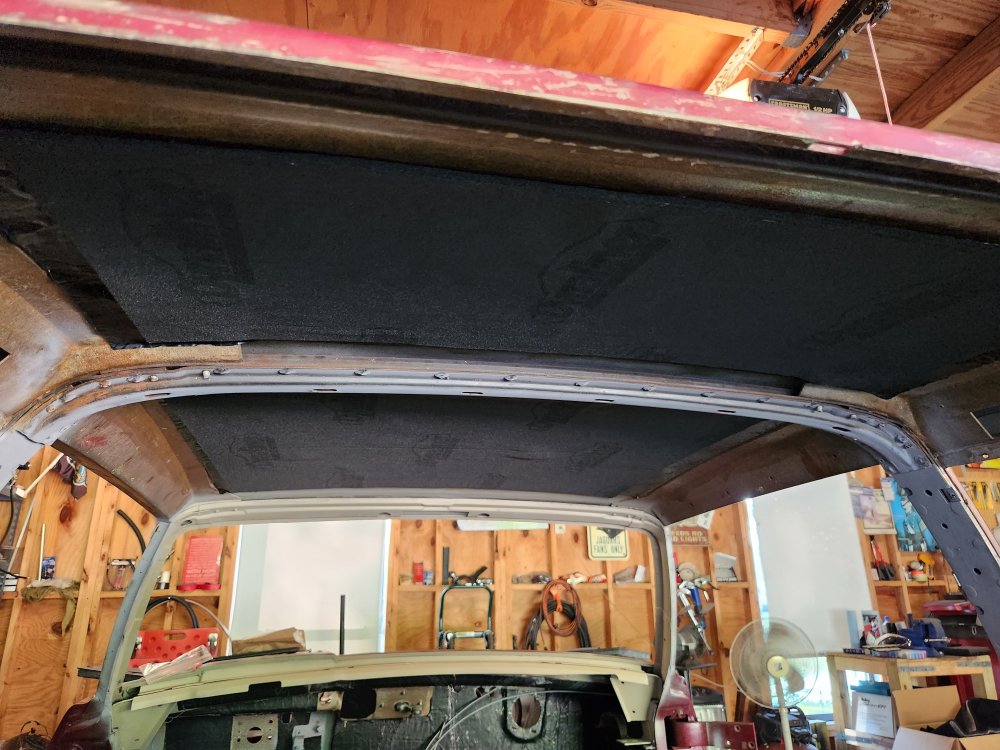
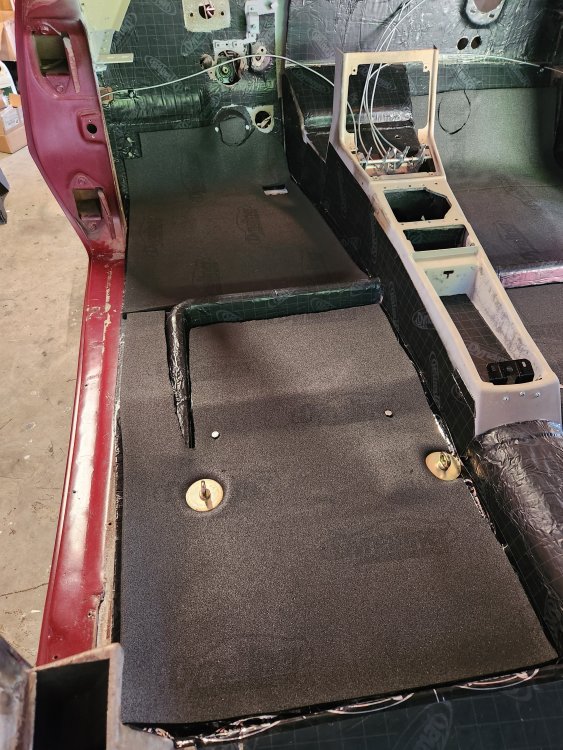
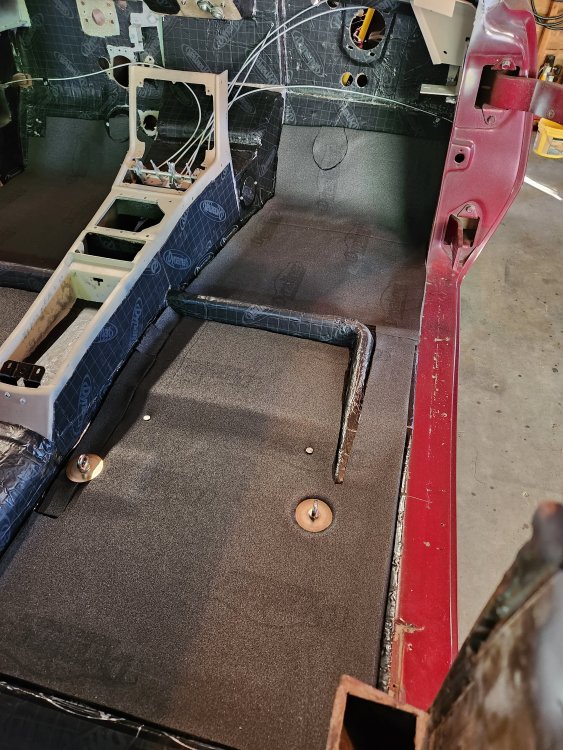
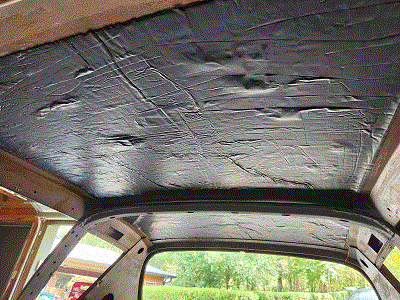
Part 2 of the insulation. This time dynaliner on the floors and roof. Dynaliner is specifically for heat.
-
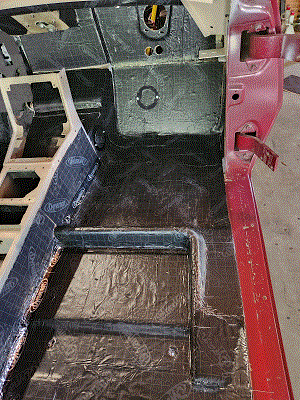
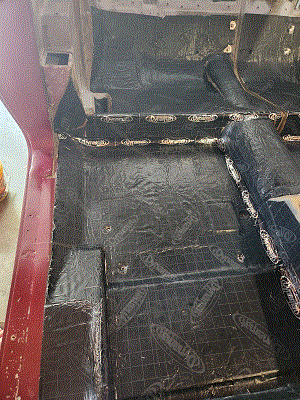
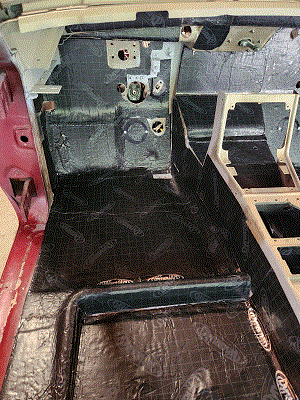
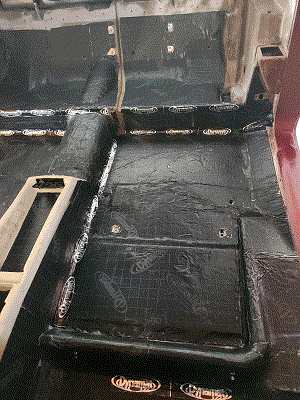
Finally finished installing the first layer of Dynamat. I plan on putting in some Dynaliner in on top of the Dynamat in the headliner area and the driver and passenger footwells and the firewall. The Dynamat is easy to cut but since I am not a professional getting the correct shape for an area was a challenge and a lot of patch work has been done. I hope this stuff helps to cut down on noise and heat as advertised. Tom


