ronmanfredi
-
Posts
412 -
Joined
-
Last visited
Everything posted by ronmanfredi
-
Doing this would eliminate the ability to service those.
-
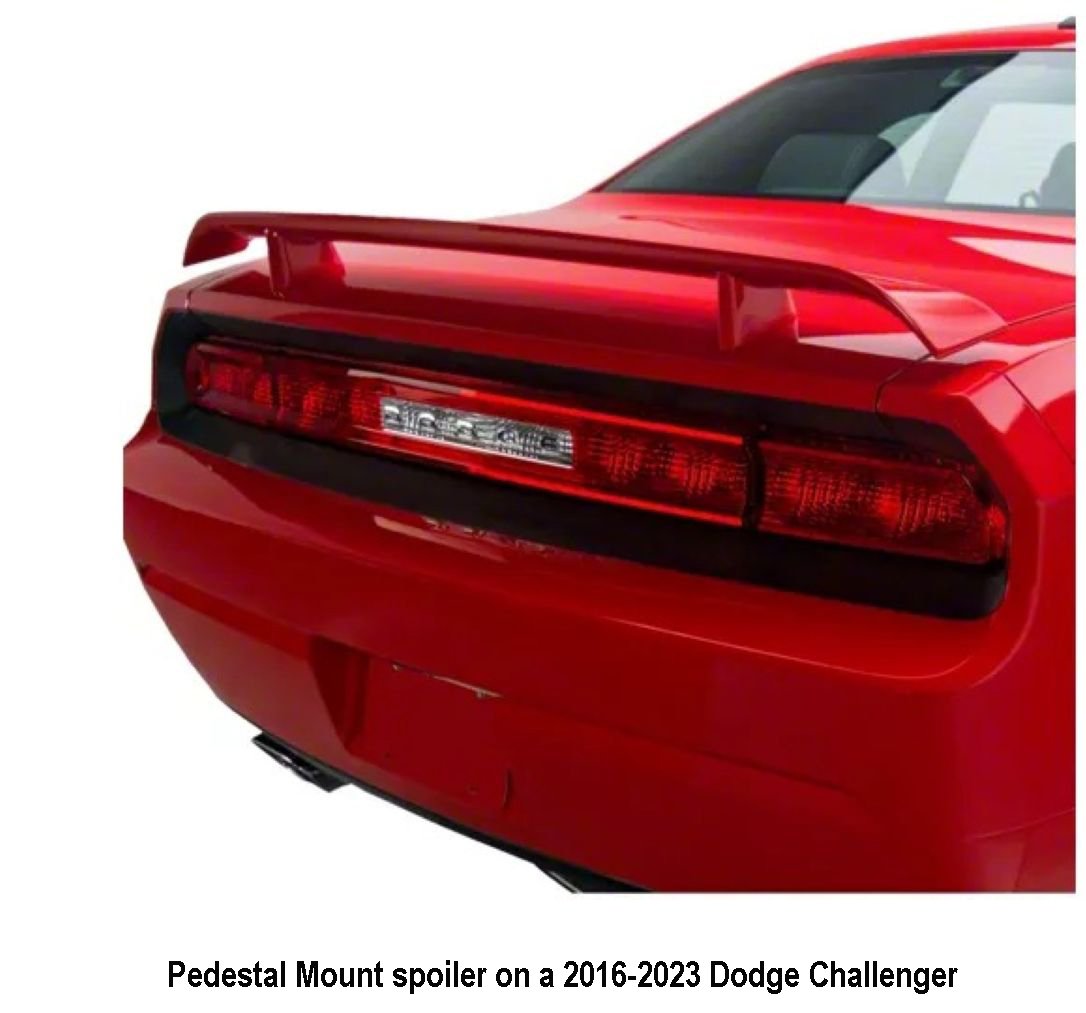
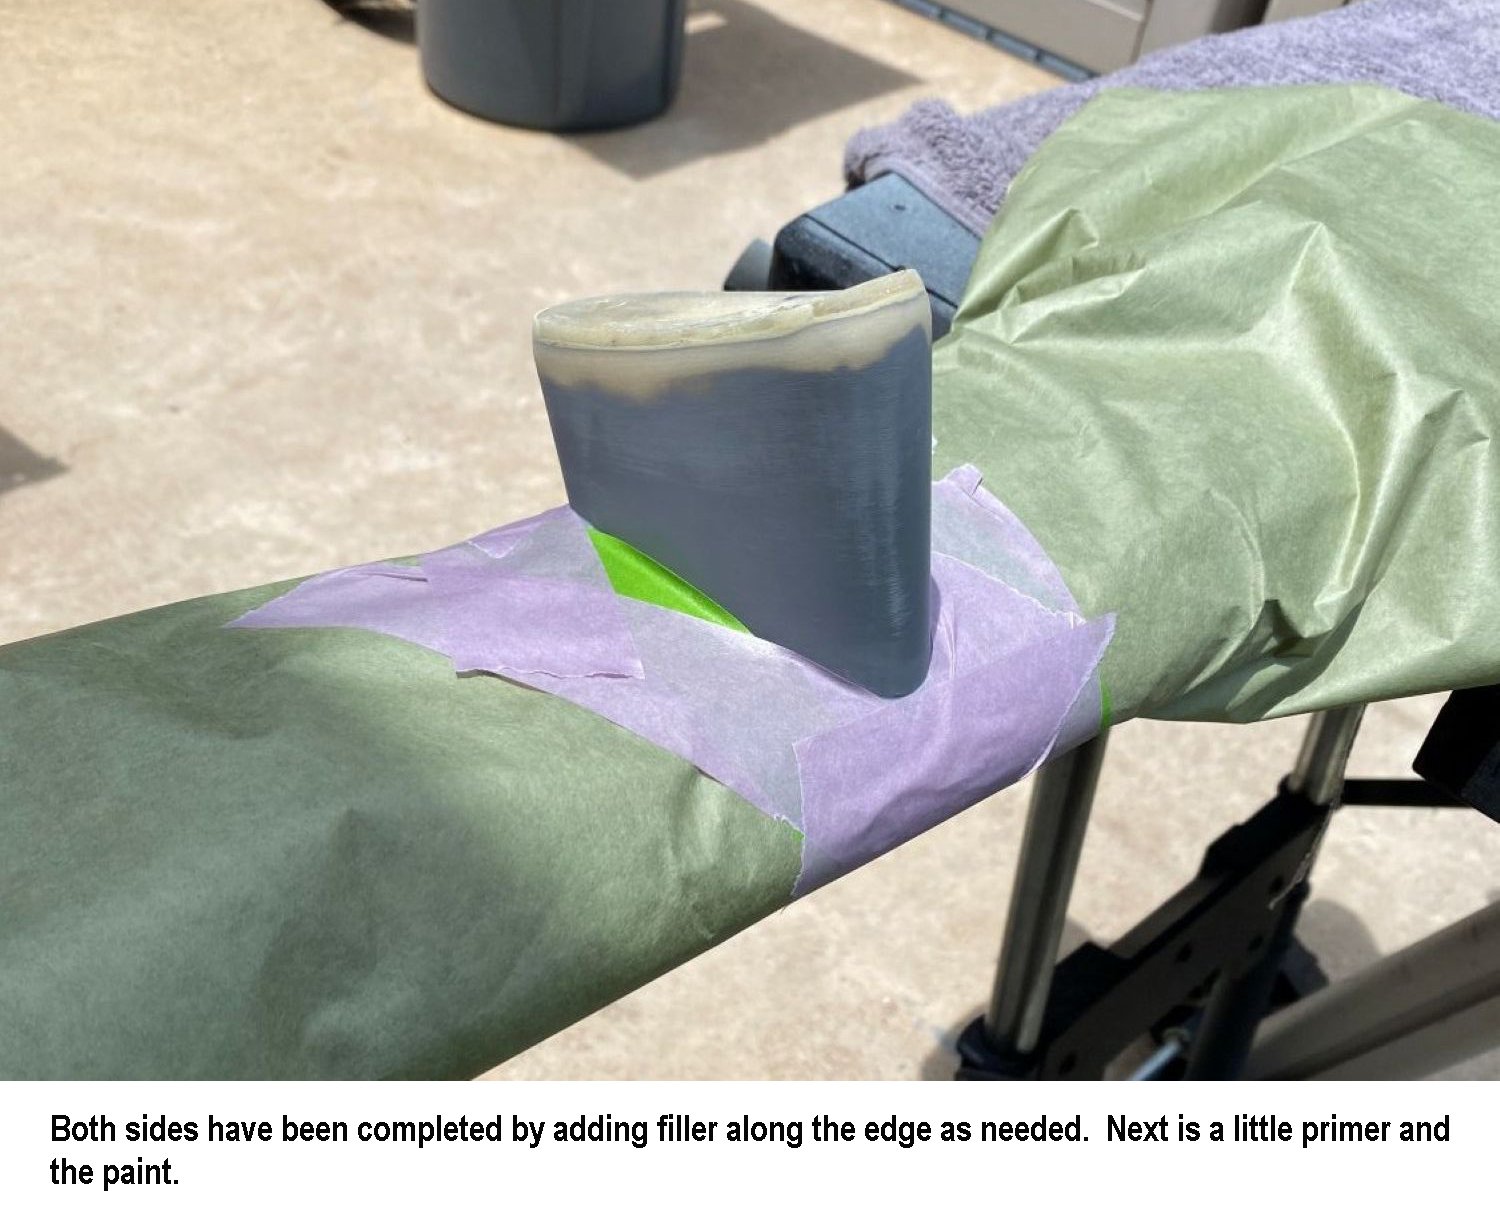
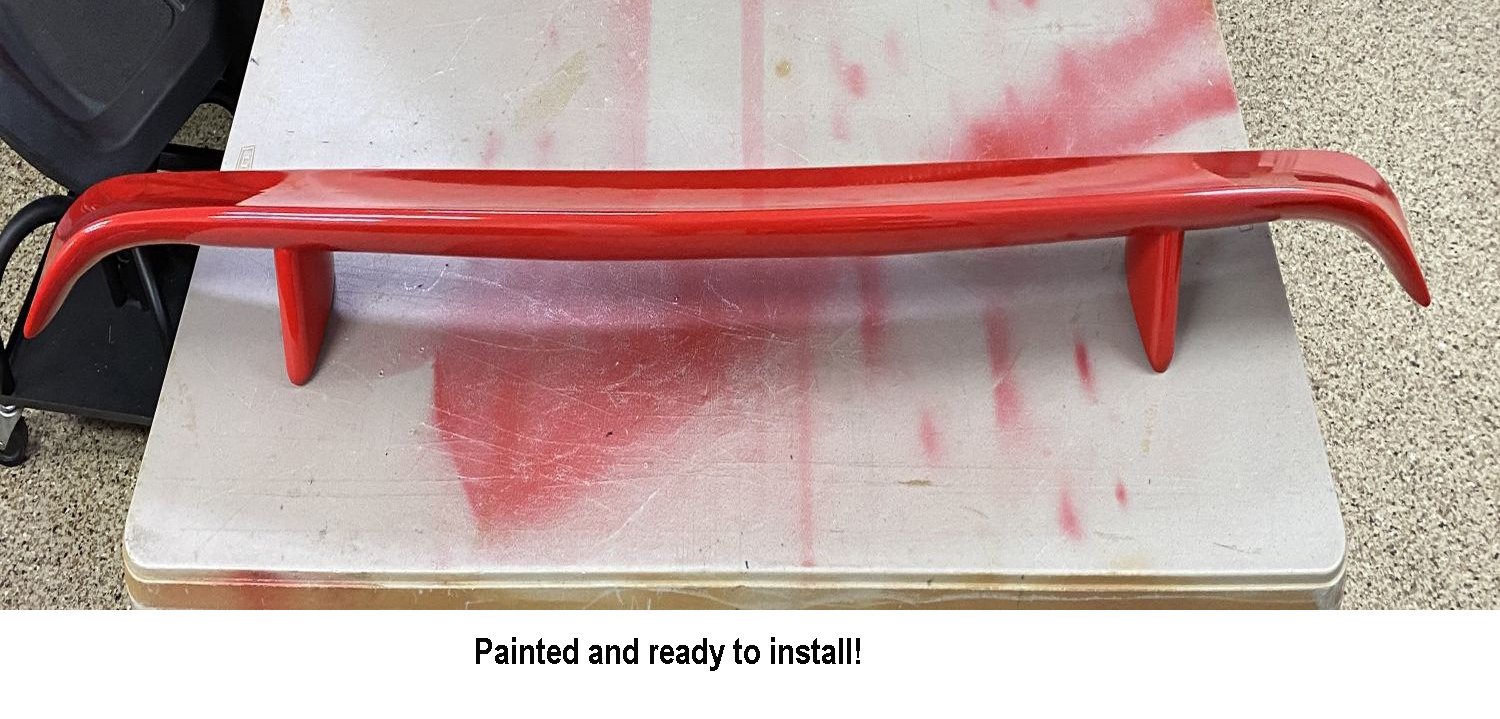
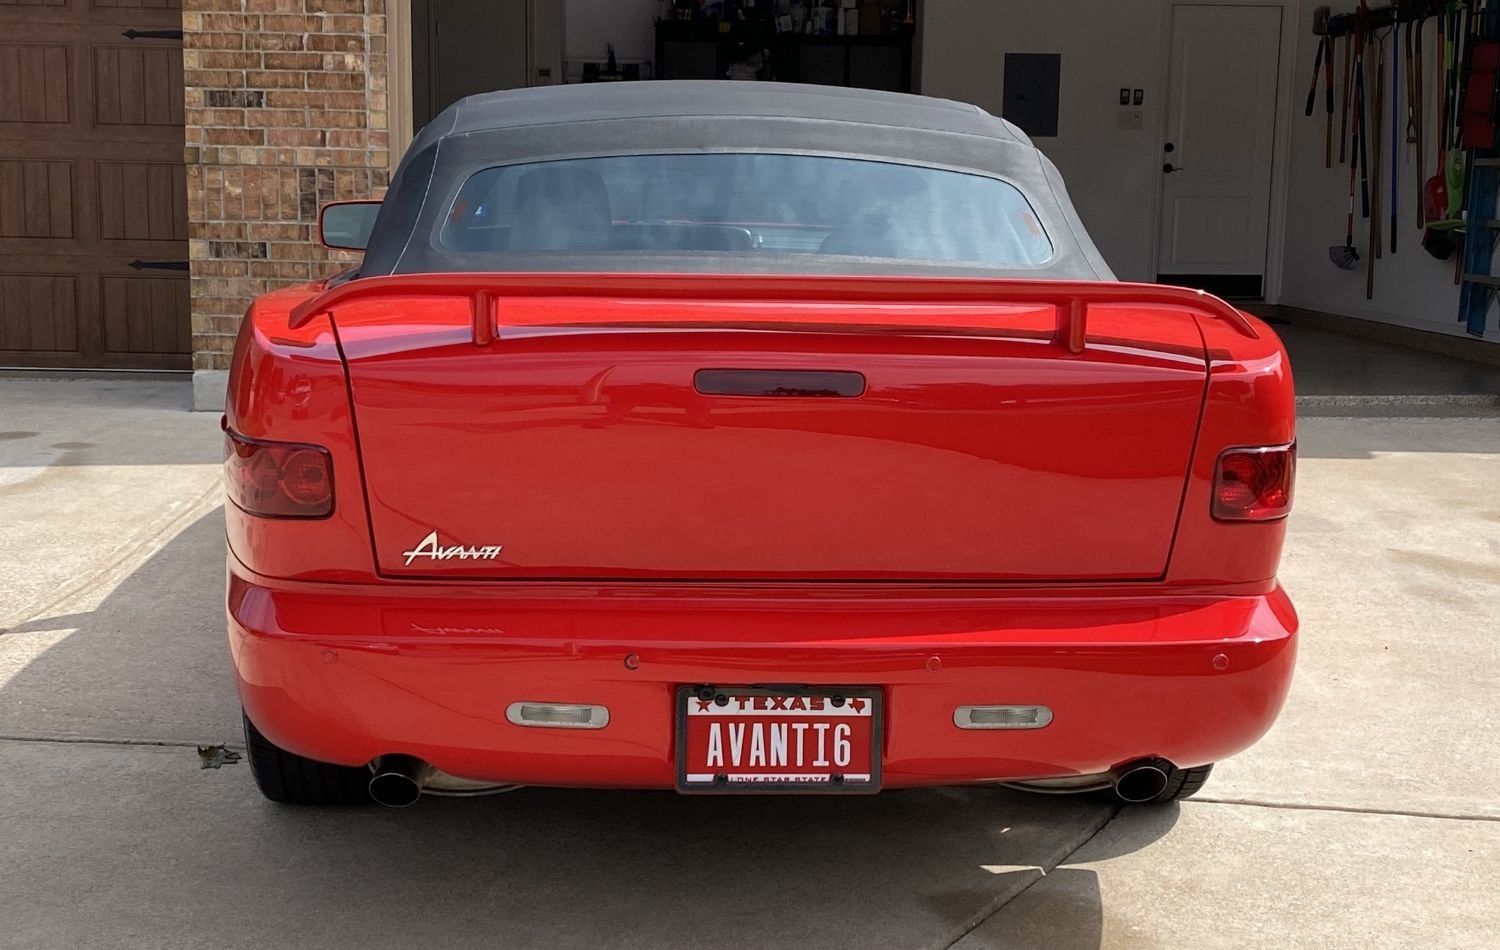
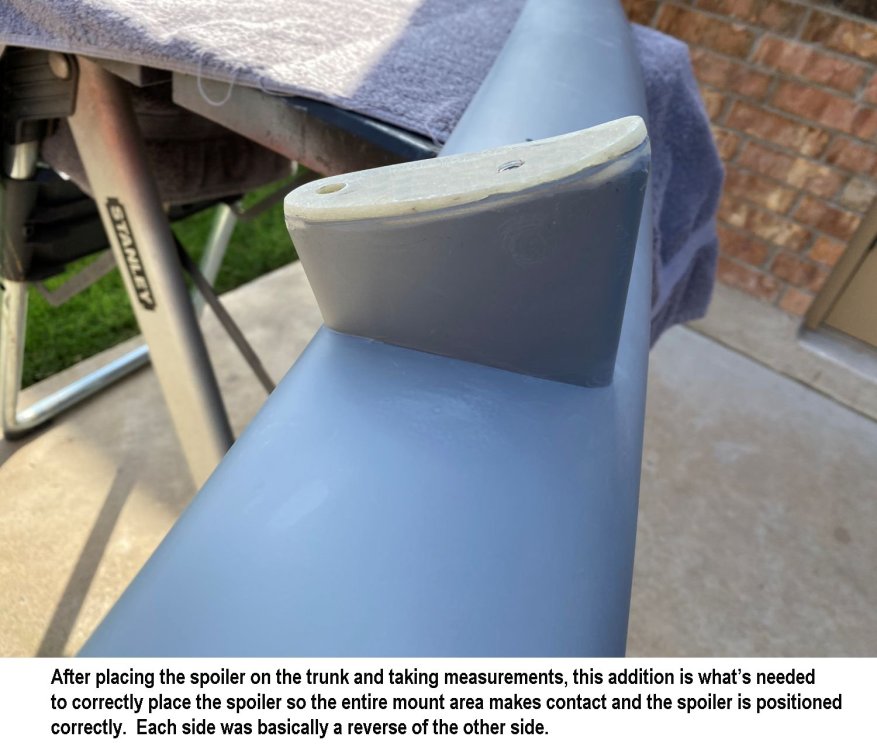
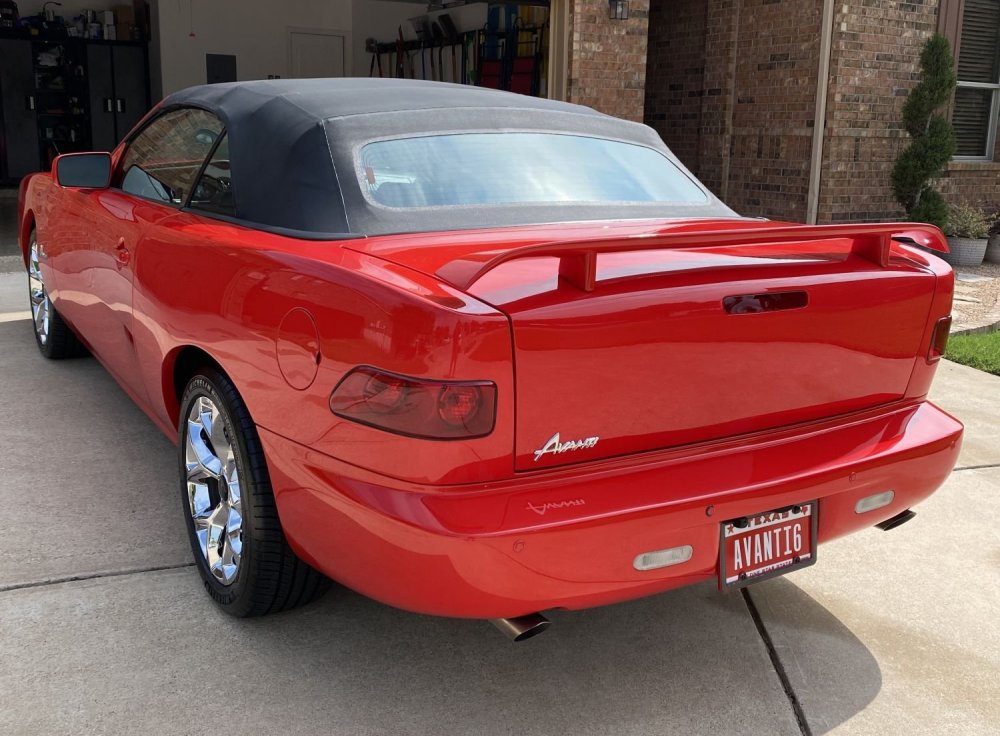
 At Mustang Week Texas just a few weeks ago, we won an award for our 2006 Avanti being there. The event also gave me the opportunity to see a lot of different options for the back of our car. The Avanti trunk and rear fenders are completely unique when compared to the same year Mustang but the ideas you can get from seeing all the custom designs were incredible. I now knew that I wanted to add a rear spoiler to the car and this would be #1 of 2 changes that I’m going to make to the back of the car. I also knew of the complexity of making a 1 off piece, so I wanted to find a premade fiberglass spoiler that I could modify to work with the multi curved trunk. I bought and returned a couple spoilers that just wouldn’t work. After returning the last one, we had a chance to go to a large monthly car show in the Austin area. As I looked at the back of many different model sports cars, I noticed one that had a back end which was about as flat as our car. The other thing that I noticed was that some of those cars had flat top mount spoilers, edge mounted flip up spoilers and pedestal mount spoilers. Flat and edge mount were out due to the arch at the top edge of the Avanti trunk, but the pedestal mount was promising. I took my iPhone tape measure app and measured our car and the car that looked like it might work and holy cow, the width was within 1/2” of each other. After eyeballing the fender angles and spoiler design, I knew I had the car. 2016-2023 Dodge Challenger! The next day, I located an aftermarket factory design Fiberglass spoiler that was primed and ready to paint, so I ordered it. Once arrived, it was time to decide where to mount it and how much modification it needed in order for it to mount correctly to the Avanti trunk. I basically had to add 1/8” to 1/4" of fiberglass to the edges of the mount of the spoiler so it matched the curvature of the trunk and so that the edge of the side of the spoiler was gapped to the fender correctly. Here it is:


-
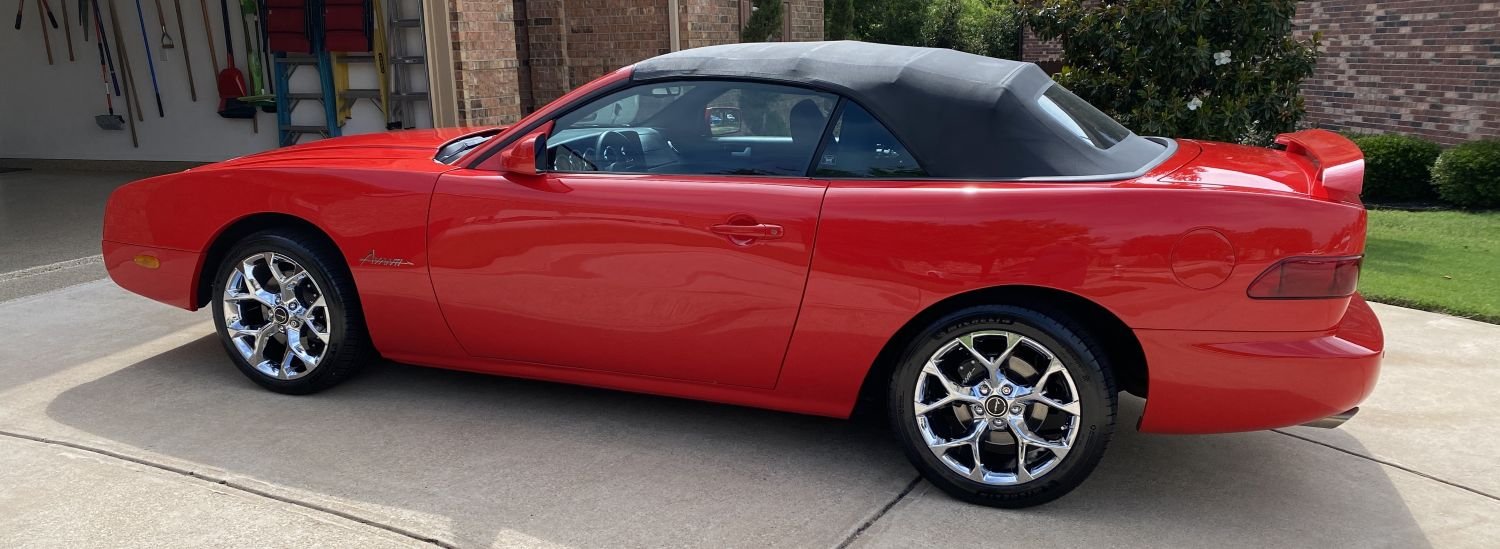
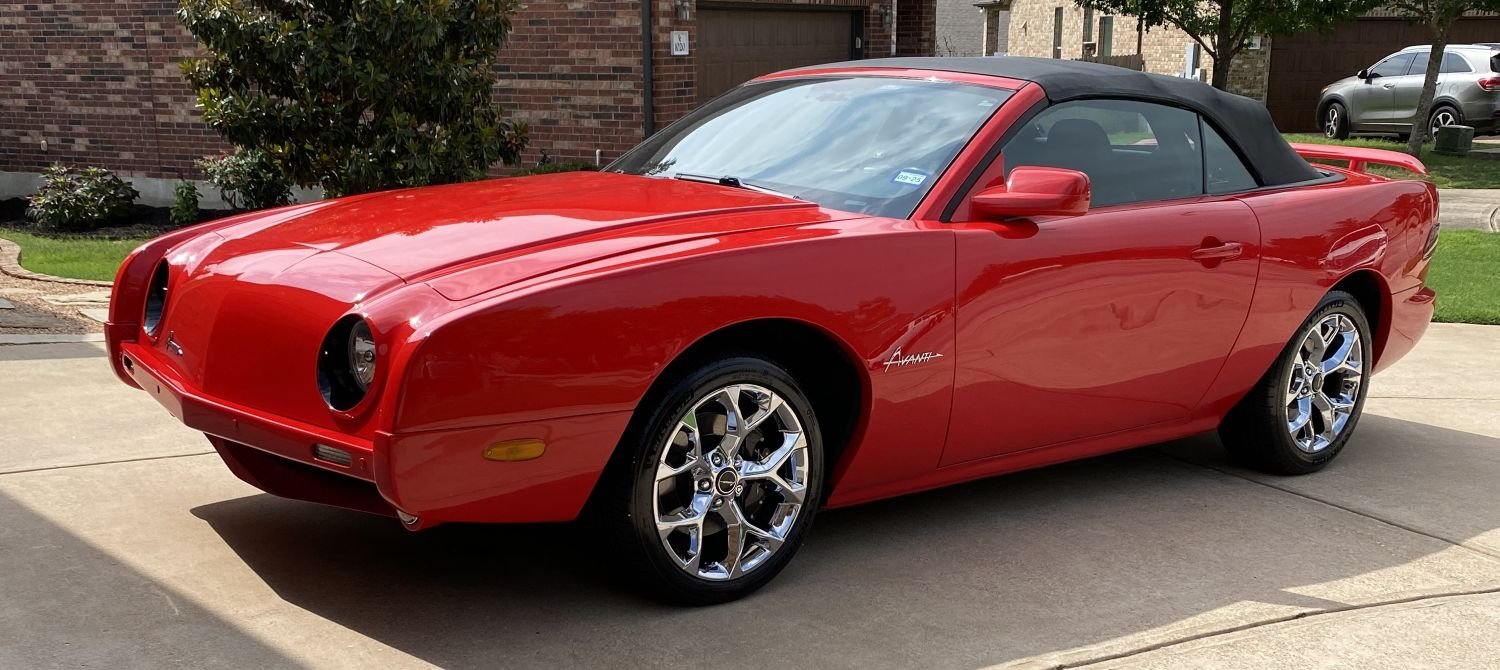
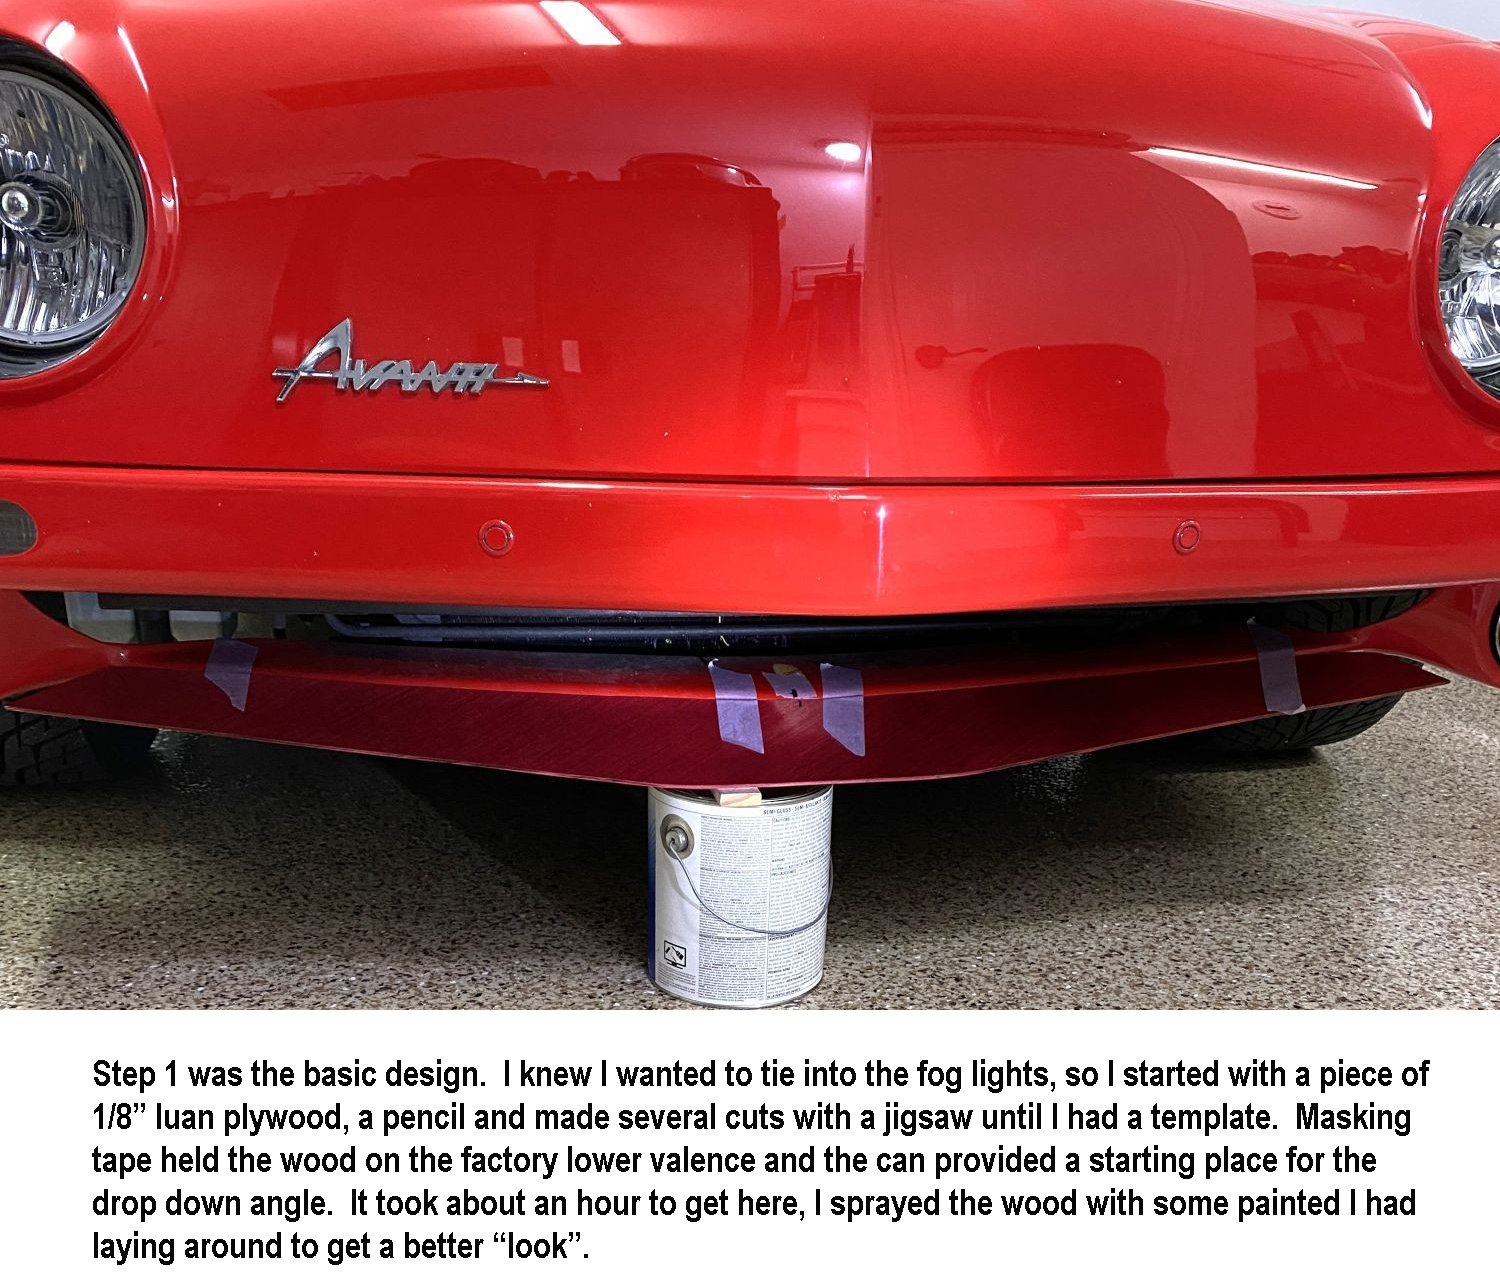
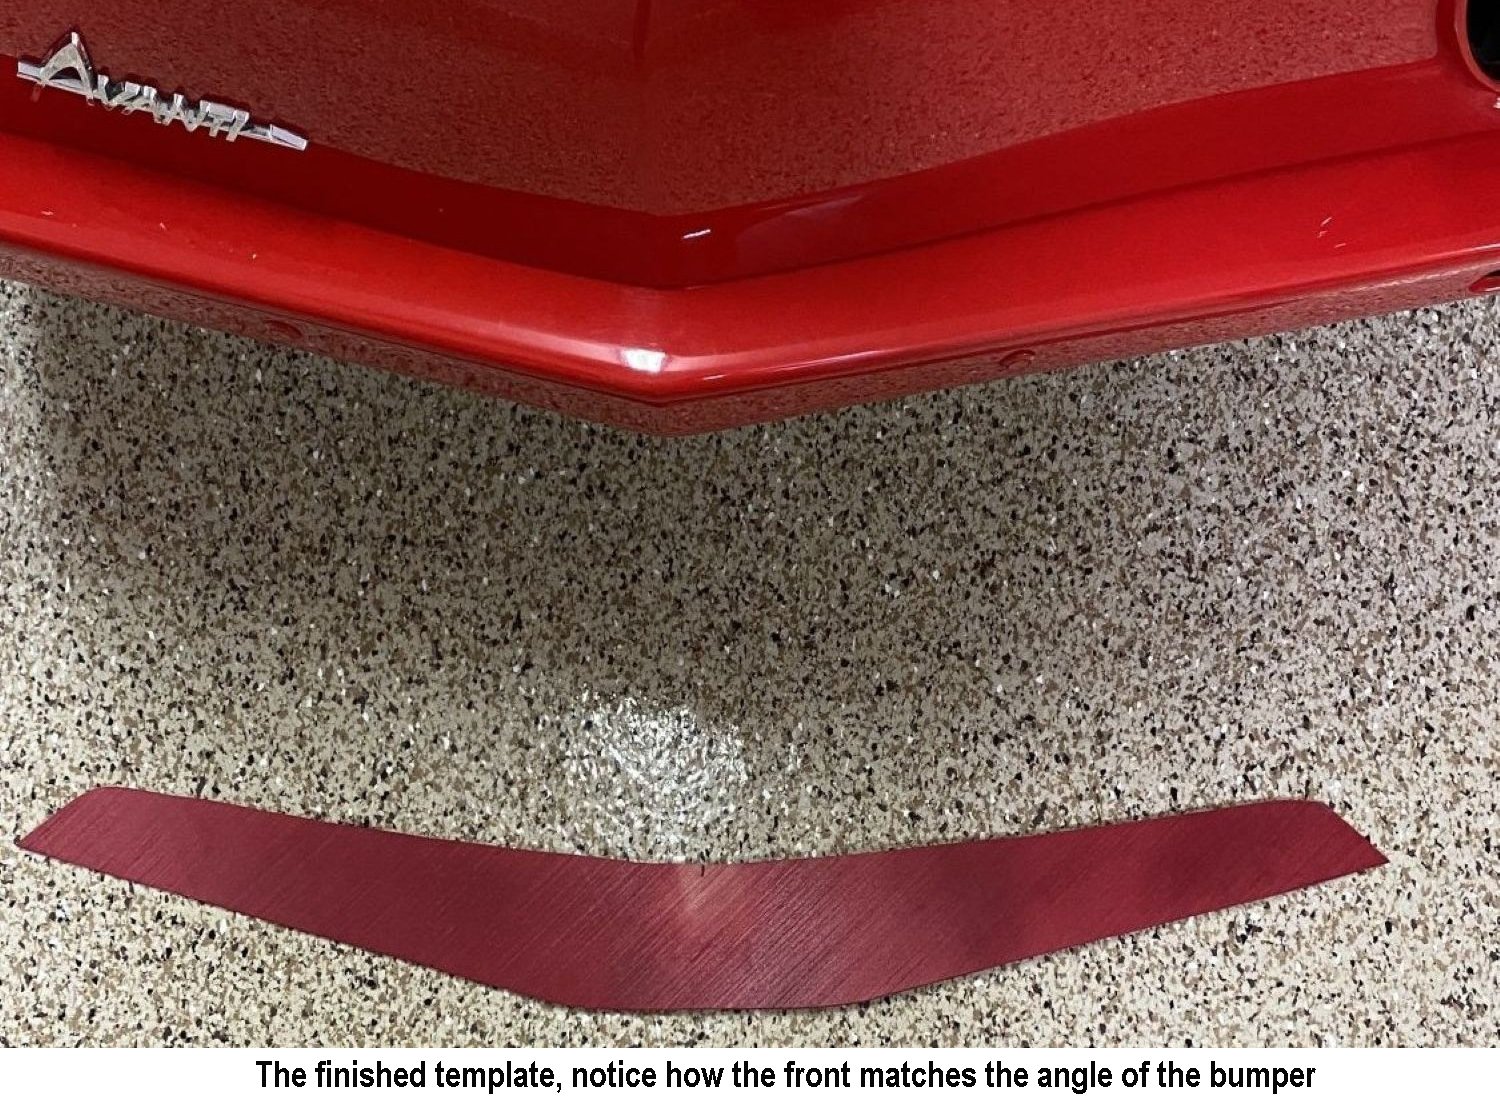
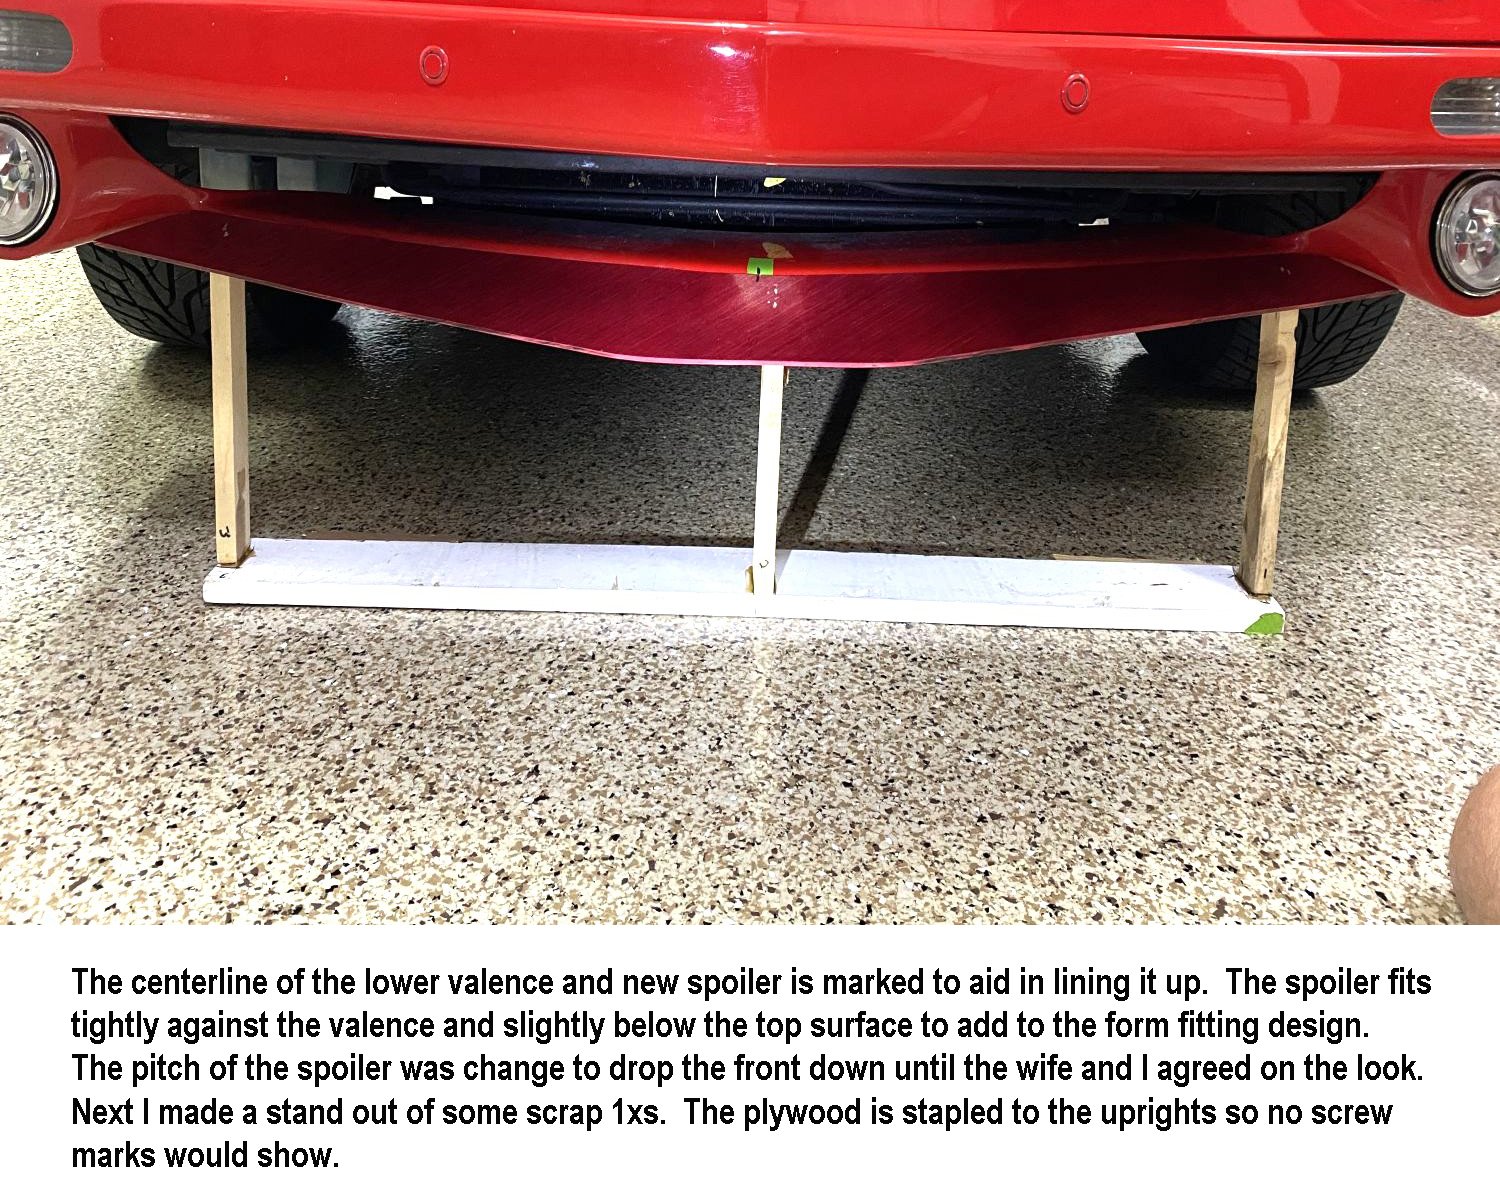
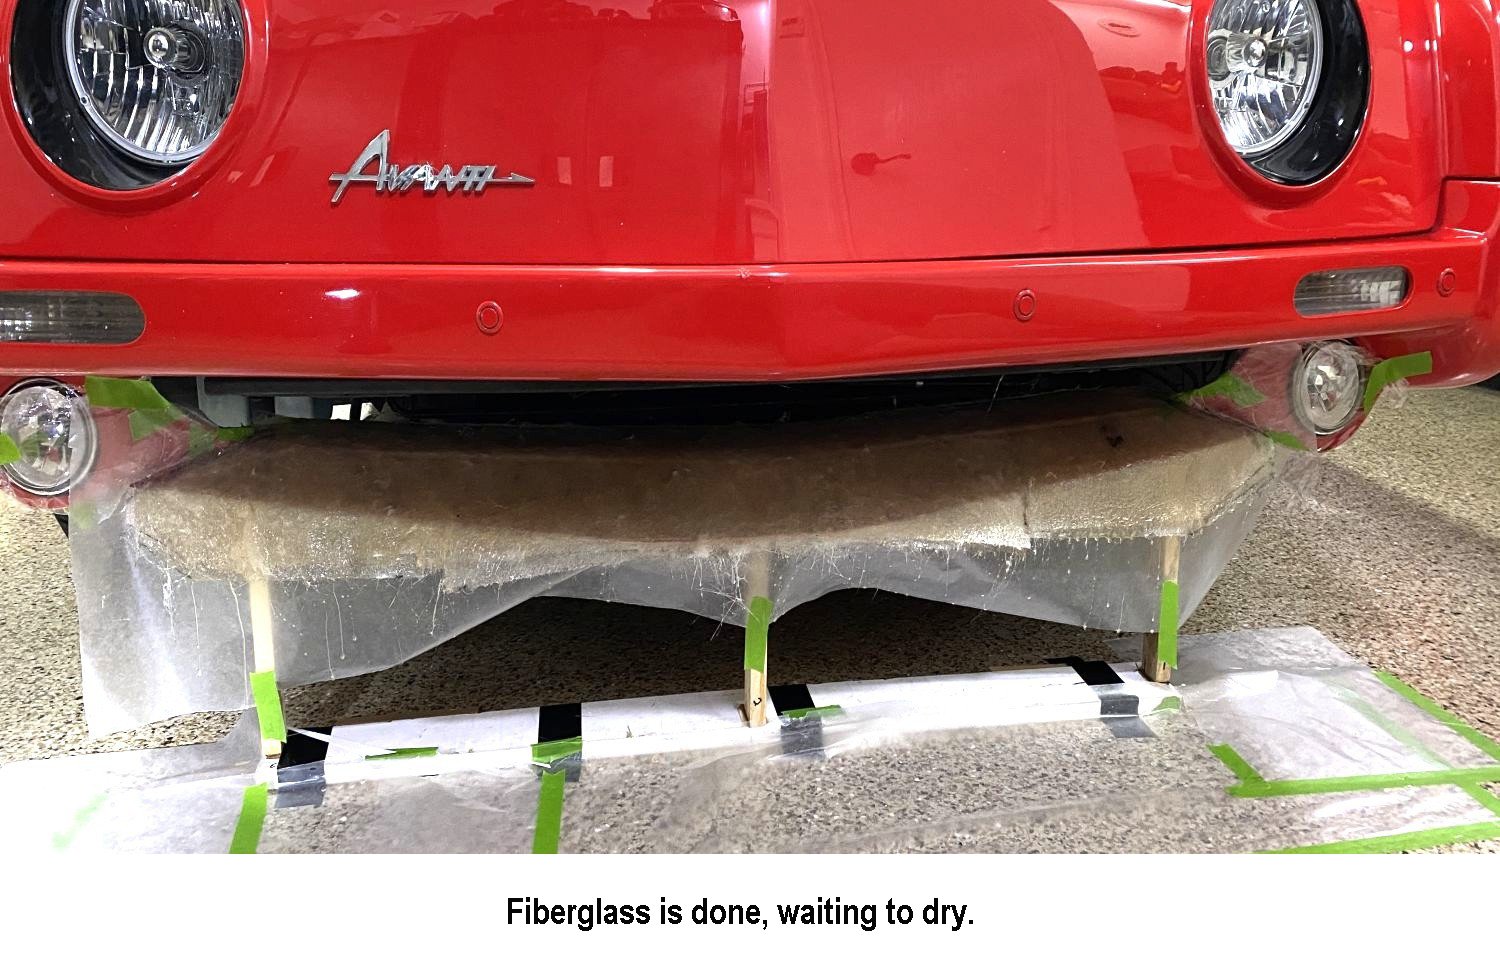
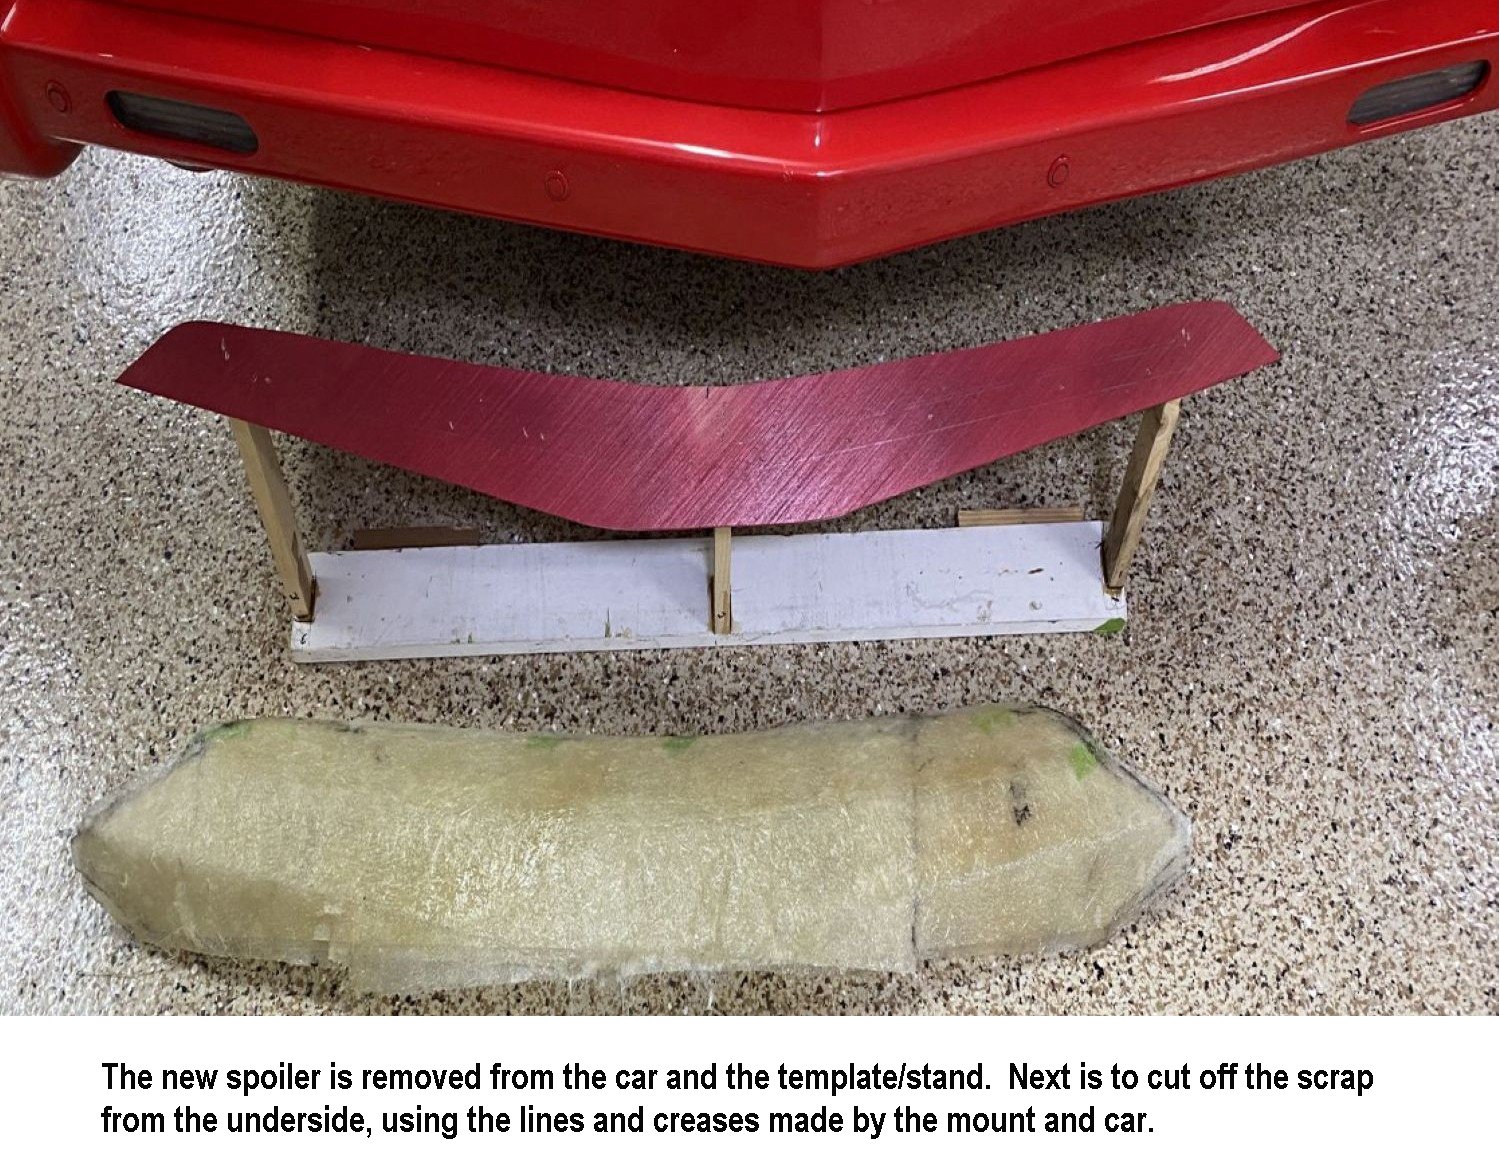
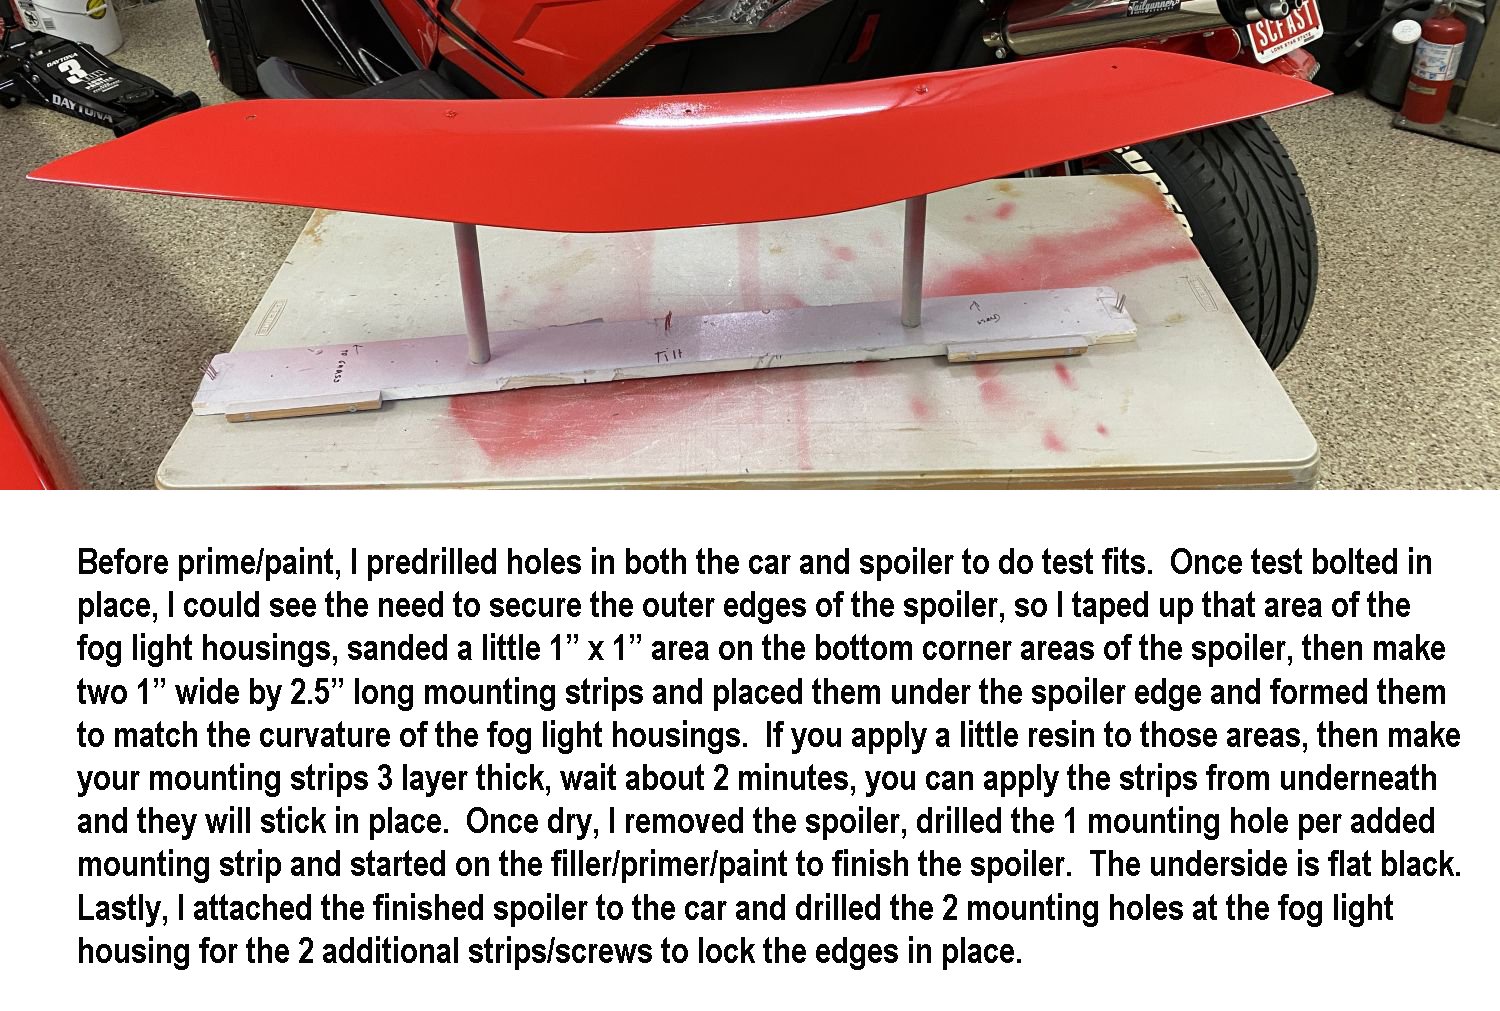
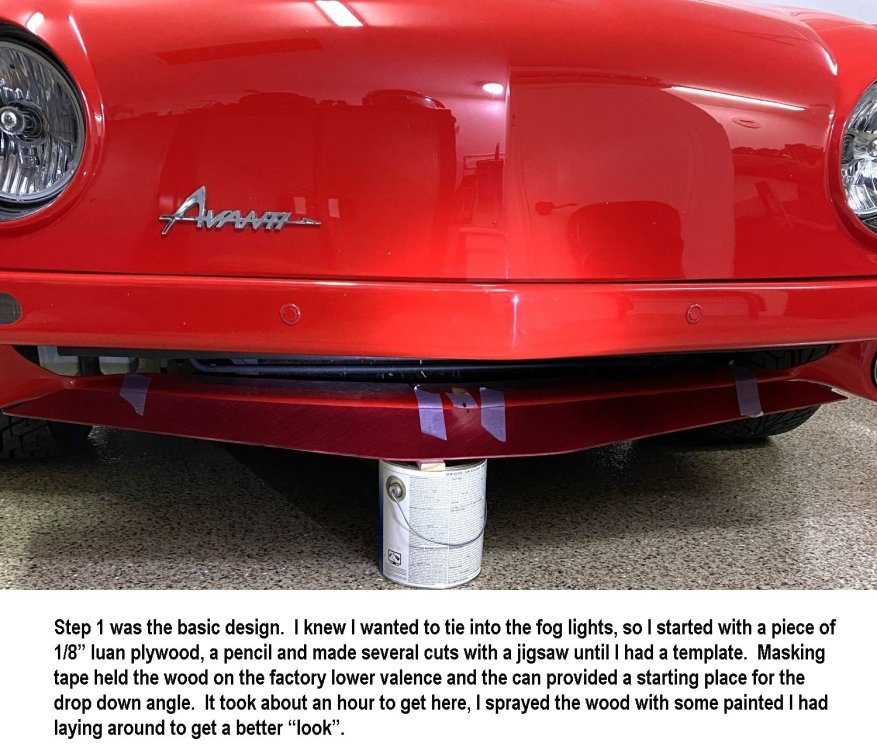
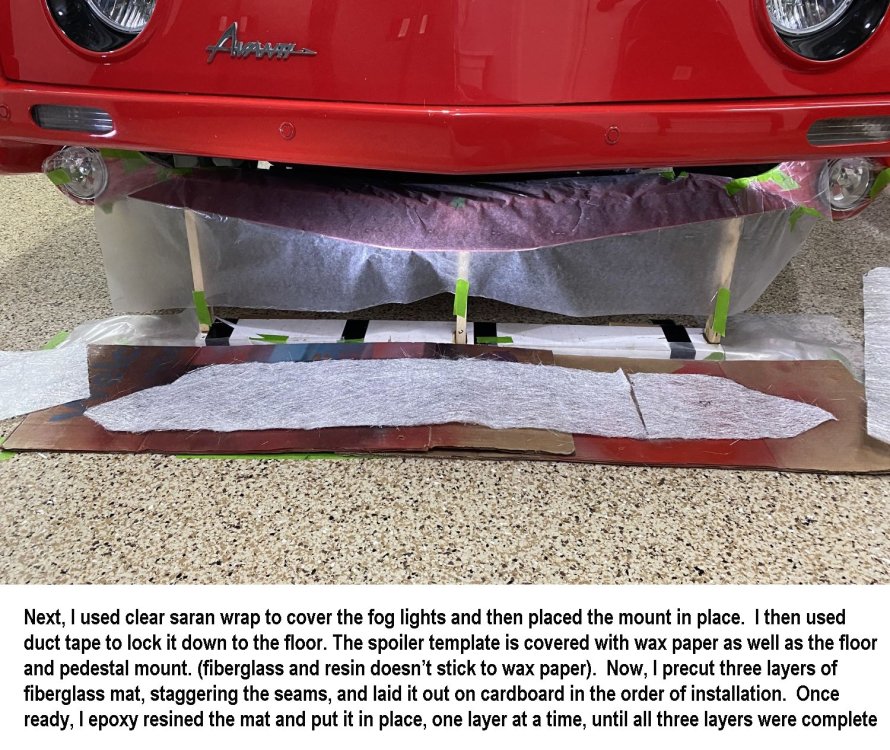
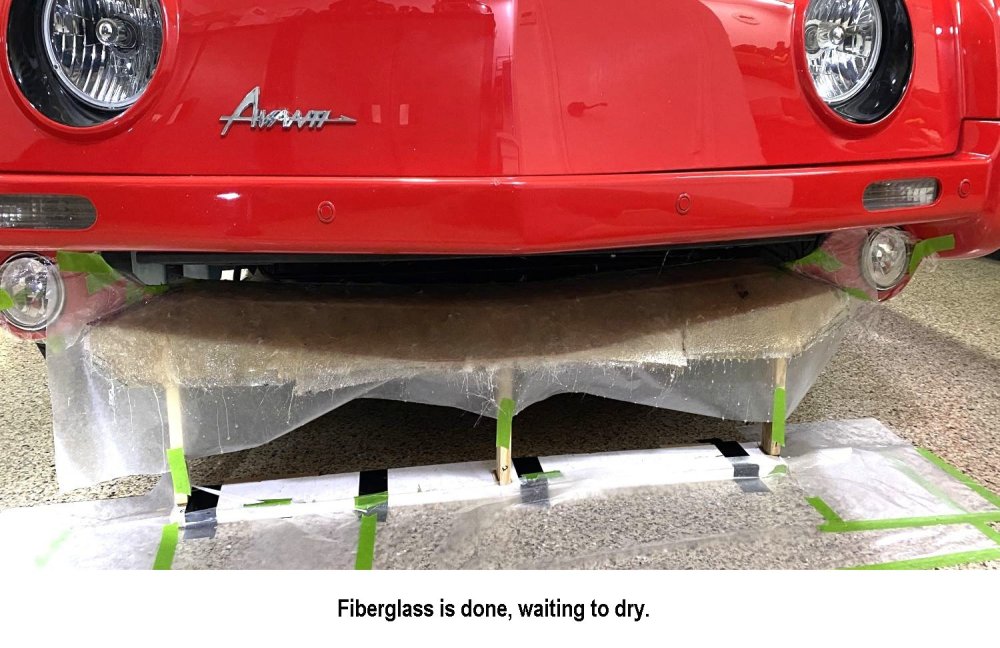
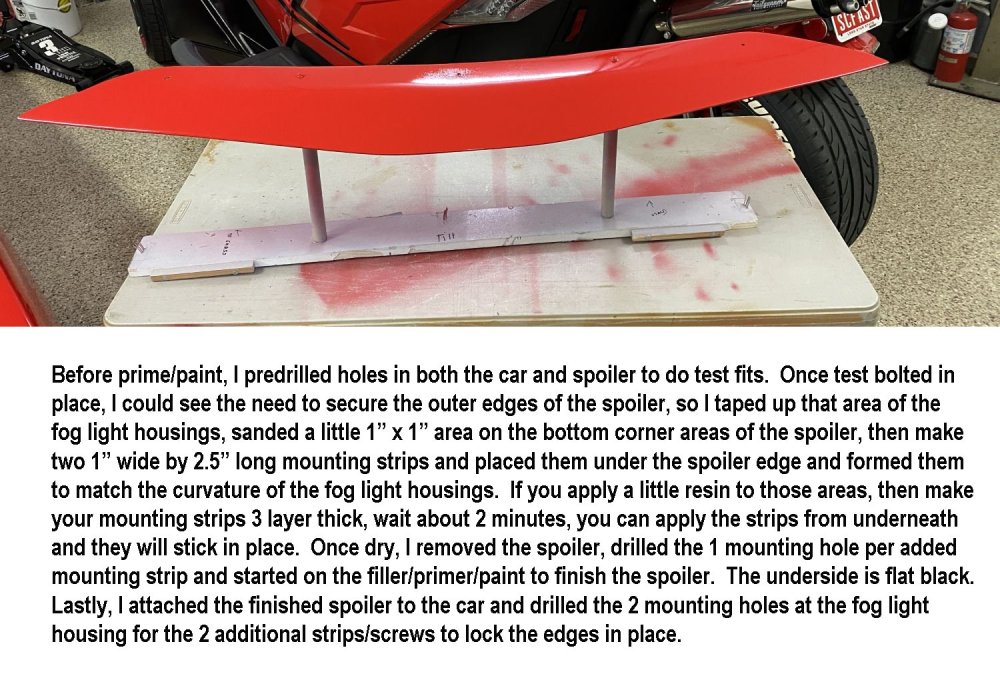
In the continuation of customizing our 2006 Avanti, I knew that the front-end design would look good with a front spoiler. Since the car was only made for 2 years, I also knew there wasn’t going to be any already made to purchase, so it was time to make one. It was important to keep the design classic and reserved, yet functional. The lower fog lights provided an excellent location to place the edge of the spoiler so it looked factory. The spoiler would mount to the top of the lower valence piece with 5 bolts and the edges would mount to the Fog Light area so there wouldn’t be any chance of vibration. Here’s how I did it:


-
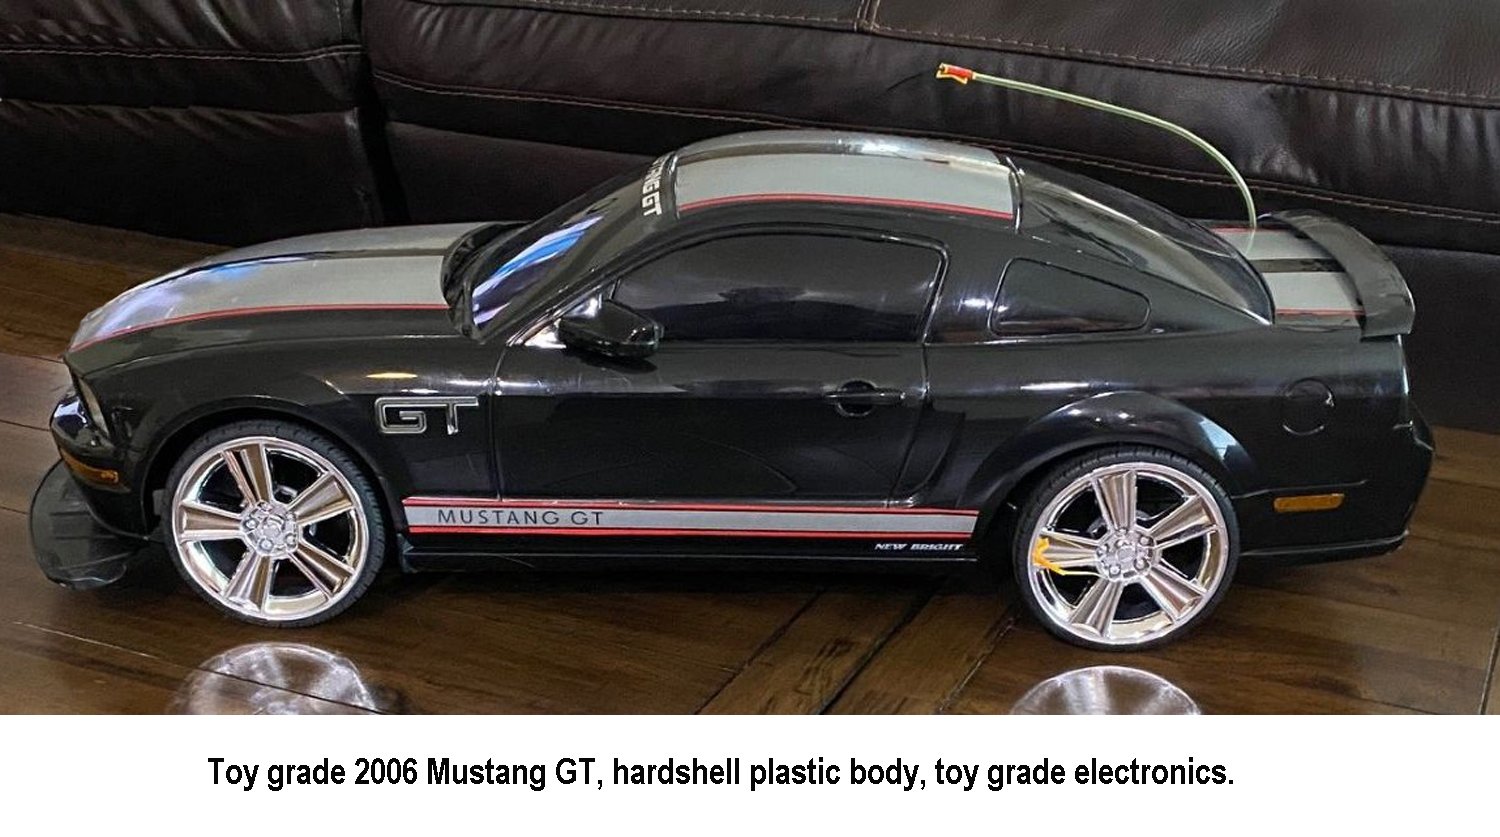
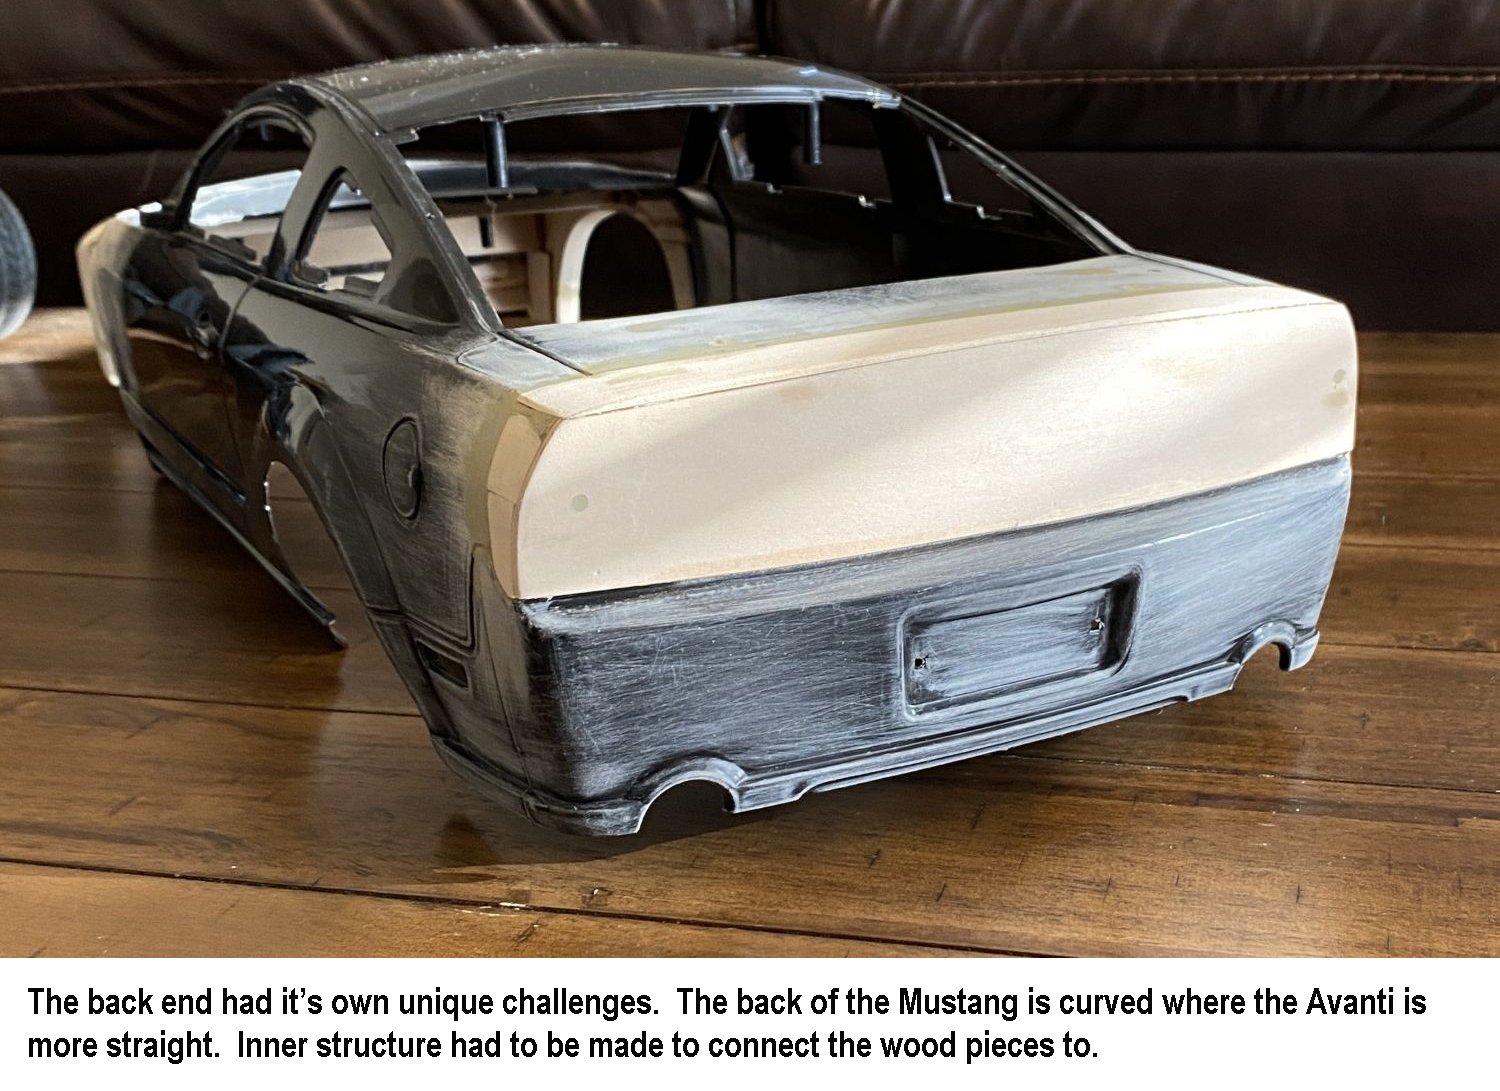
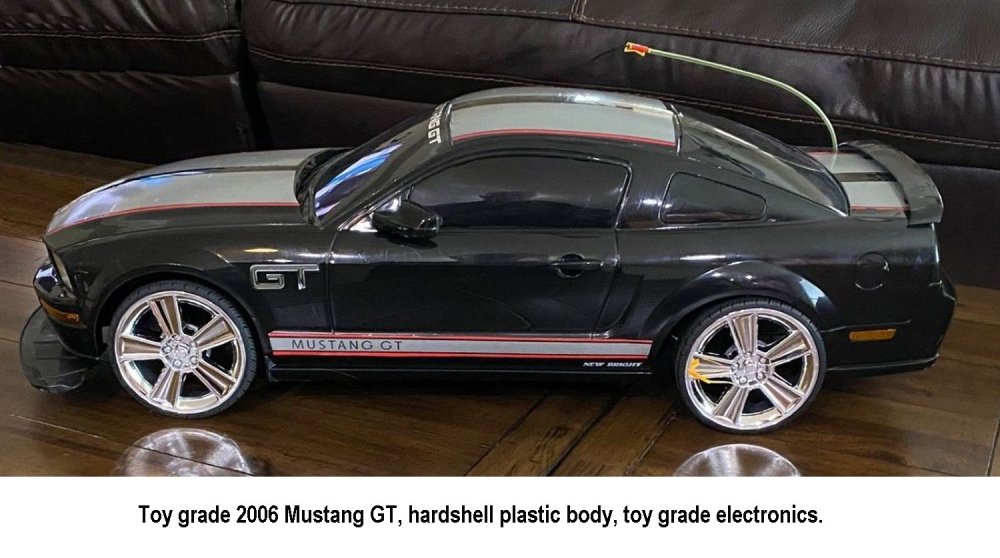
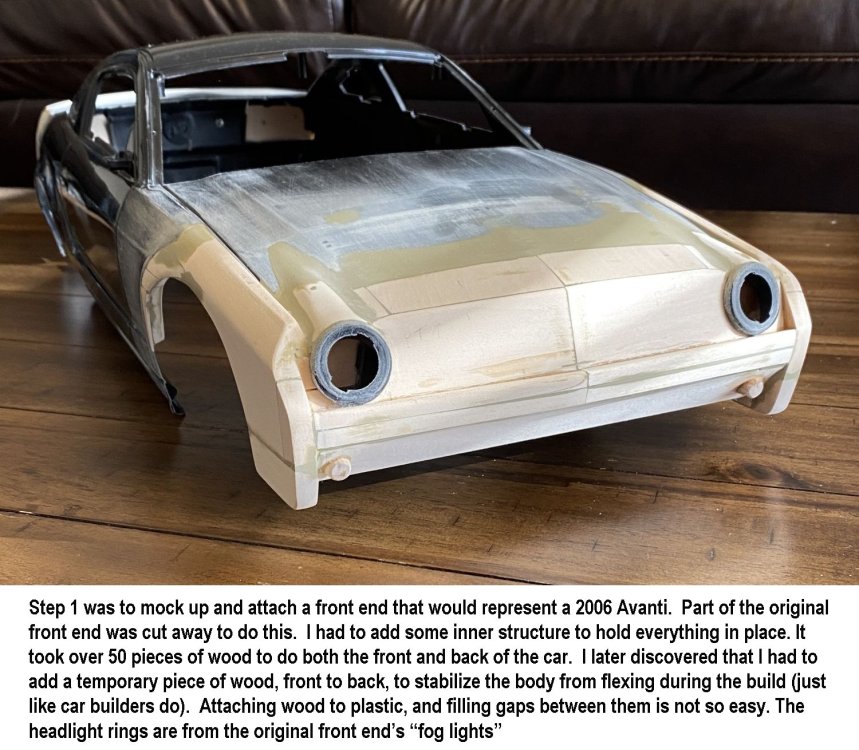
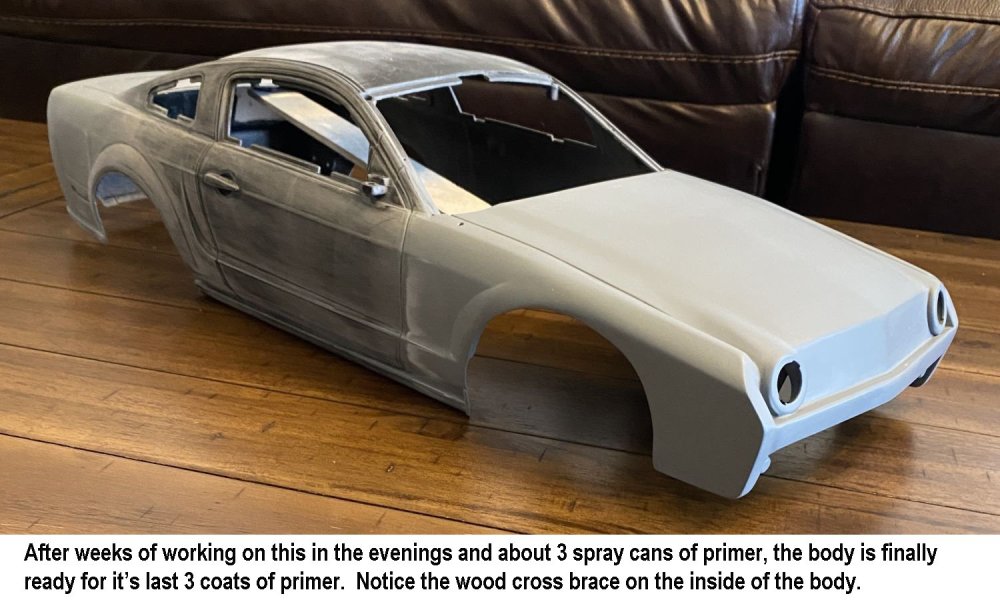
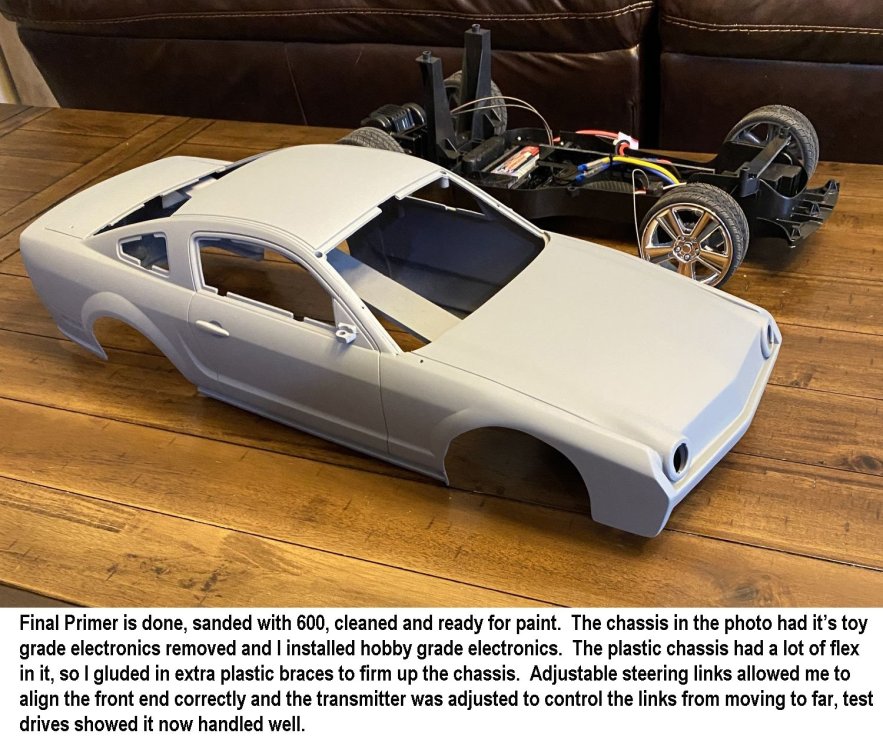
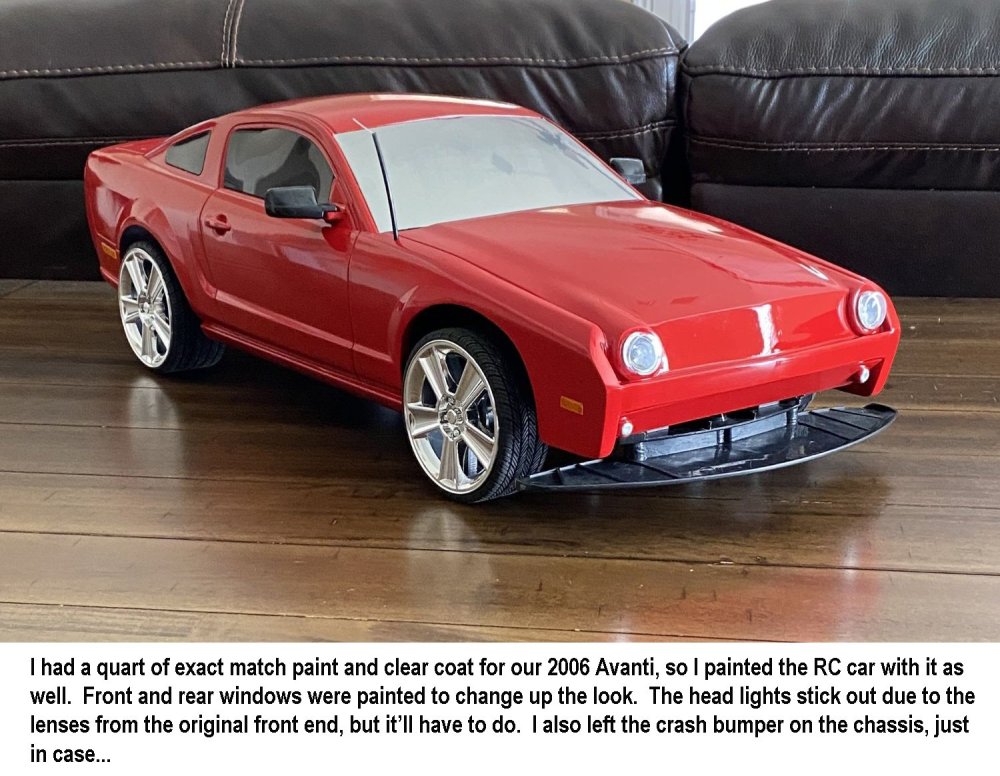
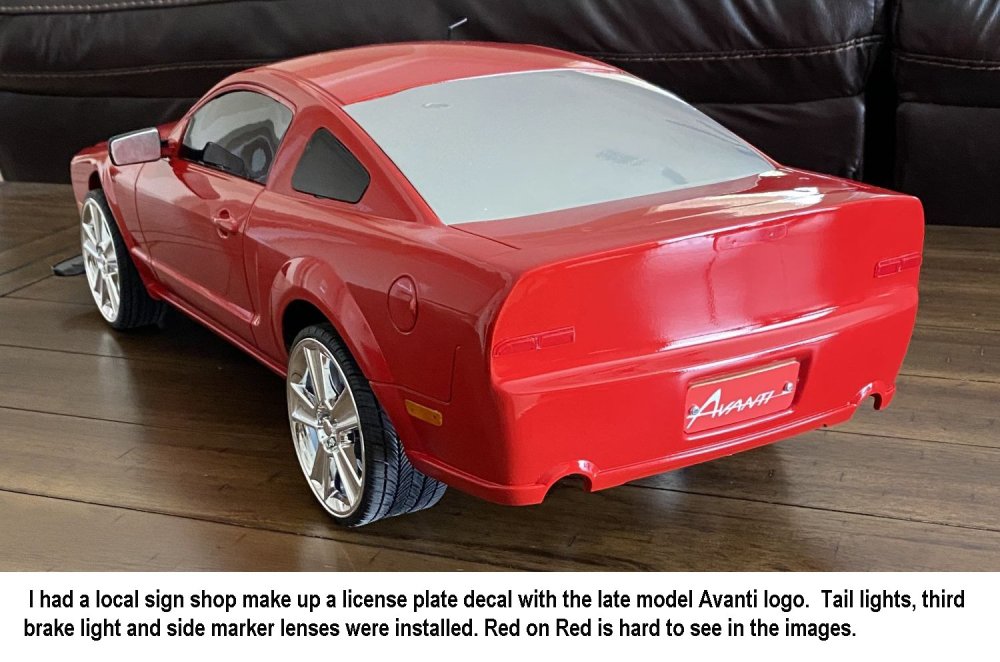
As I continue my customization of our 2006 Avanti, I thought to myself one day that if Avanti Motors could take a 2006 Mustang GT and convert it into an Avanti, then could I do it with a RC Car? And I didn’t want to do the standard 1/18-1/24 scale car, I wanted a larger one. So I started my search and eventually found an original, new in the box, 2006 Mustang GT toy grade 1/10 scale car. The plastic body on these were much thicker than today’s Lexan, so I figured it would be an easier car to work with. At 27” long, it’s pretty impressive too. The seller of the car was a collector who had it for years and was selling off his toy collections, so I was just lucky in my search. The only 2 negatives that come with an old toy grade car is the cheap electronics and thin brittle chassis plastic in parts of the chassis areas. So, I upgraded the electronics and added some pieces of 3/16” black plexiglass that I had laying around, to beef up the chassis while making a battery box, etc. It took about 3 months of off and on evening work to pull this off. Check out the build…

-
You should be able to find them on eBay. The seats were common with several German cars in the 80's and I found several parts that I needed for my 82 seats a year ago. There may be a part or ID # on your old part if you still have them that might help too.
-
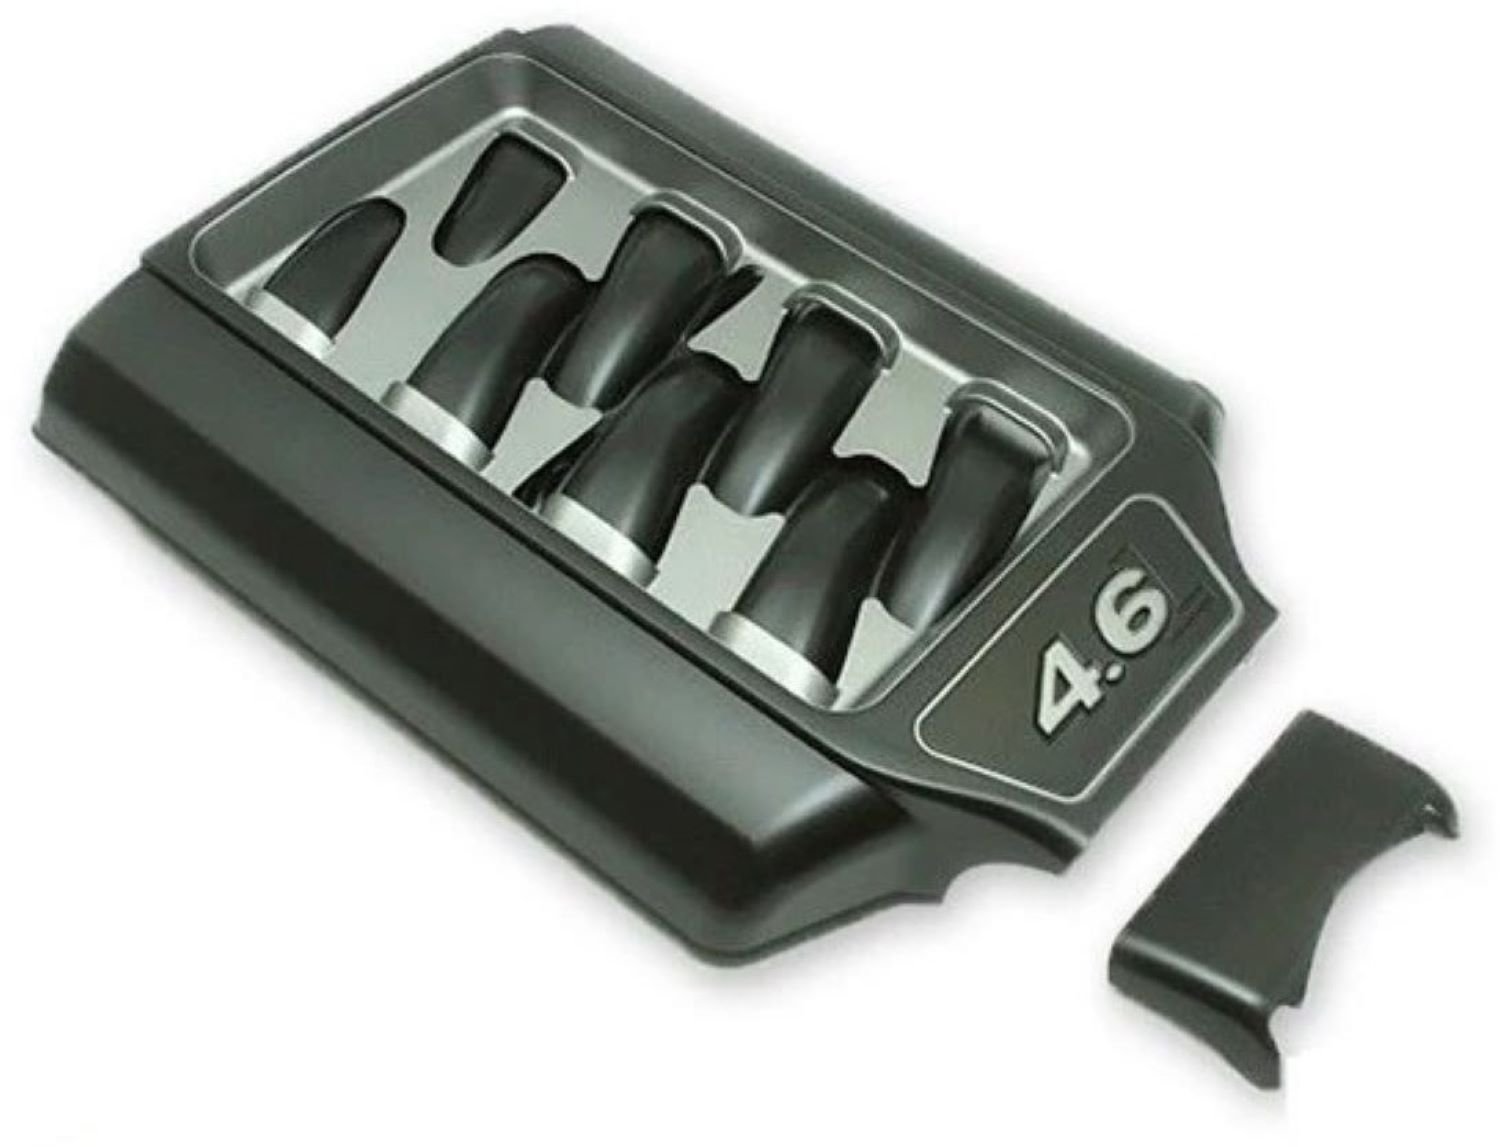
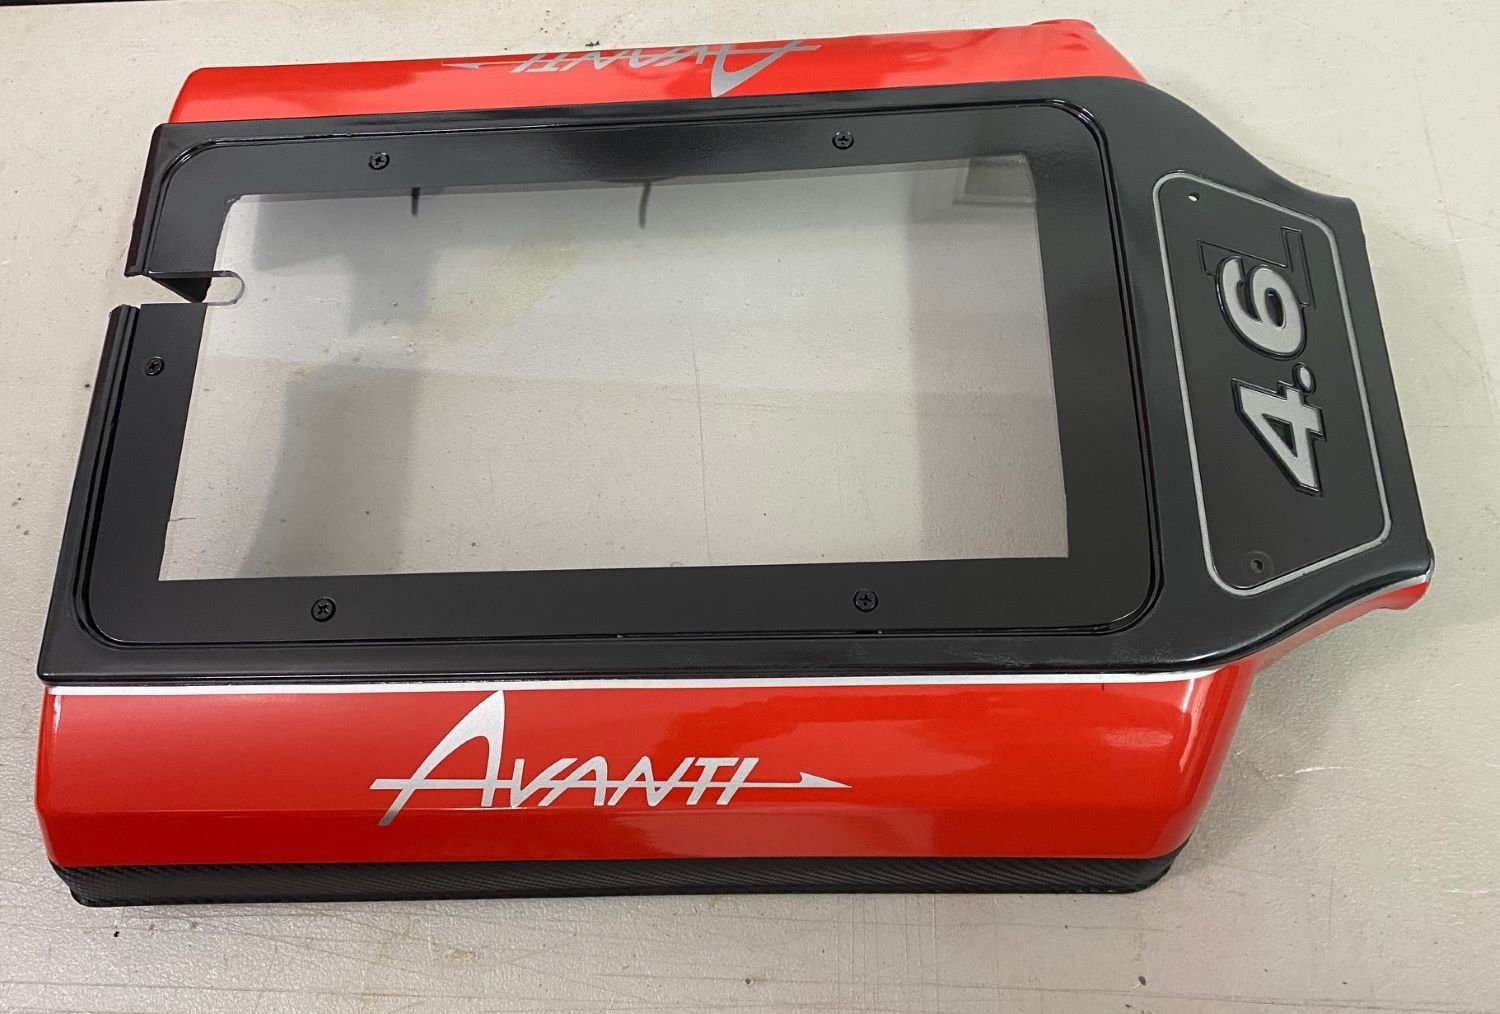
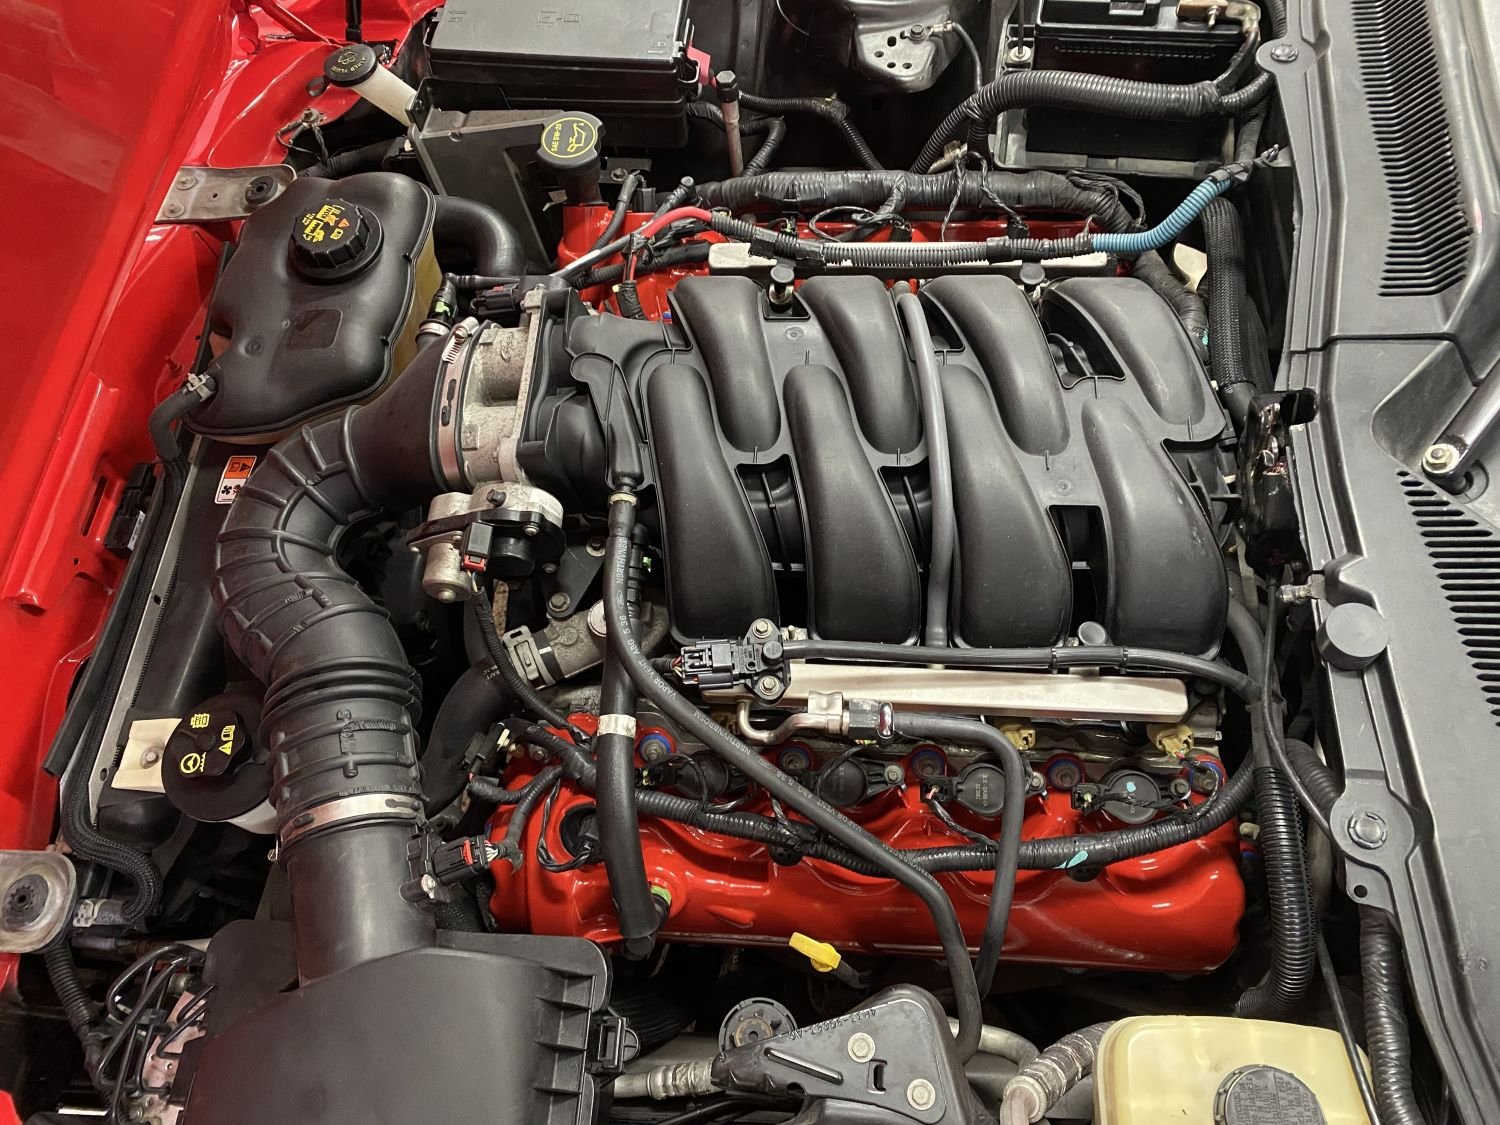
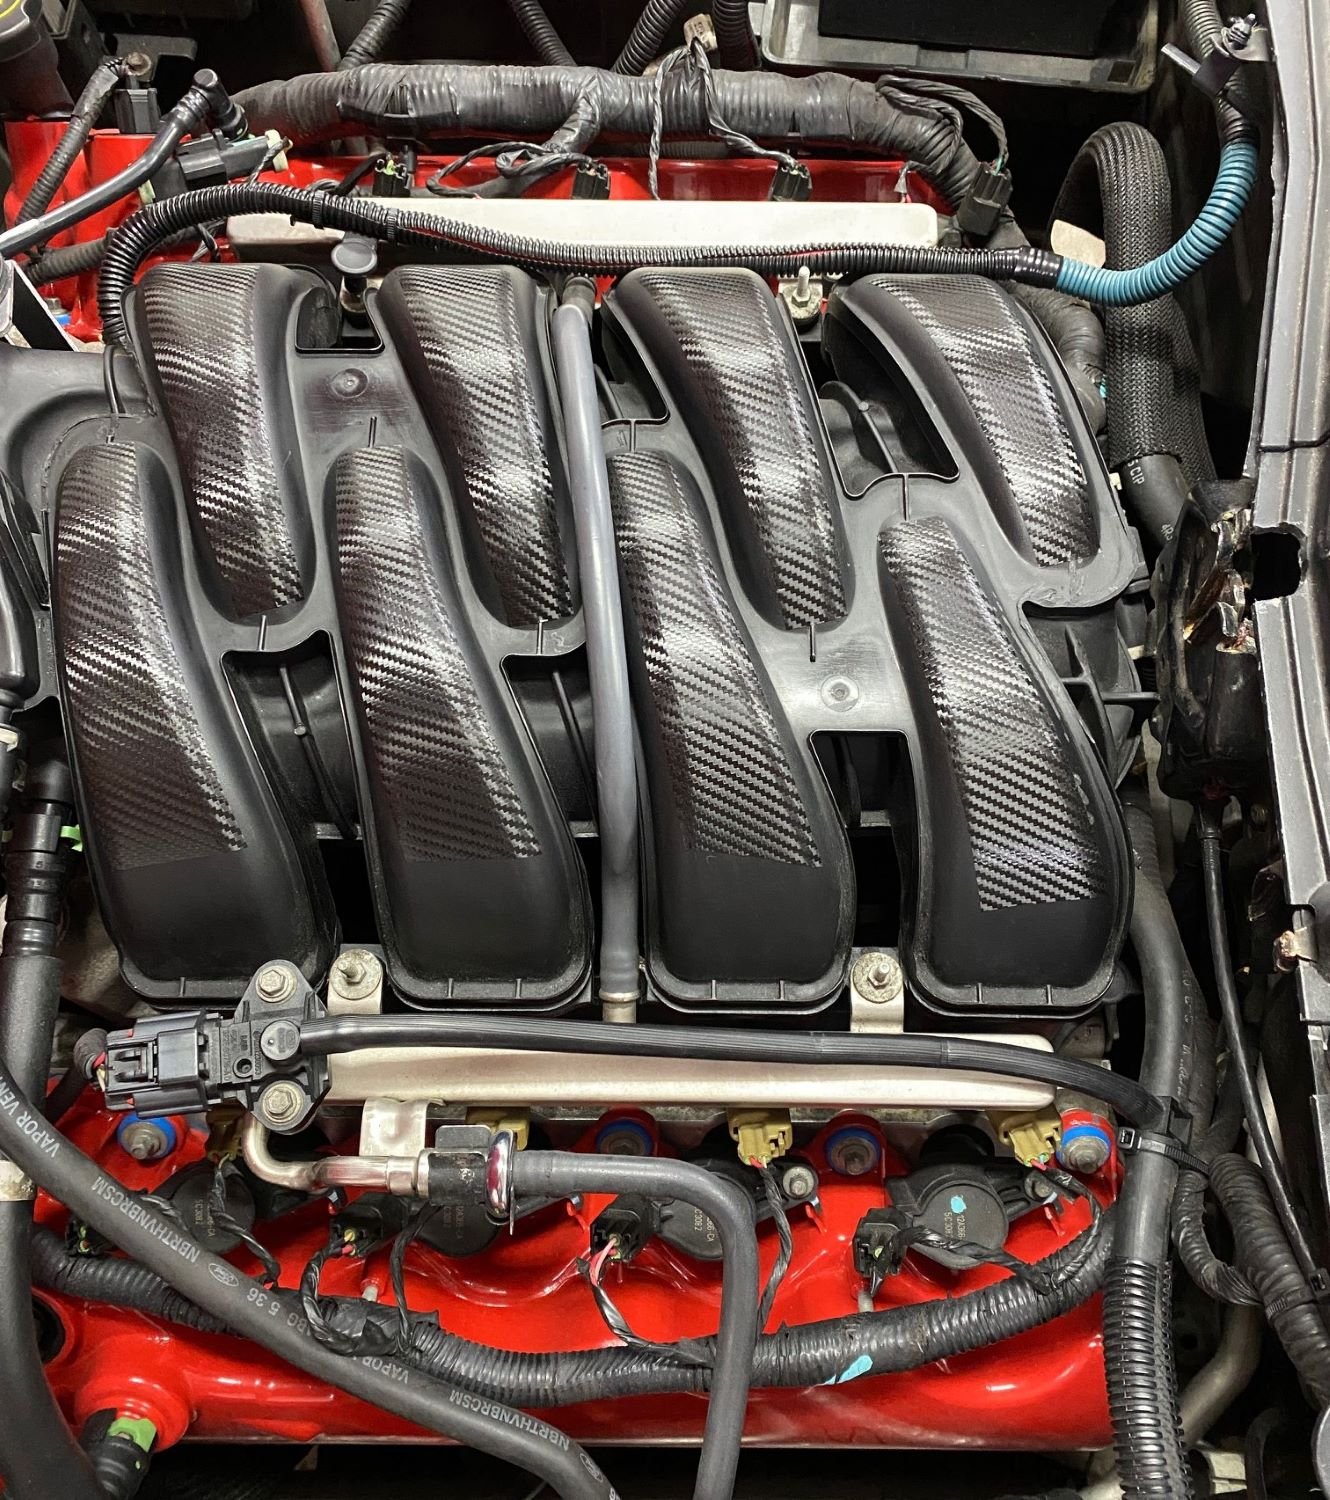
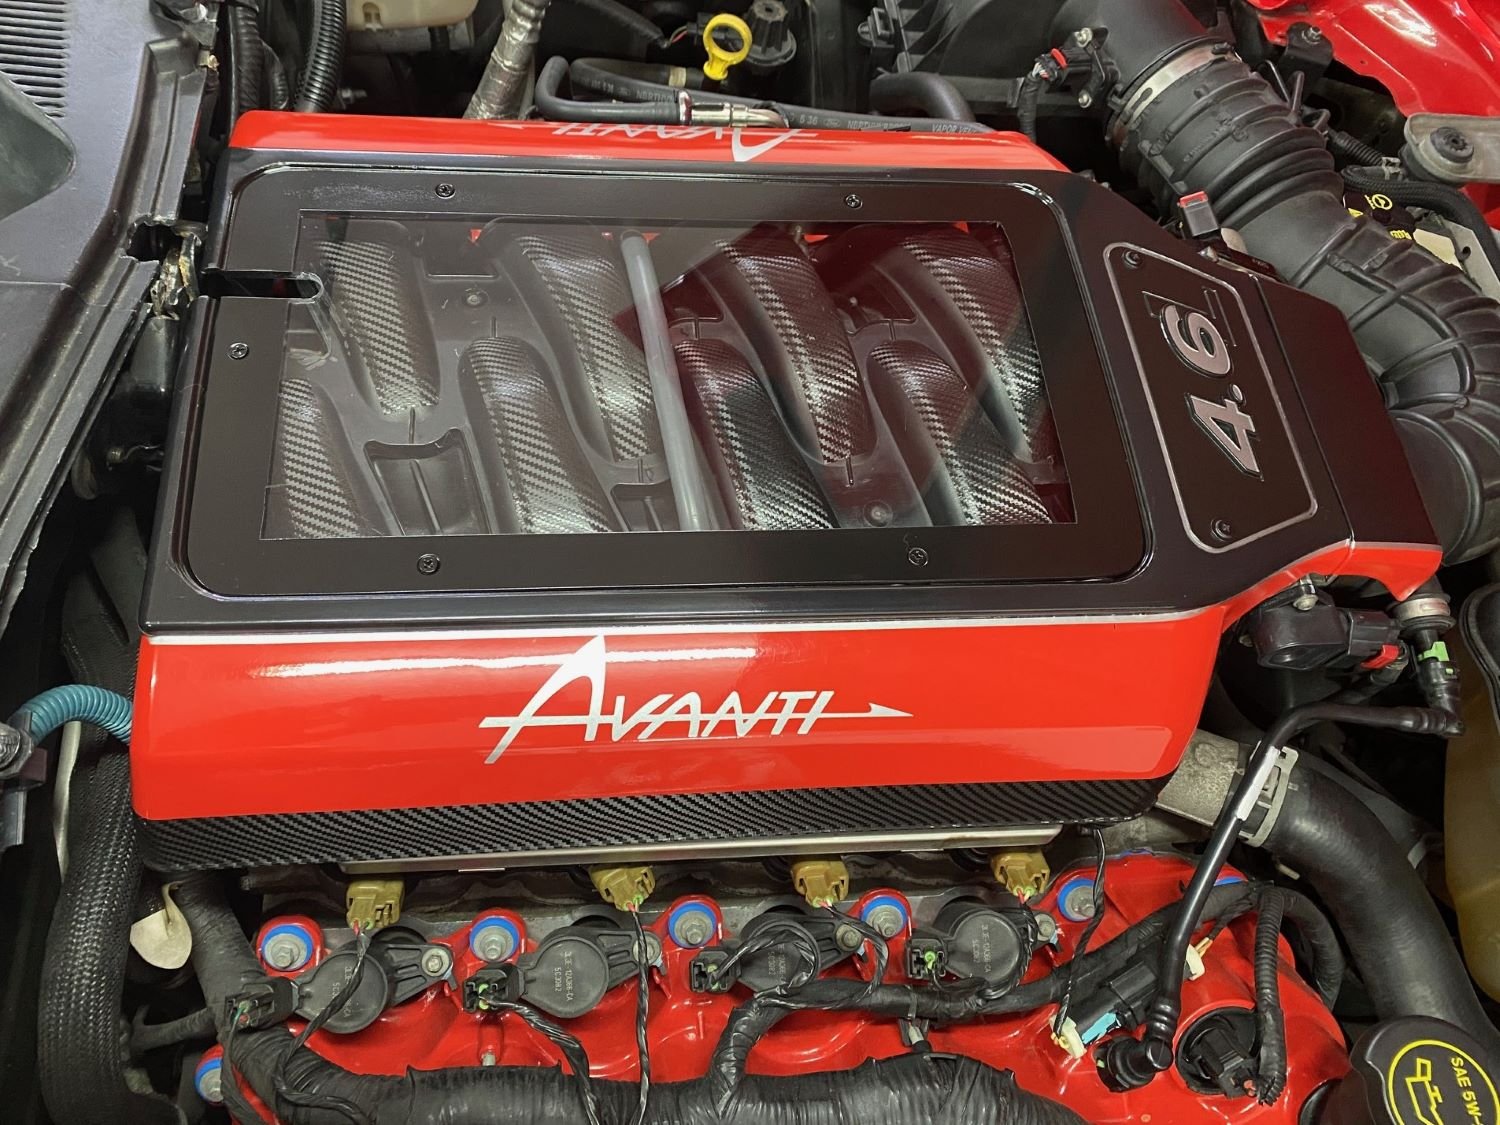
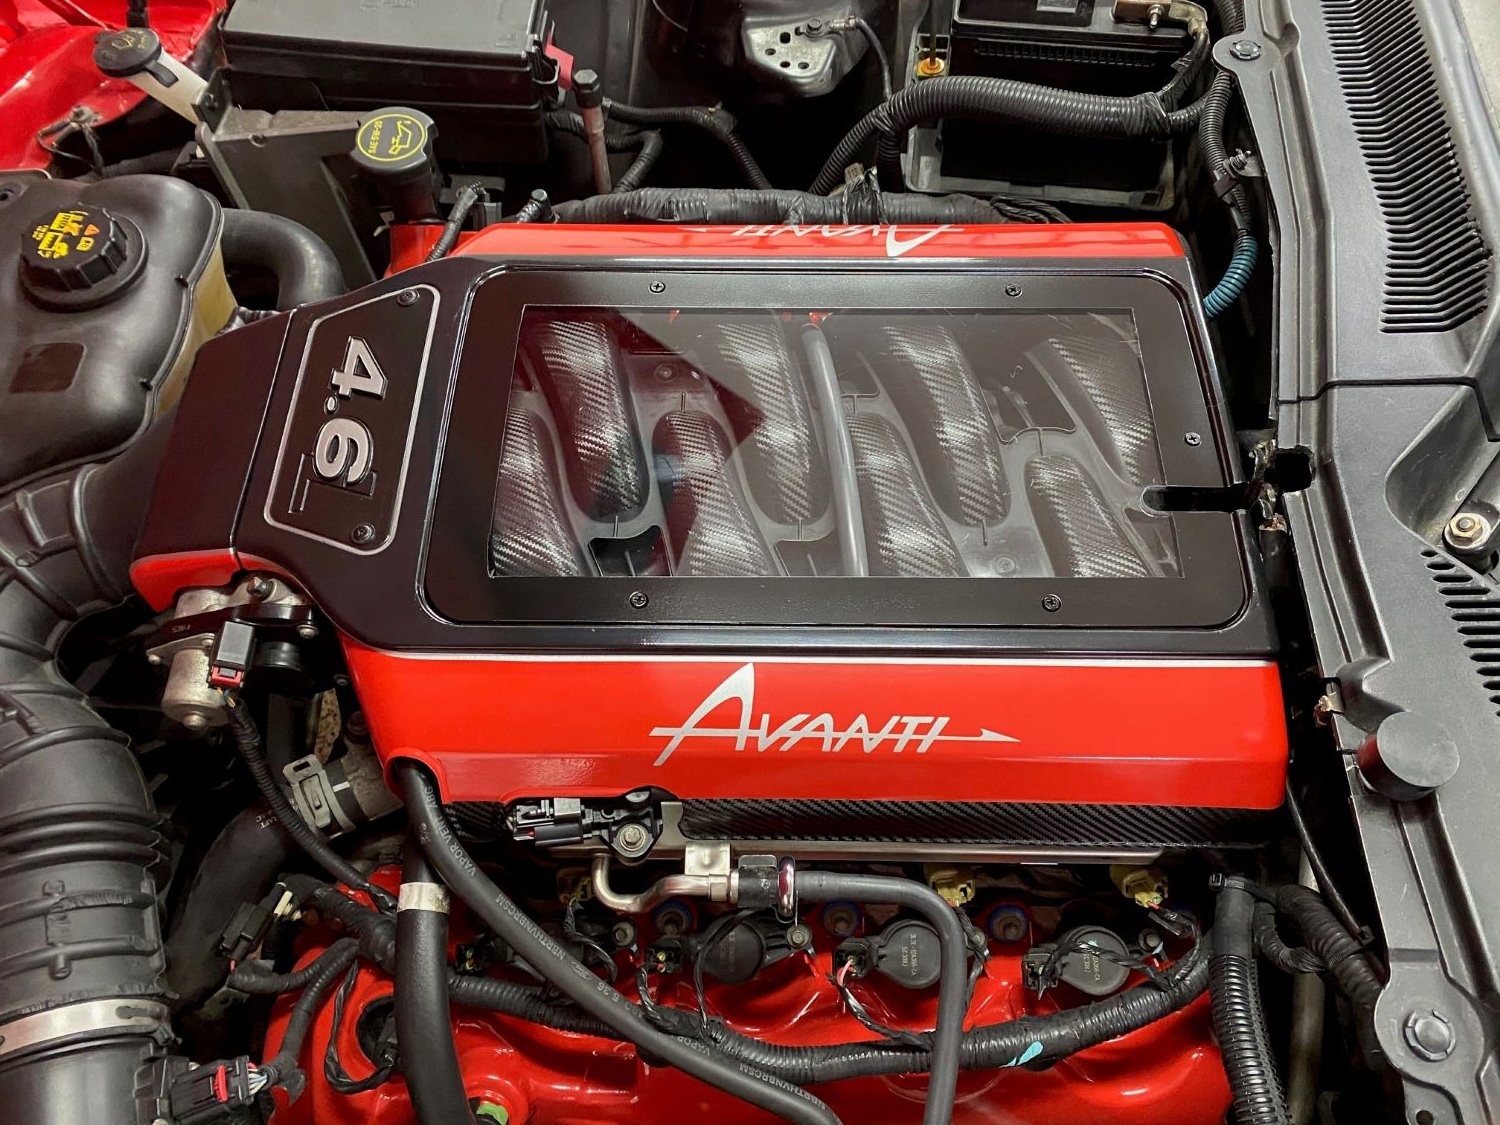
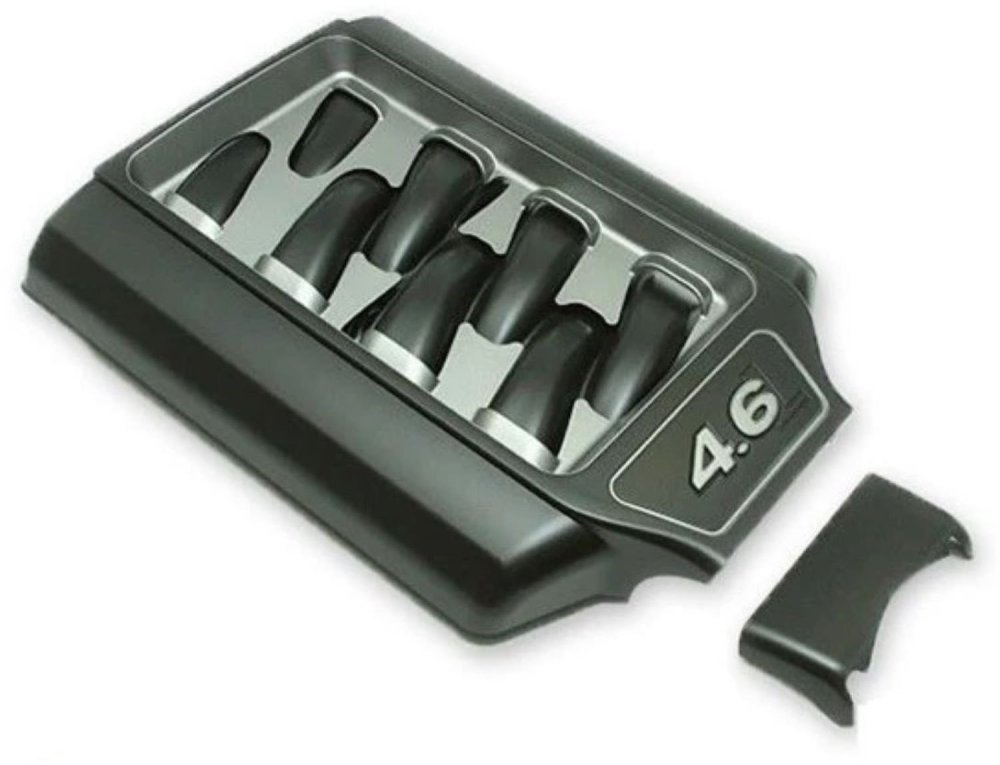
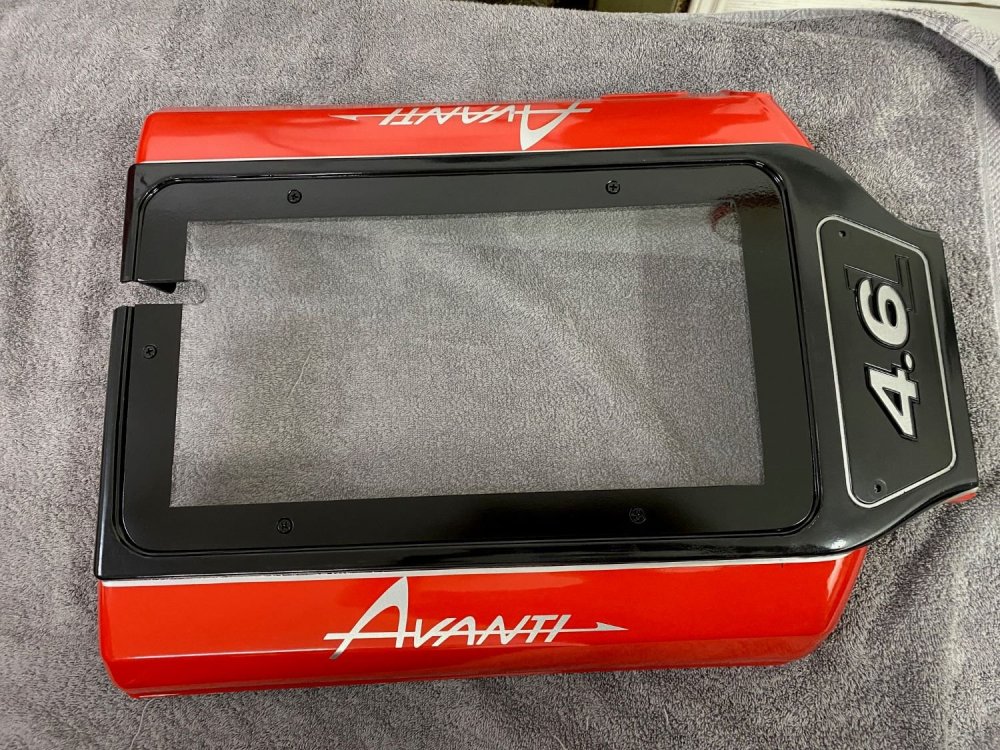
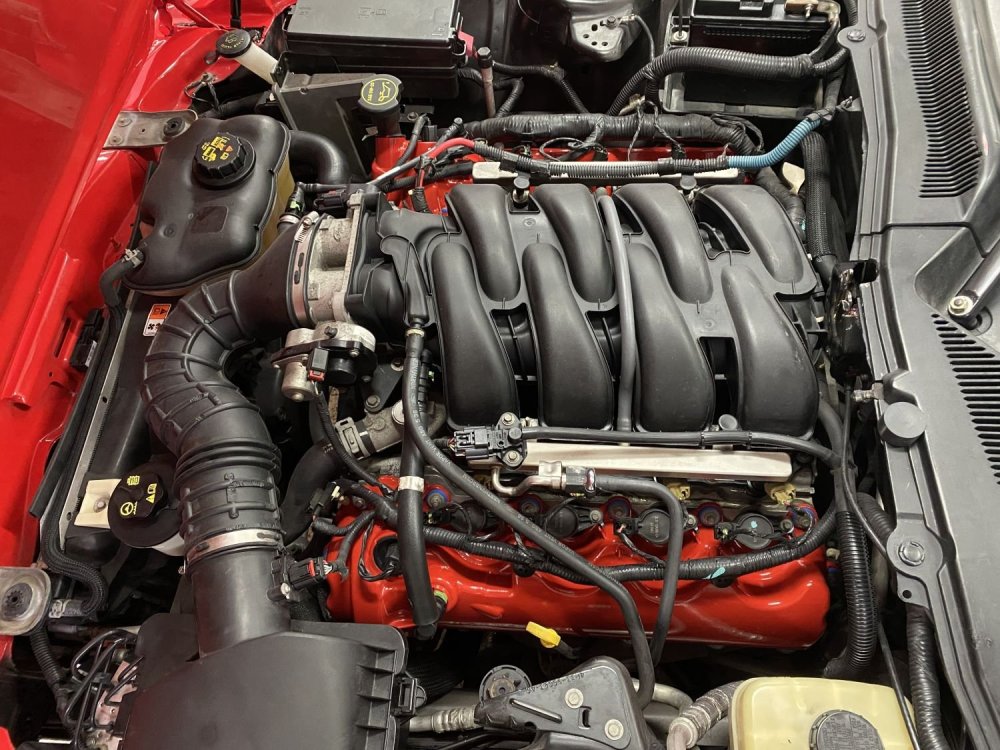
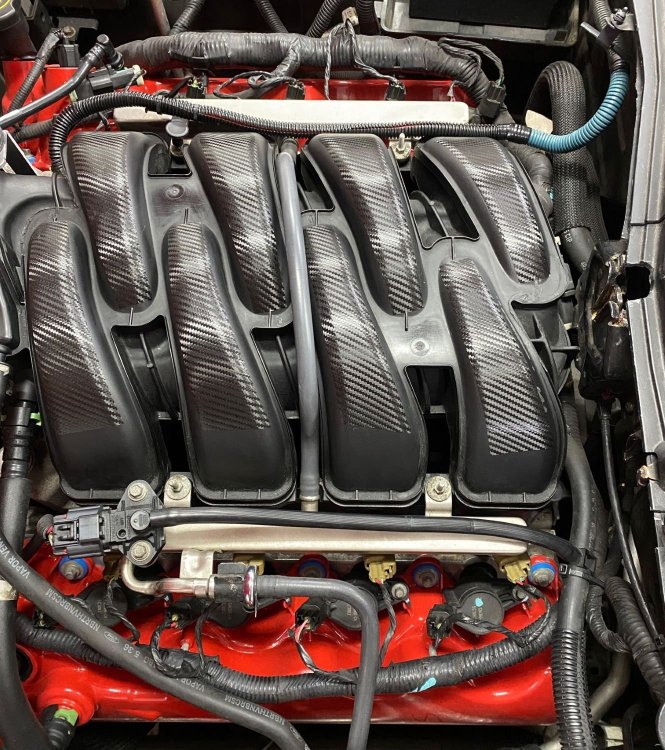
While the painted valve covers were cool, I still was looking for more and found it in a intake manifold cover made by California Pony Cars. Once installed, I figured out that the hood wouldn't close since the hood latch arm was hitting the cover. So I cut a notch out of the back side and lowered the hood again only to find out that the entire cover sat too tall for the hood to close. My computations and stubborness led me to believe that I could make it work, so I began cutting out the center section, notching the front mounting bolt holes, etc, etc. (I won't bore you with the story line of the modification since it went on for a few days LOL) Eventually, I got the cover lowered enough that I did acheive about 1/2" clearance between the front of the cover and the hood when all the way shut. Now the center of the cover was really cut down and didn't look good at all, and the notched section at the back side for the latch arm went completely through the back, eliminating all structural support. As I looked at it, it occured to me that I needed to make a top cover section to attach all the way around the top, which would make the cover solid and strong and cover up the cut out center section. I remembered that I had some 1/4" thick clear plexiglass, so I made a template and then made the top plate. Next I got some small brackets that I had laying around and used 5 of them to screw the top plate in place. ( I notched the plate for the hood latch arm before installing it) I decided to paint the cover to match the engine valve covers in red and semi gloss black. During the process, I went to a local sign shop and had a couple of decals made for the cover in Silver and installed them. Then I added some pin stripe in silver where the red and black met. Now at this stage, the cover was looking pretty good except you could see the cut out center section underneath the plexiglass top plate. So I painted a 1" border around the top plate which covered that up, plus the mounting brackets. NOW THIS IS GETTING PRETTY COOL! As I looked at the flat black intake manifold runners, it struck me that I could take some of the carbon fiber wrap that I had left over from the dash project and place 8 strips of it on the top surface of the intake manifold runners. And then I decided to add a couple of 1" tall strips along the bottom sides of the new intake cover. (It's important to know that the angles of the carbon fiber pattern are a perfect match over all of the strips and side panels). Now it was time to install the cover and MAN THIS LOOKS AWESOME to me and the wife!! Here are some photos of the journey plus if you ever want to have the decals made locally, I have the VECTOR file that I can send you!


-
Don Lindner and I are working with John Hull to develop a production list of all cars from 2001-2007. If you haven't supplied Don with your Avant's information, then please provide it to me with the following info: Vin Year, Vin #, Body Style: Conv/Coupe/T-Top, Color and your name. If you have a Mustang chassis, then the last 4 numbers of your Avanti Vin would be helpful also. If you want to keep the info confidential, then please email me at: ron.manfredi@att.net. Thank you!