


64studeavanti
-
Posts
588 -
Joined
-
Last visited
Content Type
Profiles
Forums
Events
Posts posted by 64studeavanti
-
-
According to the service letter R-1964-4, 4) 950.
-
Verified the Sumitomos are the correct 2 1/8". From port to port, they are the same size as the Dunlop/Bendix calipers. So, looks like the crossover pipes needed the adjustments.
-
FWIW, this R5408. I believe the issue with the crossover pipes is due to the Sumitomos being 2 1/4" instead of 2 1/8". Will verify later this morning.
-
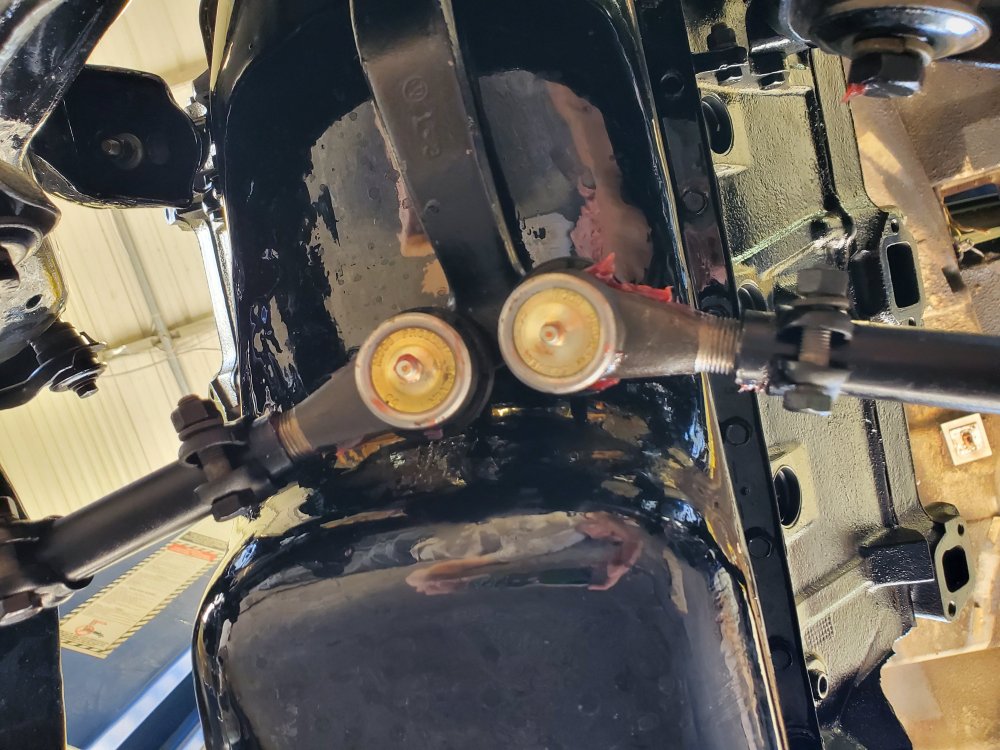
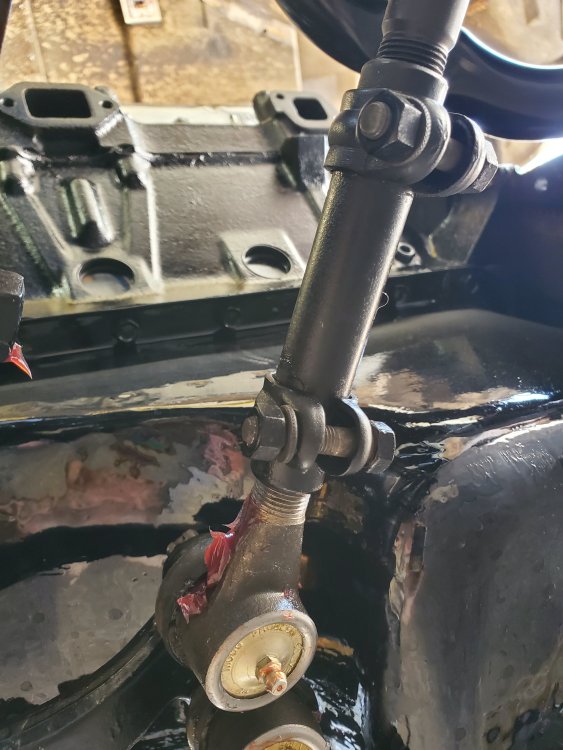
I have correct combo. Shorter outer rod and longer inner rod. The replacement outer rods are a bit long at 19 1/2". Should be 19 1/8". The 19 1/2" rod is what the vendors are selling. The inner rods are 3 7/8. I set the installed length of both rods at about 24" same as the old rods. Wheel alignment will get it closer.
-
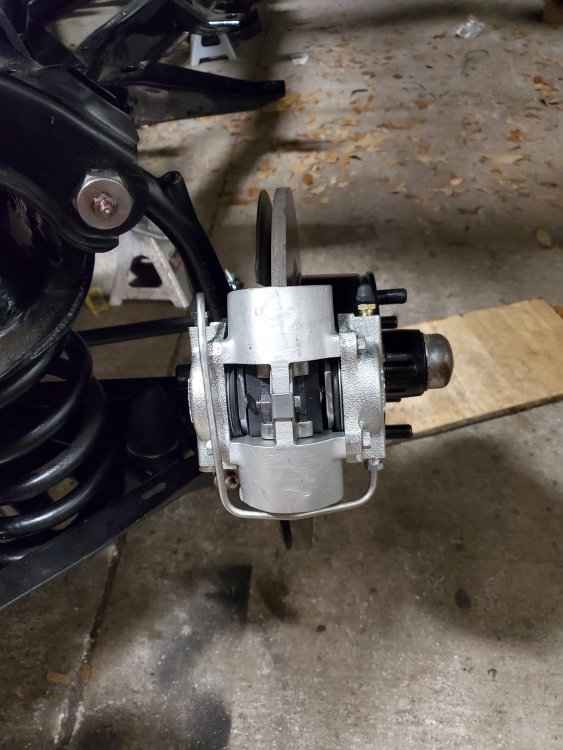
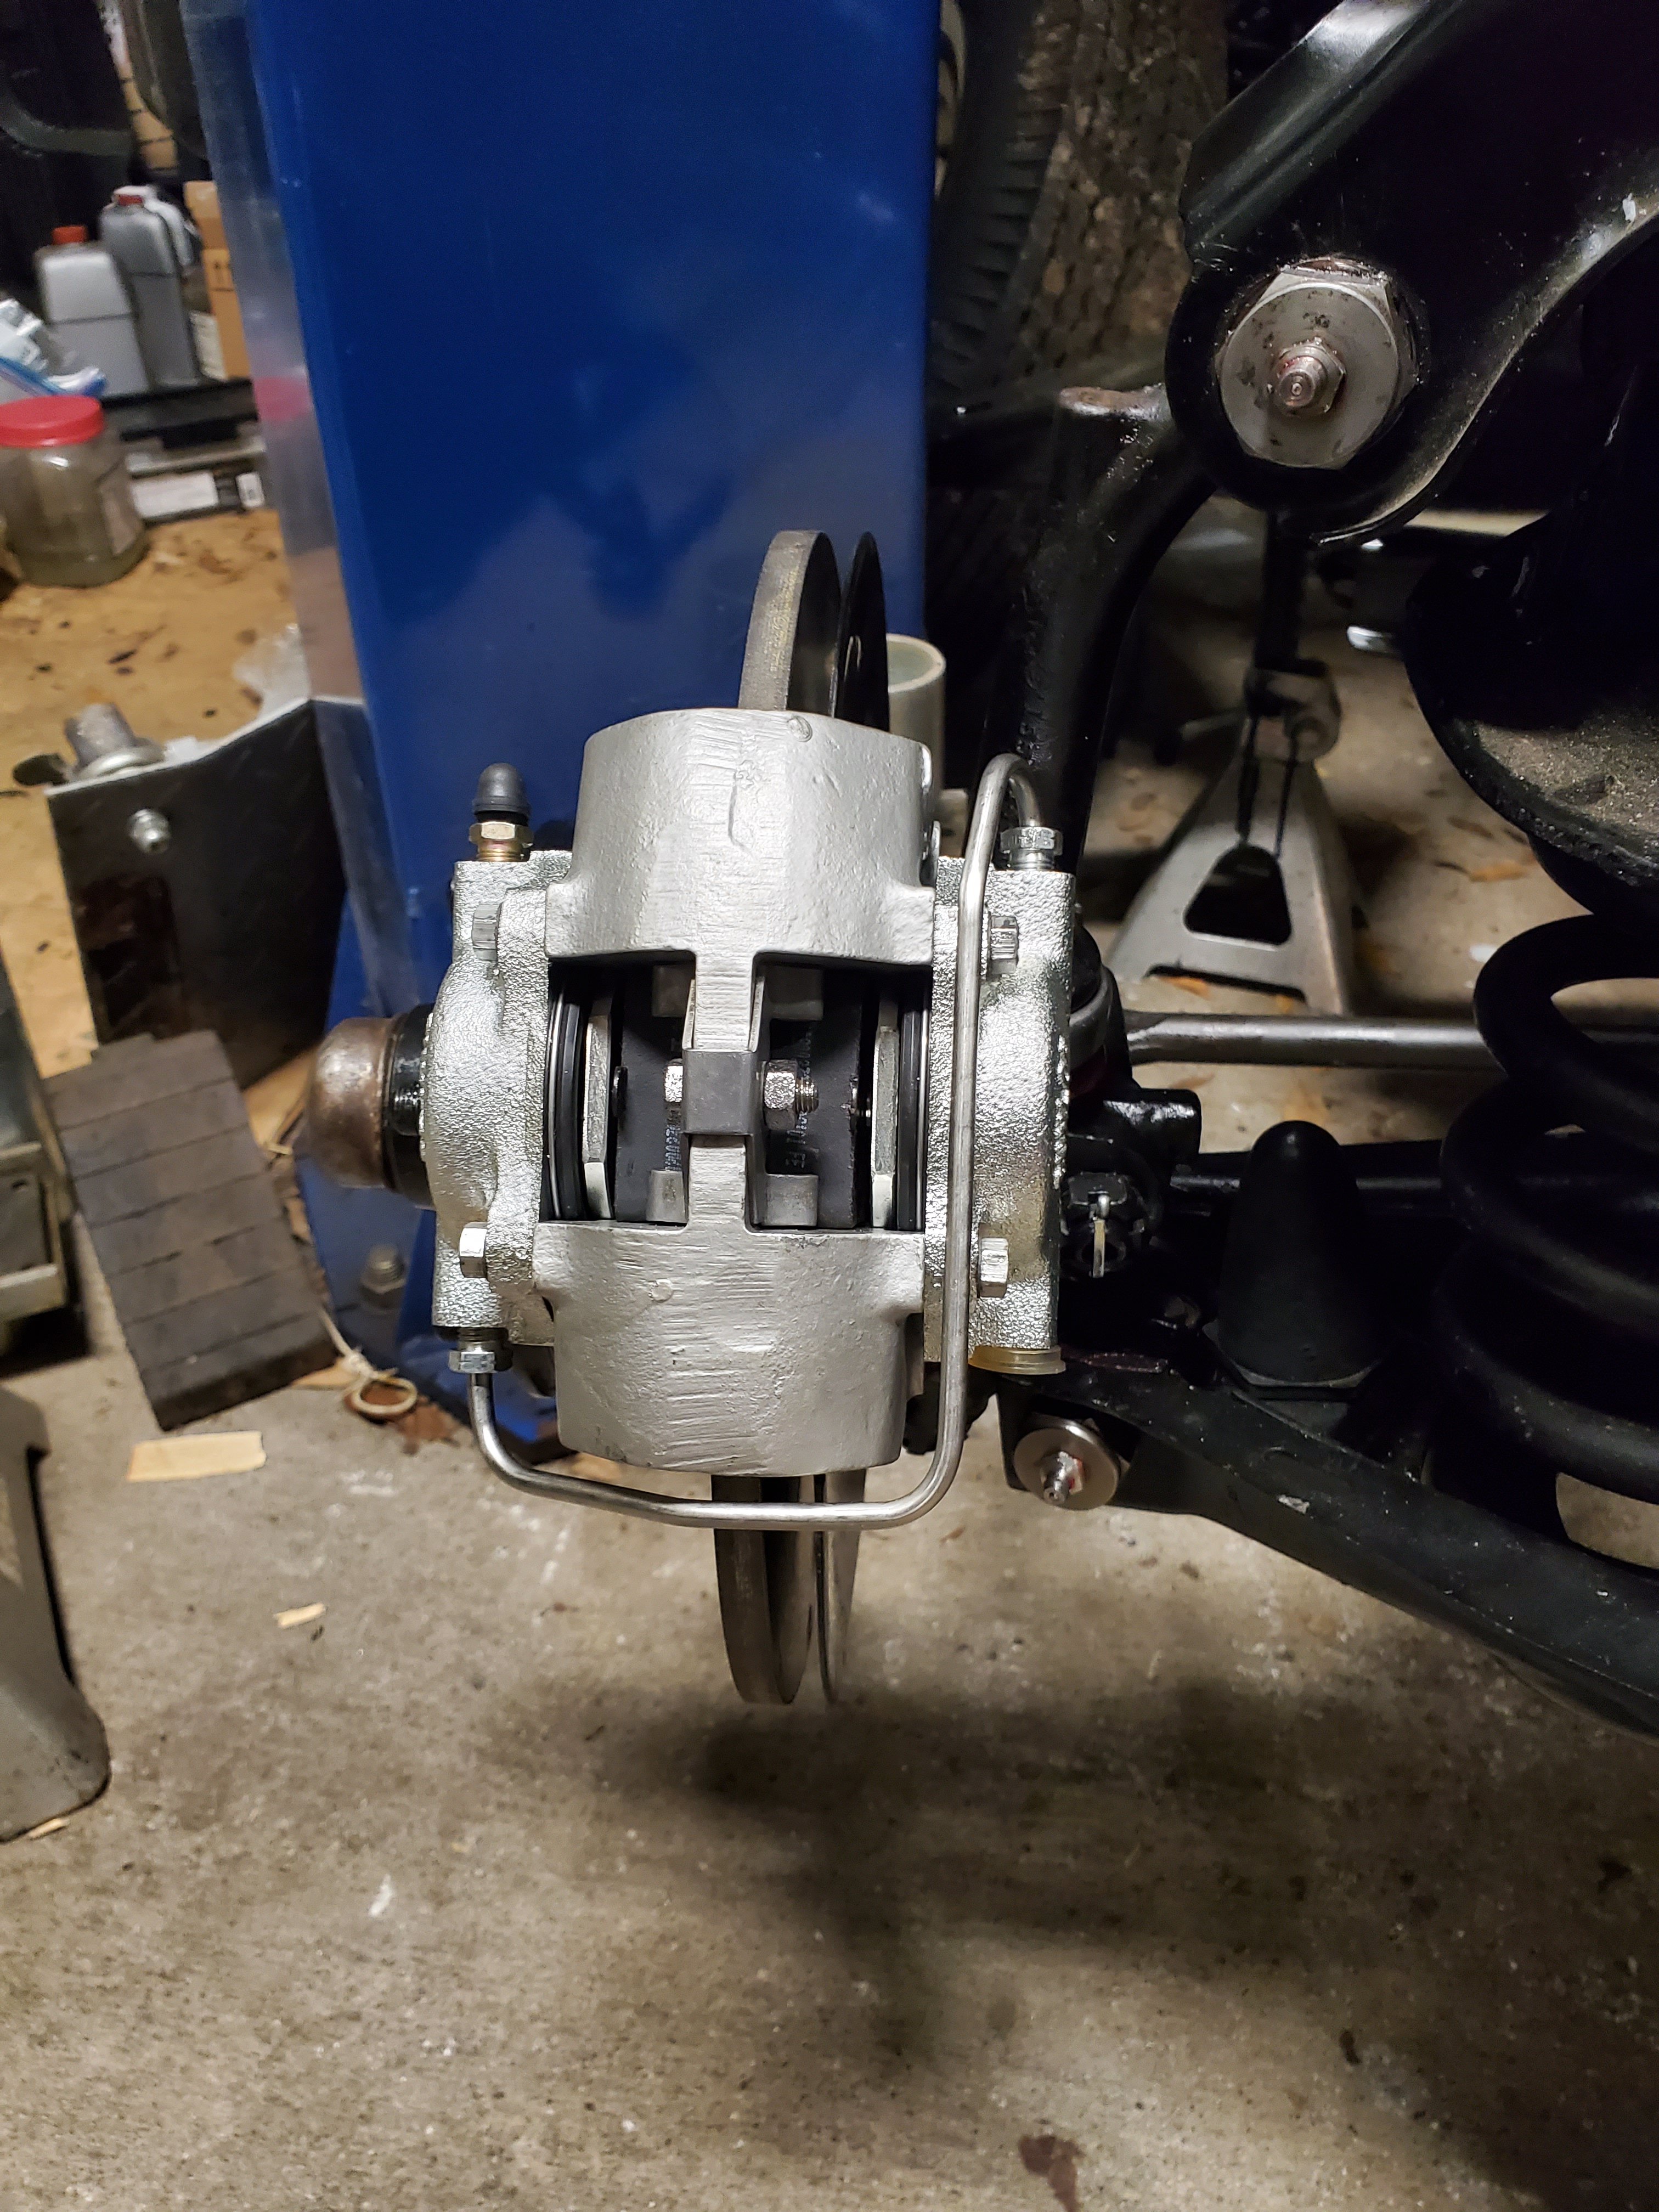
I used new Sumitomo calipers, new pads, and new crossover pipes.
-
 Don't think so. The problem I had was they were not long enough. So, I bent them by trial and error until they fit. In any case, they now look just like the pictures in the shop manual.
-
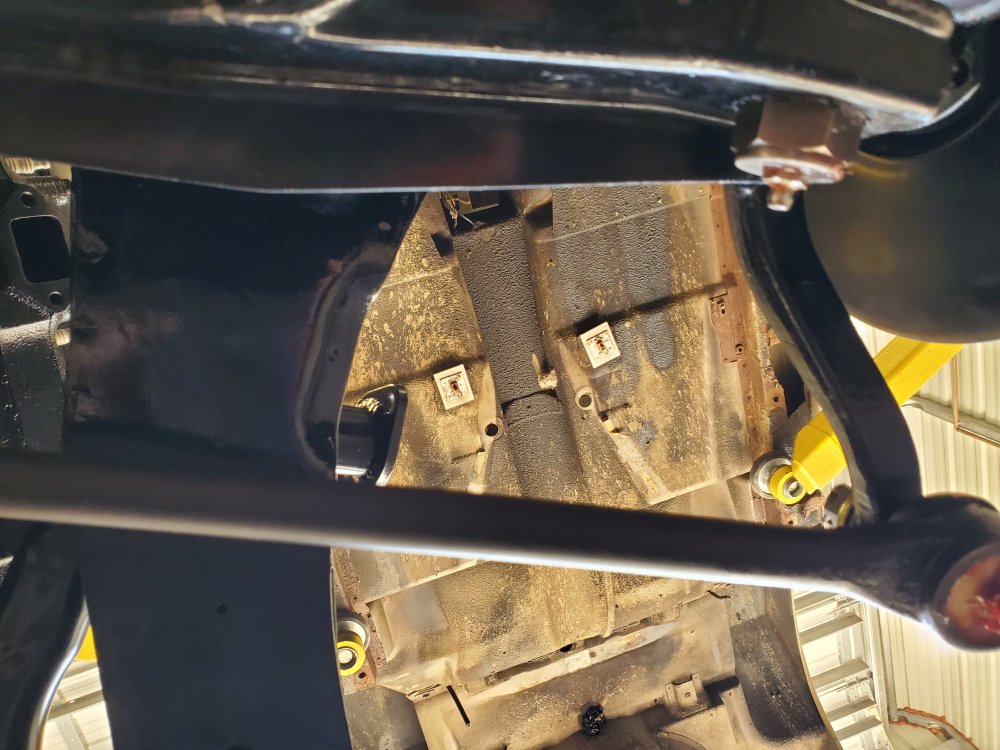
Right now, I am working on chassis only. The body is off the car for hog troughs. I thought since the body was off, I would clean up the frame. Since i have a clean frame, I thought I would replace/refurbish all the other parts. One thing led to another ...
Today, I went back to stock disk brakes for authenticity sake. I removed the stock system about 20 years ago. Had a devil of a time finding all the original parts and remembering how they fit together, even with the help of the chassis and shop manuals. Additionally, the new crossover pipes did not fit correctly and I had to rebend without destroying them. Always seems to be something.
-
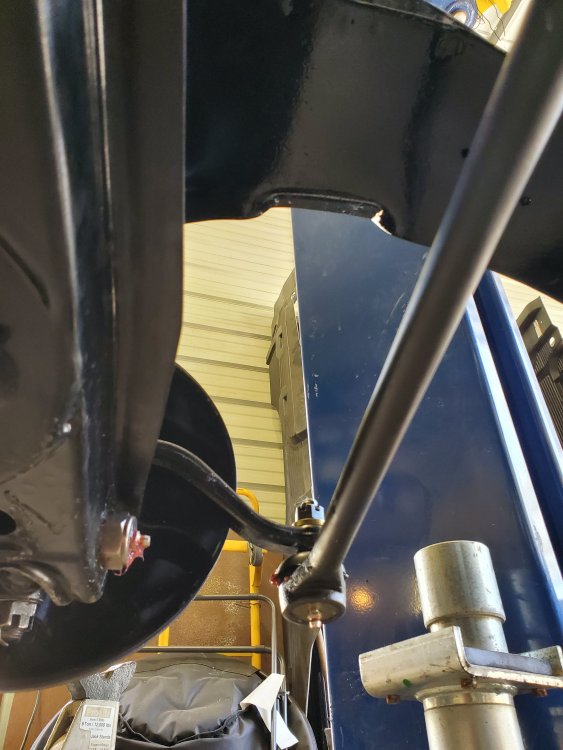
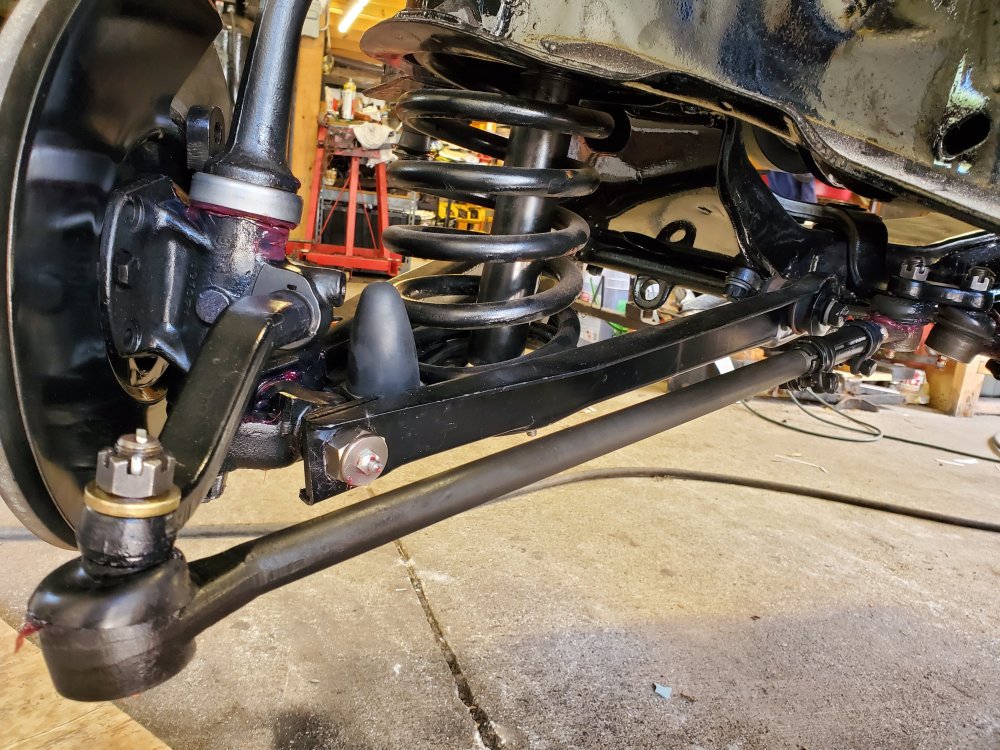
FWIW, here are some photos. Note the gold colored washers on top of the knuckle arms to bring the castle nut high enough to secure with cotter pin.

-
No, I am just turning the wheels by hand. Previously, that action was effortless. Now I really have to put some muscle in it. I tried each kingpin, and center bellcrank. Those 3 turn effortlessly. When I attach the replacement tierods, it takes a lot more effort.
-
Replacing tie rods on 64 Avanti. It uses the shorter outer rod and the longer inner rod like Avanti II and later. In any case, the outer tie rod is slightly long at 19 1/2" instead of 19 1/8". Additionally, the taper that fits into the arm sits high enough that the cotter pin does not engage the castle nut. I took care of the cotter pin issue by using 1/2" washer as shim. After assembling and greasing, the steering is very hard and stiff with both wheels off the ground. I suppose this could be normal and I was just used to the looseness of the worn out tierods.
Any ideas?
-
Pleased as well. As I said, the first tire was almost impossible. Somehow the tube interfered with breaking the bead. Turns out, after all that work, I won't use that wheel. When I measured, the width came out to 4 1/2", not the 5" I was expecting. Had double hump just like the others. Must be for a Lark.
Some of the wheels have enlarged lug holes. Hoping to find 5 that will work with the 3/4" Stude lugs. If not, may decide to use the 13/16" Ford lugs. Wheels will be media blasted, checked for cracks and runout and painted with the quart of wheel paint I bought from S.I.
-
I had an older replacement brake kit (Levesque) on my 64. It used the Mustang rotors and GM calipers with custom brackets. It worked well. I am now going back to stock brakes mostly for authenticity. I have been collecting brake parts from others who made the switch. I now have a pair of rotors with plenty of meat on them. Also going back to original master cylinder.
-
As I posted, I am going through my collection of wheels to find 5 good ones. In order to do that I need to remove the rotted tires. Instead of hauling 12 tire/wheel combos to the local tire shop, I purchased a tire changer from Harbor Freight. I believe it was less than $50. In any case, I bolted it to the shop floor today using 3/8 tapcons. The first tire I tried to dismount took almost 2 hours. Was ready to quit and visit tire shop. Finally got the bead broke. The darn thing had a tube in it! Did 5 more tires at an average of 15 min each. Likely already paid for it. Still need to do about 5 or 6 more. Tomorrow's job.
-
You can use clear acrylic lacquer to accomplish much the same thing. This car was out in the elements the last 20 years. Paint still shines, but is starting to bubble. I am painting because I am replacing hog troughs and need to cut away and replace rockers etc to install the one piece troughs I bought from George Dimitsas.
-
I had one repaired about 20 years ago. He soldered the water inlet backward. Did not notice until 5 years ago when I had trouble replacing upper hose. Fixed it then
-
Back in the day, the old body/paint guy I worked for loved Dupont Centari acrylic enamel. It did lay out nice. We could paint a full size car with 3 quarts!
Acrylic lacquer is another matter. Need several coats and may need to sand/buff between. Studebaker used acrylic lacquer on Avantis. The 20 year old repaint on this car is Dupont Lucite as well.
-
Forgot new wheel bearings and seals. Also rebuilding correct 3509s fuel pump to replace modified mopar unit and correct 3589s AFB to replace Edelbrock 600. All nuts, bolts and other fasteners are correct and lightly zinc coated. Using blue threadlocker to make sure nothing comes apart. Rotors and drums are used, but in excellent condition with plenty of meat. Just ordered 670R15 bias look radials from Coker and period correct look alike "Williard" battery. As per other thread, this started as a hog trough replacement project and just grew. For paint, I ordered 2 gallons of Avanti gold lacquer from TCP Global. I know everyone is using BC/CC, but the lacquer paint on the car has held up over 20 years. Acrylic lacquer was originally used in 63 and again in repaint. Hoping for a good match.
-
All bushings have been replaced. Last time was over 15 years ago. Rear frame bushings were a lot easier with the body off. Also replacing rear emergency cable and installing new "quiet" exhaust system with resonators. So far, I have new bushings, brake cable, rear wheel cylinders, calipers, brake shoes, brake pads, brake lines, fuel lines, steering knuckles, king pins, tierods, rebuilt hill holder, shocks, and clutch. Engine and transmission were rebuilt 15 years ago with only a few thousand miles. All much easier to do with body off.
-
To make a little noise, I will update on my progress on hog trough replacement etc. Look under topic of scope creep. Chassis is almost done. Lots of cleanup, paint and NOS parts.
-
Frame has been media blasted and painted. All frame mounted components cleaned and painted as well. It has been well over 15 years since it was last done - replacing front and rear bushings. Engine, transmission etc in process of cleanup and repaint. Hope to be done with chassis by Sunday.
-
Bit the bullet and ordered the Coker 670R15s. Unfortunately, they are backordered. Hope to get them in time.
Now to find some wheels. I have about a dozen 63/64 Avanti wheels. Hopefully, I can find 5 good ones. Otherwise, I do have a 78 Avanti parts car and could use those wheels. If all else fails, I hope to be able to purchase new.
-
After looking closely at the shop manual, I believe that the rotors as well as the rear drums came from the factory a natural black as cast - not painted. I did find some material to restore the as cast color (insta-black 333). However, I already painted them, so I will live with that for now
-
Spoke too soon. Looks like Walmart has Cooper trendsetters in 205/75x15.
-
Came up empty on Coopers. Do you have a source? Found some Kumhos and Hankooks though. Much less expensive than the Cokers. Still have the problem of fitting in the spare tire well.


R2 and R3 Engines?
in 1963-64 Avanti
Posted
FWIW, the authenticity manual states "With the exception of a few very early cars, the factory original units were painted orange ...", "around serial number R5200, they went back to installing as purchased again painted black". "Both black and orange are considered correct and authentic". Page C-106.