All Activity
- Past hour
-

84 Blaupunkt sacramento radio removal...help needed
grant mills replied to grant mills's topic in Avanti Information
Thanks. I just discovered last night that the amp was held down by two squares of velcro at opposite corners. I spent too much time agonising about how I was going to get the amp off and in the end it was a simple affair. - Today
-
Most likely 1204 was the first car they owned that was wrecked. After their insurance company found them a replacement, the insurance company probably sold 1204 at an auction, and it was subsequently rebuilt with a different body (what I have today).
-

84 Blaupunkt sacramento radio removal...help needed
ronmanfredi replied to grant mills's topic in Avanti Information
The amp on mine was attached with double sided tape. Wire harness plugs into the amp so once I got it loose, it wasn't hard to get out. Then the radio was next. There wasn't a rear bracket on the radio on mine, but there should have been. - Yesterday
-
I agree Dick…. And thank you Mike P. for the great photos of your nice work!
-
I took the radiator out of my 82 model, had it disassembled, cleaned and put back together. Worked like a champ.
-
Are you selling or buying?
-
Thanks to all that provided insight into this issue. Since my AC was apparently installed after the initial build, the folks who installed the AC must have just left the hose in. THIS IS A GREAR SITE FOR GETTING QUESIONS ANSWERED!
-
Thanks for your help and the photos!
-
Thank you! It turns out the AC system was installed after the ordinal build, so the deteriorated hose must have just been left there when they did the AC install. It sounds like there is no negative consequences for the loss of the hose's functionality, since it appears to have been there only to keep the auto shift controls cool. Thanks again!
-
Thank you for the information.
-
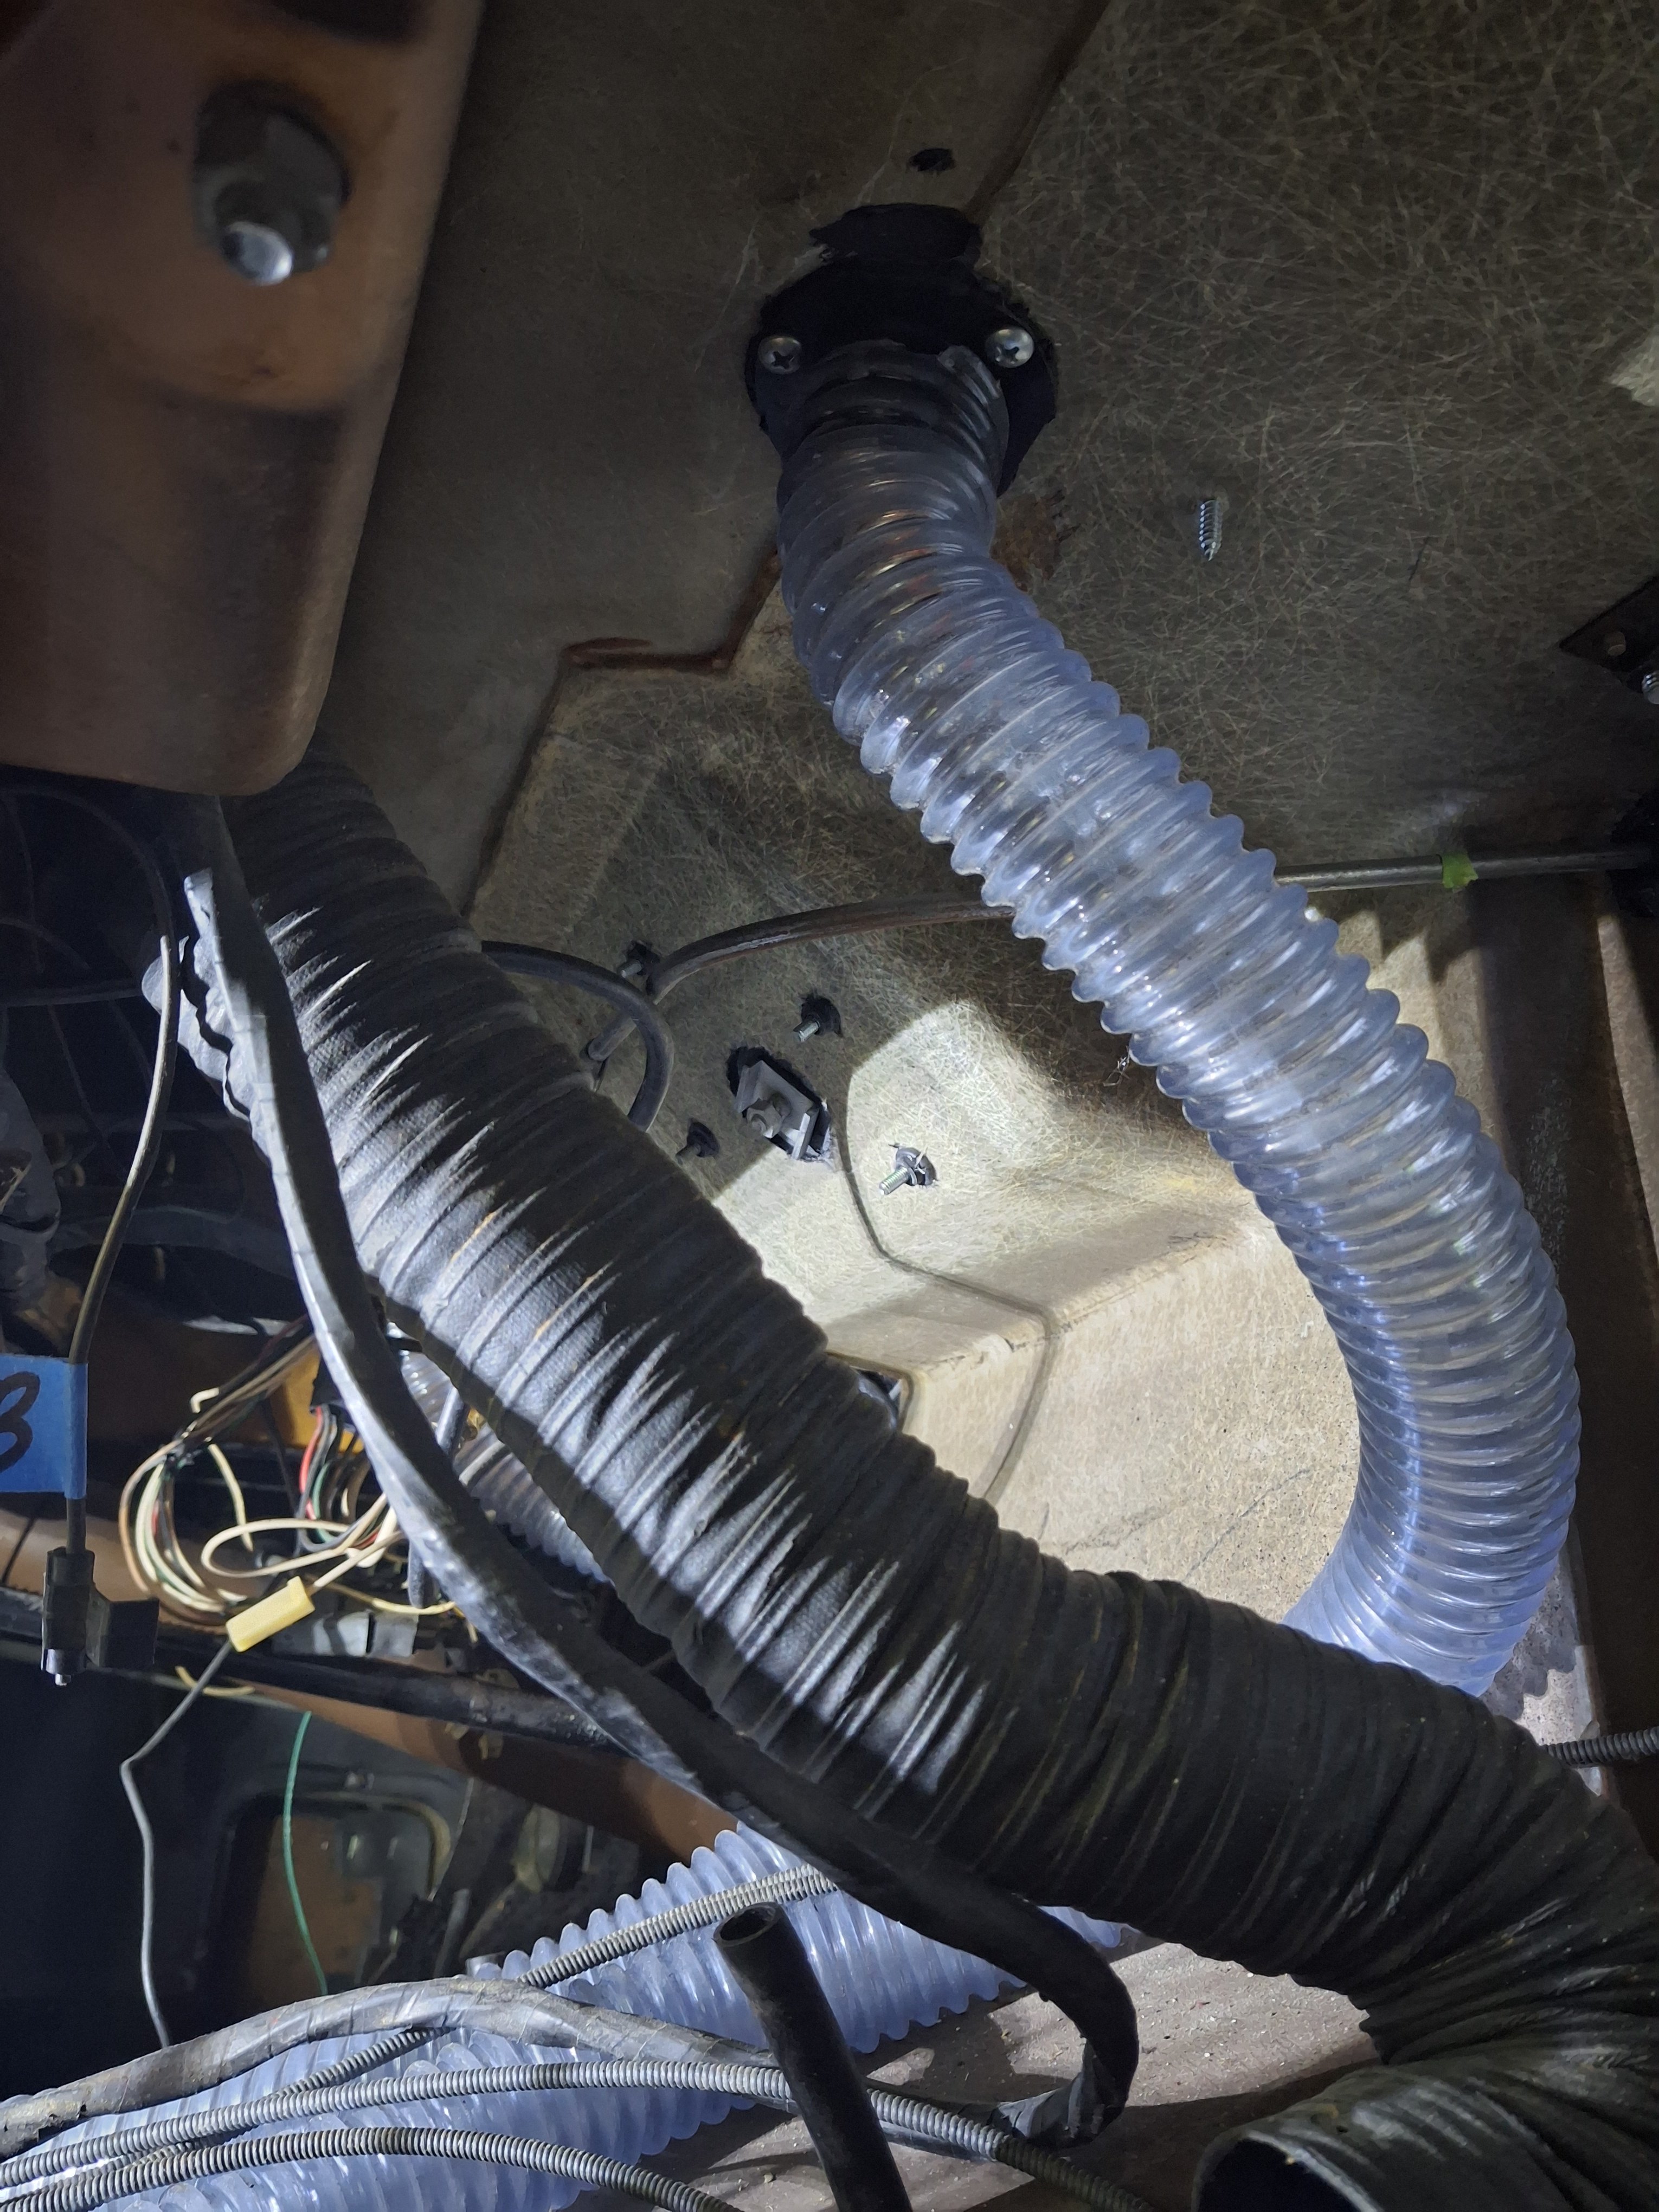
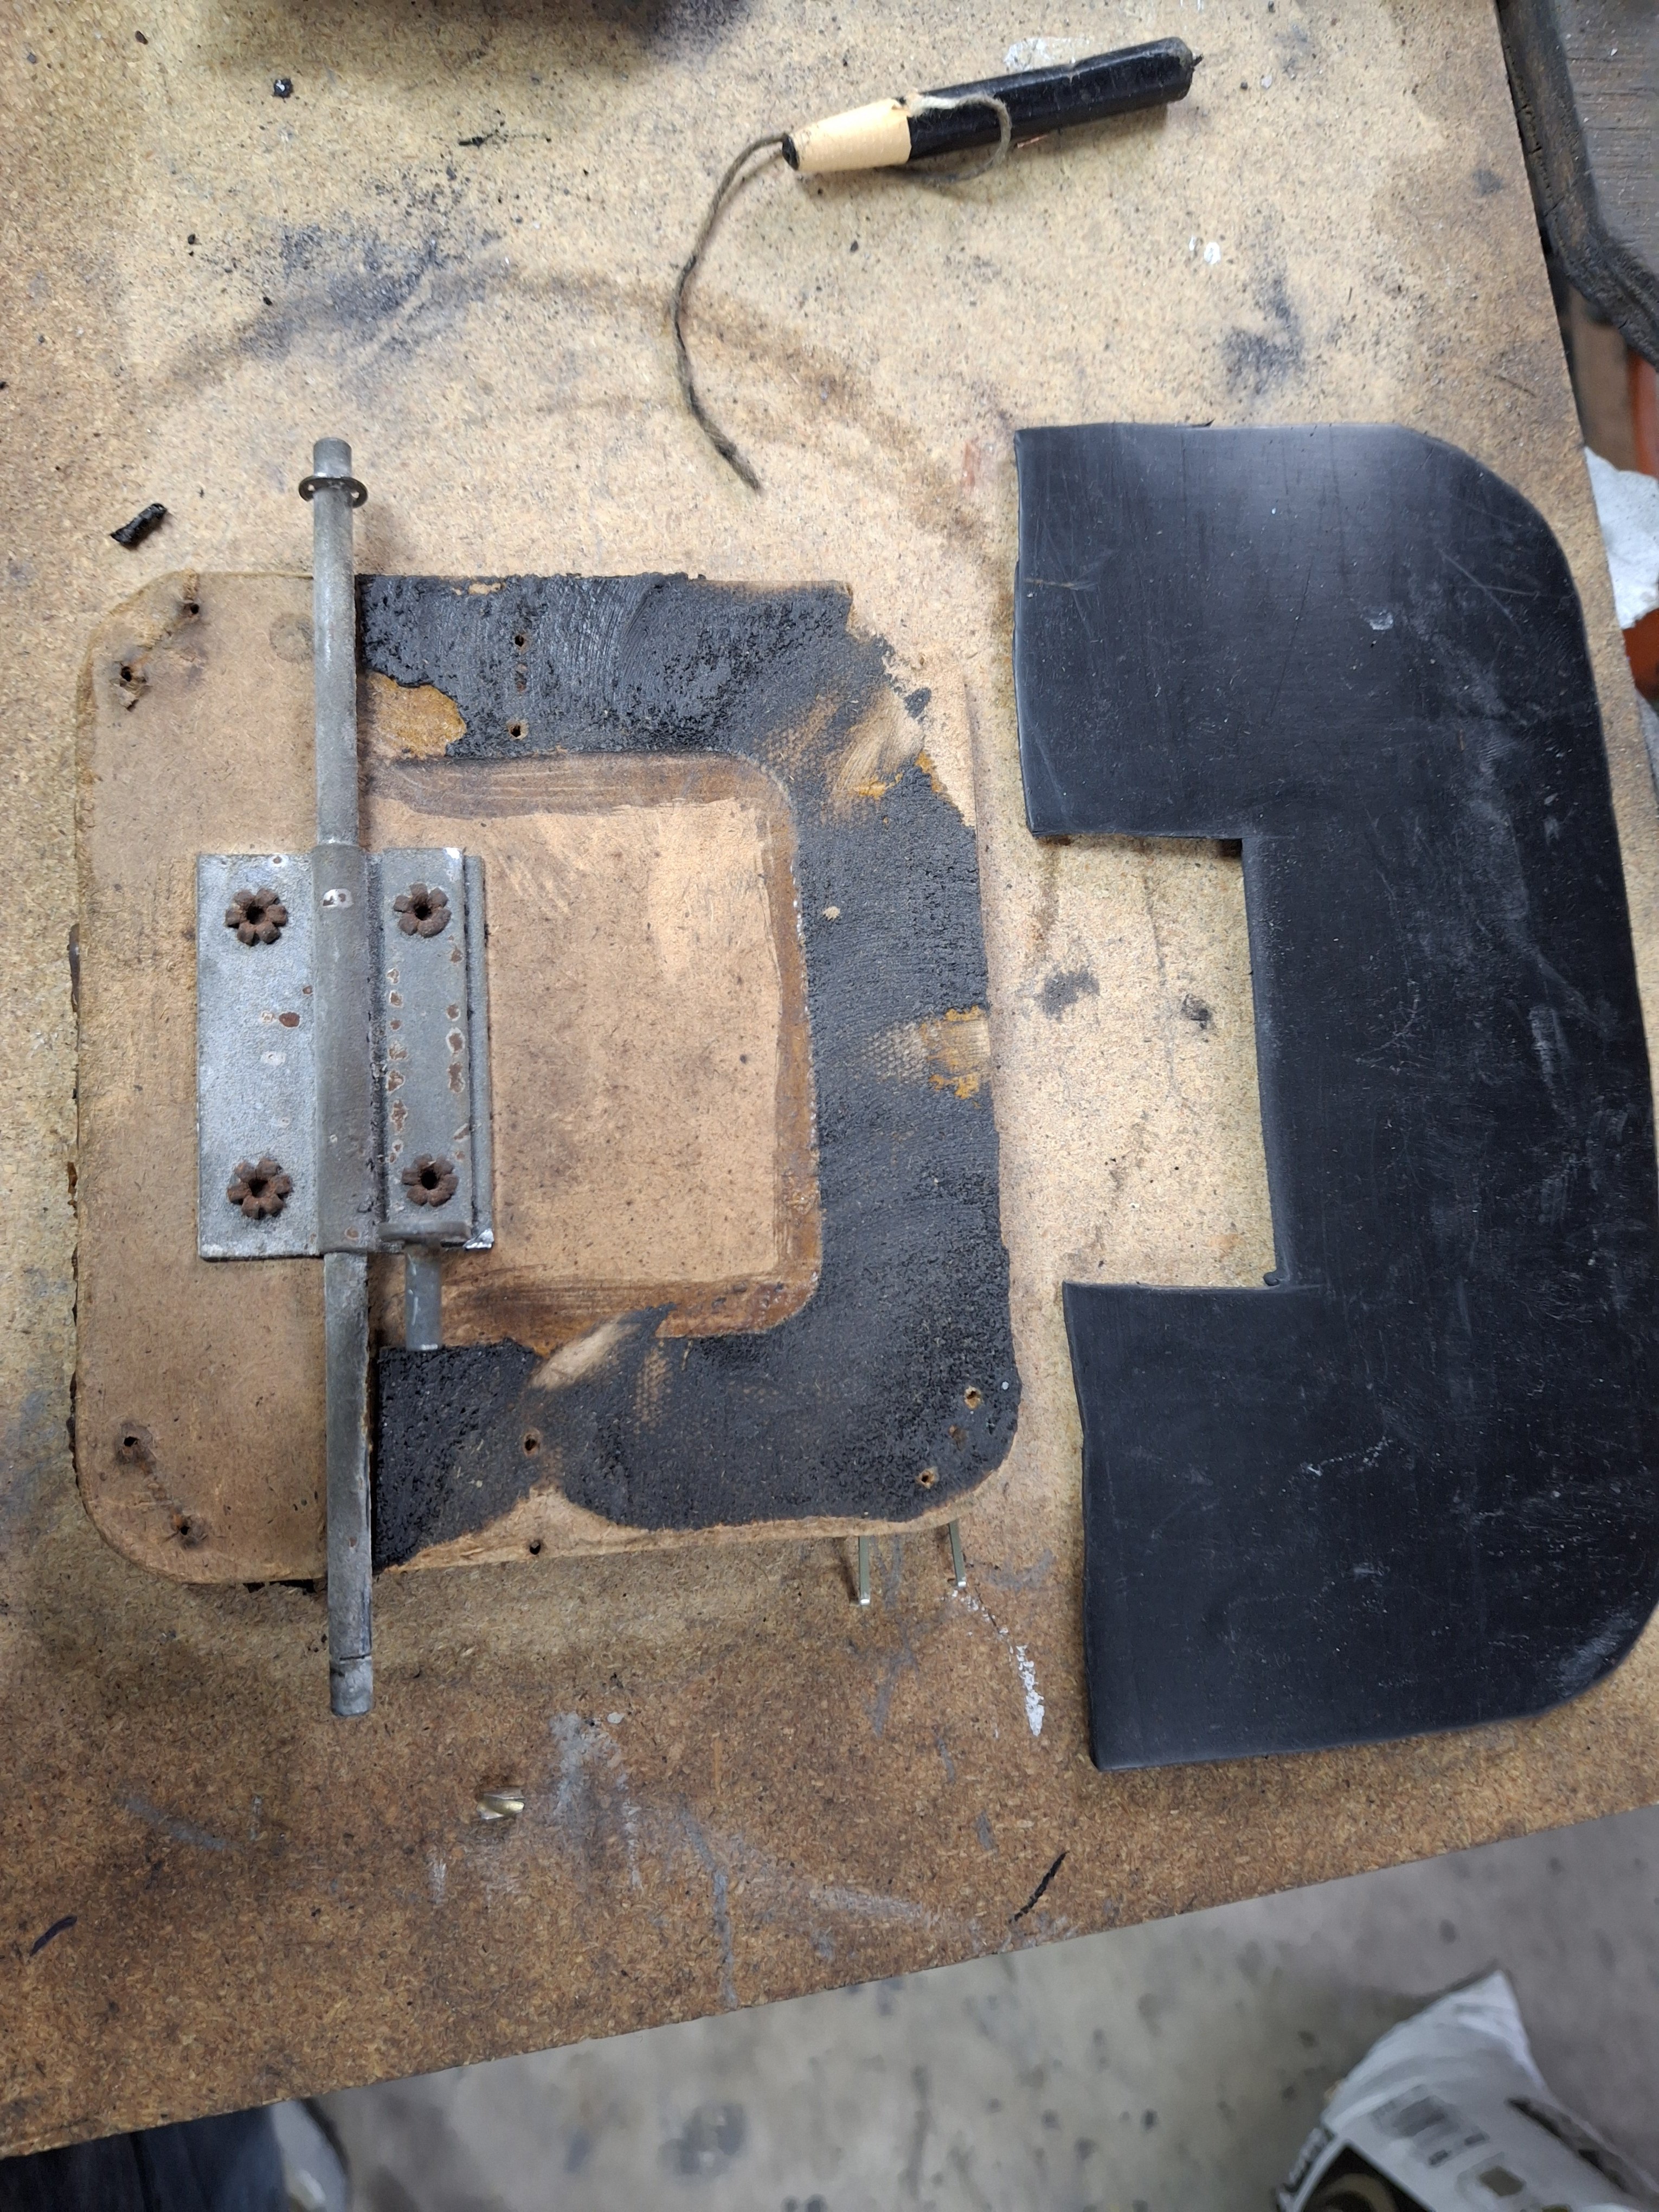
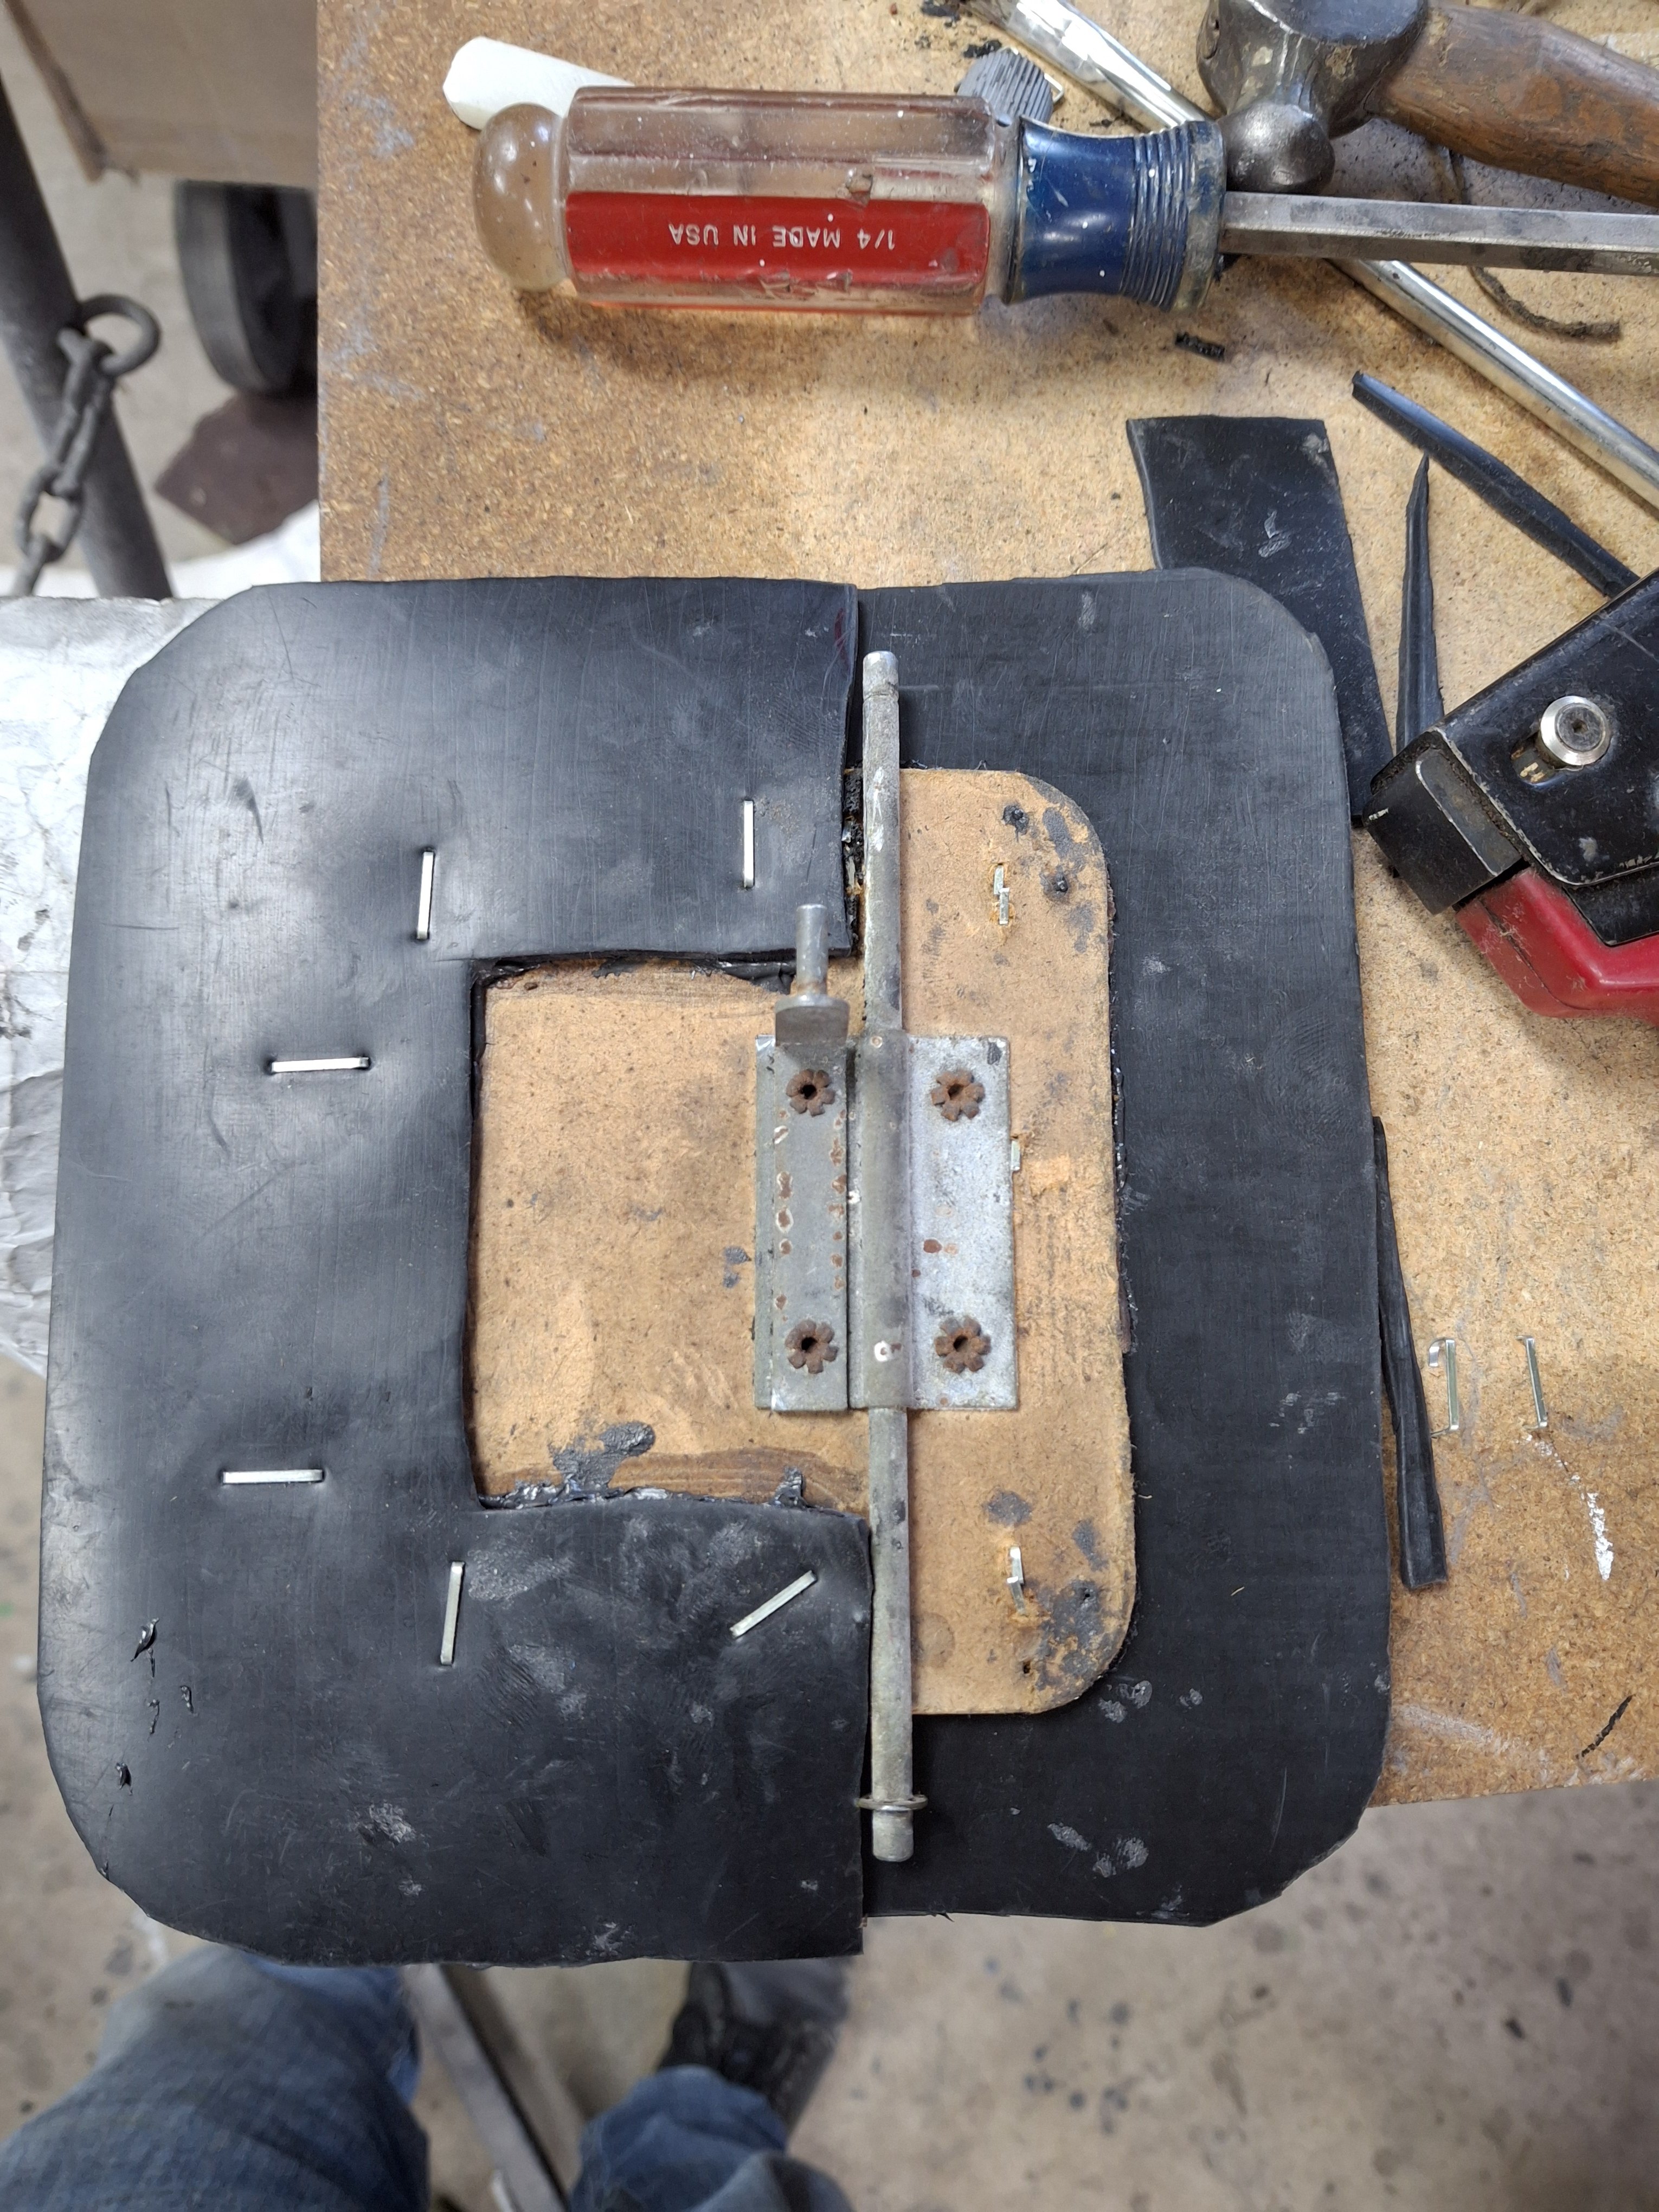
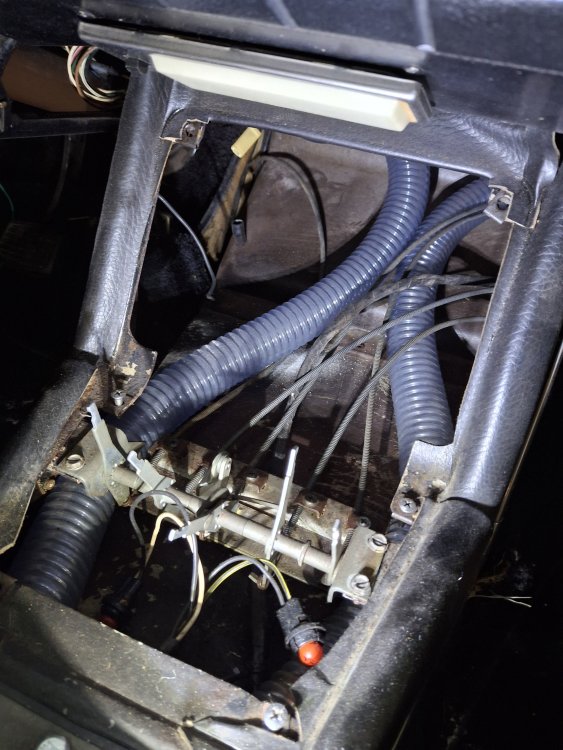
I replaced the hose with a plastic spiral hose that was sourced from an industrial hose supplier. Another source of unwanted hot outside air is to "flap doors" on the outside air supply plenum on the RT & LT toe board area. The soft rubber seal deteriorates and allows outside air to pass through. I fashioned new flaps from rubber sheet (the kind that plumbers use under shower pans). They were stapled to the pressboard door as was the original.


- Last week
-
I believe Studebaker felt the cooling kit wasn’t needed in A/C equipped Avantis for two reasons….. First, with the A/C in operation, the interior would naturally be cooler than in a non A/C Avanti…. and second, clearance issues between the twin cooling hoses and the console A/C evaporator…. (Although the Altman crew apparently figured that one out!!)
-
Yes…another ‘Altman Avanti’ ! ( You’ll notice on the Stude Avanti parts manual illustration above a non A/C console is used for reference)
-
Well, I have aicon and this cooling kit on my '69 Avanti too.
-
The Studebaker Avanti twin hose console cooling kit was installed on non-air-conditioned Avantis with automatic or manual transmissions…..The main reason it was installed was to keep the shift lever at a tolerable temperature.
-
Yes… my point was Studebaker (as far as I know) did not install the console cooling kit on their late Avantis with A/C…. So I was a little surprised to hear that the Altman’s installed that twin hose console cooling setup on Avanti ll’s…. most all of which, like yours, were built with A/C!
-
Looking for a R3 intake manifold?
-
A project indeed...
-
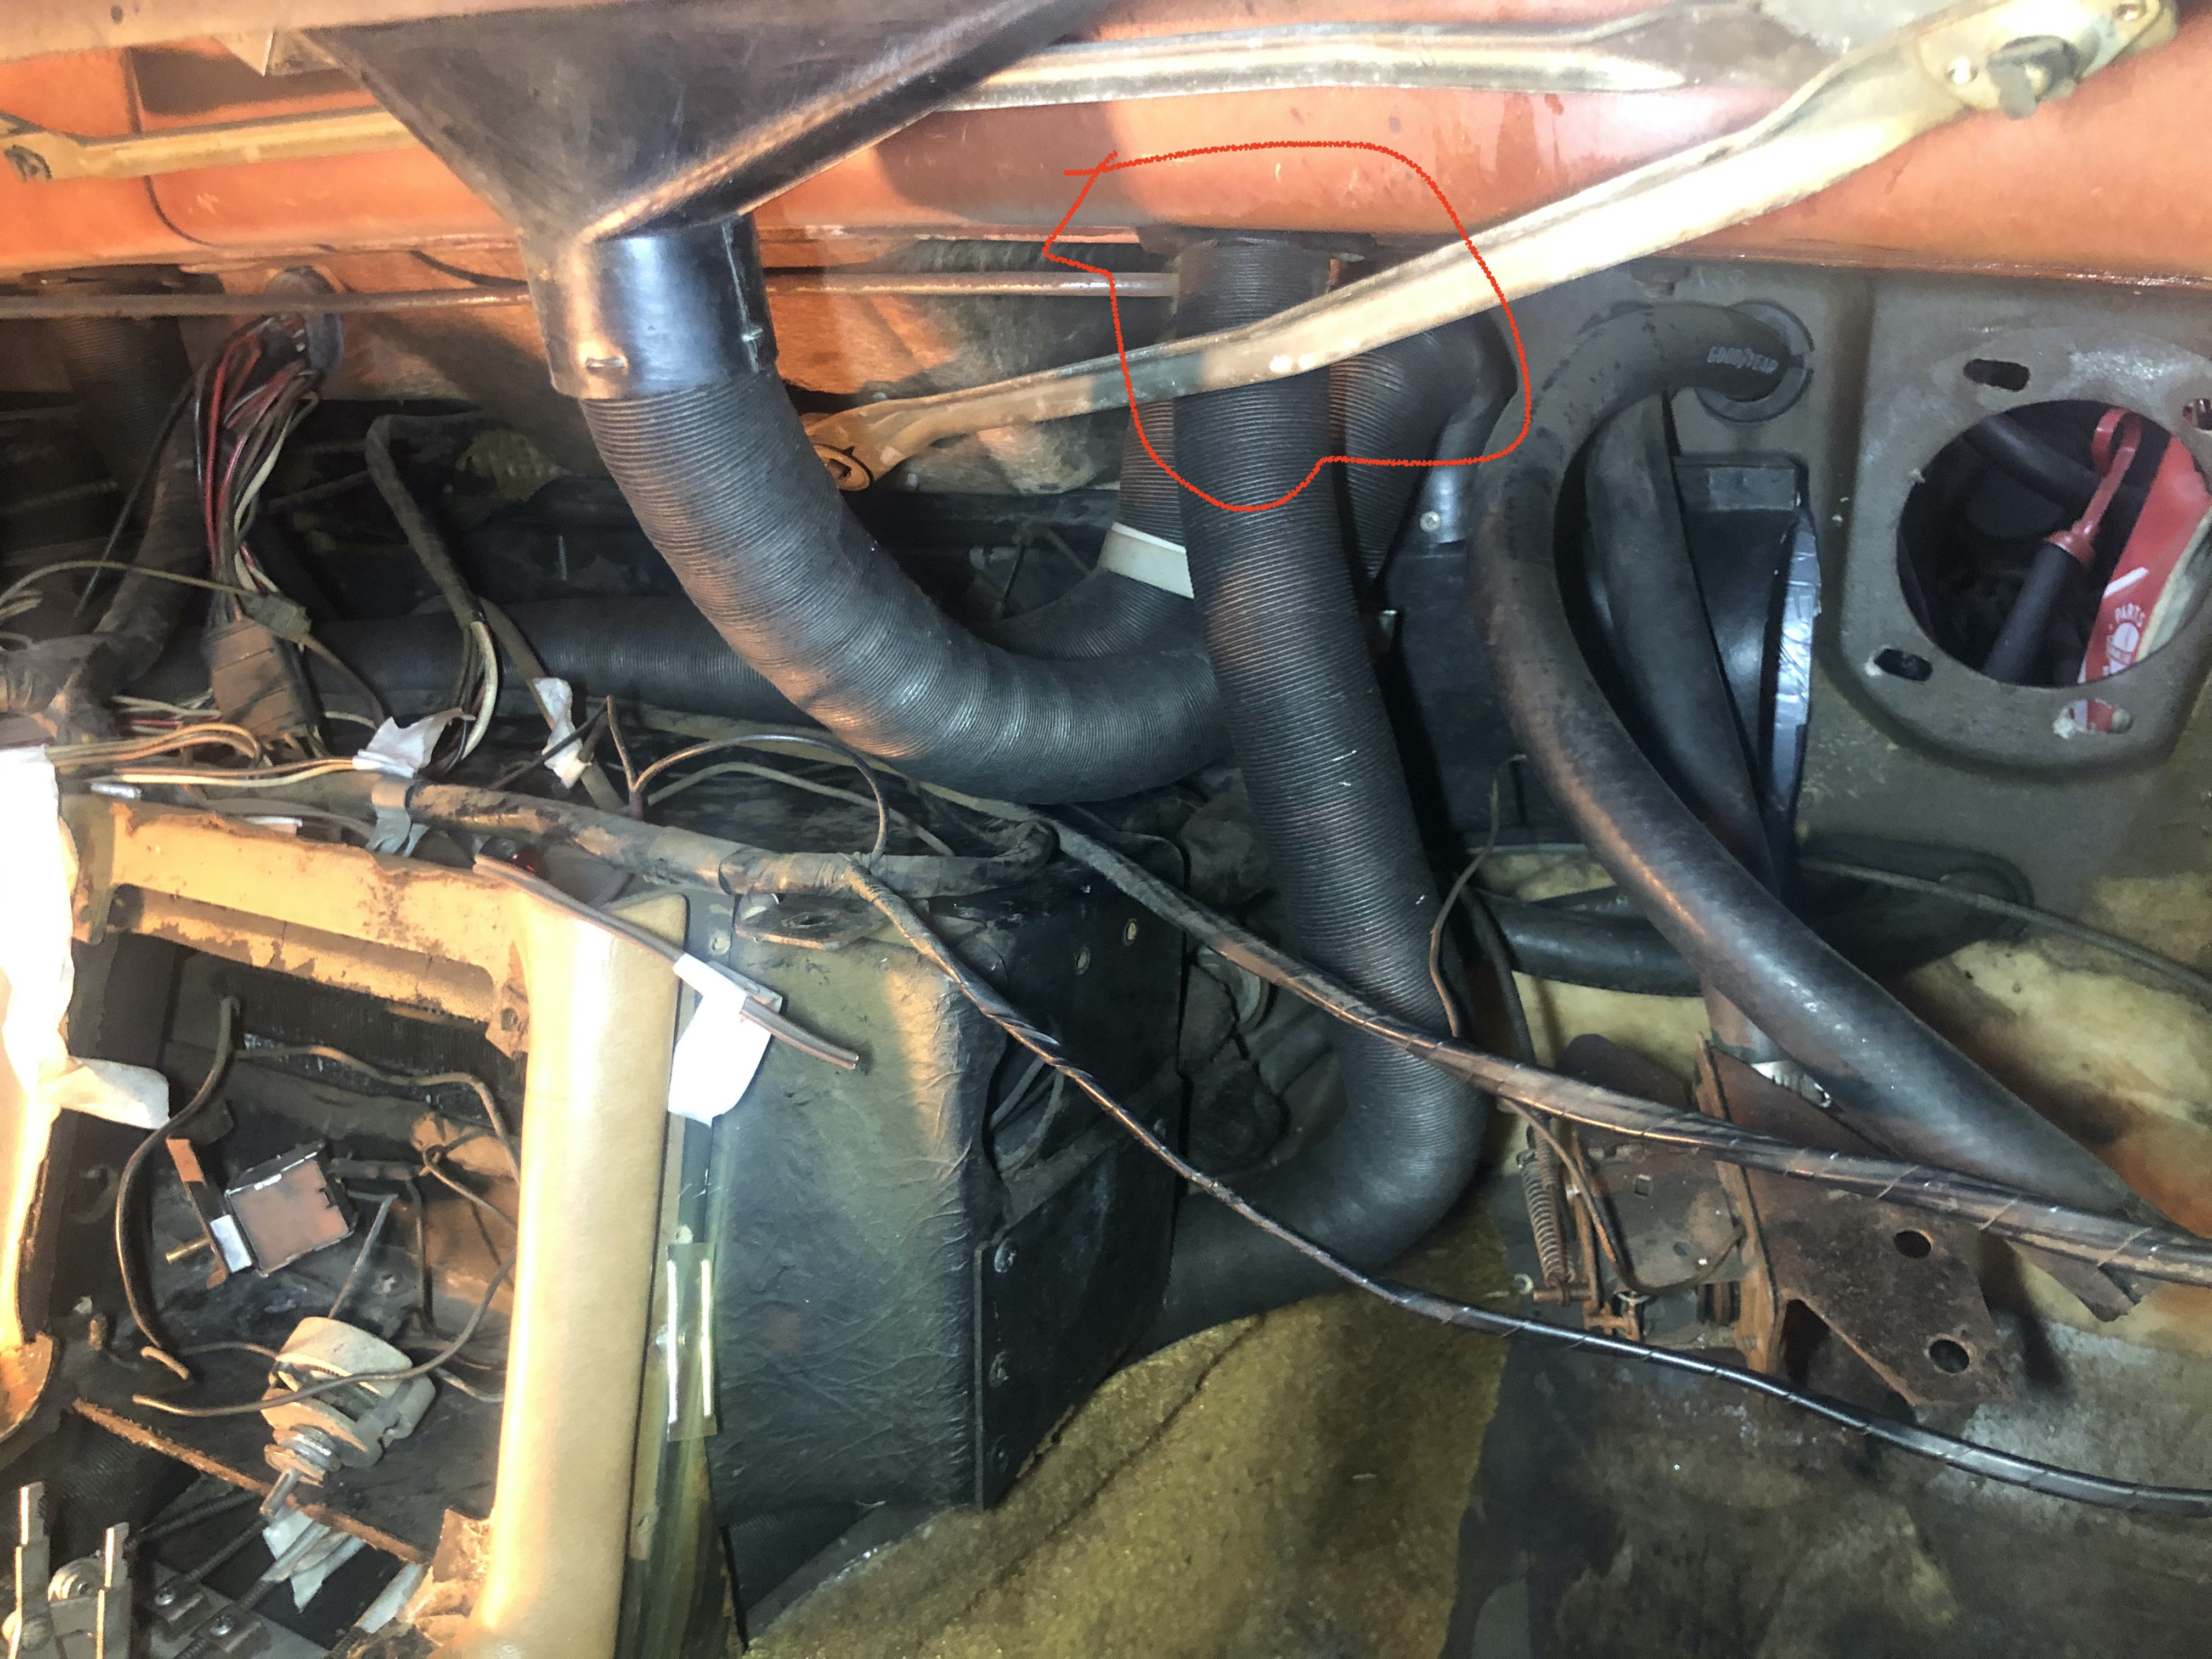
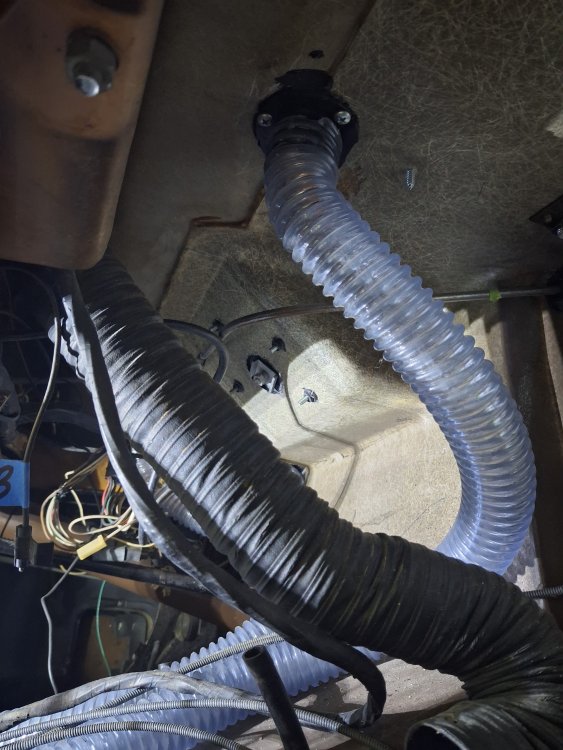
It has nothing to do with airconditioning but all with cooling of the autotrans. The hoses on my '69 Avanti II were gone too. Here's a pic, one hose is visible.

-
Best I can remember, I used ‘82 Chev Monte Carlo engine mounts in my ‘83 Avanti 305.
-
Interesting!…. You have an Avanti ll equipped with air conditioning …..On the earlier Studebaker Avantis, I don’t believe that console cooling system was used on the late ‘square light’ Avantis equipped with factory air conditioning…. Apparently they changed that policy on Avanti ll’s.
-
It draws in outside air from the cowl of the car. If you look outside at the base of the windshield through the intake grating you'll see two intakes under the square covers.
-
 Cari56 joined the community
 -
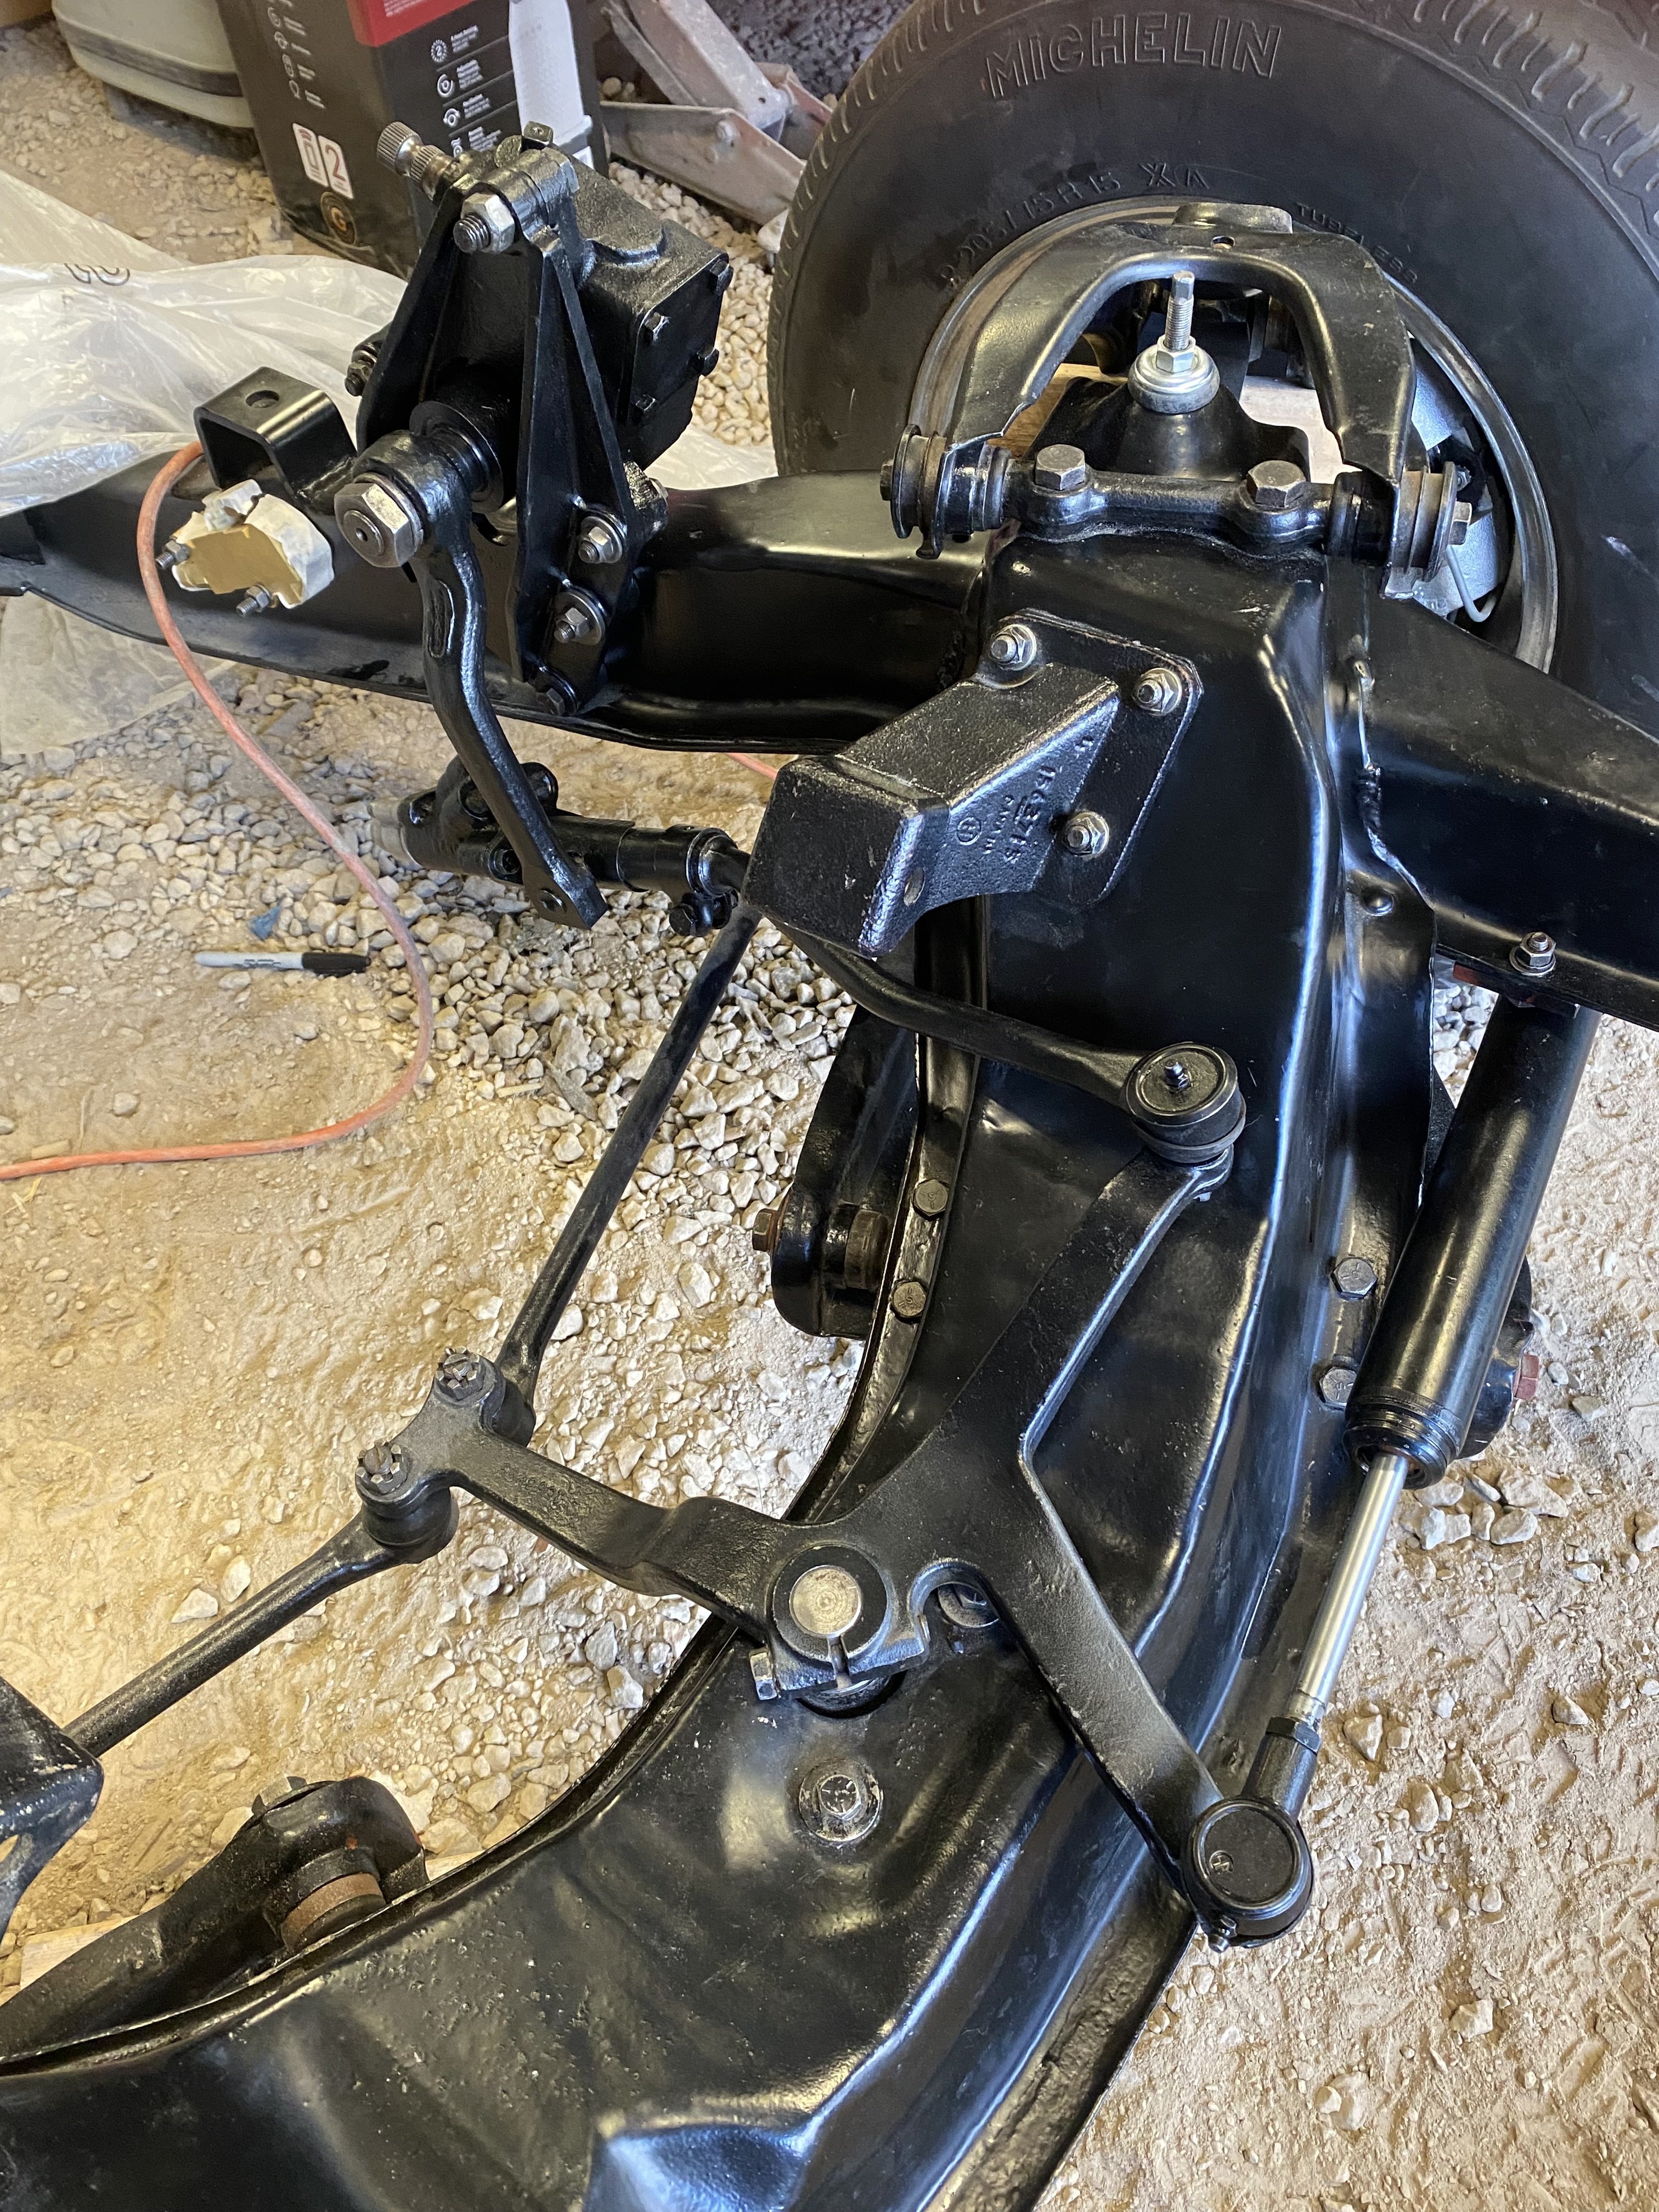
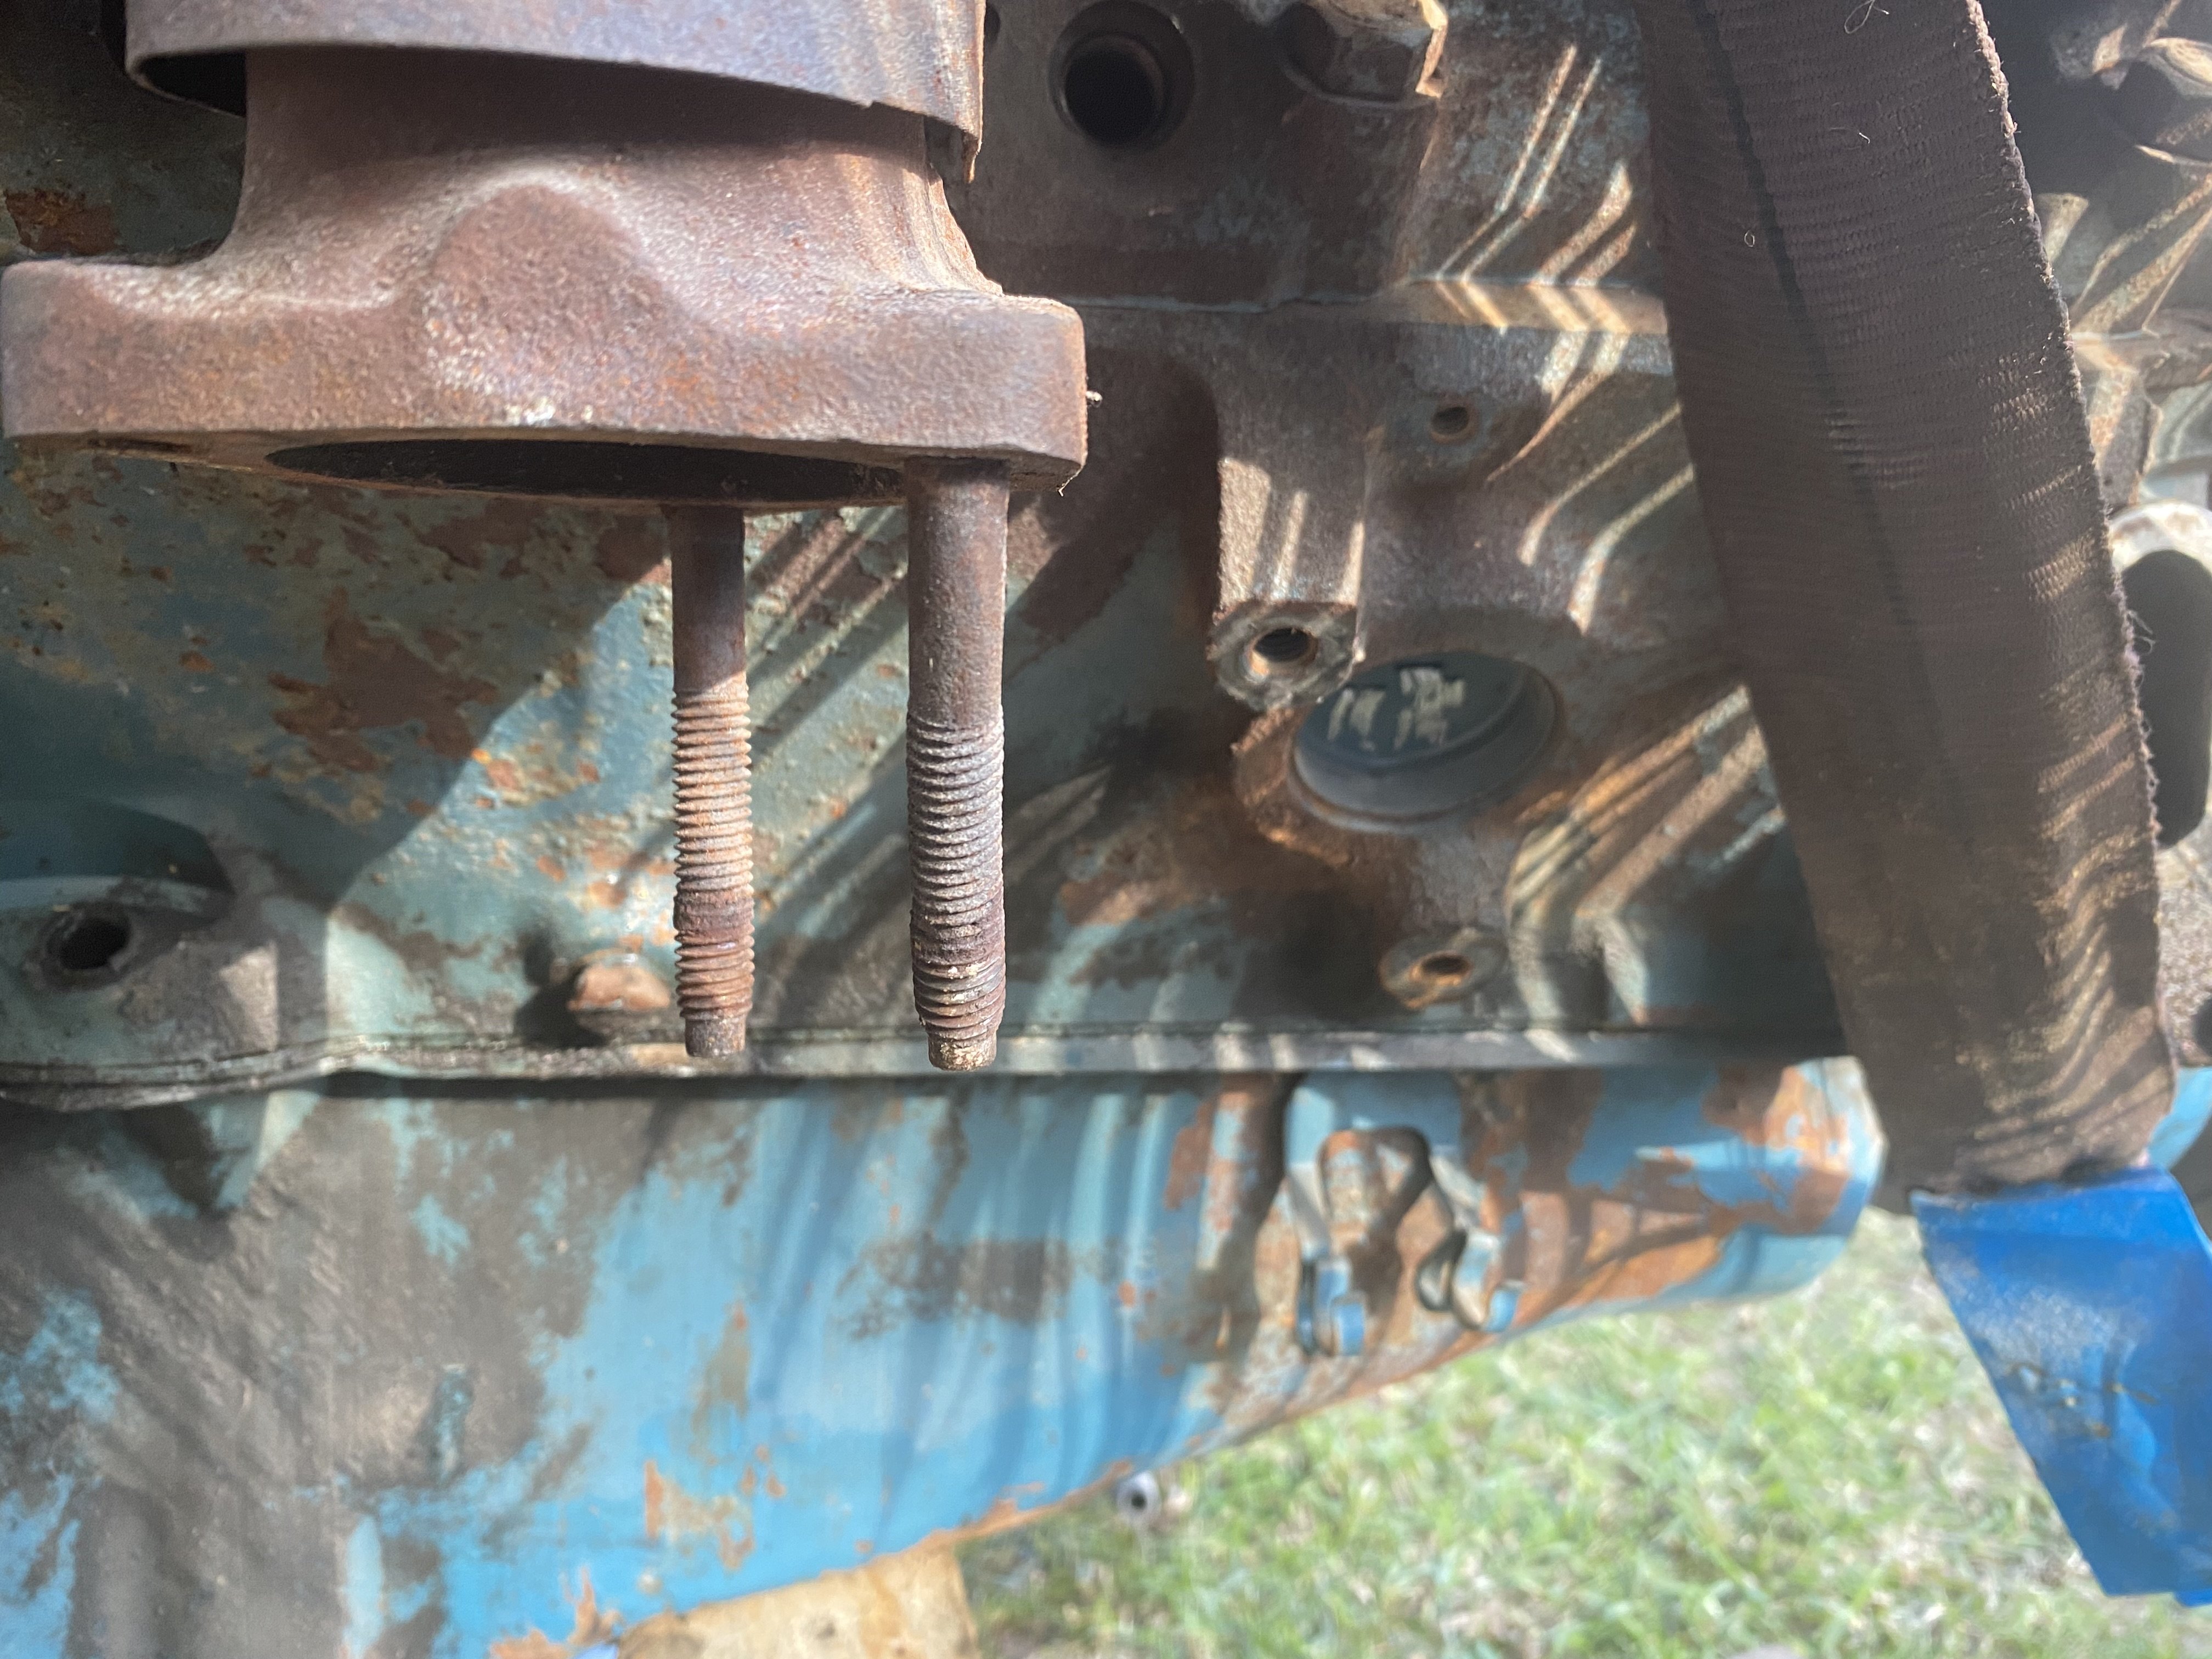
Hi Klaus- I'm making a few assumptions here but having replaced the mountings for my 1981 305V8 recently, I'd wonder whether they might be the same because these engines are small block Chev. I used the same ones recommended for Corvettes 1969 to 82. I have engine mount 'pedestals' on my Front Crossmember as in the photo. If yours are the same, I'd look at the corvette mounts. By all means let me know if I'm wrong !


-
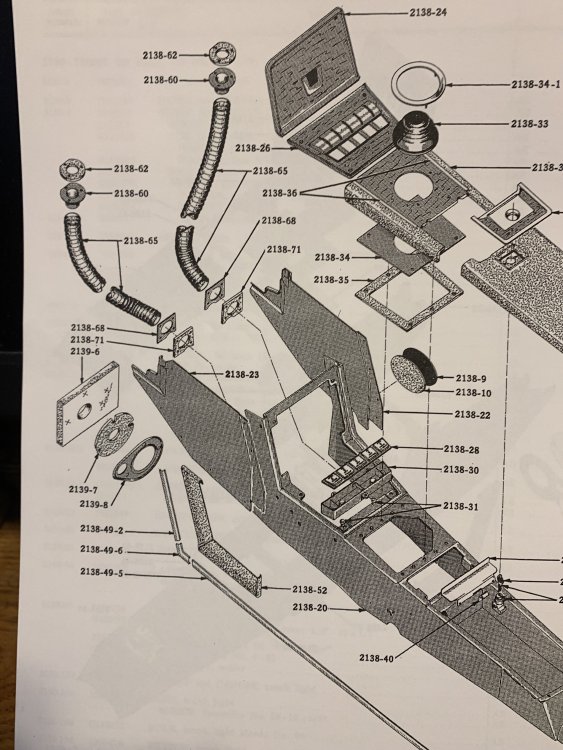
Last fall I purchased a 1967 Avanti II. I had to replace the air intake heater core control cable (bowden cable). In the process of routing the cable above the AC evaporator, I noticed that the "Hose trans cooler" on the passenger side had corroded and deteriorated to the point that it really was totally gone (just pieces). I looked at the parts catalog, and found the attached graphic (shown as 2138-65) . It really does not indicate where it connects at the top of the dash. Before I dig deeper into the dash and console, I have several questions. Where does it get the 'fresh air' from? Are there any better pictures or drawings showing the connections? I know it says it is a trans cooler hose, but is it just a convective air flow cooling system? What are the consequences/risks of not replacing the hoses (left and right)? If anyone has replaced these, any advice on the process would be appreciated. By the way, it has a GM 3 speed automatic transmission.
-
84 Blaupunkt sacramento radio removal...help needed
grant mills replied to grant mills's topic in Avanti Information
I've done the first of those steps. I can see the amp on top...a simple PCB somehow affixed to the top. I have not yet figured out how it is attached. I think I have found the source of my problems. There appears to be an L shaped bracket at the back..bolted to a base plate and the vertical portion has a bolt from the radio going through it and has a white wire held down by a (loose) nut on that bolt. Taking the nut and wire off does not appear that it will loosen the bracket so that the radio can be removed, but I will give it a try after I have photographed as much as I can in case I do a reassembly of the original radio connections. I have found an operating manual and schematic of the electrical for that particular radio and downloaded them....and looking at it just now, I see it has a "quick bolt" on the back for connection to a supporting strap. This may be all that I need to finish the removal