ronmanfredi
-
Posts
341 -
Joined
-
Last visited
Content Type
Profiles
Forums
Events
Everything posted by ronmanfredi
-
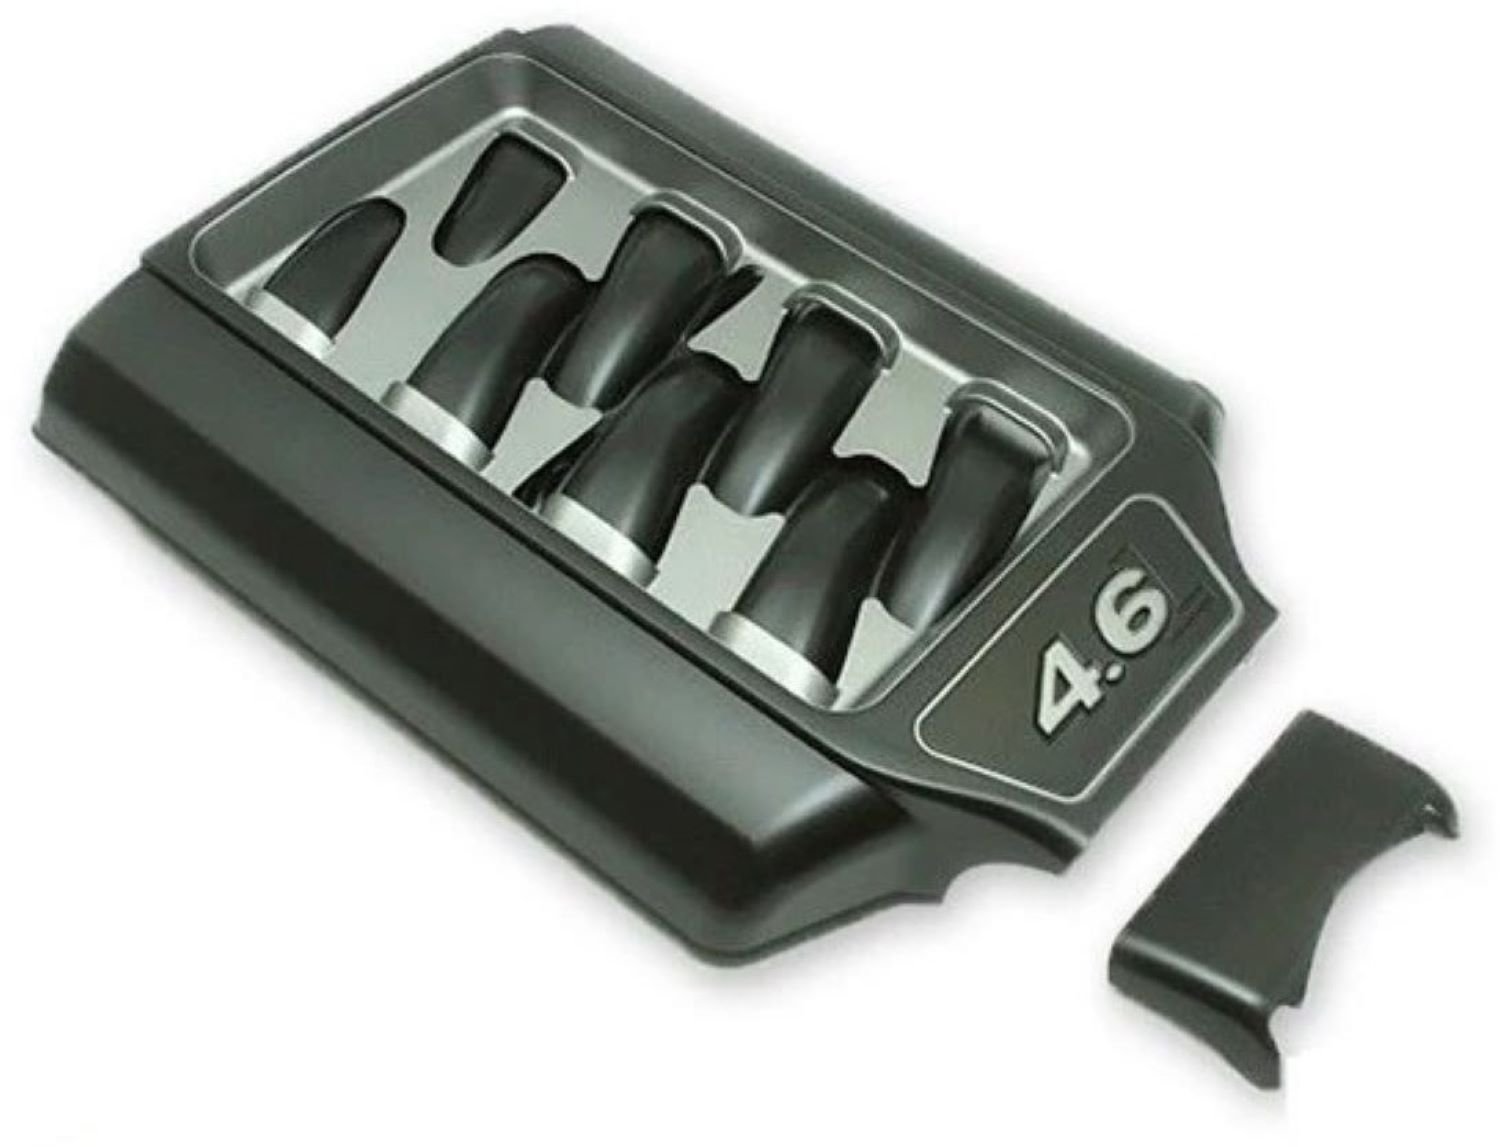
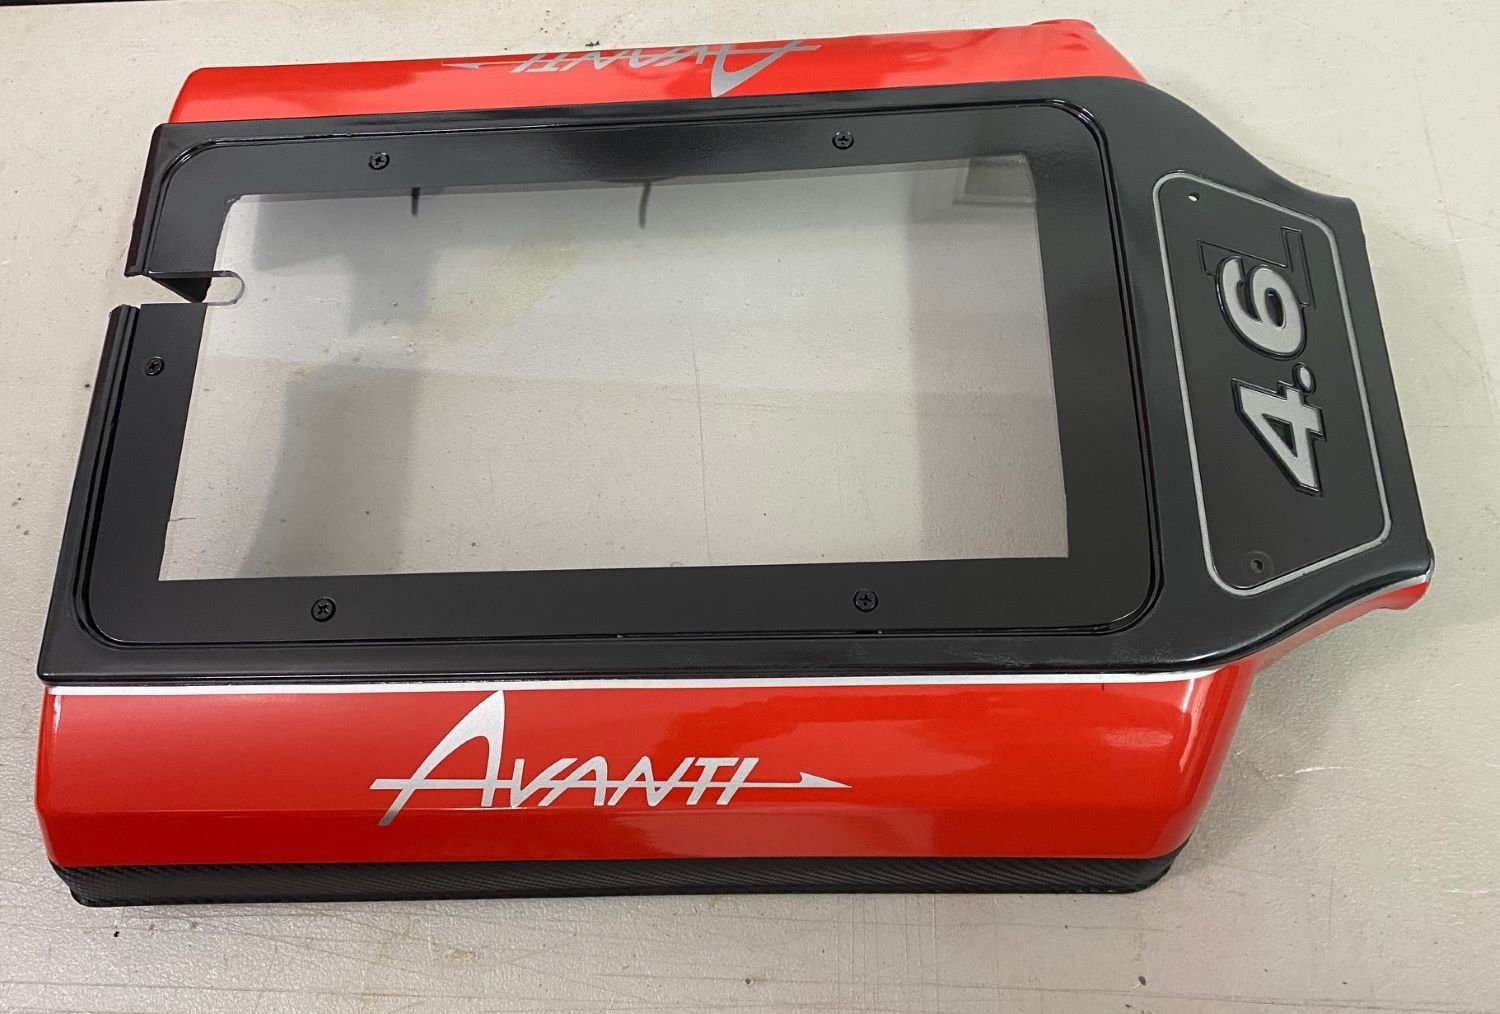
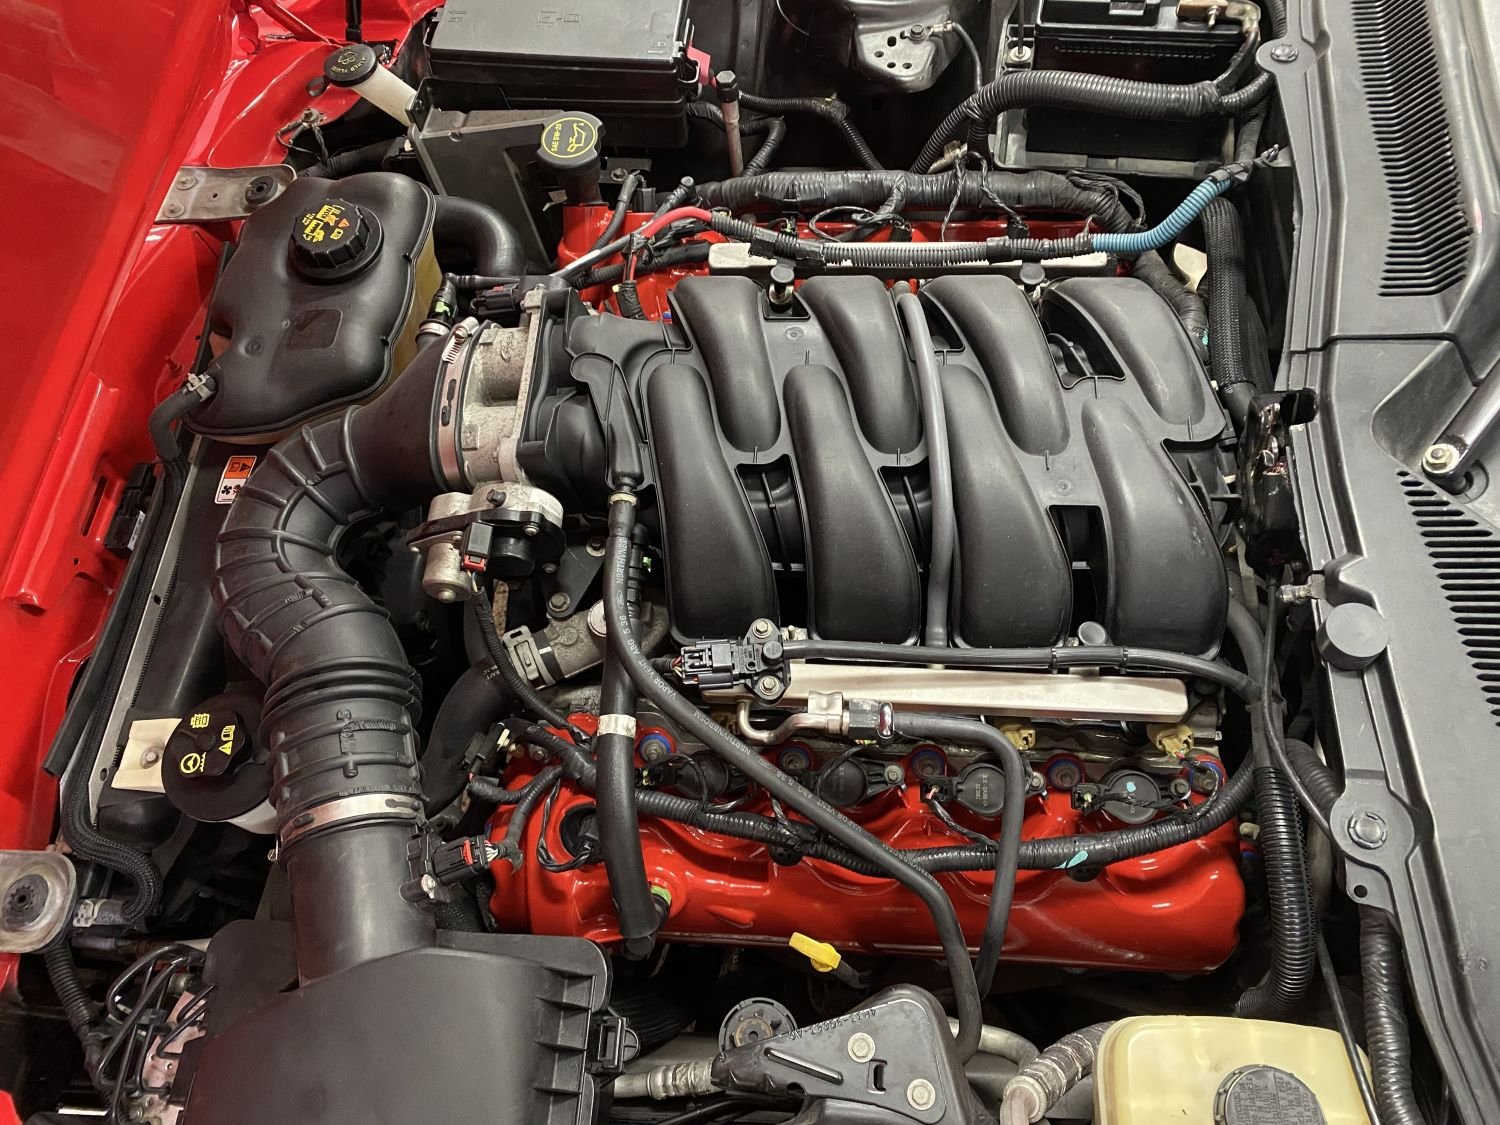
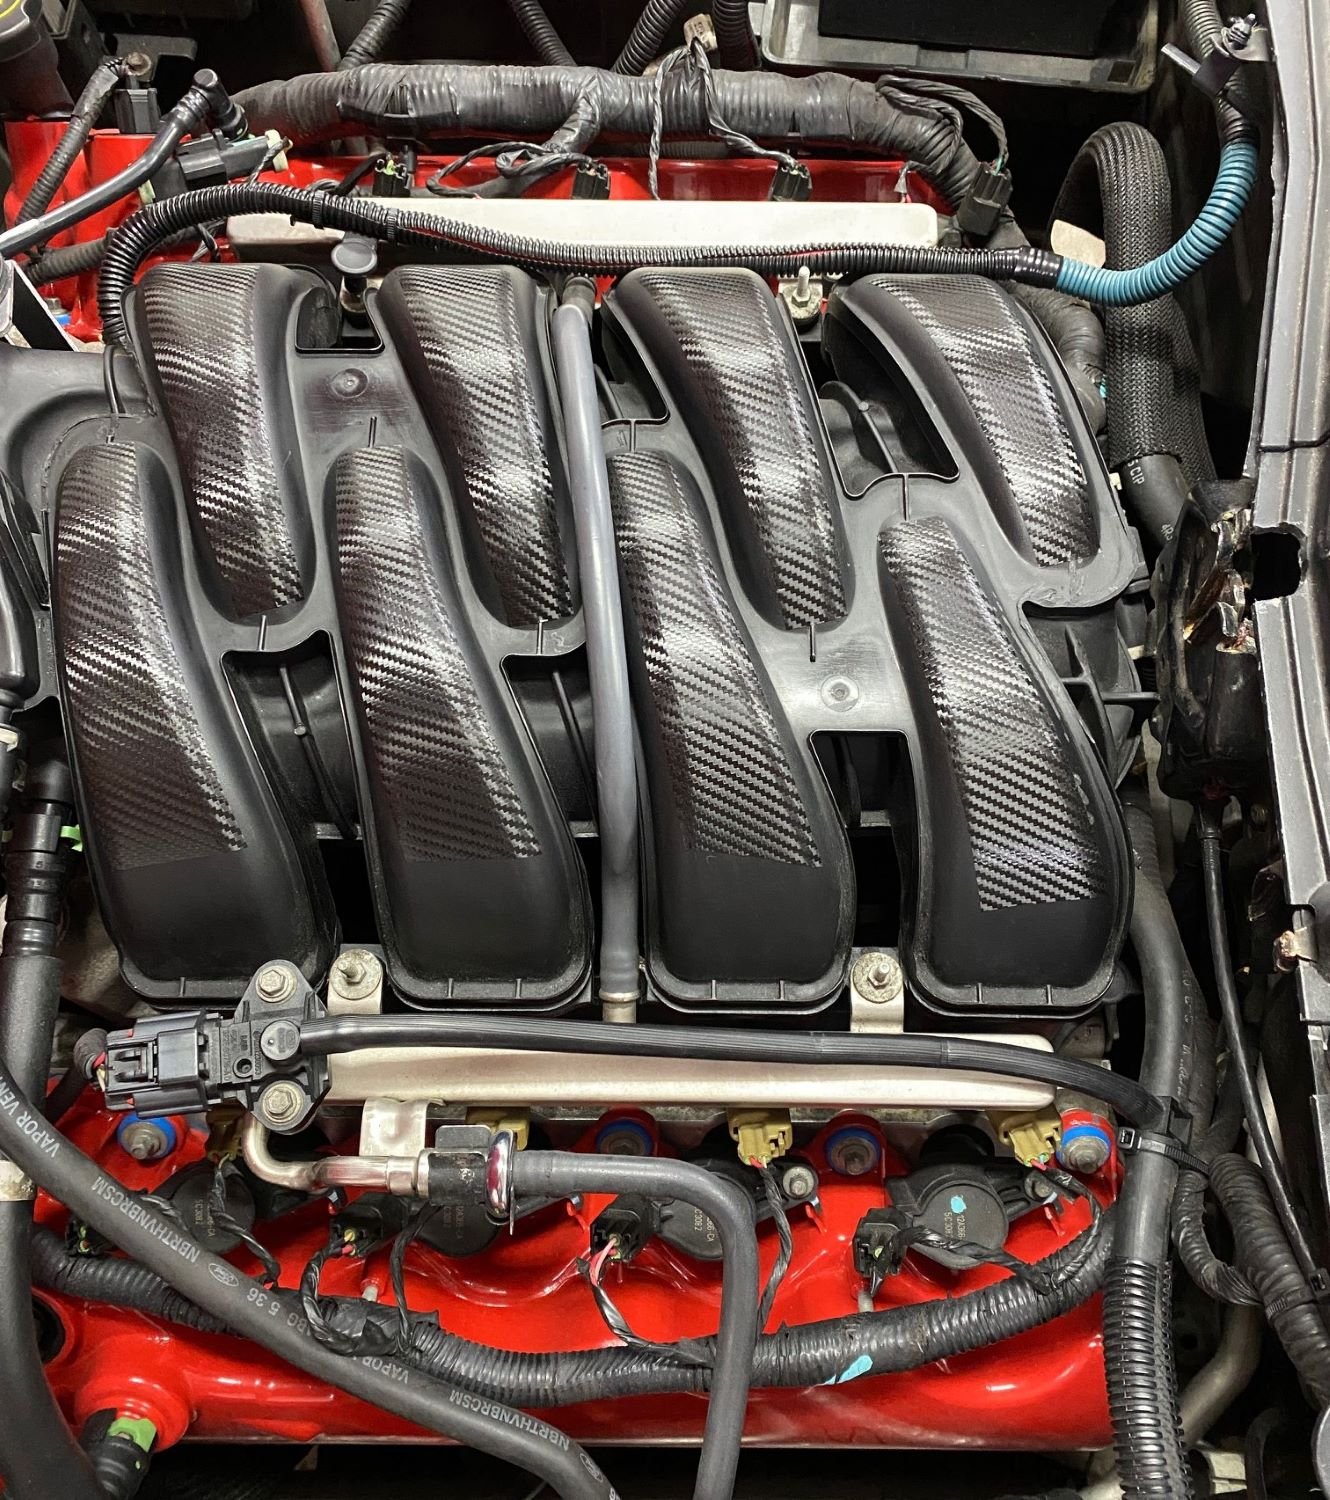
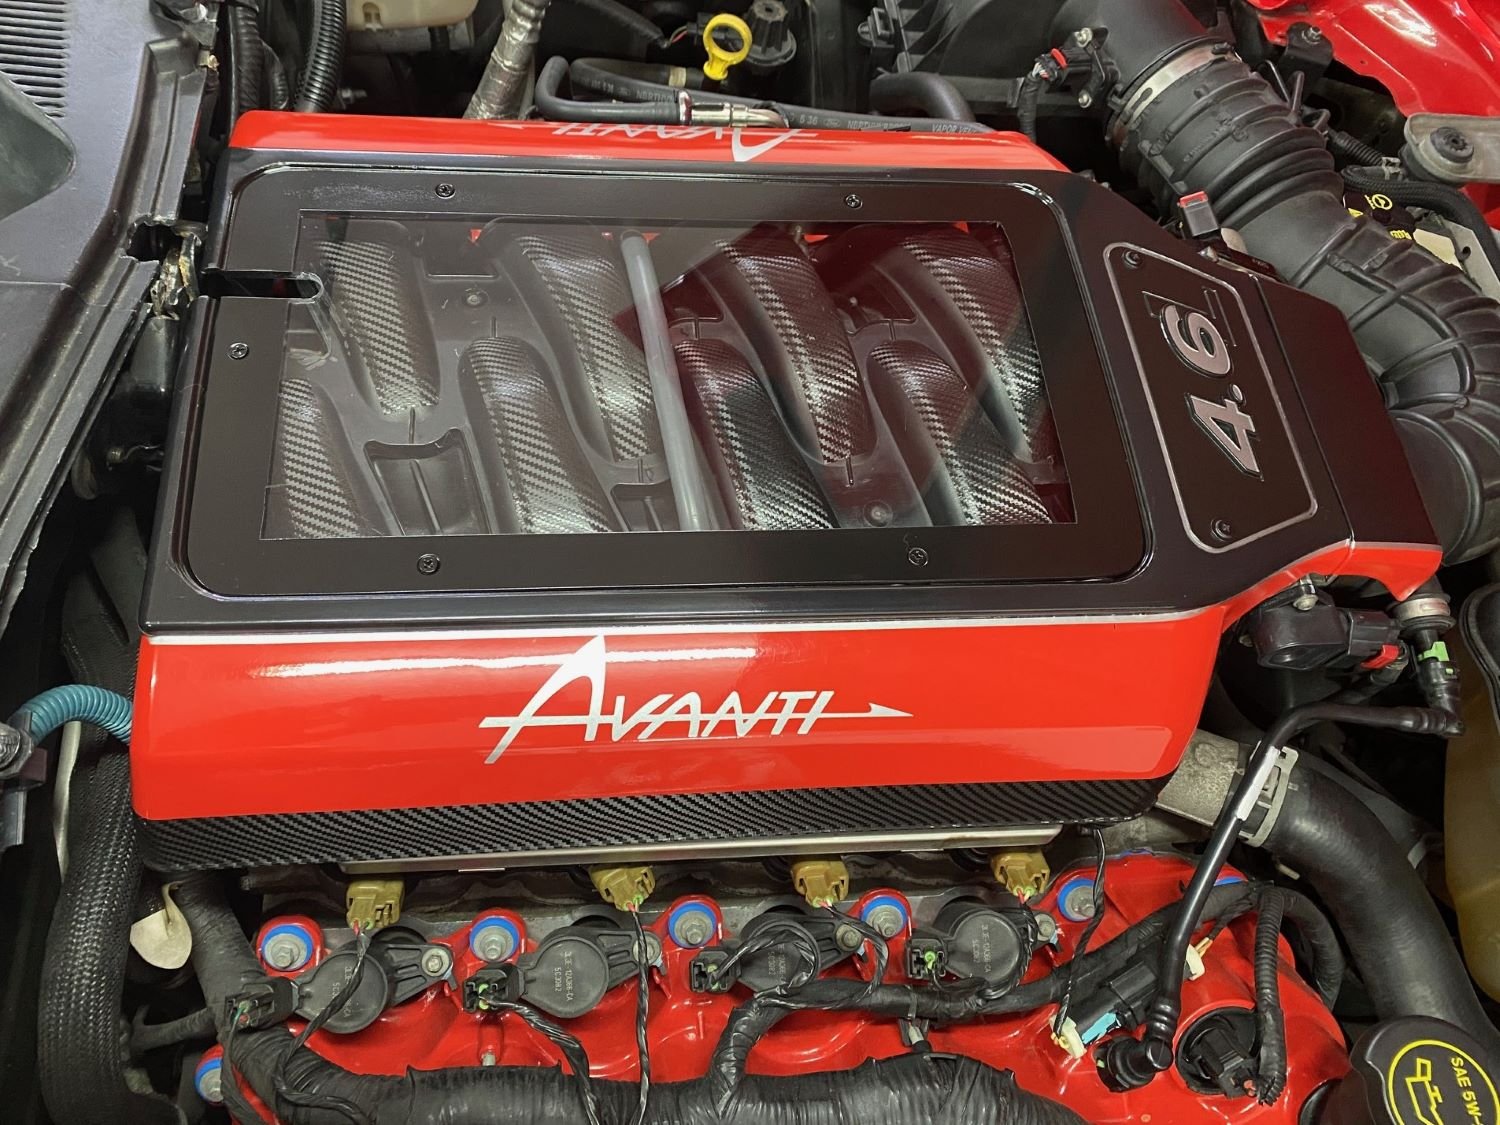
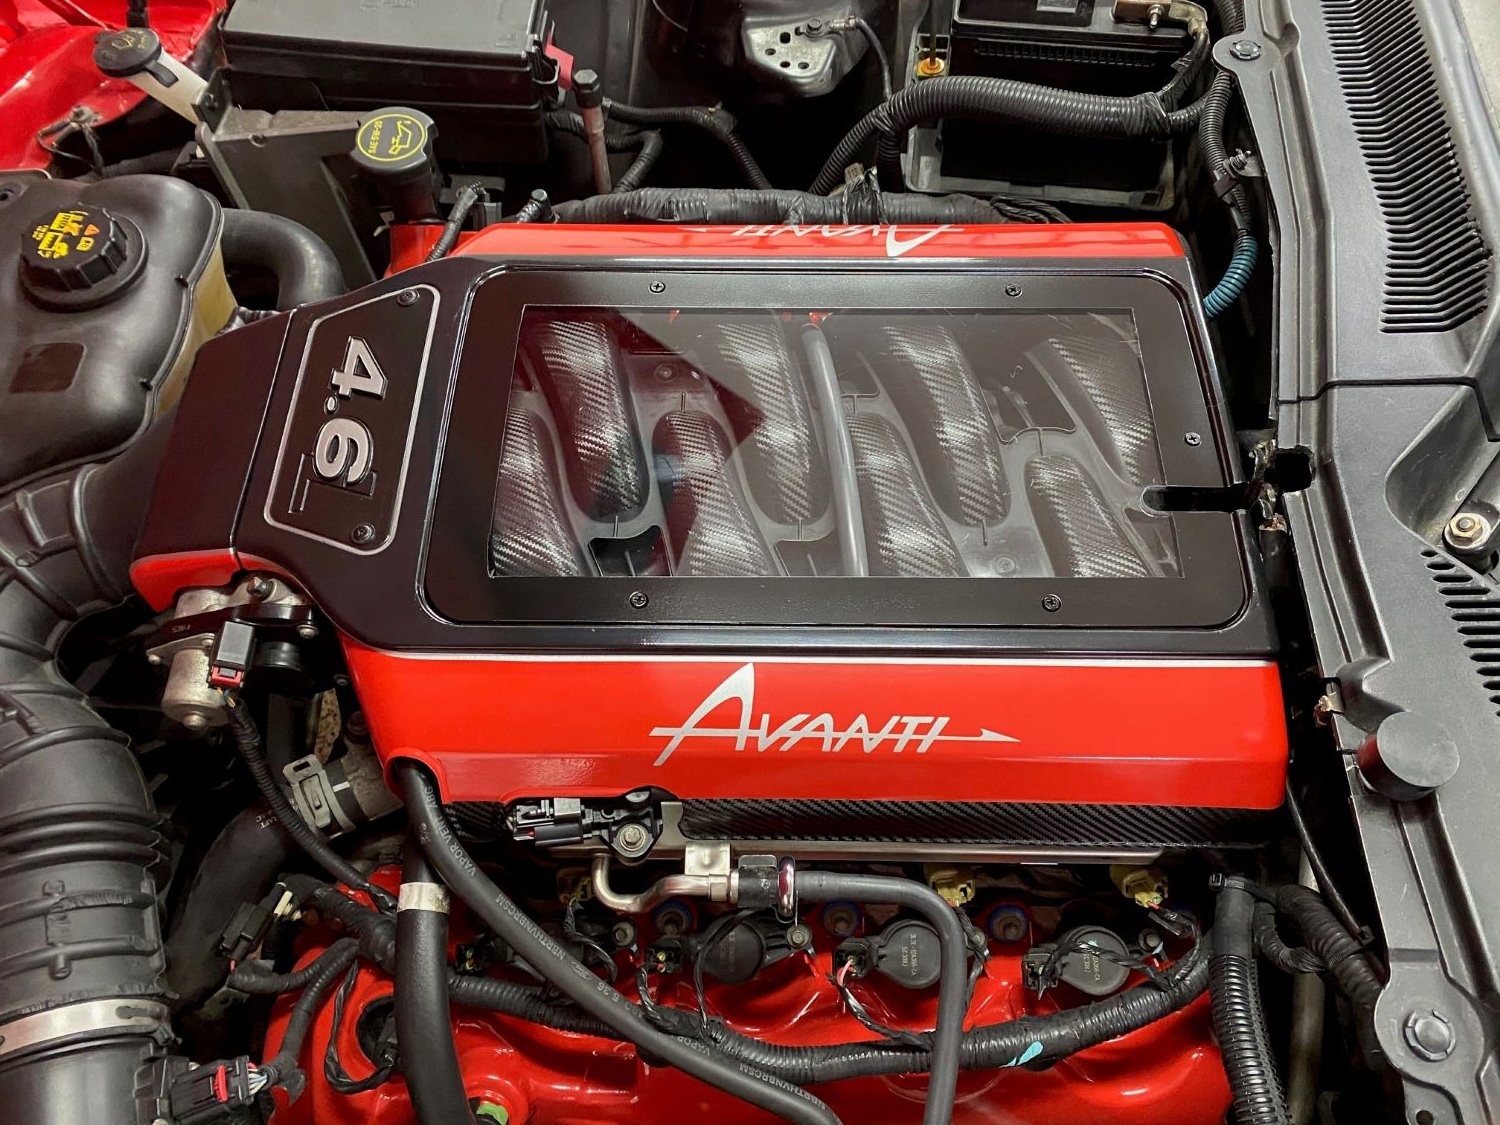
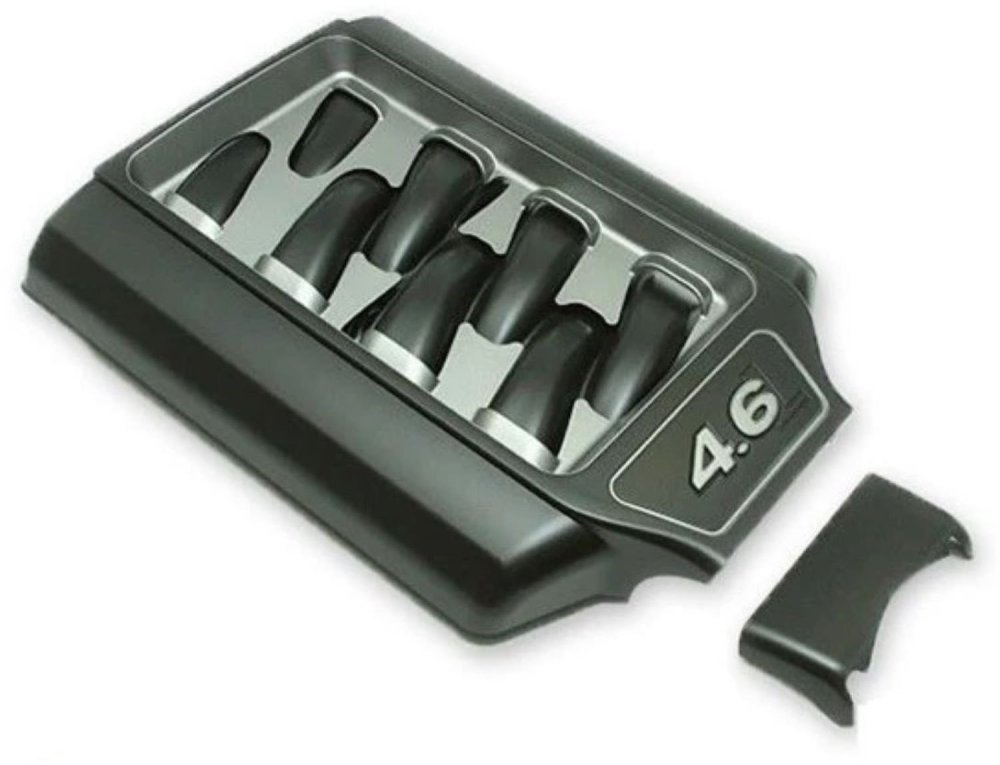
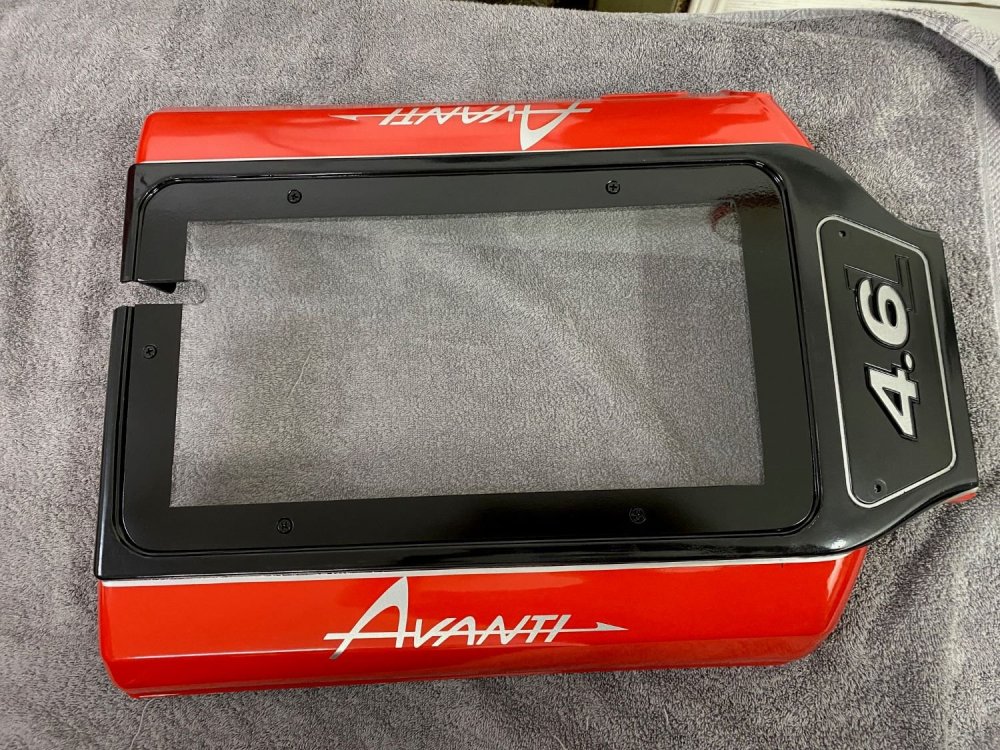
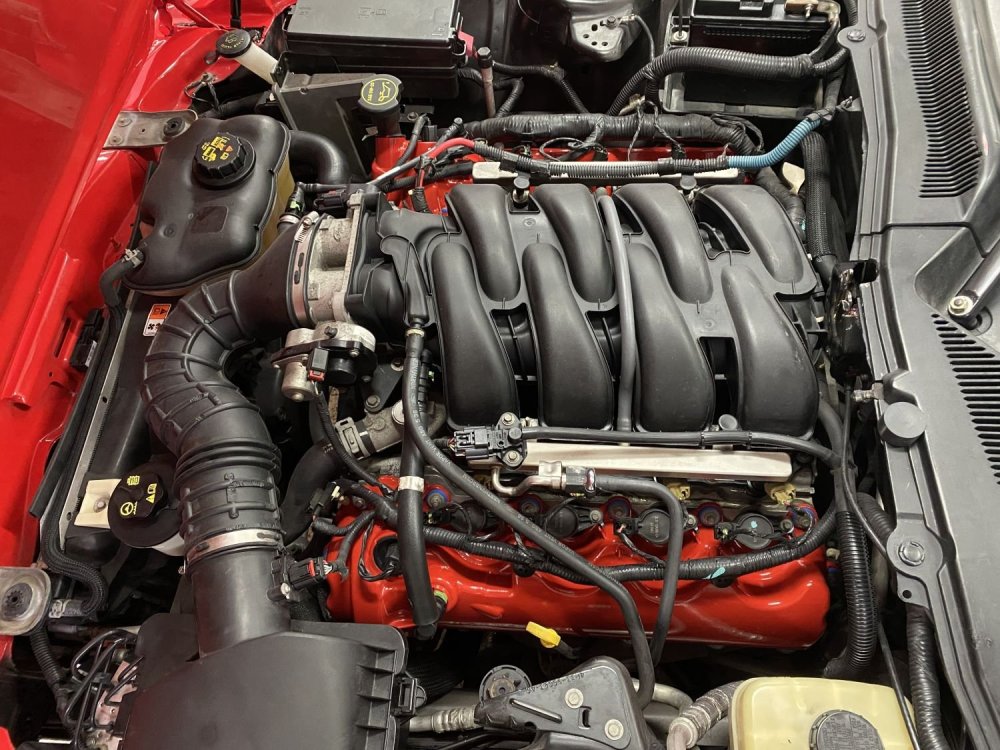
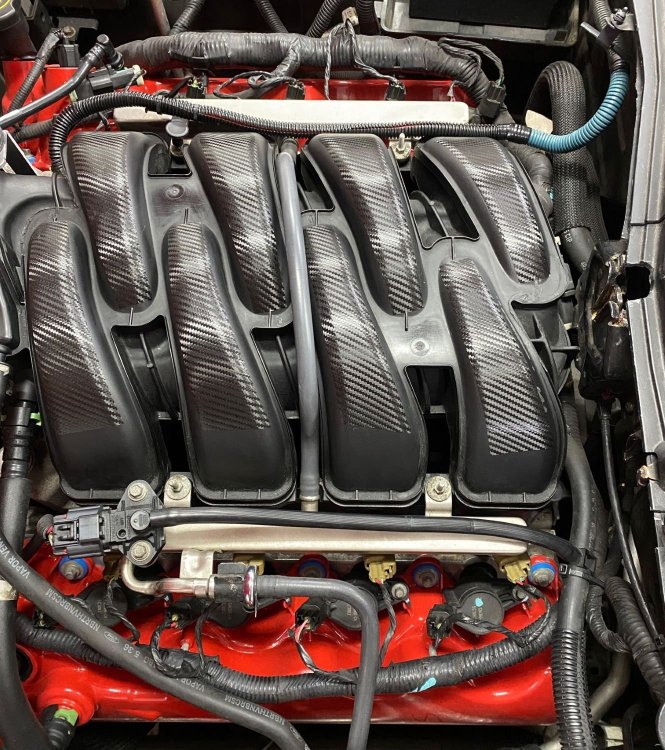
While the painted valve covers were cool, I still was looking for more and found it in a intake manifold cover made by California Pony Cars. Once installed, I figured out that the hood wouldn't close since the hood latch arm was hitting the cover. So I cut a notch out of the back side and lowered the hood again only to find out that the entire cover sat too tall for the hood to close. My computations and stubborness led me to believe that I could make it work, so I began cutting out the center section, notching the front mounting bolt holes, etc, etc. (I won't bore you with the story line of the modification since it went on for a few days LOL) Eventually, I got the cover lowered enough that I did acheive about 1/2" clearance between the front of the cover and the hood when all the way shut. Now the center of the cover was really cut down and didn't look good at all, and the notched section at the back side for the latch arm went completely through the back, eliminating all structural support. As I looked at it, it occured to me that I needed to make a top cover section to attach all the way around the top, which would make the cover solid and strong and cover up the cut out center section. I remembered that I had some 1/4" thick clear plexiglass, so I made a template and then made the top plate. Next I got some small brackets that I had laying around and used 5 of them to screw the top plate in place. ( I notched the plate for the hood latch arm before installing it) I decided to paint the cover to match the engine valve covers in red and semi gloss black. During the process, I went to a local sign shop and had a couple of decals made for the cover in Silver and installed them. Then I added some pin stripe in silver where the red and black met. Now at this stage, the cover was looking pretty good except you could see the cut out center section underneath the plexiglass top plate. So I painted a 1" border around the top plate which covered that up, plus the mounting brackets. NOW THIS IS GETTING PRETTY COOL! As I looked at the flat black intake manifold runners, it struck me that I could take some of the carbon fiber wrap that I had left over from the dash project and place 8 strips of it on the top surface of the intake manifold runners. And then I decided to add a couple of 1" tall strips along the bottom sides of the new intake cover. (It's important to know that the angles of the carbon fiber pattern are a perfect match over all of the strips and side panels). Now it was time to install the cover and MAN THIS LOOKS AWESOME to me and the wife!! Here are some photos of the journey plus if you ever want to have the decals made locally, I have the VECTOR file that I can send you!


-
Don Lindner and I are working with John Hull to develop a production list of all cars from 2001-2007. If you haven't supplied Don with your Avant's information, then please provide it to me with the following info: Vin Year, Vin #, Body Style: Conv/Coupe/T-Top, Color and your name. If you have a Mustang chassis, then the last 4 numbers of your Avanti Vin would be helpful also. If you want to keep the info confidential, then please email me at: ron.manfredi@att.net. Thank you!
-
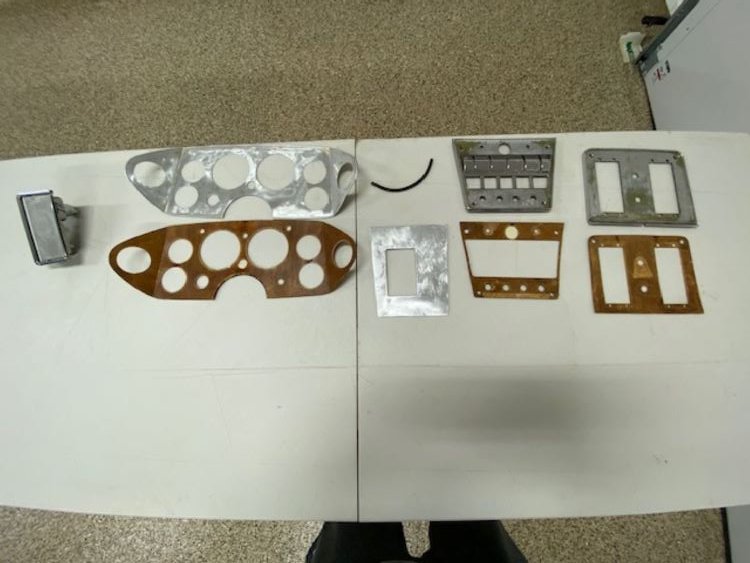
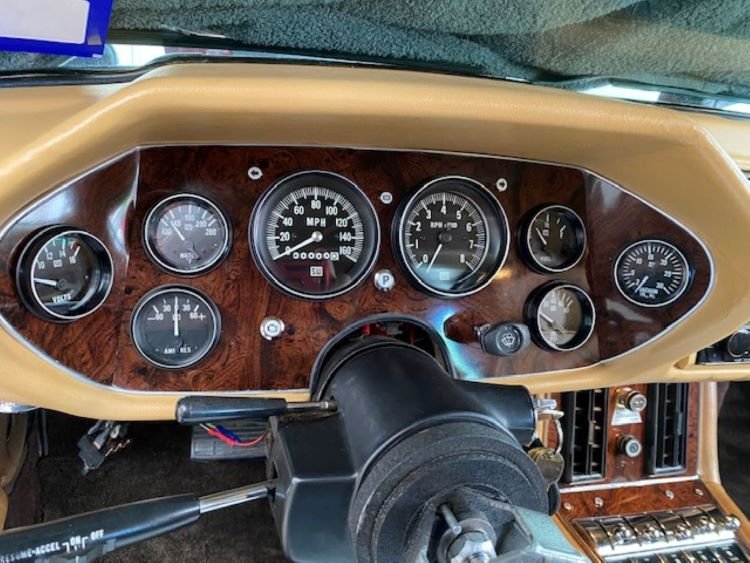
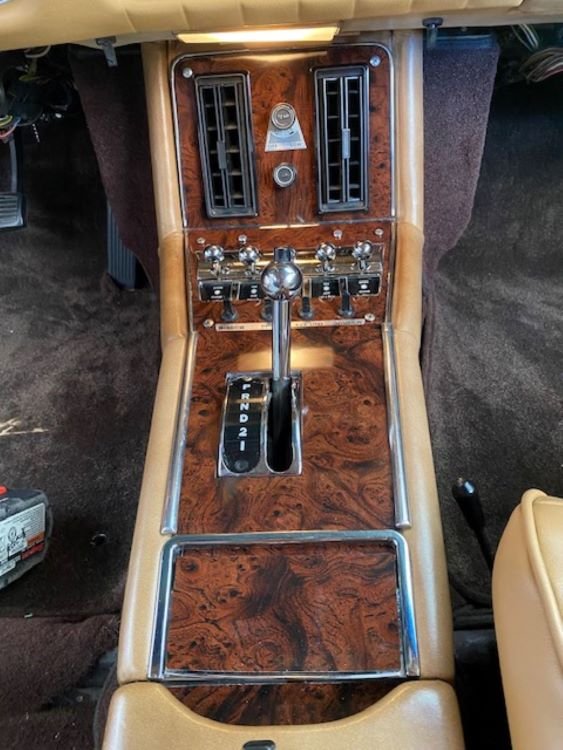
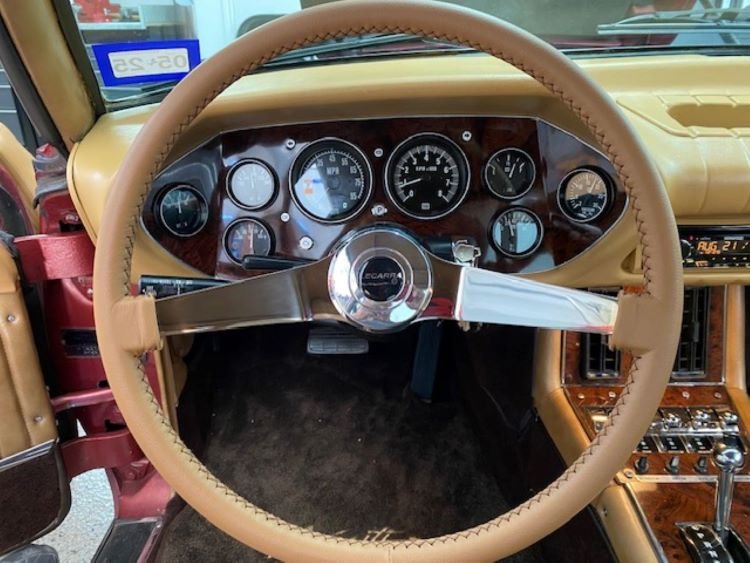
One of the things that I wanted to update on our 1982 Avanti II were the dash and console wood. The Italian Ash was warped, cracked and one piece was missing. I had replaced a few gauges since they weren’t working when I bought the car and the new ones had whiter letters and were brighter at night as well. So I decided to replace the remaining gauges, replace the wood and replace all the dash and console lights with modern symbol marked / colored LED lights from “Alpinetech”. Their LED lights are available on Amazon, in chrome or black in 5/6” or 1/2” diameter. I used mostly 5/6” except for the 1/2” emergency brake light and the check engine light in the dash and console. I removed and deleted the old console broken “seat belt light” as well. After several weeks of looking, I could not find Italian Ash 1/8” thick wood, so I went with a multilayer synthetic/ABS sheet. Next was to remove all the gauges, the dash panel, and do the same with the console. Then (and with care) I slowly removed the glued down Ash wood so that I would have a pattern to cut the ABS sheet. ( I taped up all the damaged areas as I removed the old wood to keep the pattern accurate). Once all the wood was off, then I used it as patterns to mark the ABS sheet so I could cut each piece out. At this stage, I took a break to refinish the dash and dash end caps since they needed it. Next was to invest in a Harbor Freight 16 in. Variable-Speed Scroll Saw to cut the ABS and it worked like a champ. Once each piece was cut out and trimmed as needed, I then glued each panel on using Gorilla Clear Glue and let them sit overnight. The next day, I cut out all the small light holes for the new LED lights, gauge holes and then installed all the panels and gauges back in. I really like the new look and went one step further by purchasing a Lecarra leather covered, 2 spoke vintage steering wheel which exposes the dash more and looks better to me than the old Momo 3 spoke wood wheel. I am very satisfied with this upgrade and have enough ABS sheet left to do one more car completely that I can offer for sale to anyone interested.