Zedman
-
Posts
288 -
Joined
-
Last visited
Content Type
Profiles
Forums
Events
Everything posted by Zedman
-
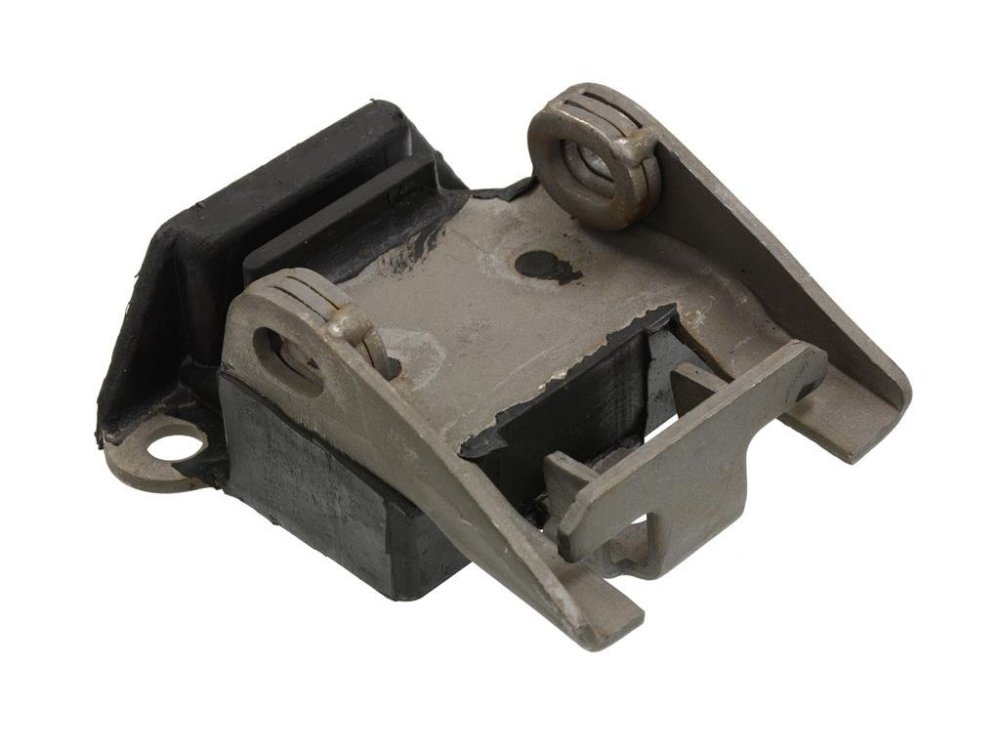
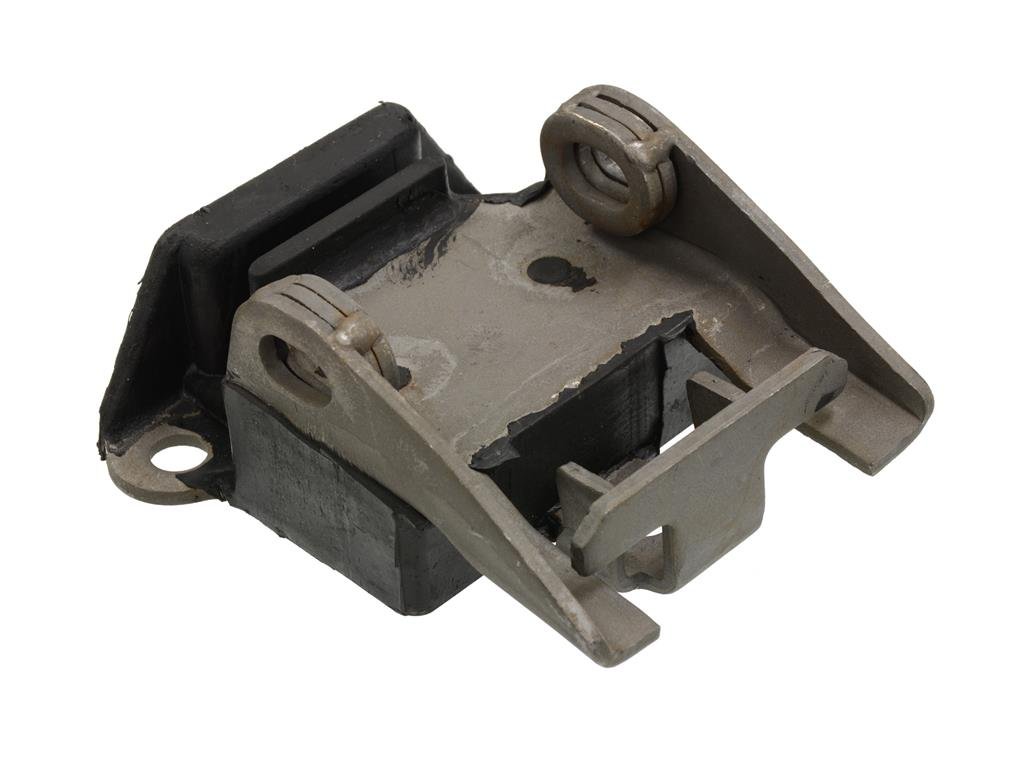
SCPO-PD... Your engine mounts will be the same but if they're old replace 'em with the ones pictured below for Corvettes (Avanti factory OEM also). I believe there is also a kit available to control the lockup torque converter from B&M, but your re-builder will probably be able to advise you. Youtube features some how-to's on that subject. Engaging the Lockup is one thing but disengaging it automatically when coming to a stop is another. If you are getting away from the ECU, Carburettor and Distributor, you might like to dice the EGR Valve & solenoids, Smog Pump, Pipe to the Catalytic converter (if it's still there), AIR system Valve and Manifold tubes as well. You can close the holes in the manifolds using lengths of 1/2"-20 UNC screws/plugs. A plate can cover the EGR flange on the Intake Manifold or replace it with an aftermarket one.
-
Thanks for your input Jim and Wildfelr. Wildfelr's solution is creative and well executed I must say- especially burying front Indicators in those big holes ! Jim, your solution is straightforward and commonsense, but since I'm a stickler for keeping original parts, I'd probably end up Fabbing a new piece. Nobody has any info on what's actually inside of these Buffers?
-
I'm getting close to reuniting my Avanti II's body with its new Frame, The simplest thing to do with the much maligned buffers is to simply re install 'em and utilise the body-bolt station built into them to shim and secure the front panels. Despite my penchant for originality, I've wondered about eliminating them and fabricate a substitute mounting. Do any members have any thoughts or advice on this matter. On another tack, does anybody have any info on what is actually inside of those Buffers that makes 'em work?
-
Studebaker International 2024 Catalogue Page 262.... Shaft link Grommet Part No. 1554004 Requires 4 Rubber Bushing (for both standard Front and Rear Swaybars) 529392 Requires 2
-
Hi Brooks- I took the liberty to look RQB2594 on the Bob Johntsone Avanti Registry site. Has your new purchase been improved upon from the Photos taken way back in 2002?
-
Excellent solution- well done, MFG. 🫡 I suppose for those without Milling Machines, a series of holes might do, although hardy souls might elongate these with a round file.
-
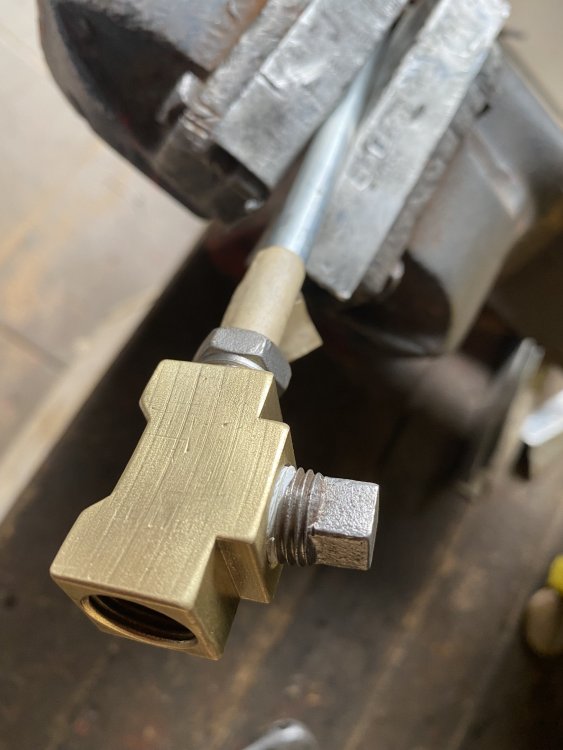
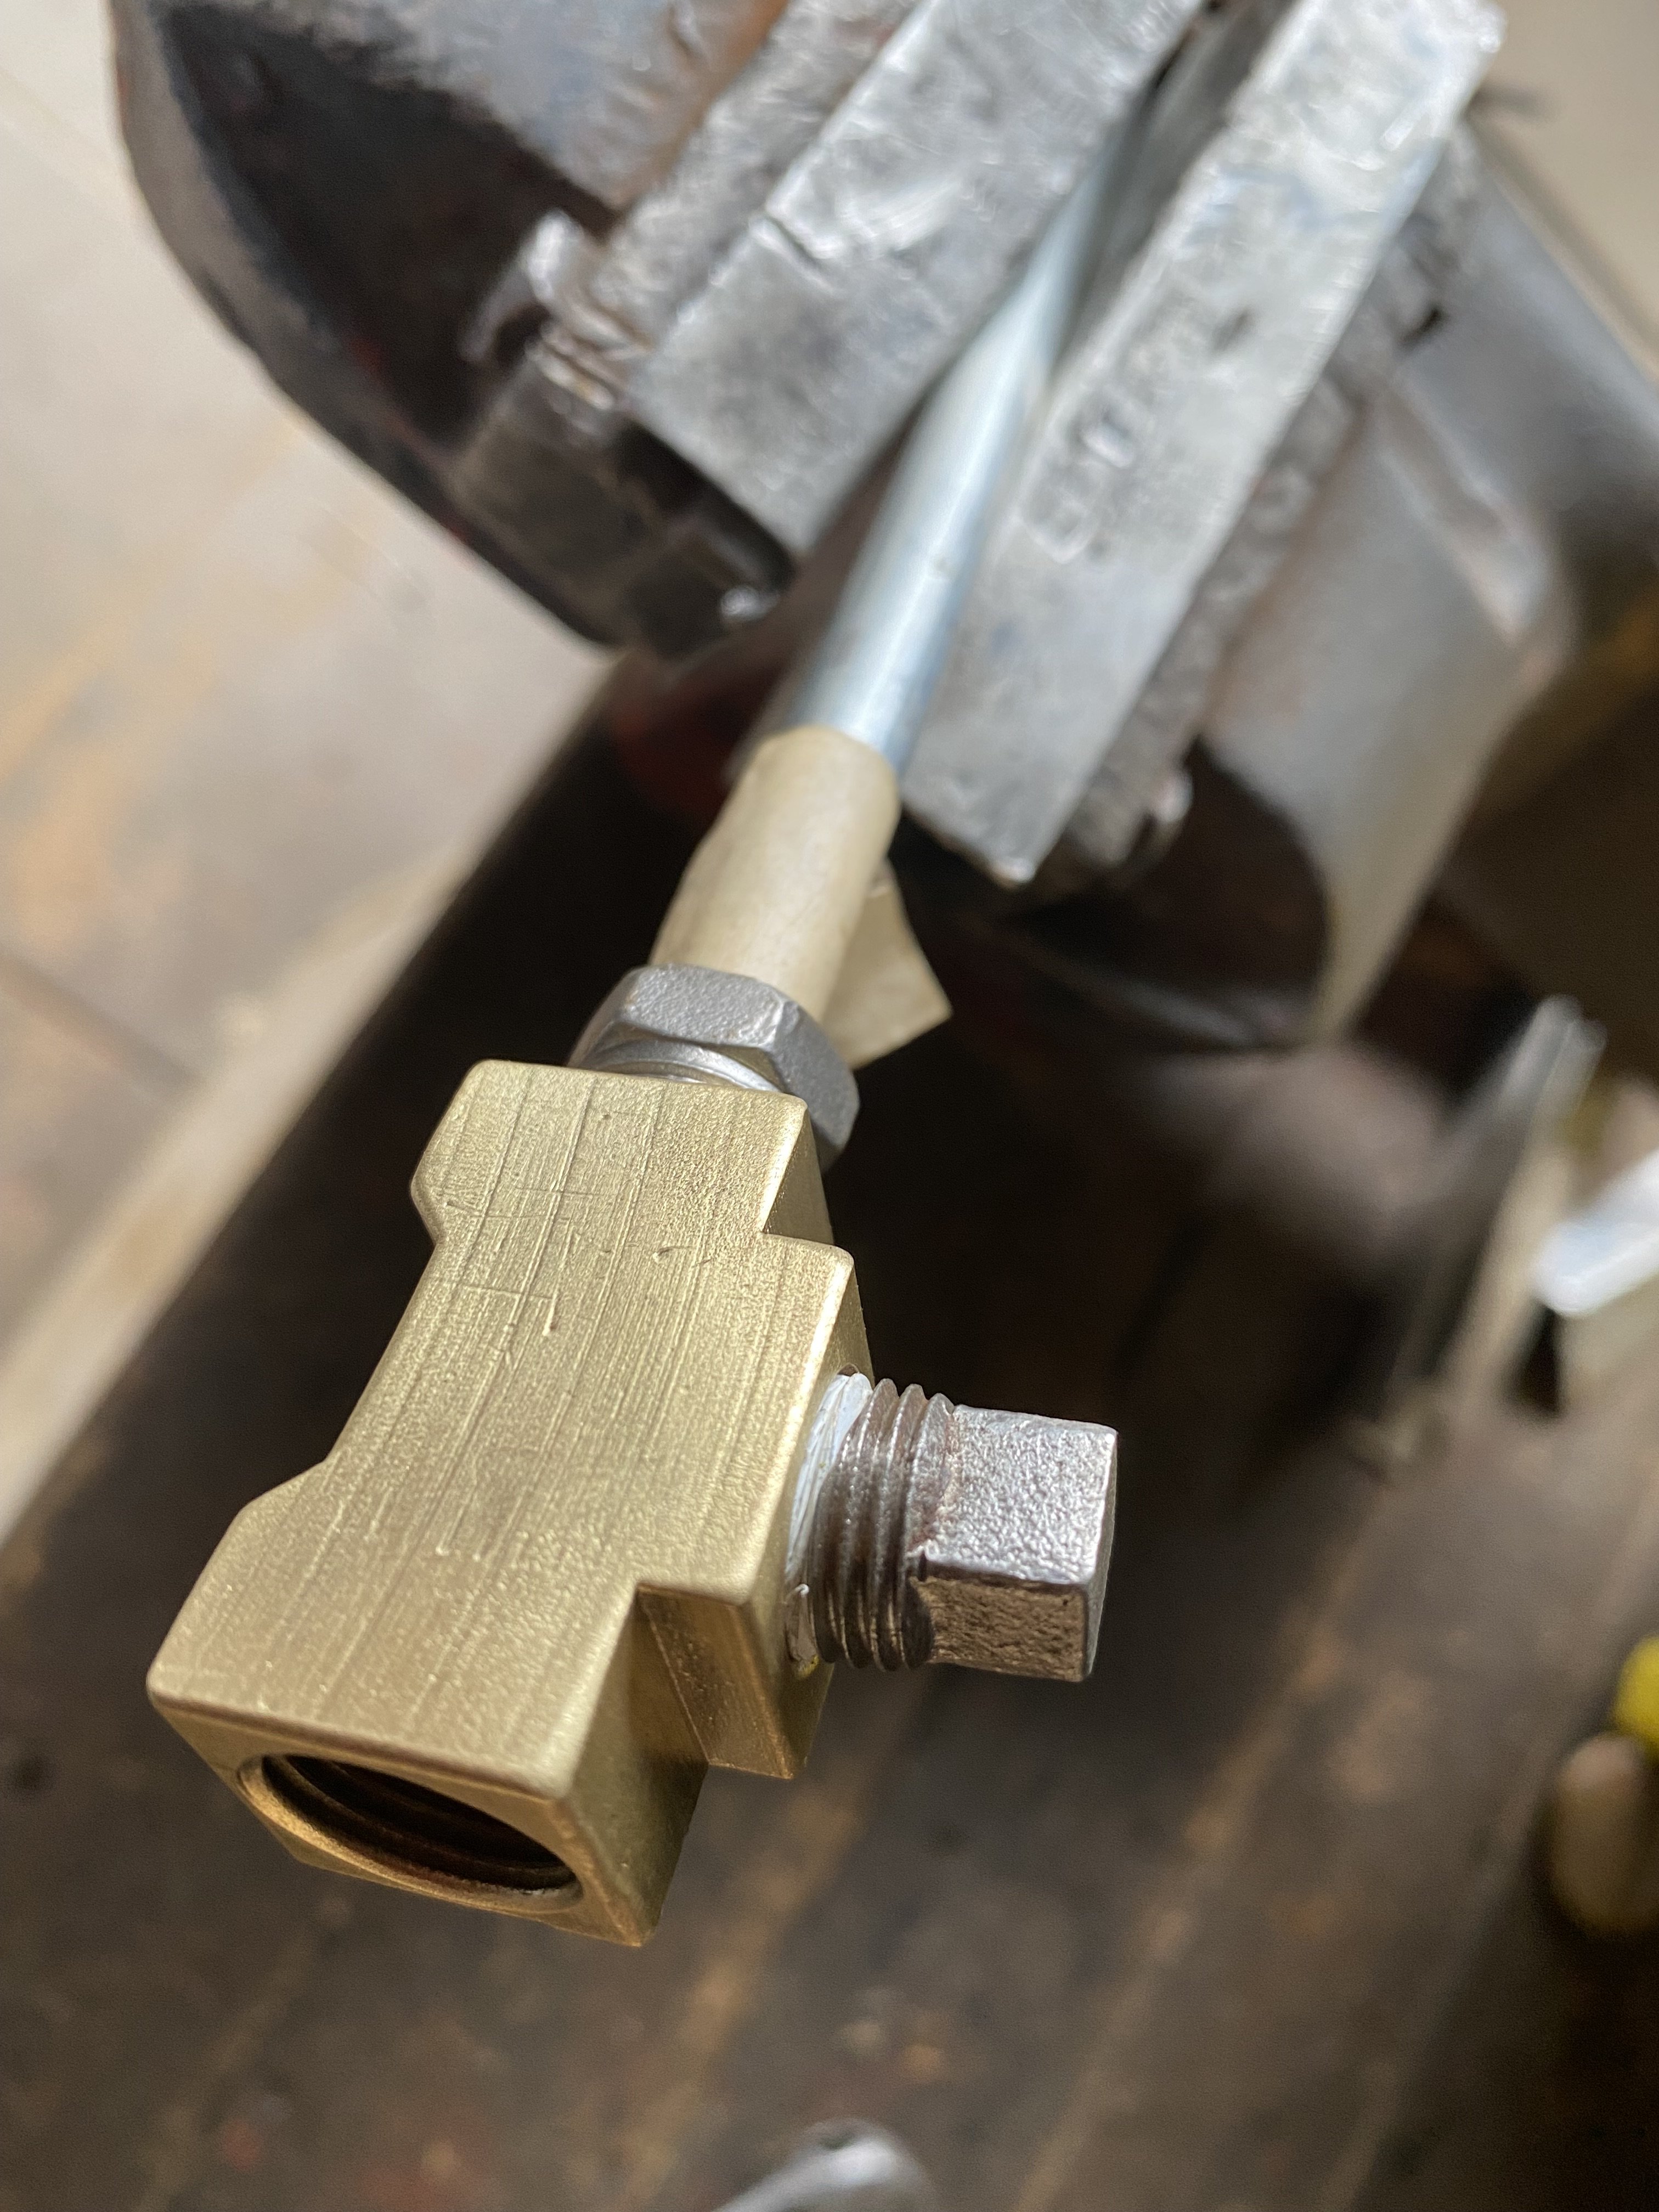
Hi Brooks- The Tee is meant to be a fuel tank drain but it gets pretty negative reviews on that subject. I think it is an NPT pipe plug 1/4" ... Common NPT Pipe Plug Sizes: 1/8" NPT: The nominal size is 1/8 inch, but the actual outer diameter of the threads is approximately 0.405 inches. 1/4" NPT: The nominal size is 1/4 inch, with an outer diameter around 0.540 inches.
-
Geeze I wish I could buy em for barely twelve bucks each - here 'down under' I was pleased to buy a pair for &95 incl post.
-
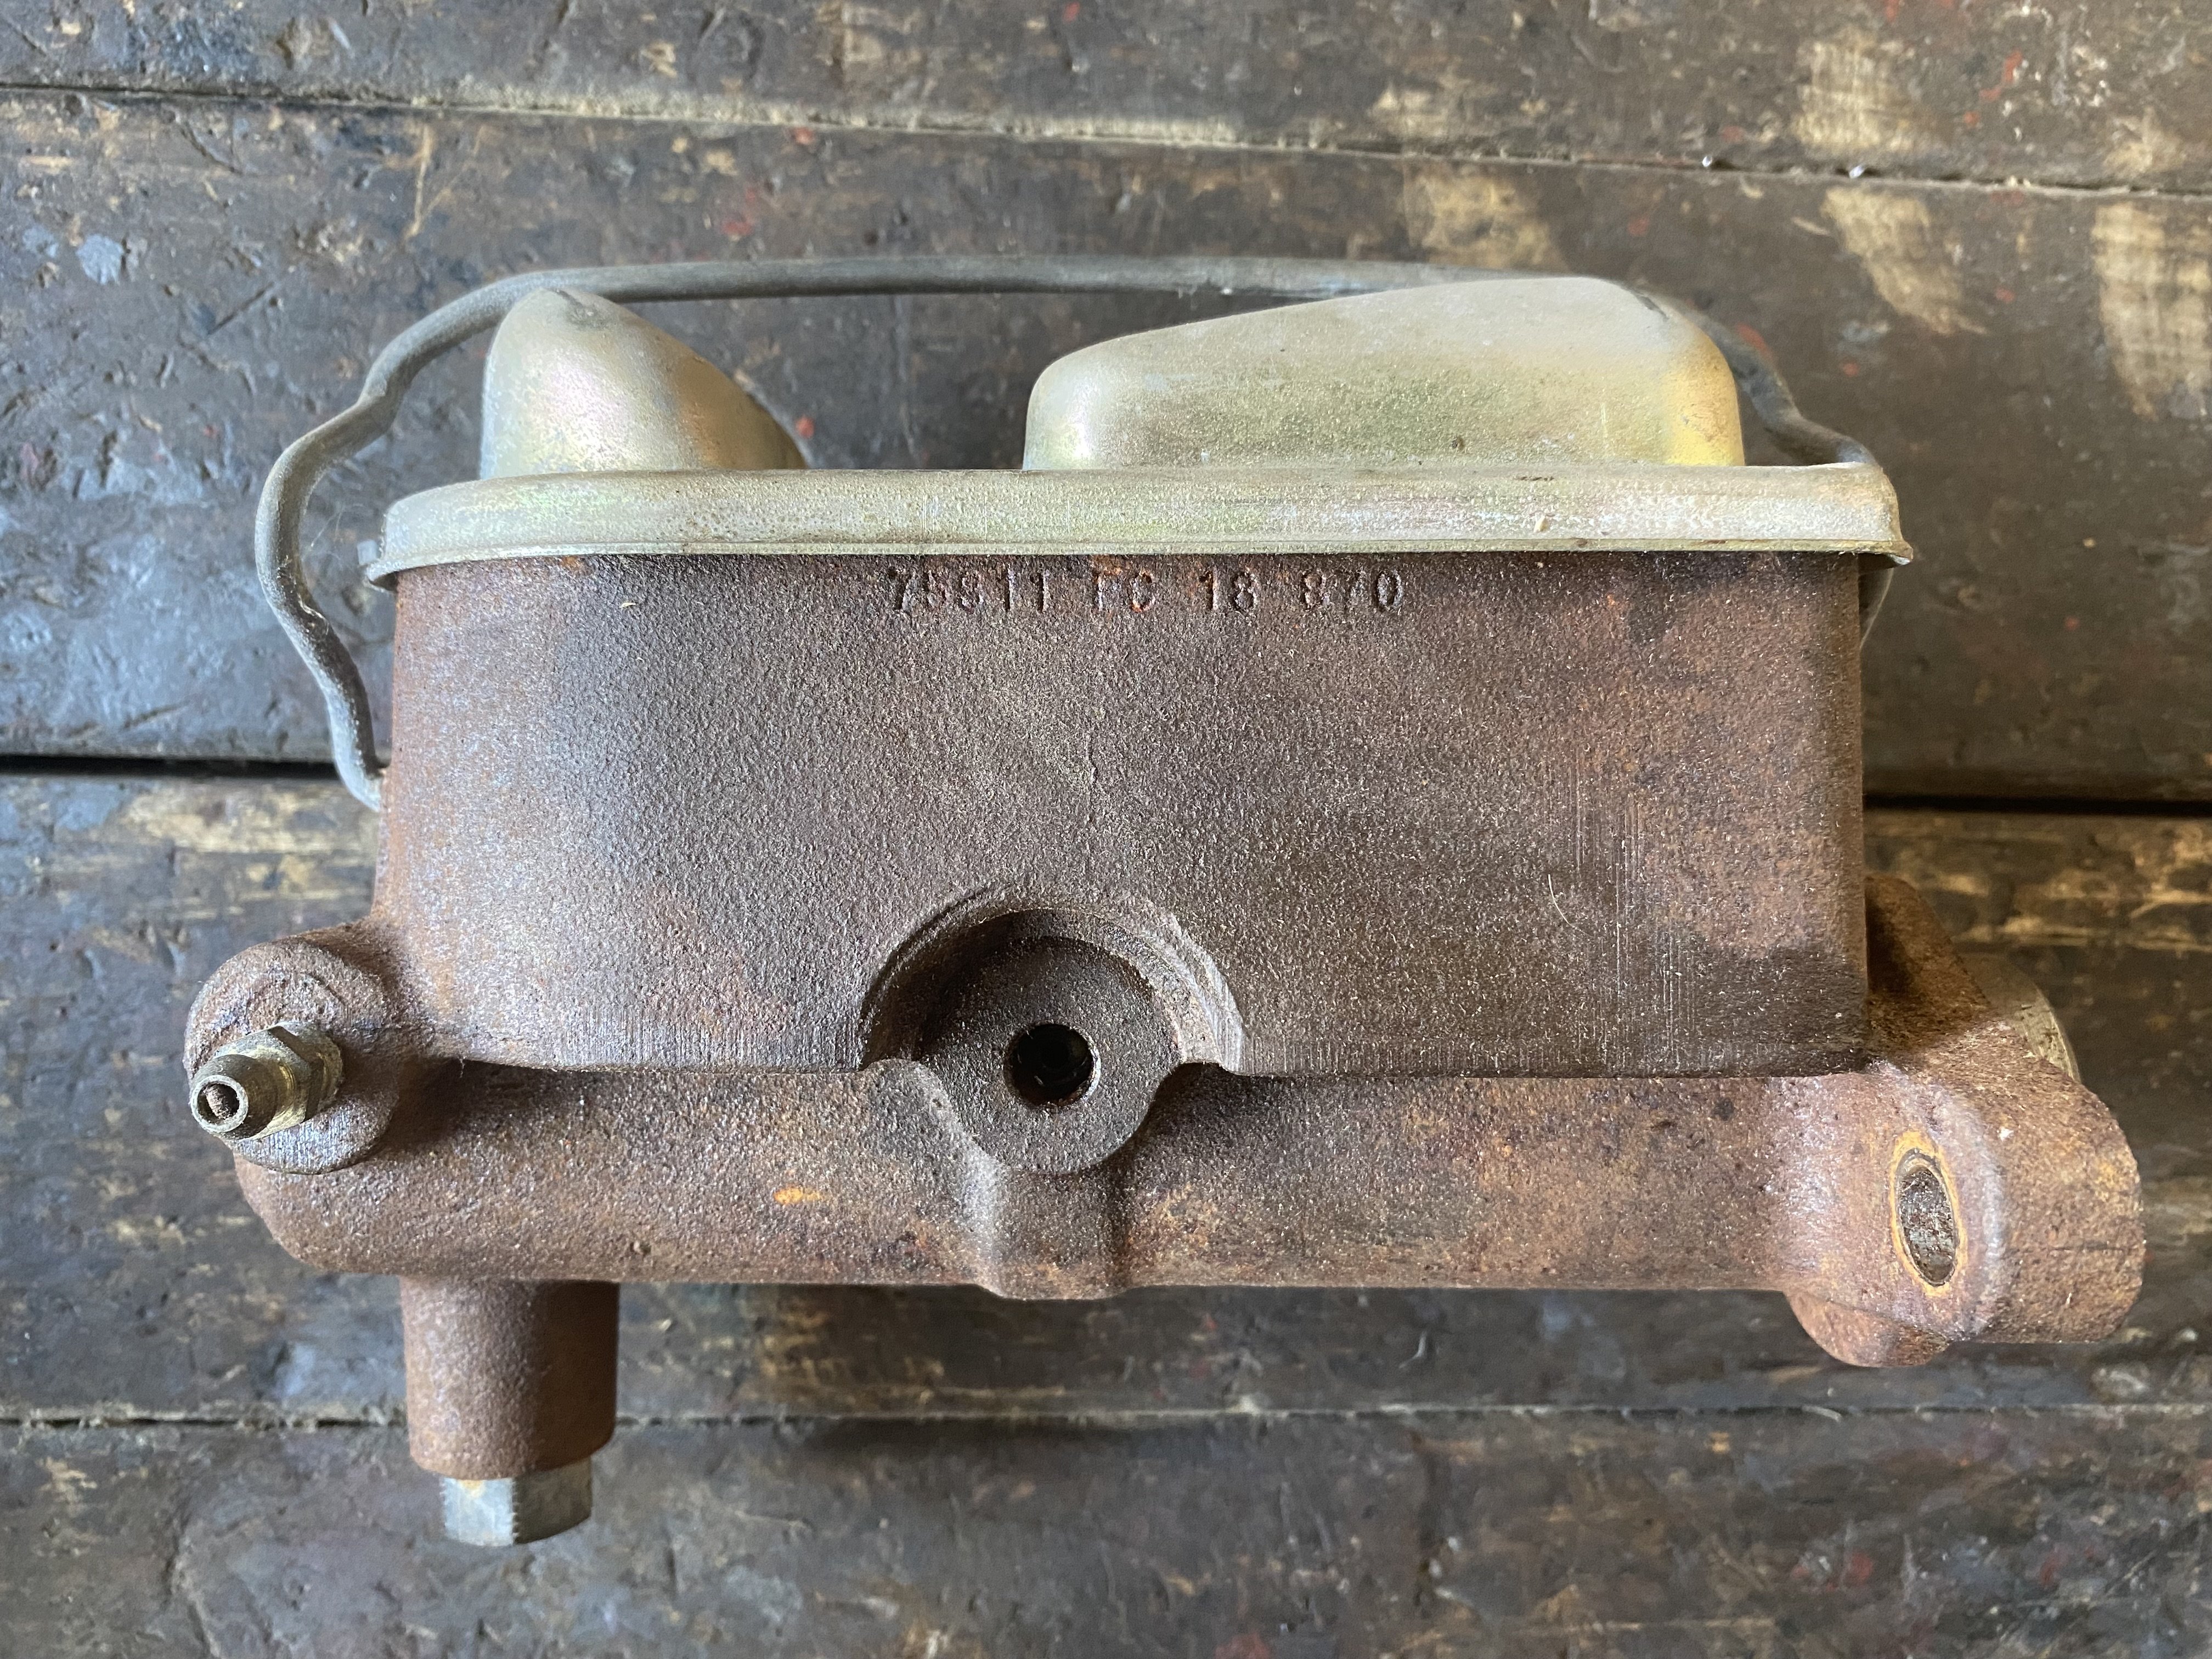
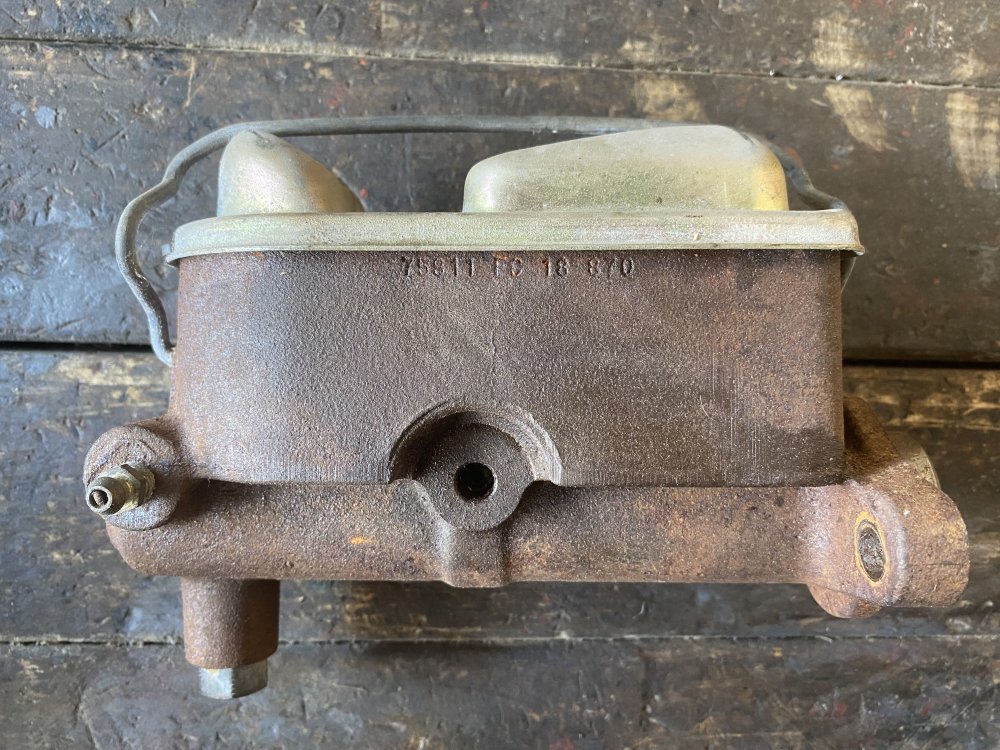
Hi Brooks. If you have a Disc Drum system on your Avanti, you probably (read, ought to !) have a proportioning valve on it. I had a Kelsey Hayes valve on the inner Left hand Frame Rail down below the Mastetr Cyl location. I have replaced it with a GM PV2 Combination valve which has the same port configuration of the old KH unit and even bolts up exactly the same. I believe the bottom port of the Master Cyl will be for the Front Disc system. This line will go to the Combination valve as indicated in the screen shot posted- i.e. top, next to Brake sensor, at the end closest to the little rubber plunger cover. A shot of my Master cyl is also shown for your comparison. If you need further clarification please do ask.
.thumb.png.8ec4bfe2eeb443409ce85605299f4550.png)
-
I believe you will need to remove the original Rivets. These can be replaced with similar rivets if you trim the length so when assembled , you have only 1 x the diameter protruding. These can be gently mushroomed over with a hammer (buck the head end on a soiid flat steel surface) to secure the cover once again. Tinmen's or pan head rivets ought to do. You might even be able to use suitably sized flat head nails as substitute rivets (done that before). Pop rivets might do but use steel ones not Aluminium otherwise they might loosen up in service.
-
Thanks Ron- I will compare that carb number to the ones I see here in Oz and pick one up eventually. My 305 will likely require a re-jet smaller , I excpect.
-
Thanks MFG- I have recently fitted a dual exhaust (minus Cat- I'll take a risk.. ) whilst the body is off the Frame. The Carb and Distributor are up for substitution after I get the car reassembled and inspected for roadworthy. I'm looking for an Australian delivery carb that was jetted for the Holden 308 or Pontiac Parisiennes befor the late 70's.
-
Hi All- As an aside whilst this thread is open... I have a 1981 EME Carb that I'd like to replace with an un-ECU controlled Quadrajet someday. Would somebody mind putting up what Carb Code numbers might be a good idea for substitution. BTW if I do go down this route , the AIR Injection system and Catalytic converter will also be gone too. Charcoal Canister will be staying , however. Thanks...
-
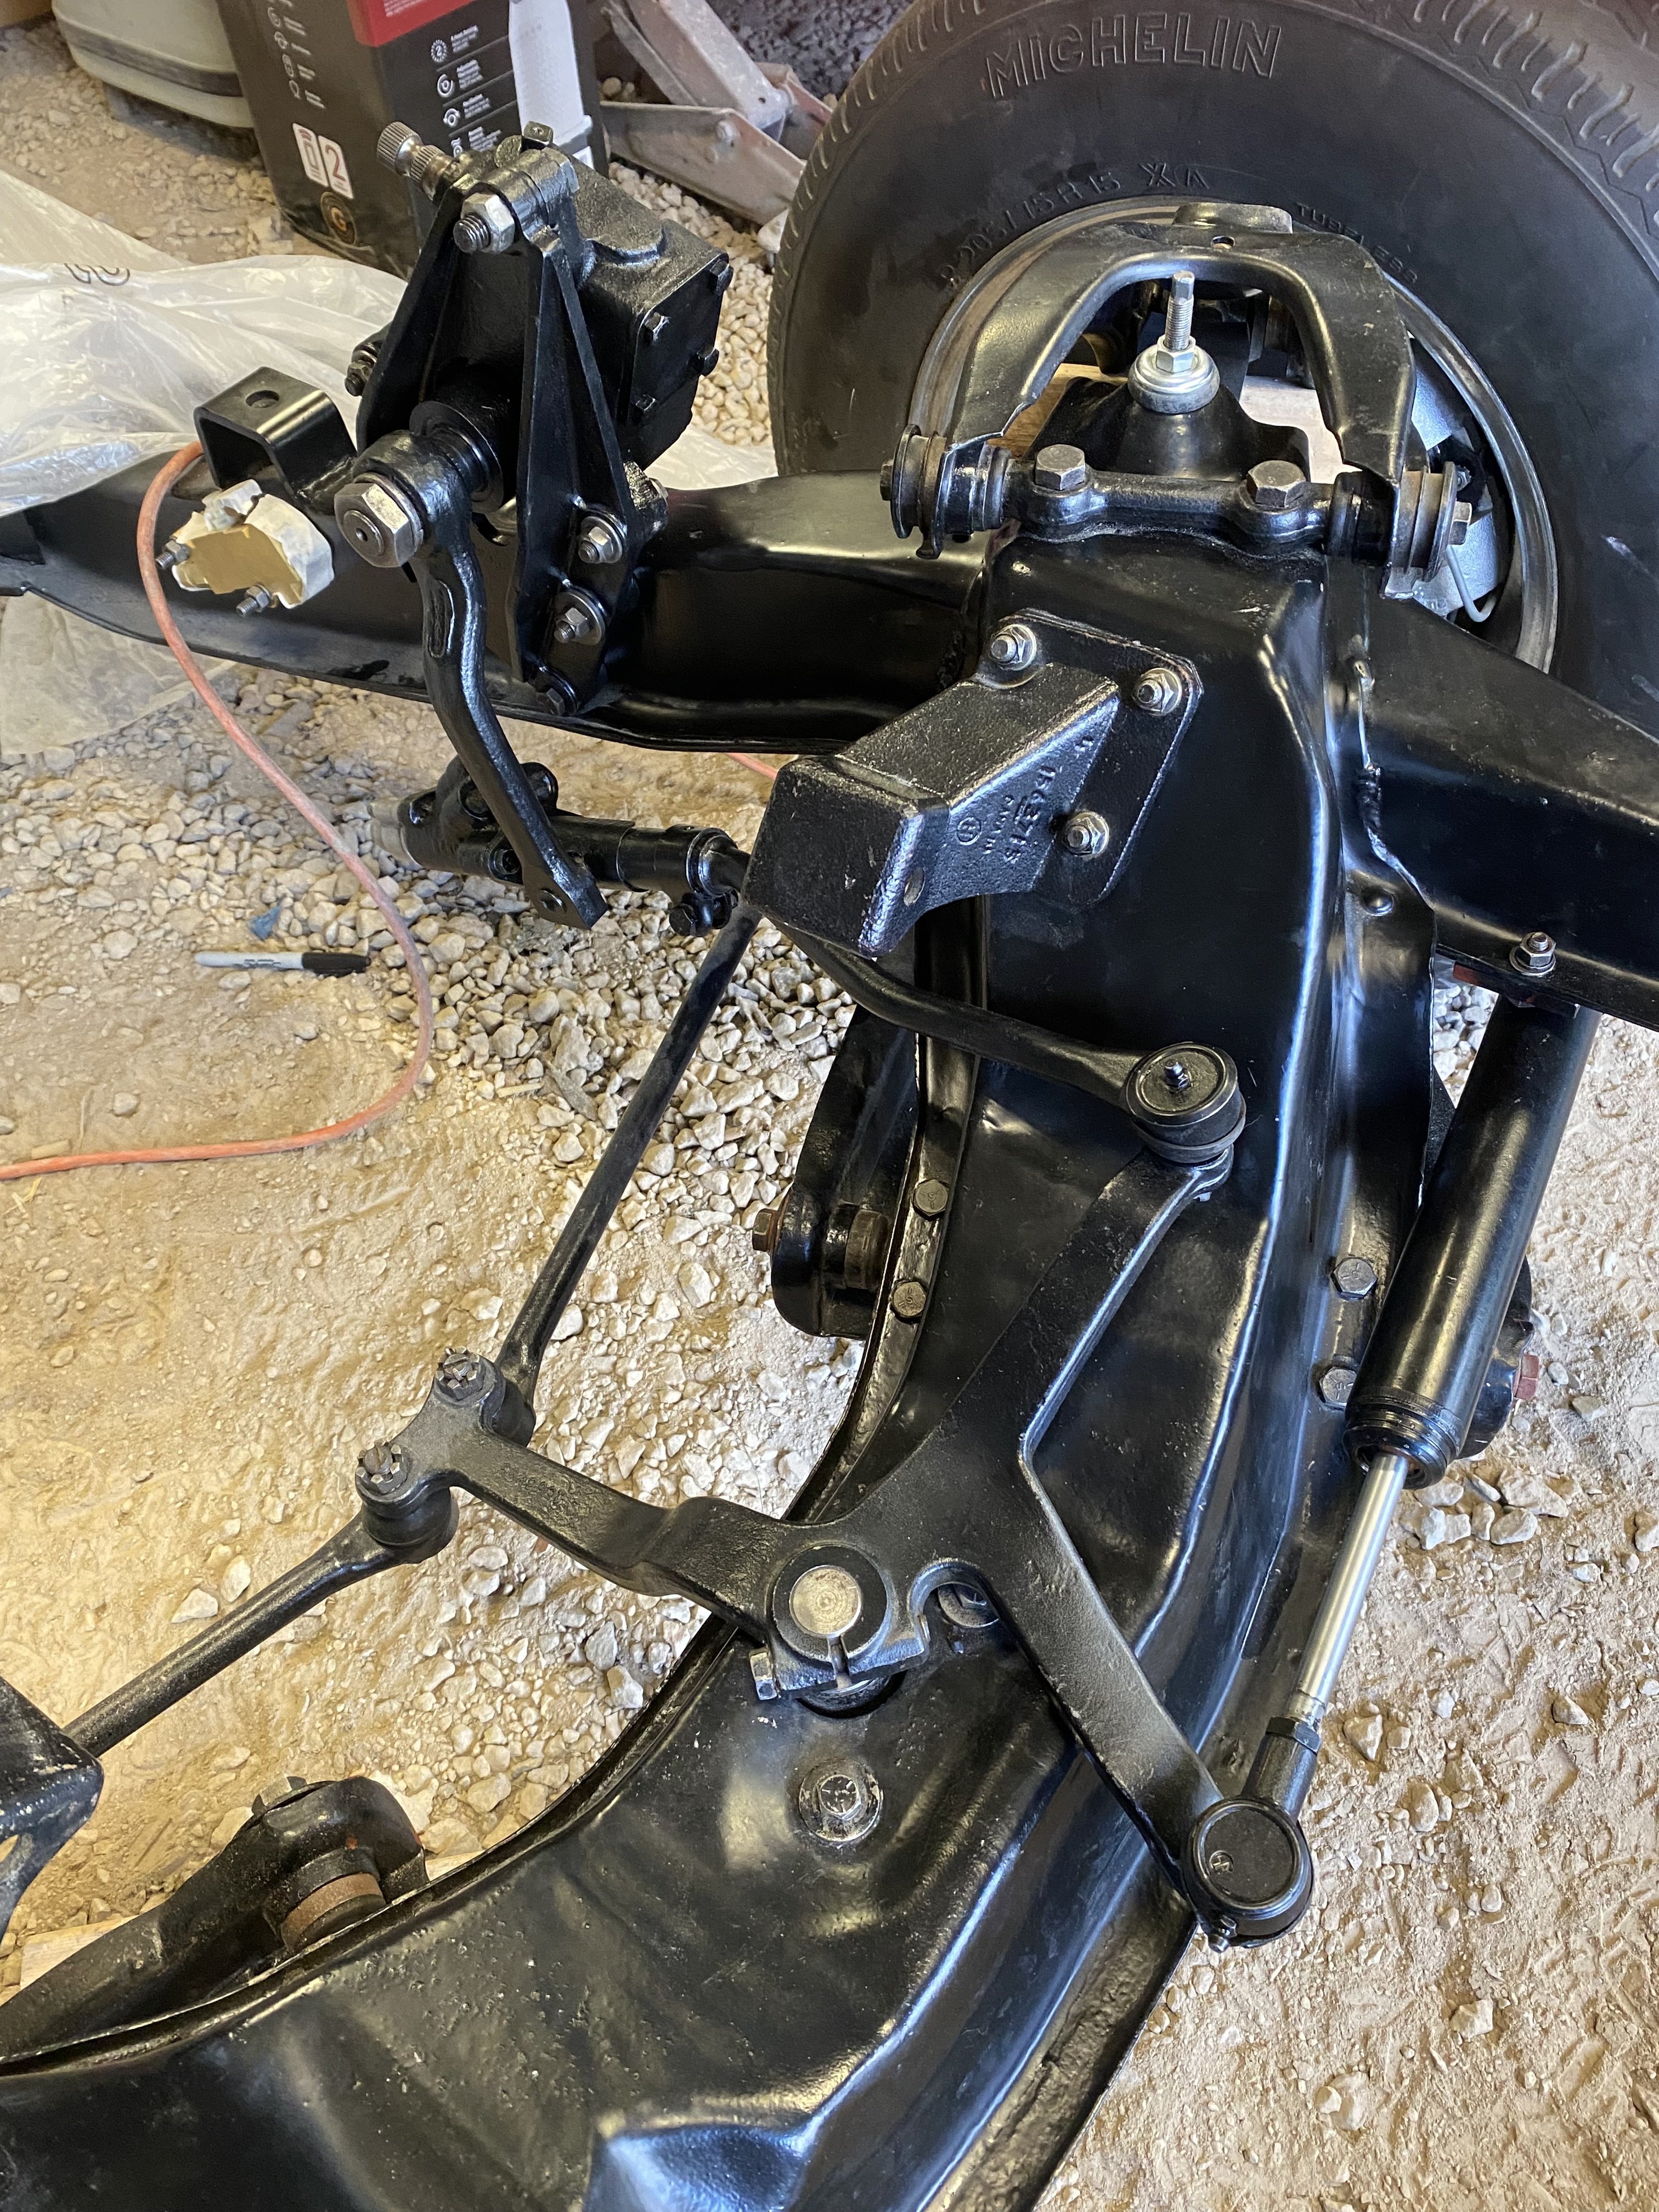
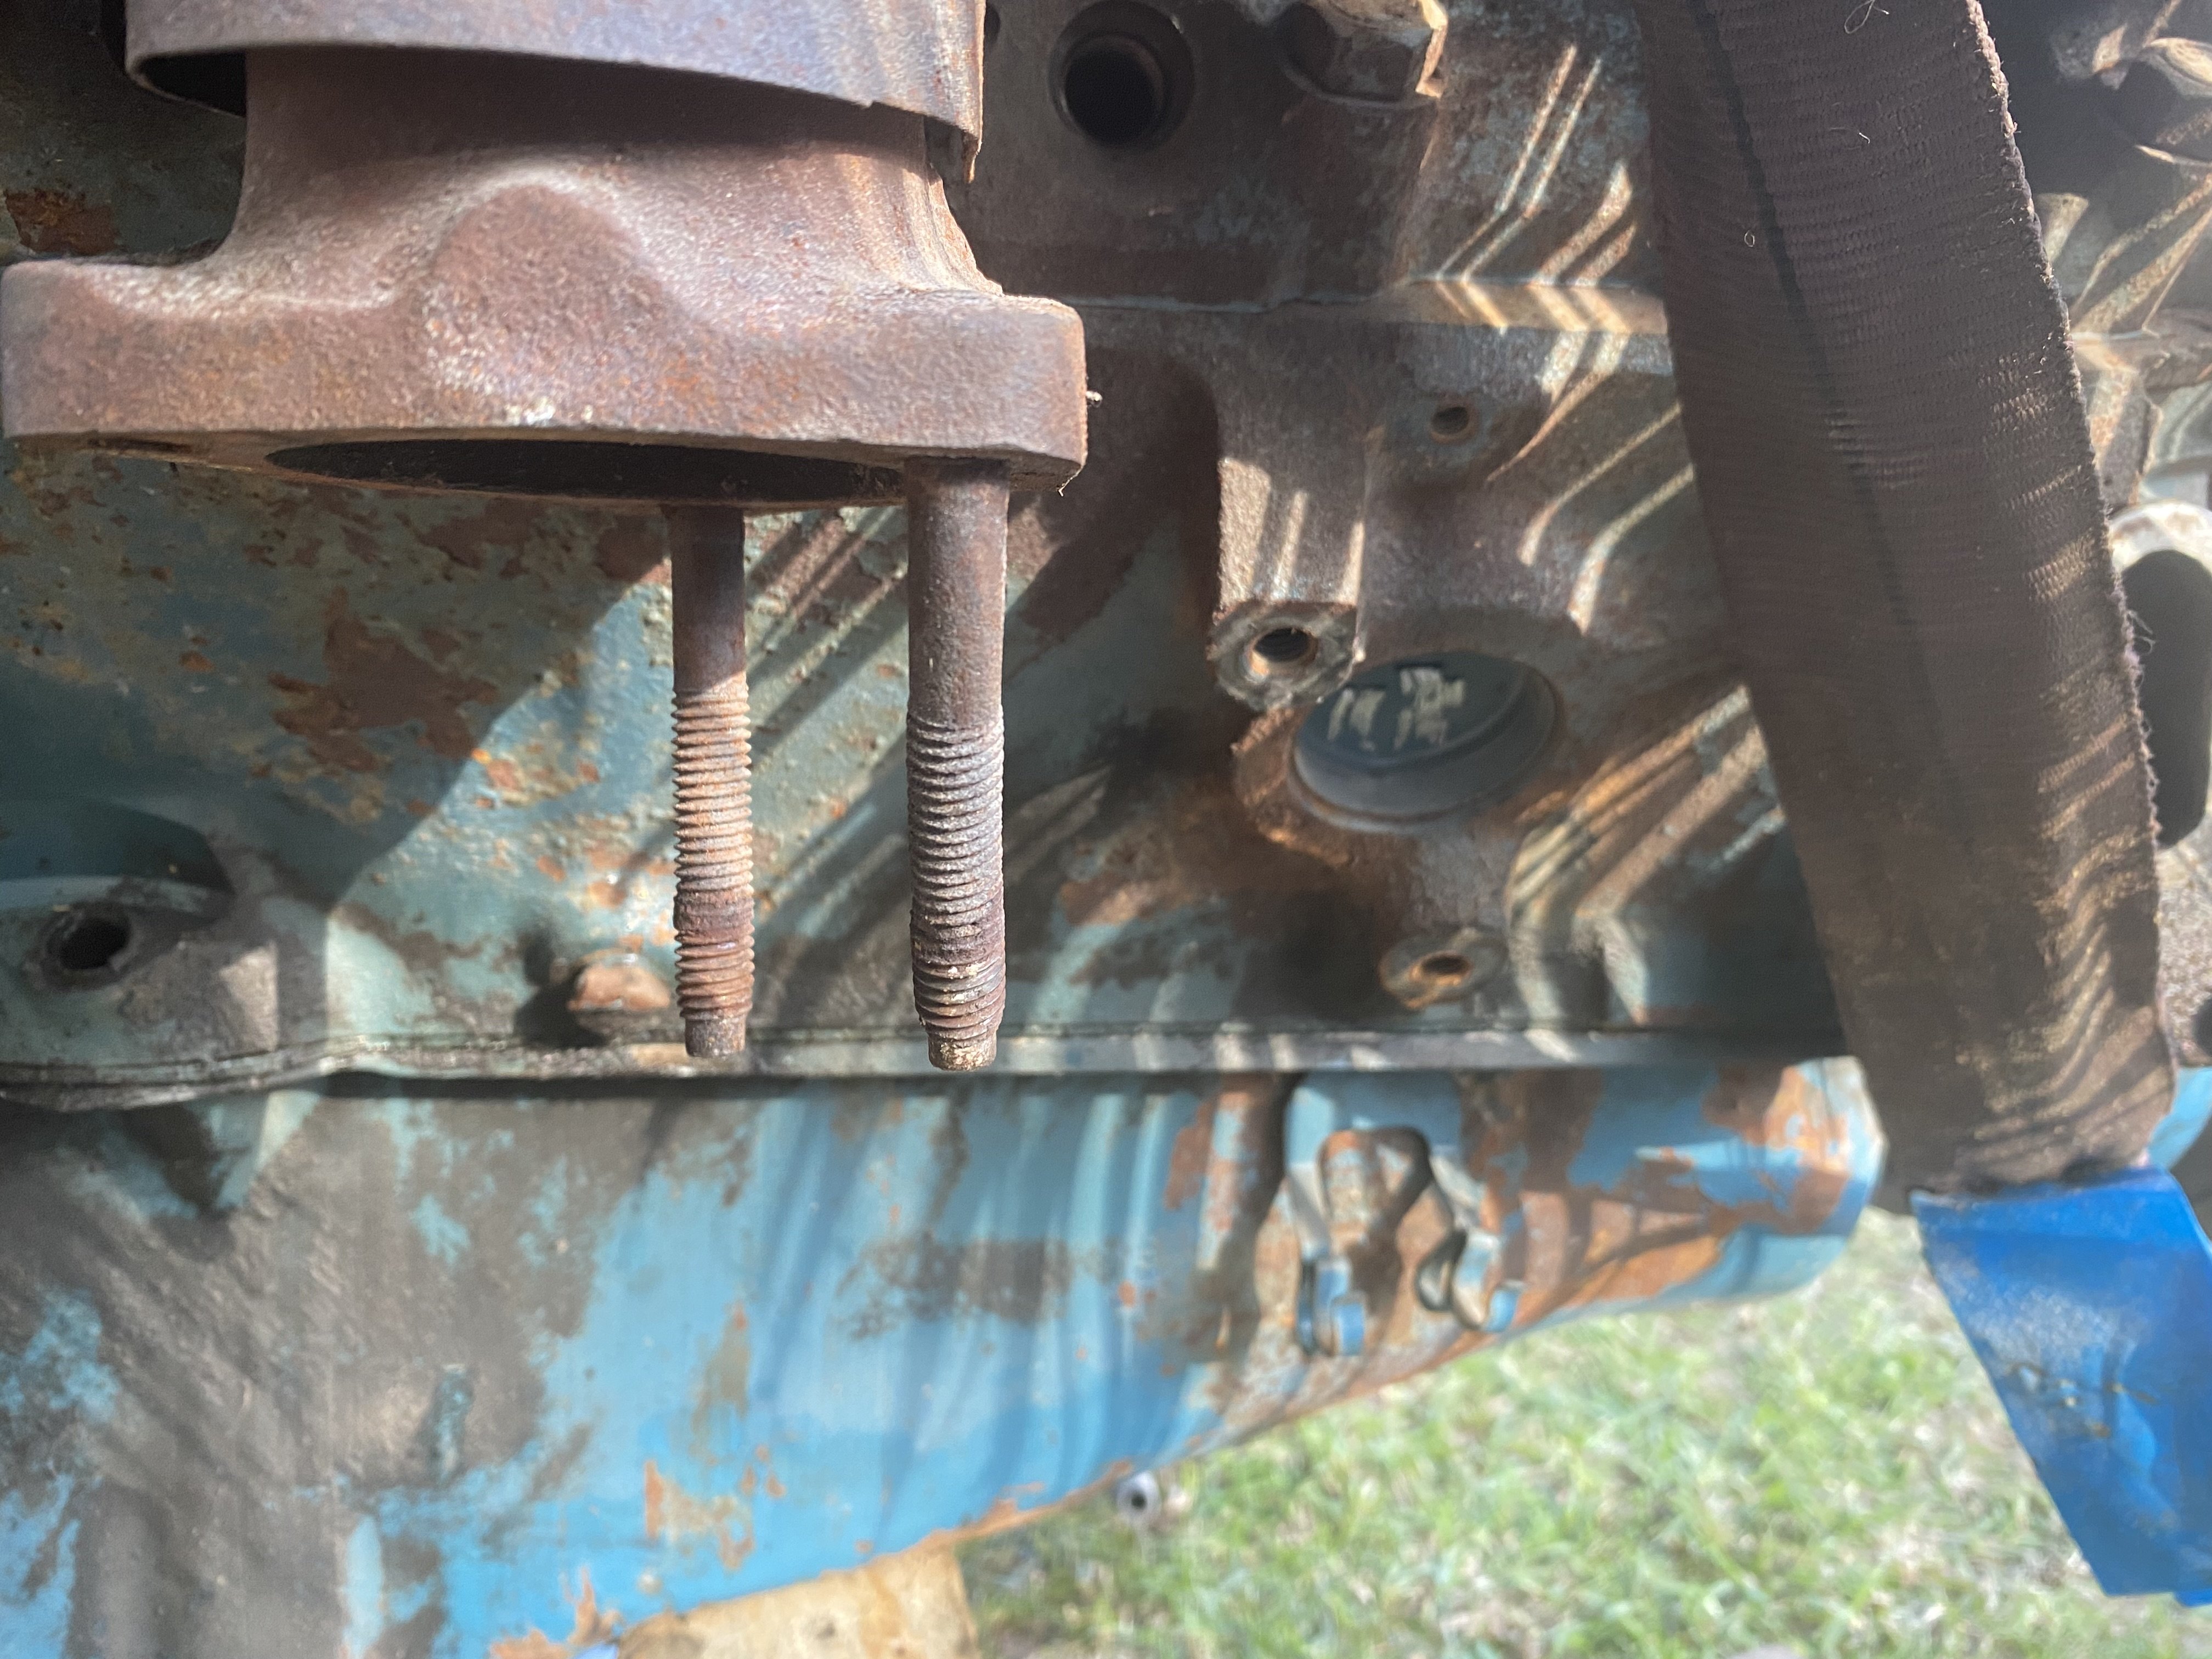
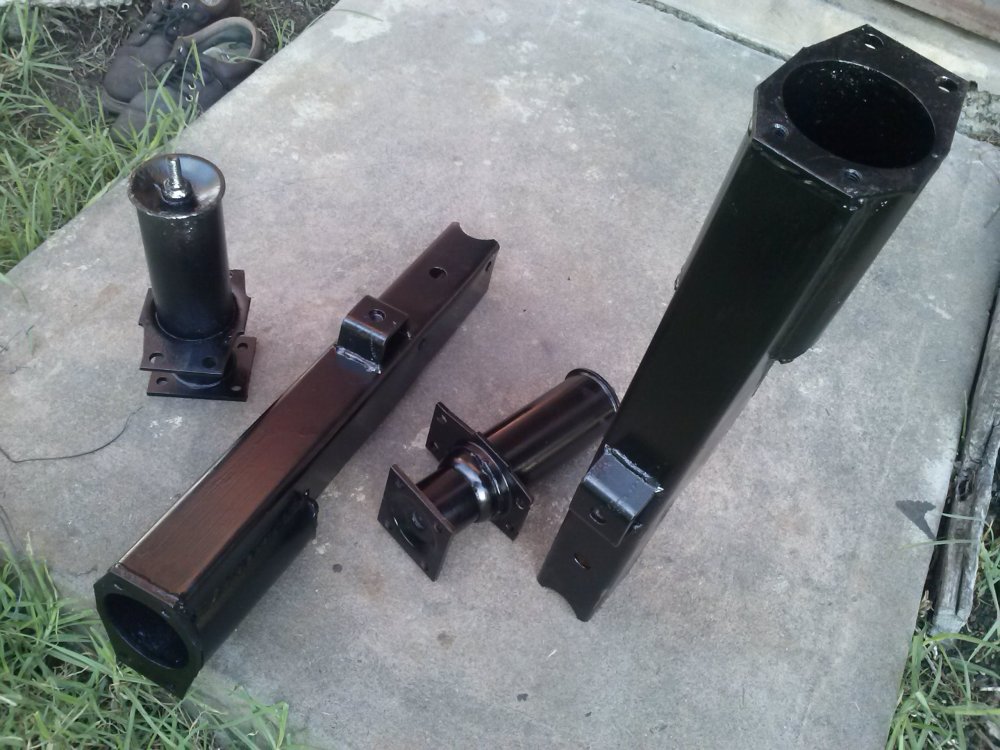
Hi Klaus- I'm making a few assumptions here but having replaced the mountings for my 1981 305V8 recently, I'd wonder whether they might be the same because these engines are small block Chev. I used the same ones recommended for Corvettes 1969 to 82. I have engine mount 'pedestals' on my Front Crossmember as in the photo. If yours are the same, I'd look at the corvette mounts. By all means let me know if I'm wrong !


-
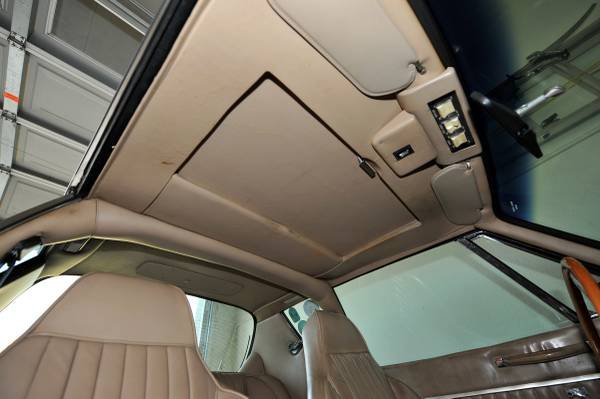
If there is anybody out there that provide any guidance / advice om removing a headliner (on an '1981 model or thereabouts) and / or getting at the bulk of the 'Moonroof' , I'd really like to hear from you. My Moonroof . I feel that I need to dive into investigating the Moonroof Before I get involved with repainting the body in 2025. I've already fished out some rusted sheetmetal from up there and know that I'm in for heartache if i don't investigate it now. whehter I repair it or delete it- only investigation will determine that path. The sliding panel in the ceiling is stuck and had to be pushed back forcefully just to gain a small opening, so far.

.png.194d22fbba2901db77b83d54bcc4532f.png)