Jump to content

AD

AOAI Forum Members
  • Posts

    37
  • Joined

  • Last visited

Everything posted by AD
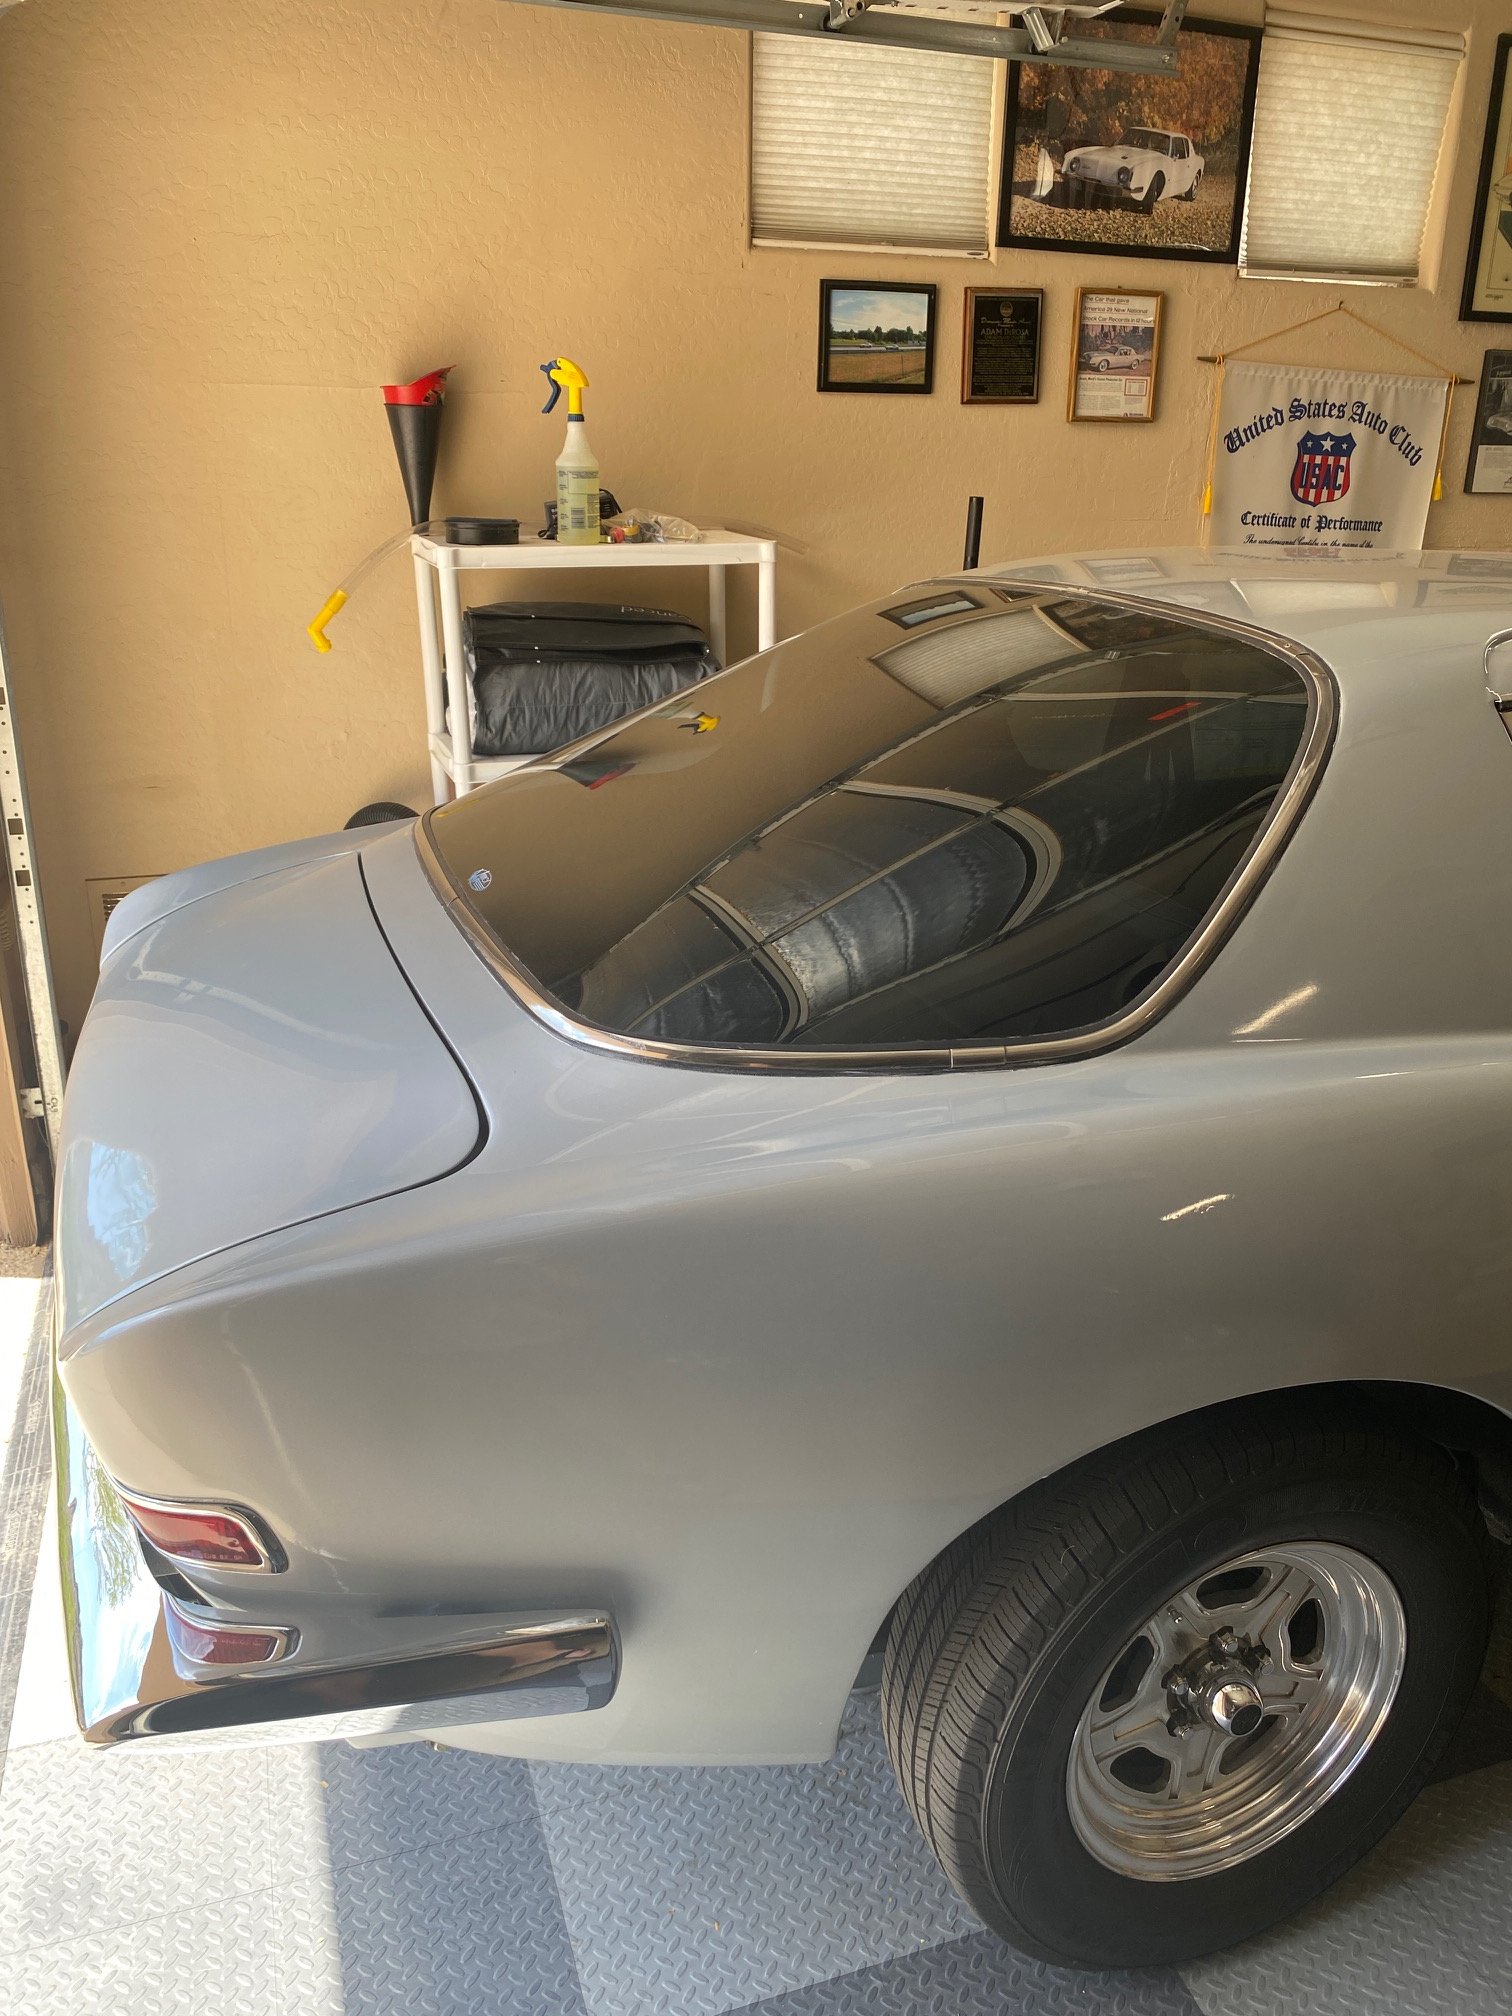
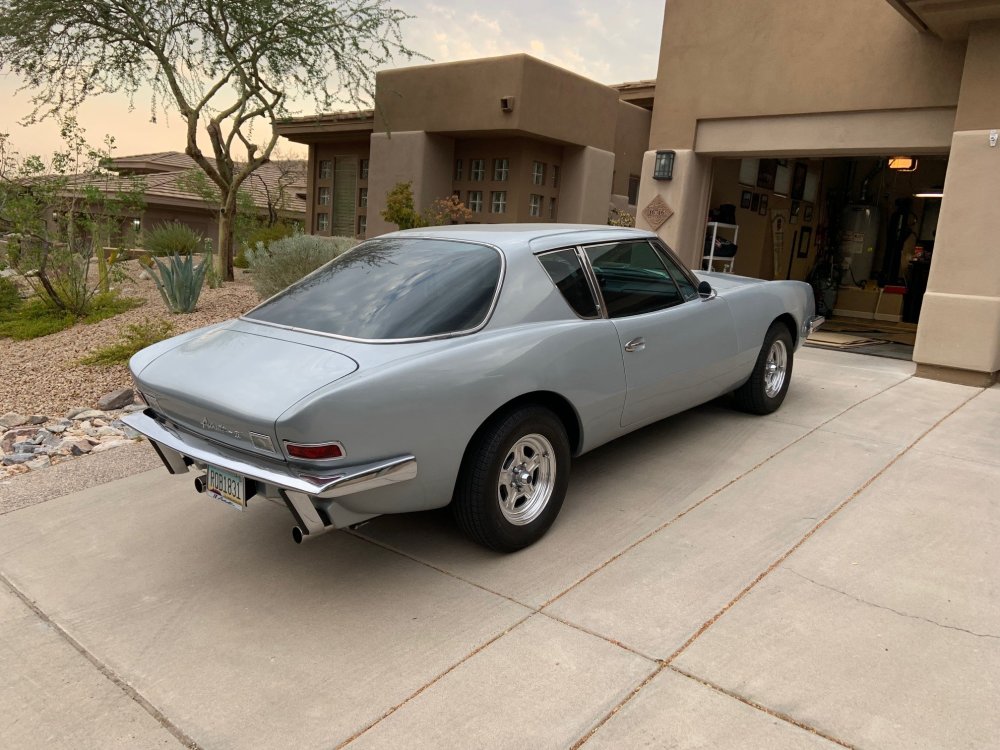
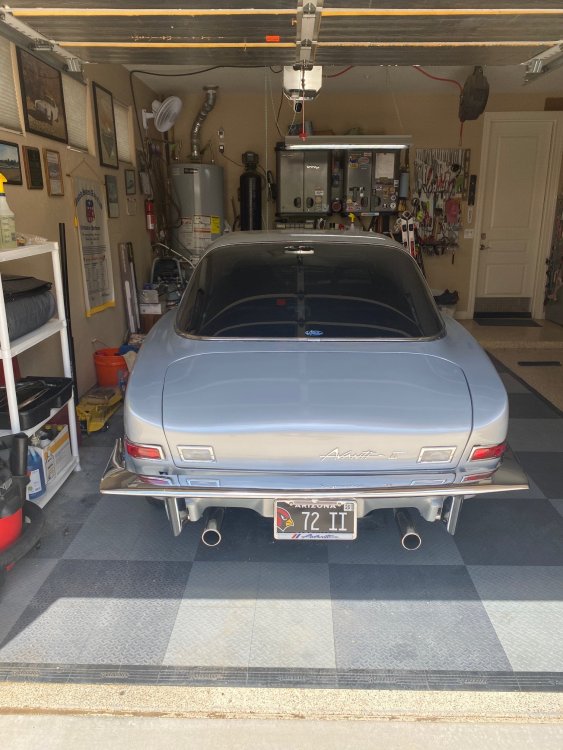
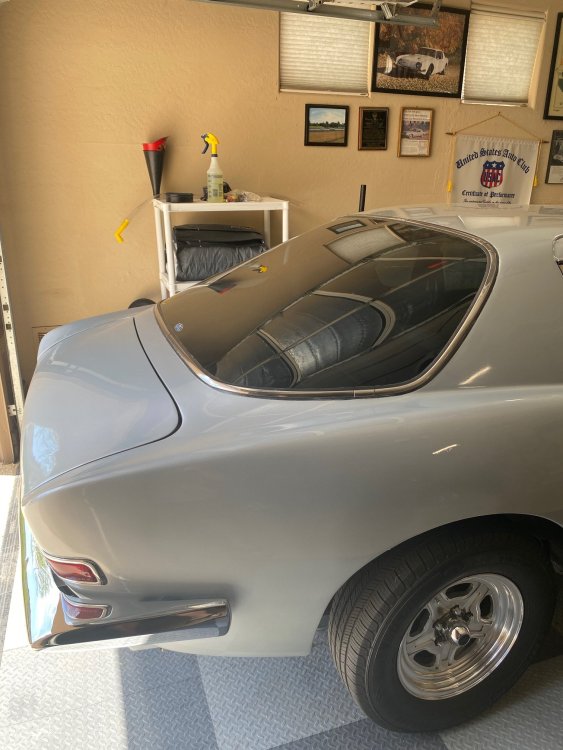
  1. Zedman, Thanks for the very accurate summary of what's involved with this job. I did this on my own Avanti way back in 1993 (pre-digital photo era) and your report brought back a lot of memories! I remember that the roll-bar bolts were quite challenging as the only access was through the ashtray openings in the rear armrests. Removing the old, rusted troughs was one of the dirtiest jobs I've ever done - I recall filling an entire garbage can with rust! Thankfully, this is a job that if done properly, only has to be done once. My hog troughs are still holding up well 31 years later. Good luck with the rest of your project. Adam DeRosa
  2. @aardvark, have you tried contacting John Hull and asking you question?
  3. One tip to add from experience - As you remove the driver's door interior panel, be mindful of the wires on the window switches. There is not a single disconect plug but rather several wires with spade terminals that connect to the switches. Note which wire goes where before you disconnect them to remove the door panel. You'll save yourself a few cuss words and a headache later on.
  4. Kodjo, Could you please explain how you adjusted the gauge after you took it apart? Is there an adjustment screw or did you have to bend something? Thanks for all of the data.
  5. Ron, I think you have found a good clue. Make sure that the inside of the lamp socket is clean and shiny. I think on a lot of these the ground wire was soldered to the base of the socket so check that too to make sure it's not failing. You might also try a different bulb just to rule it out. Good luck and let us know what you find.
  6. Ron, I believe that this wire runs all the way to the front of the car and might ground somewhere behind the dashboard. On the wiring print it looks like it ties in with the ground for the fuel gauge. Have you tried running a jumper wire from the lamp socket to ground and seeing what happens? If you do this and things act normally perhaps consider just running a new ground wire from the lamp socket and attach it at one of the body mount bolts in the trunk.
  7. Bill, Your car would've originally had a York compressor installed. Vintage Air makes a bracket to adapt the Sanden compressor to the York mount. I did this on my '72 many years ago. This is not the only way of course; there are several companies that make brackets to mount the Sanden compressor to a SBC.
  8. Nice work! Let us know how the electric fan set-up works out.
  9. I used DAP Weldwood contact cement, available at Home Depot. I live in AZ where it gets pretty hot, and the pad has been holding on OK.
  10. I believe those lights were used on Datsuns from the late 1960's -early 1970's. Take a look at these: https://www.ebay.com/itm/265679785132?chn=ps&_trkparms=ispr%3D1&amdata=enc%3A1dc-YMpMgQRKskczNxV_FmQ29&norover=1&mkevt=1&mkrid=711-117182-37290-0&mkcid=2&mkscid=101&itemid=265679785132&targetid=1644837435243&device=c&mktype=&googleloc=9030073&poi=&campaignid=16743749222&mkgroupid=138744546207&rlsatarget=pla-1644837435243&abcId=9300842&merchantid=119194559&gclid=EAIaIQobChMI7PKp9-uZ_wIVJS2tBh0qvg0pEAQYCCABEgKM9fD_BwE
  11. I installed the Classic Industries Hog Troughs on my Avanti II 30 years ago and I remember as being one if the messiest jobs I've ever done. I think I filled two trash cans with rust flakes and rusted metal from removing what was left of the original hog troughs. It sounds like you're on the right track -good luck with your project. There are a lot of rivets to install, so if you have a pneumatic or electric rivet gun it will make things easier.
  12. AD

    LED

    I had this exact problem! A found the solution after quick look through the troubleshooting section for my Global Cruise control: "Installed LED tail lights and cruise control not working Answer: When using LED tail lights, the violet wire at the cold side of brake will not read ground through the brake system. A five function relay will be required to let the violet wire read ground and then lose ground when the brake is applied. Connect the relay using the selected terminals below: 85 to cold side of brake (+12V when brake is pressed) 86 to ground 87 not used 87A to violet wire from cruise harness 30 to ground" After spending about $14 at NAPA and 1/2 hr for install, I had my cruise control working again. It's easy to forget that the "D" in LED stands for DIODE, and when installing LED lamps we're adding diodes into a circuit. Sometimes that may not cause a problem, and other times we're not so lucky.
  13. I believe your radiator may have been replaced at some point. The stock system has one cap in the T-fitting between the two upper radiator hoses, and no cap on the radiator itself. If your current radiator is in good shape and you want to keep it installed, then I believe your idea to eliminate the filler cap in the upper hose will work, The only downside I see is that it will be more difficult to fill the radiator - the cap on the radiator will be pretty far forward and the hood may be in the way. I guess you could use a long funnel. You might also need to jack the front of the car up when filling the radiator so that the filler neck is at the highest point in the system, otherwise air will be trapped.
×
×
  • Create New...