Hogtrough
-
Posts
83 -
Joined
-
Last visited
Content Type
Profiles
Forums
Events
Everything posted by Hogtrough
-
Fitting a group 51 or 51R battery into a '63 Avanti
Hogtrough replied to Dwight FitzSimons's topic in Avanti Information
Really, the biggest problem with the 3EE is that they stay on the shelves FOREVER due to low demand. Routinely I find two year old batteries in stock at places like Autozone. Mine was recently replaced under warranty at about one year old (total of three since built). The replacement was, as usual. two years old -

-
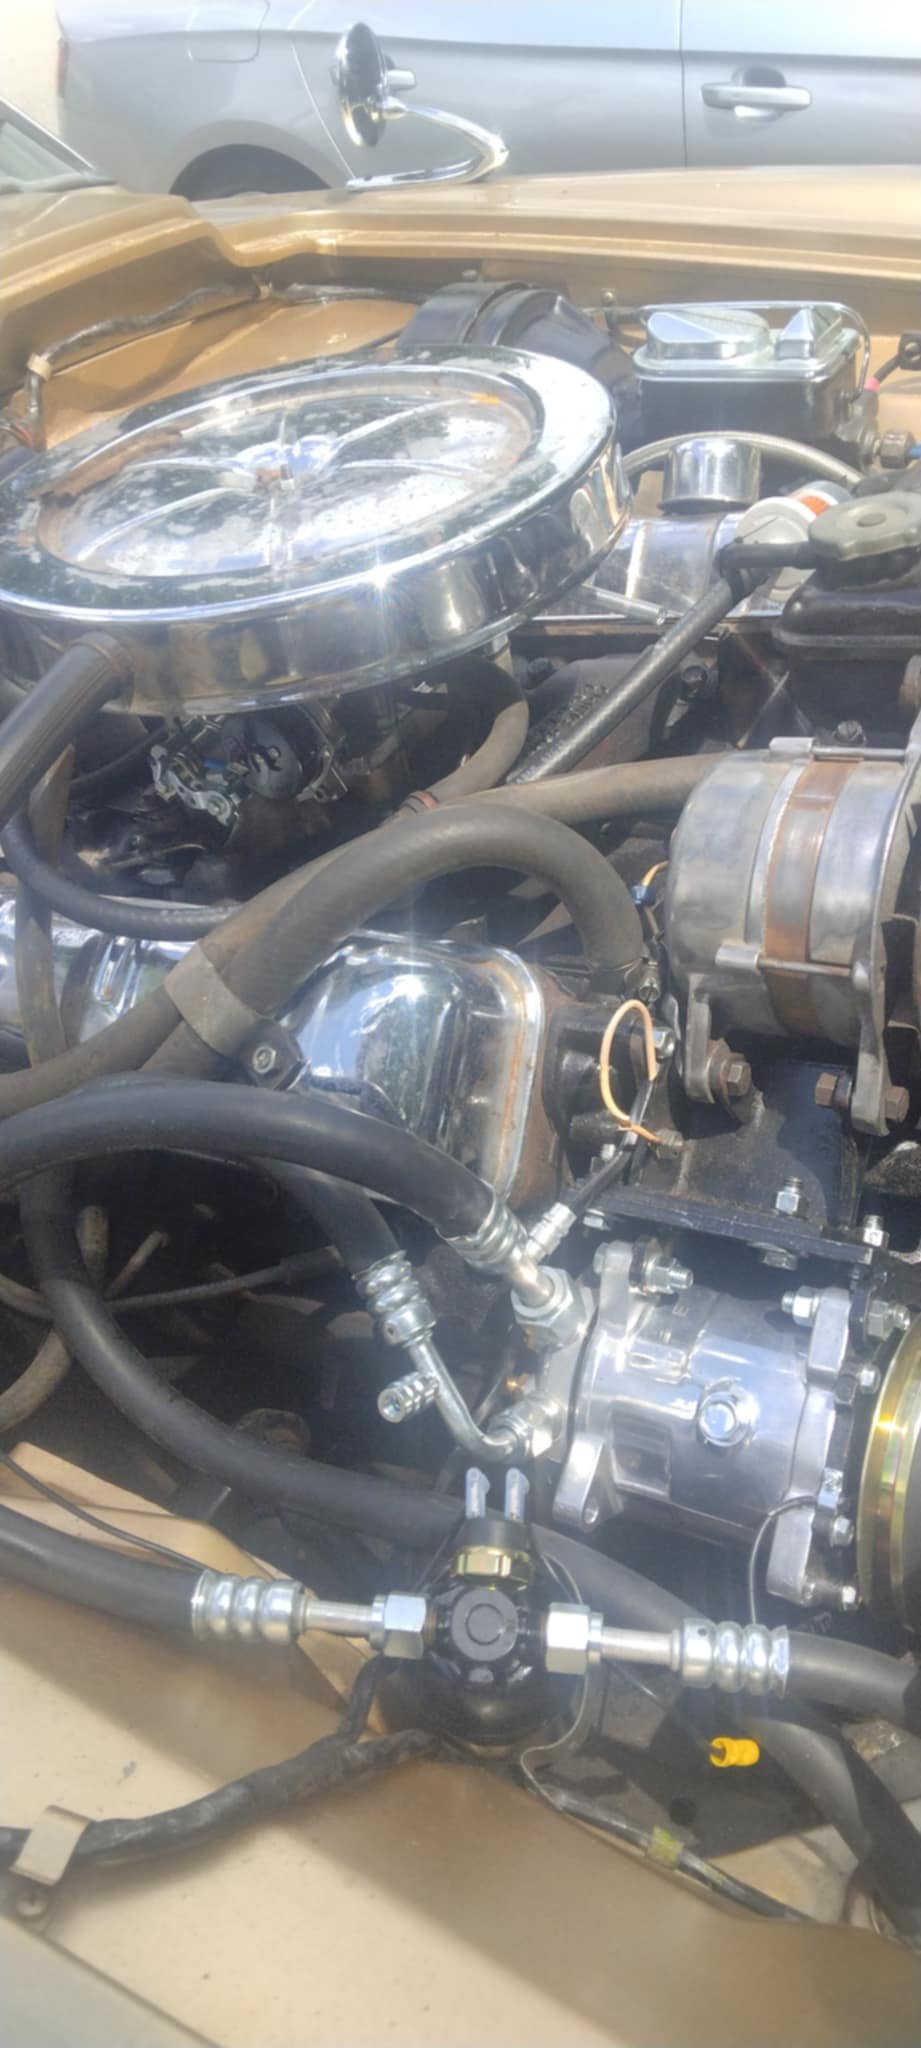
Turned out to be the heat riser installed on the WRONG (drivers) side by the engine rebuilder. It was free, but did not open when heated up. So I took a spring and wired it open. Now she runs like a scalded dog!

-
Went ahead and did that. Exhaust manifold itself is around 275-300 degrees, exhaust pipe only a foot away or so is 110. DId they typical vacuum test for restricted exhaust and it showed no problem.
-
Went ahead and checked. Temp at the manifold collector drops from over 300 degrees to 100 or so in front of the muffler.
-
I was. thinking the same thing and went out and looked, but very hard to tell from the top. Will jack it up tomorrow and find out. I'm going to start measuring the temp at the manifold and see if somewhere down the line it suddenly changes
-
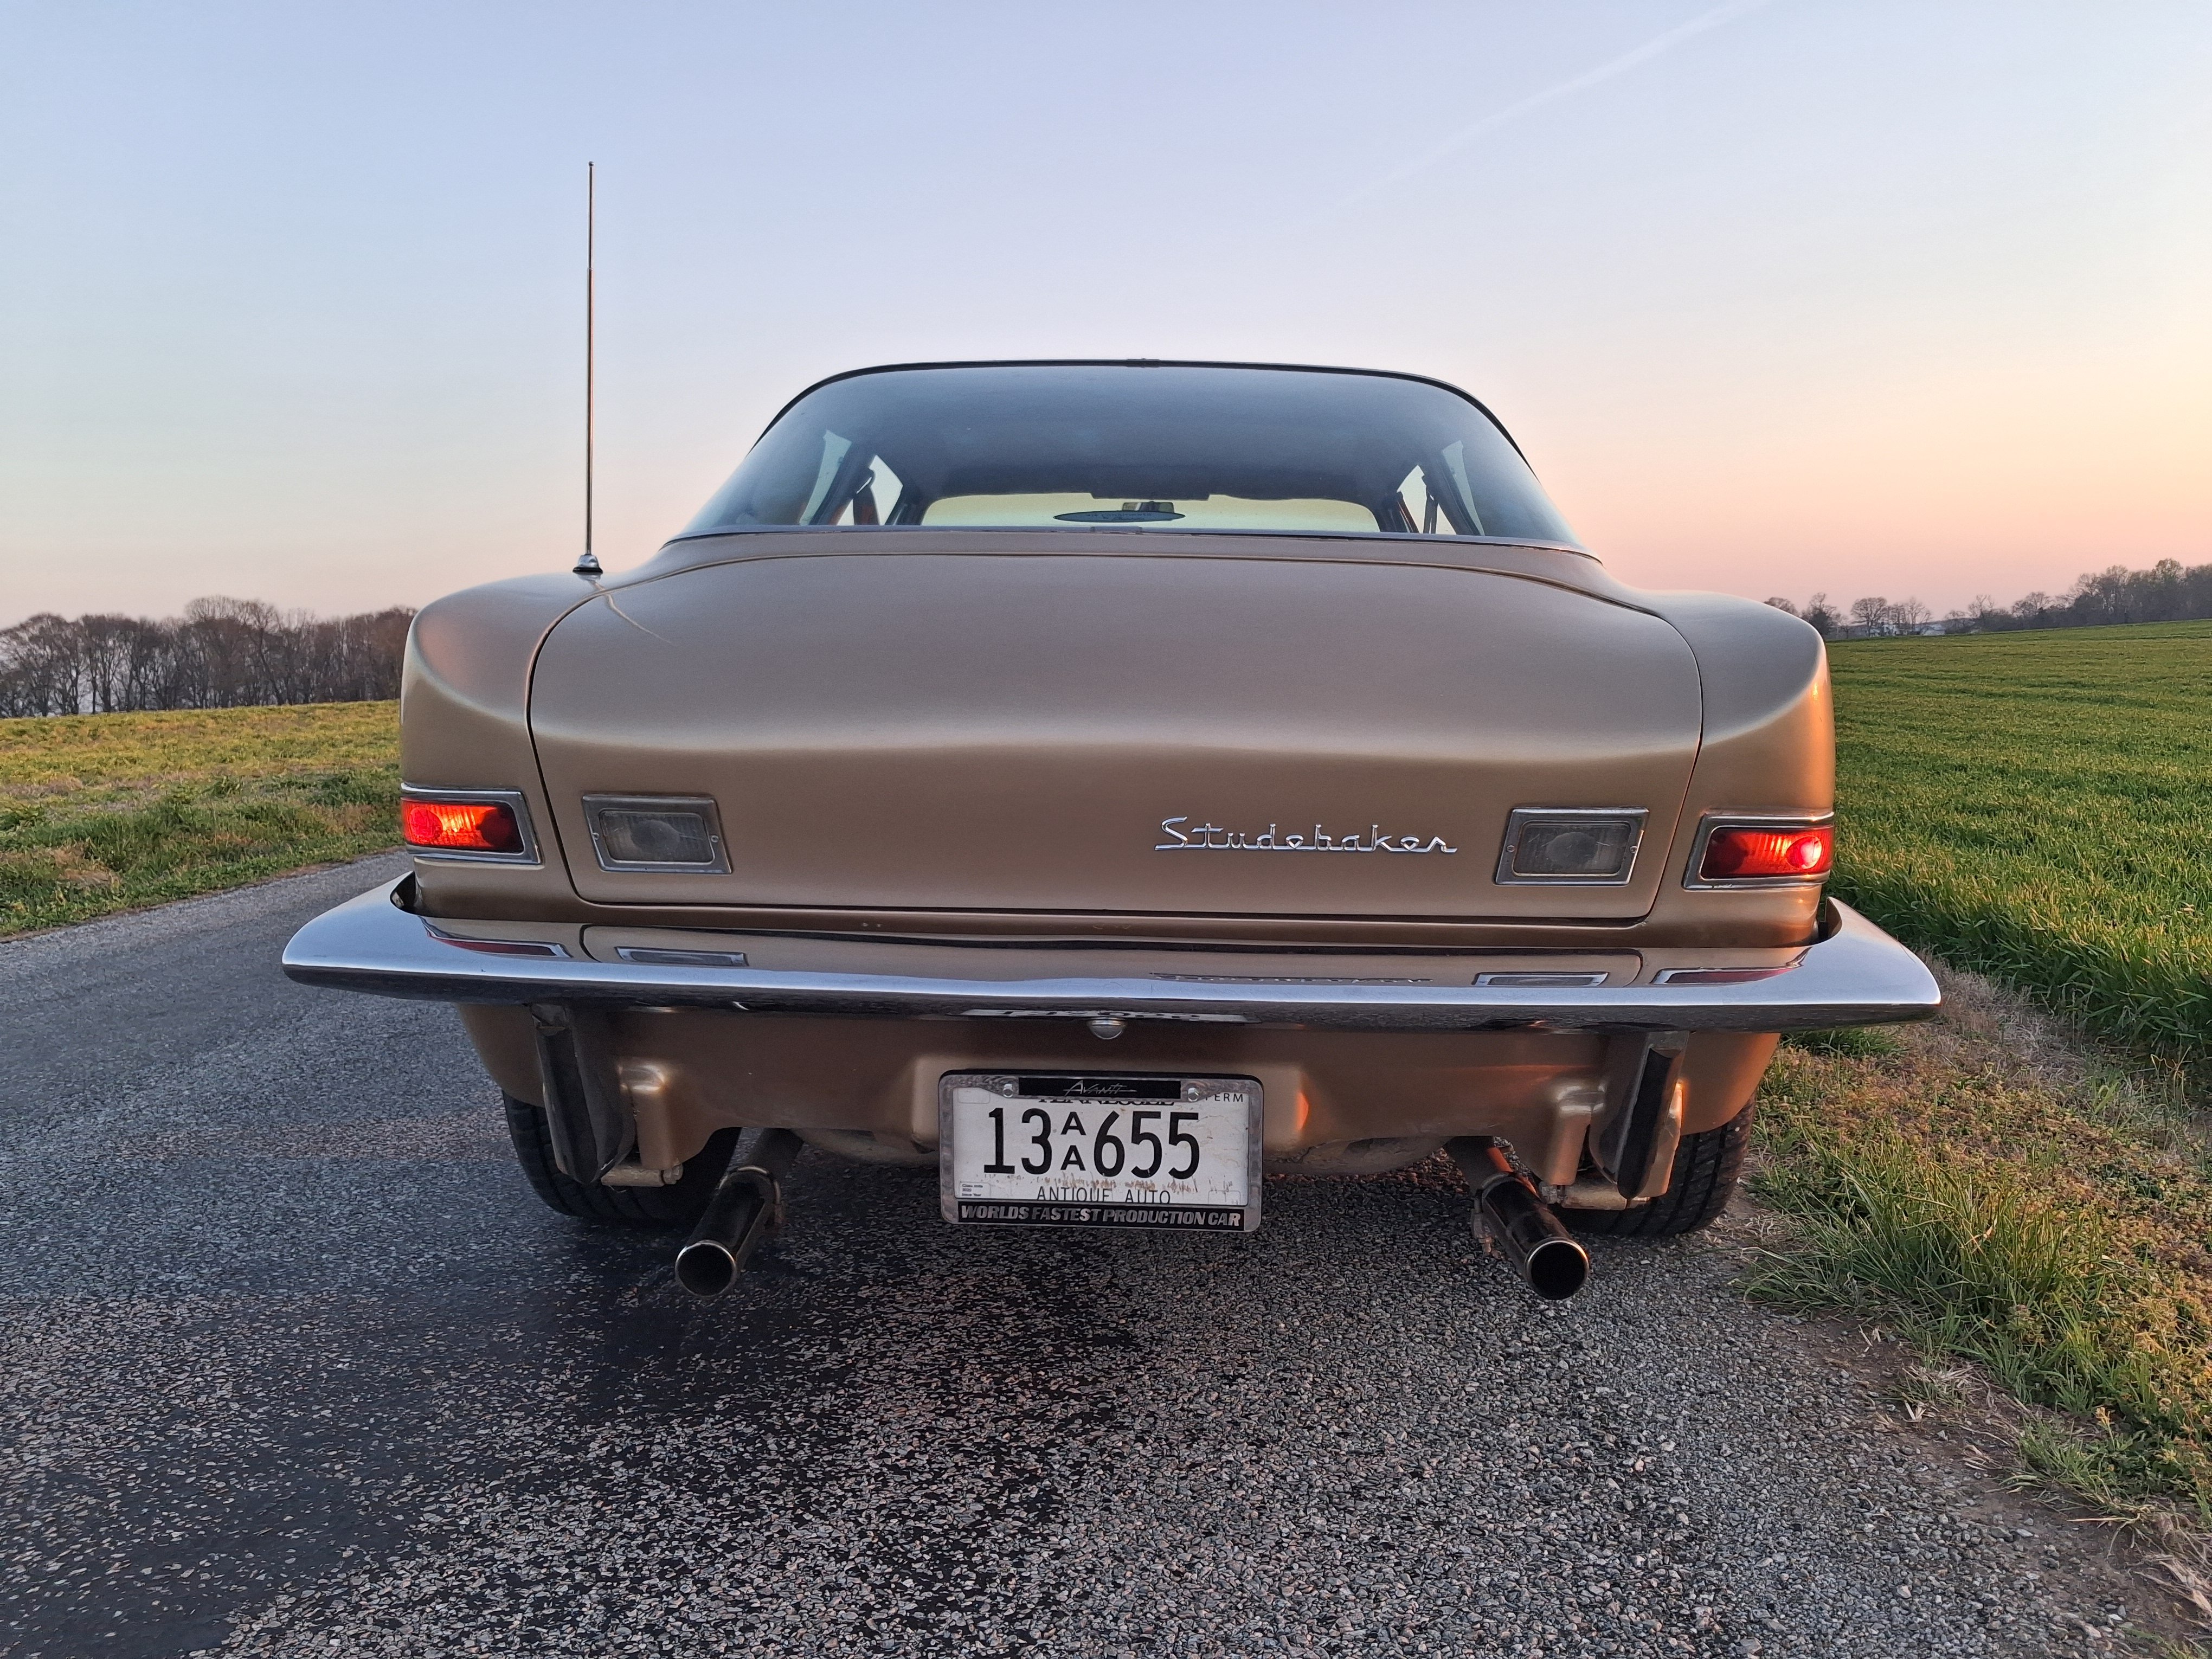
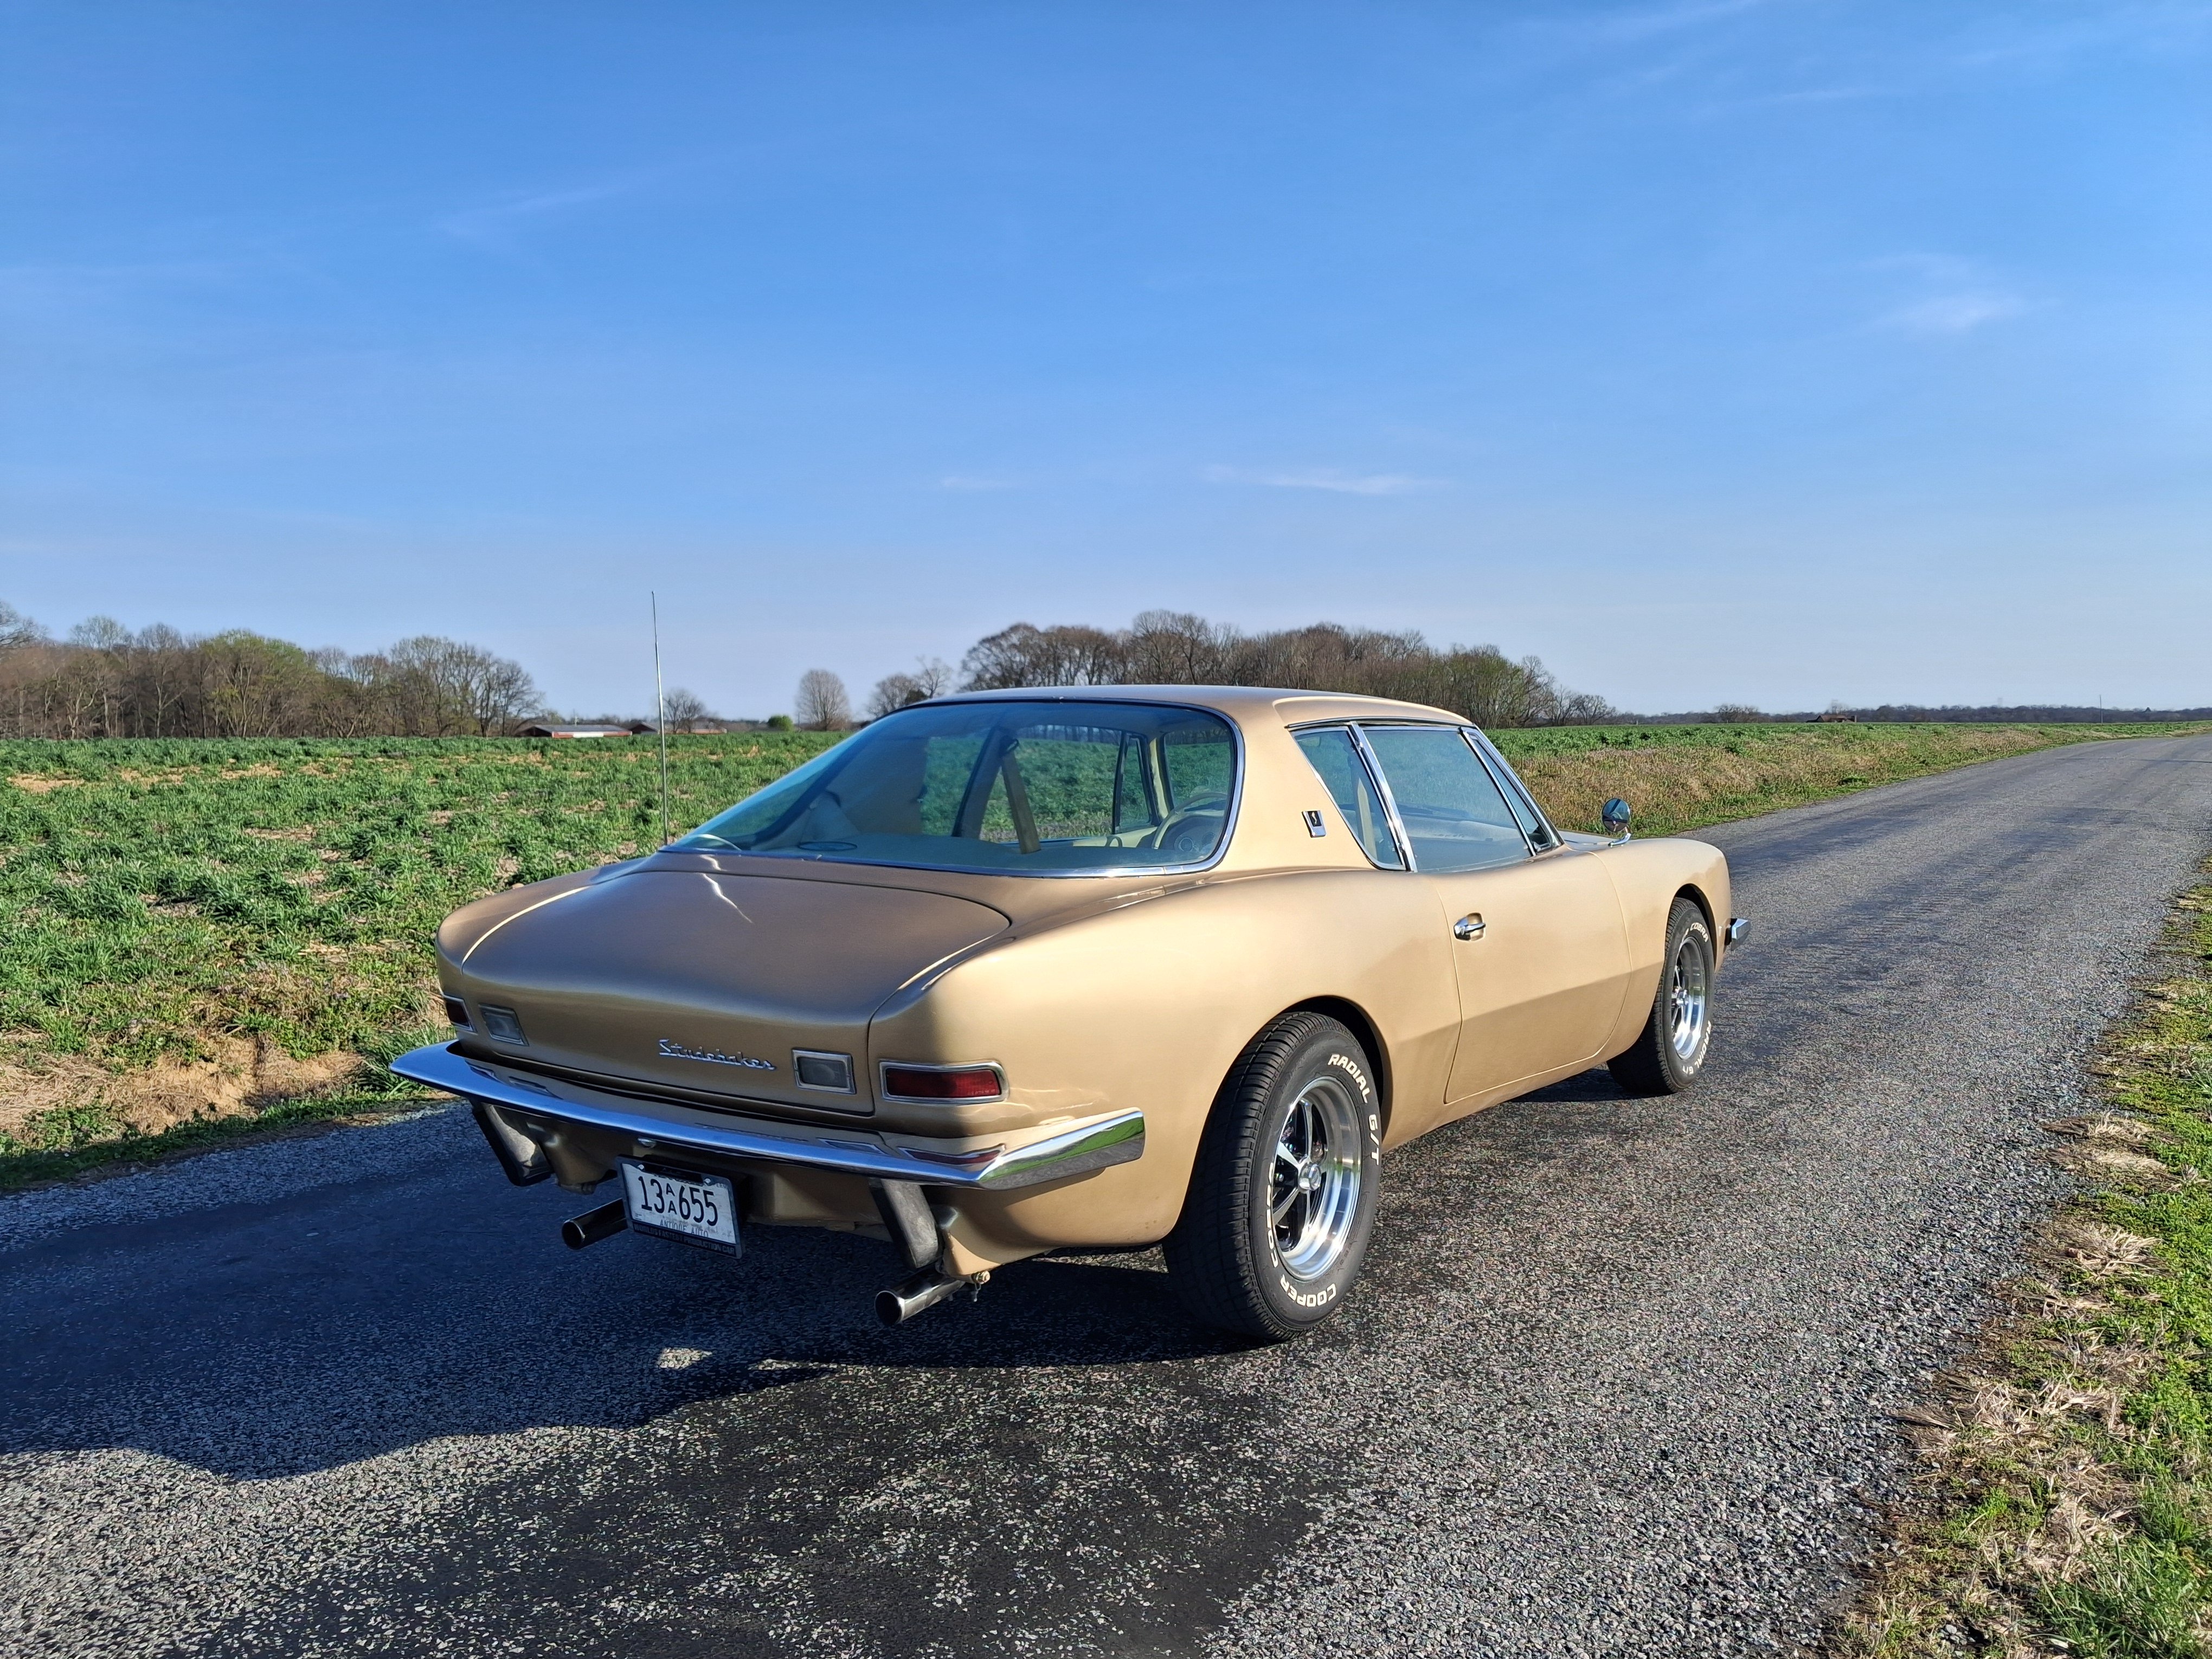
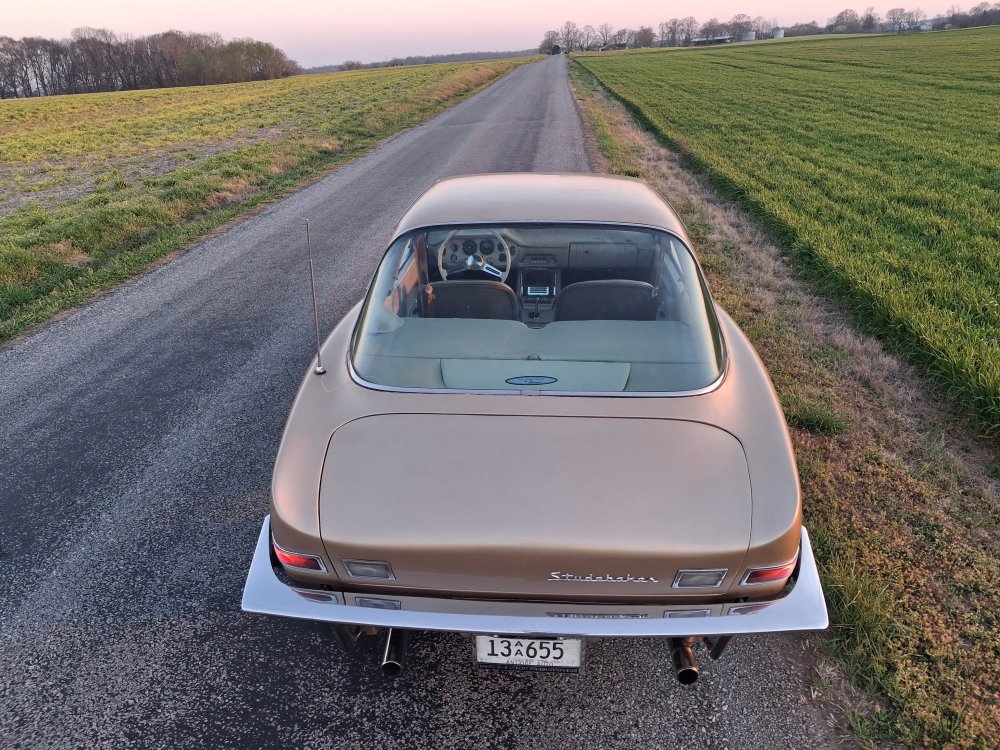
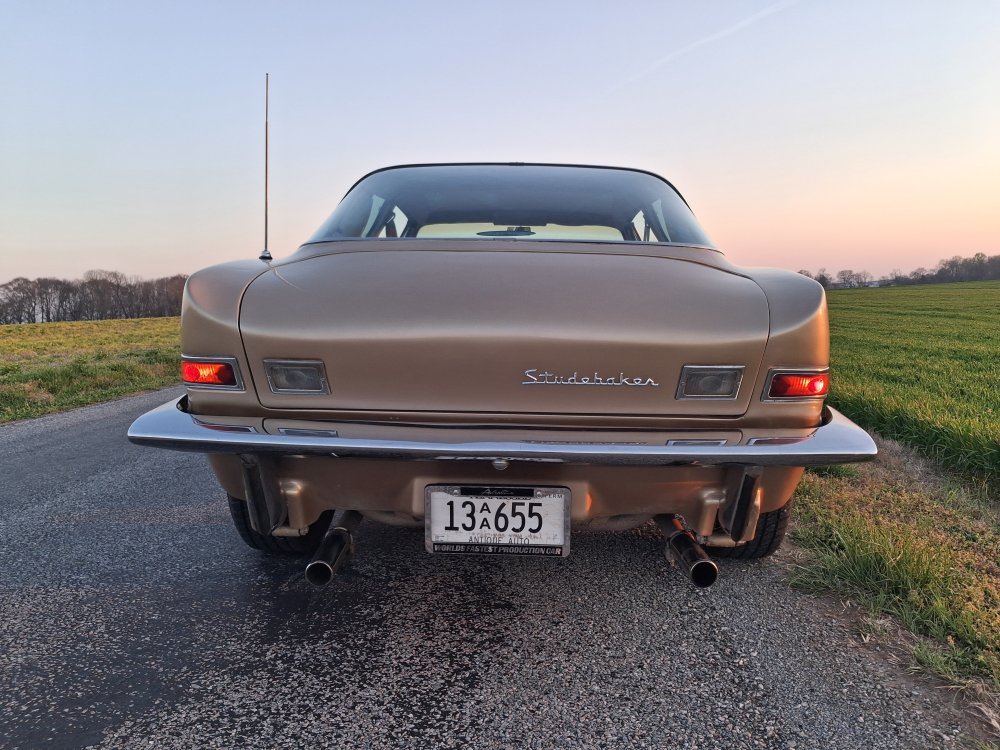
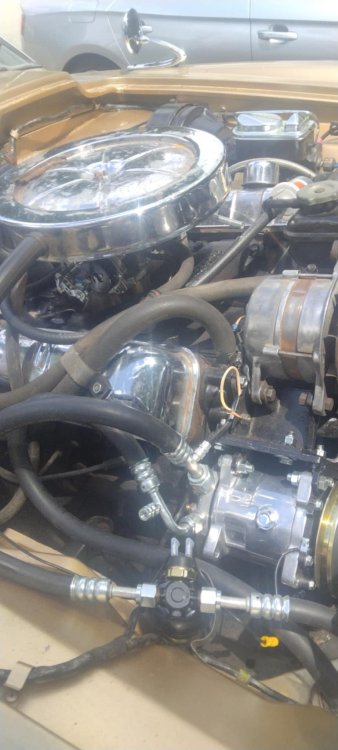
My '63 R1 Avanti has distinctly lower pressure from the driver side exhaust pipe - probably a third of the velocity of the passenger side. I checked Youtube and found various ways of checking for exhaust restrictions, including using a thermal imagining camera . Don't have one, but used my trusty laser thermometer instead. The results were rather dramatic: Driver side muffler 104 degrees, can easily hold my hand on it. Passenger side over 300 degrees, hot stove territory. This is a fully rebuilt engine that runs (in my opinion) very strong. What could cause this?


-


-
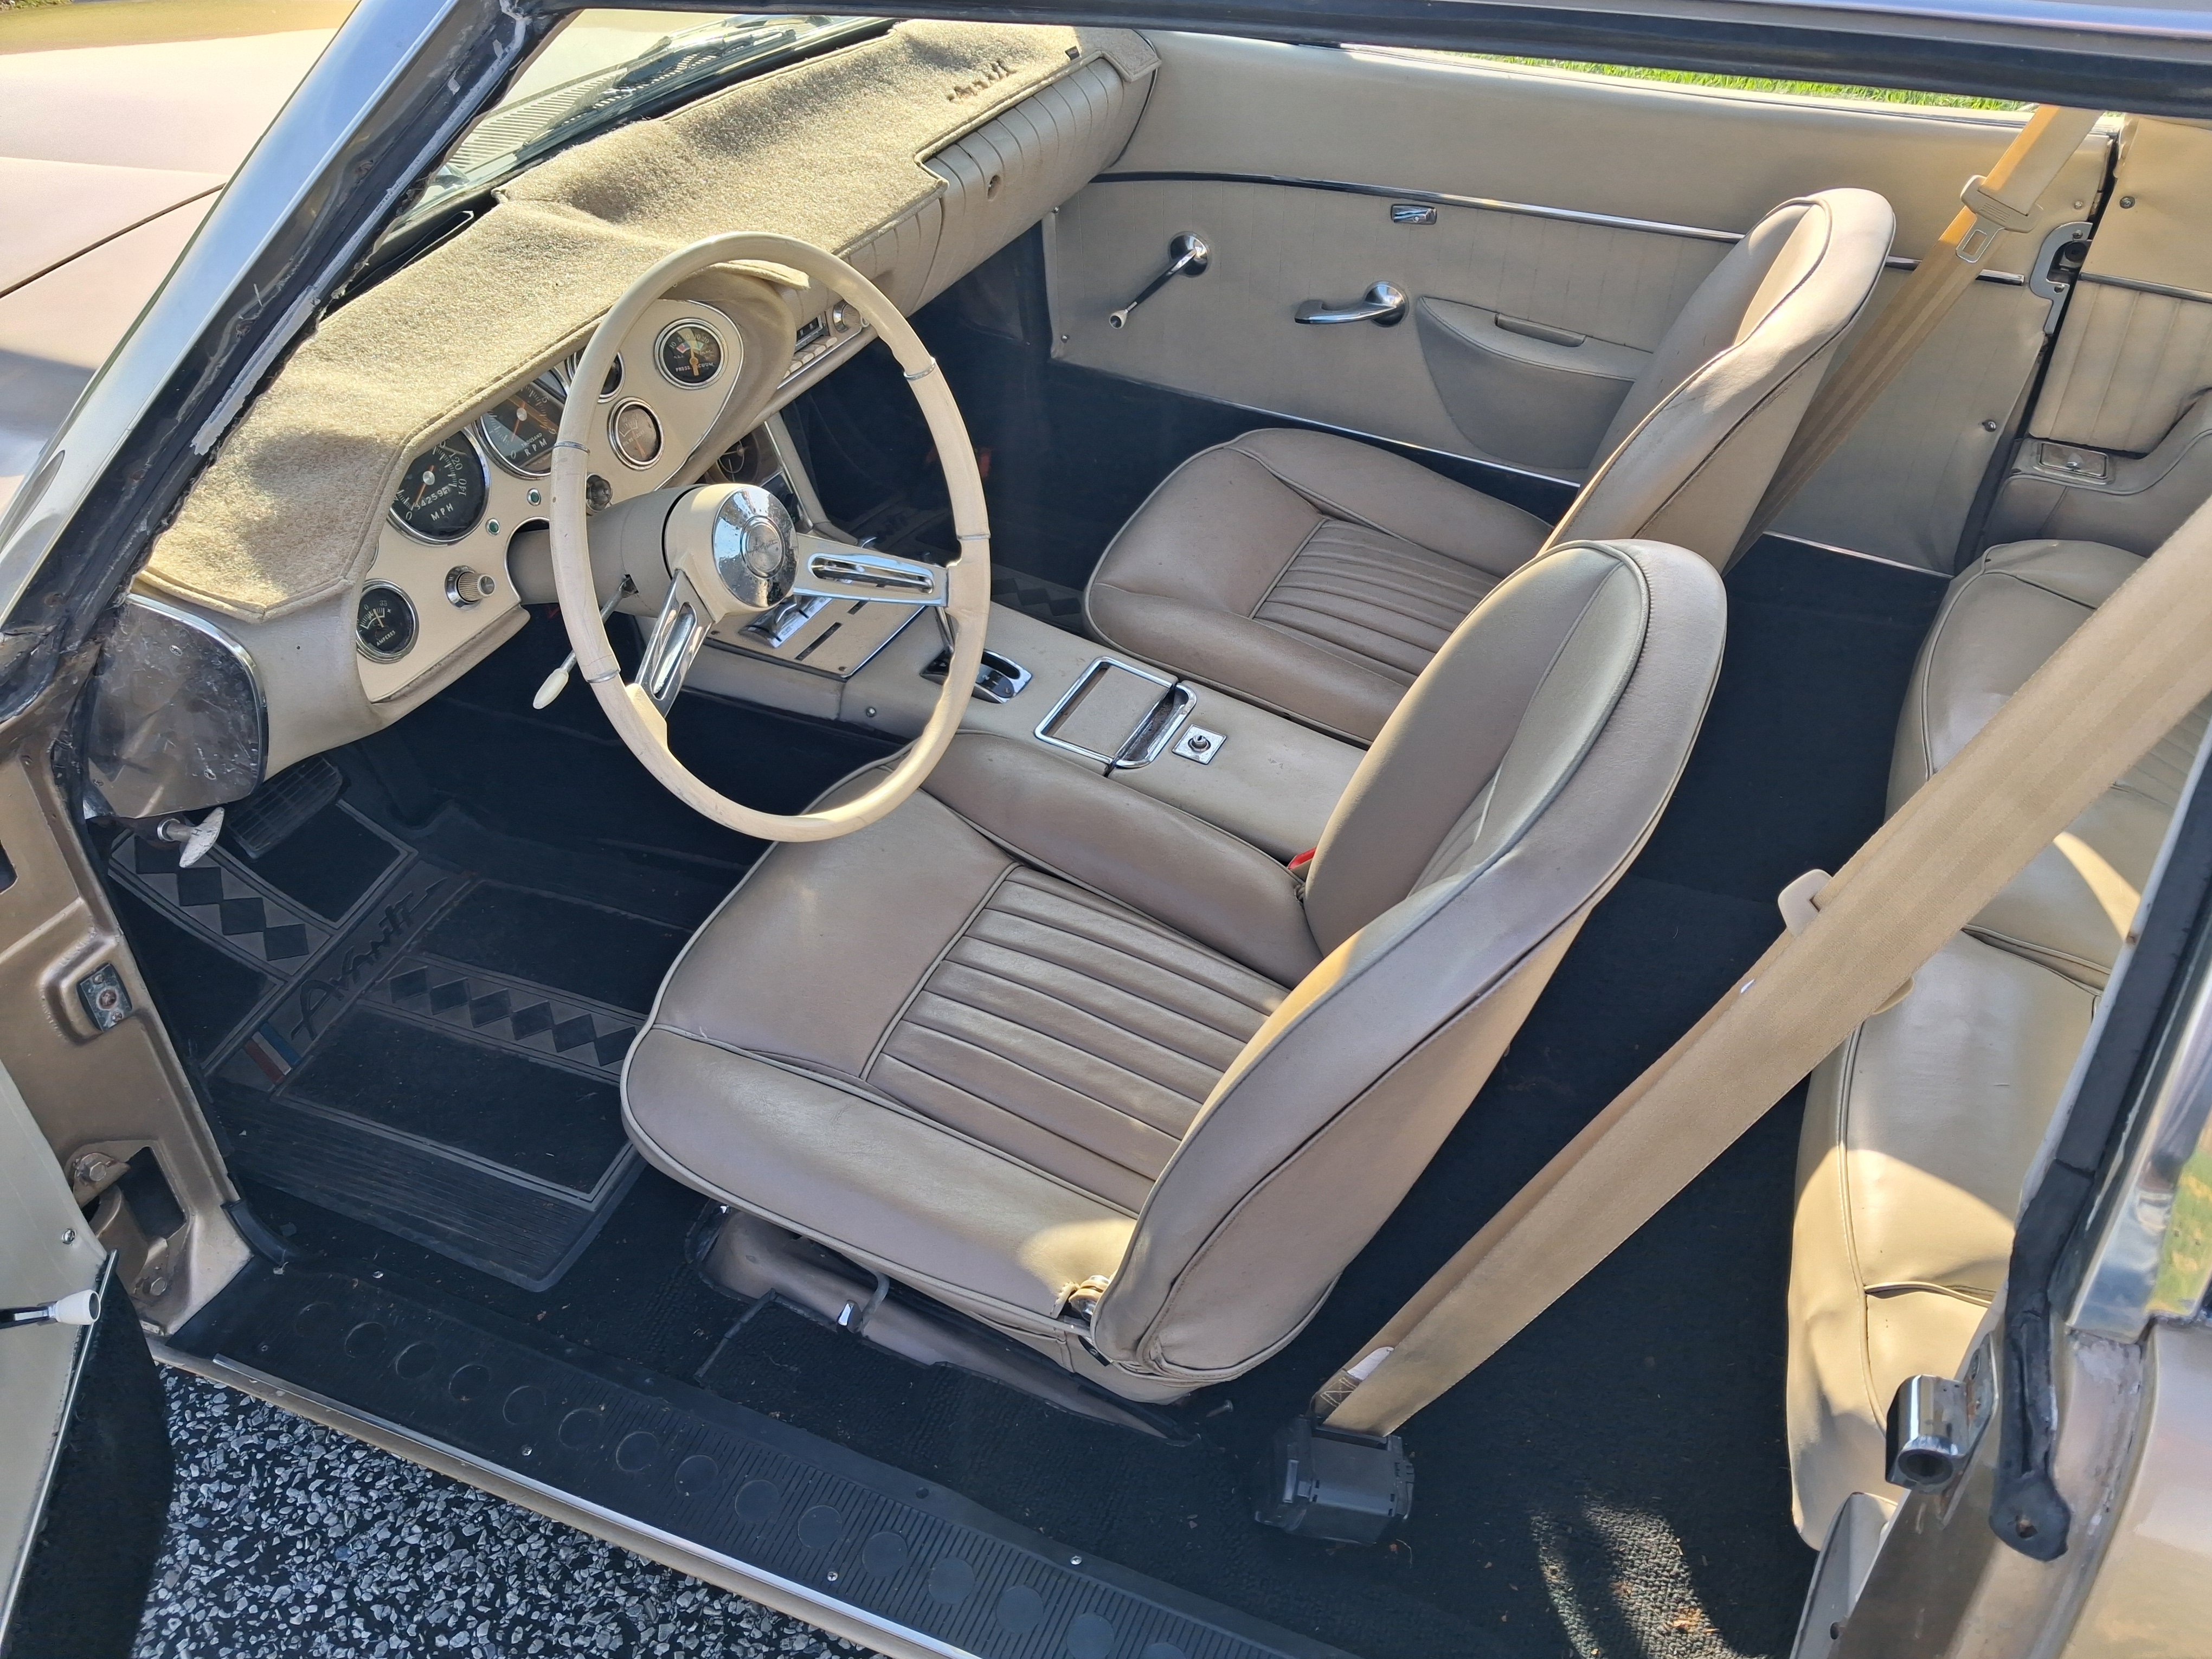
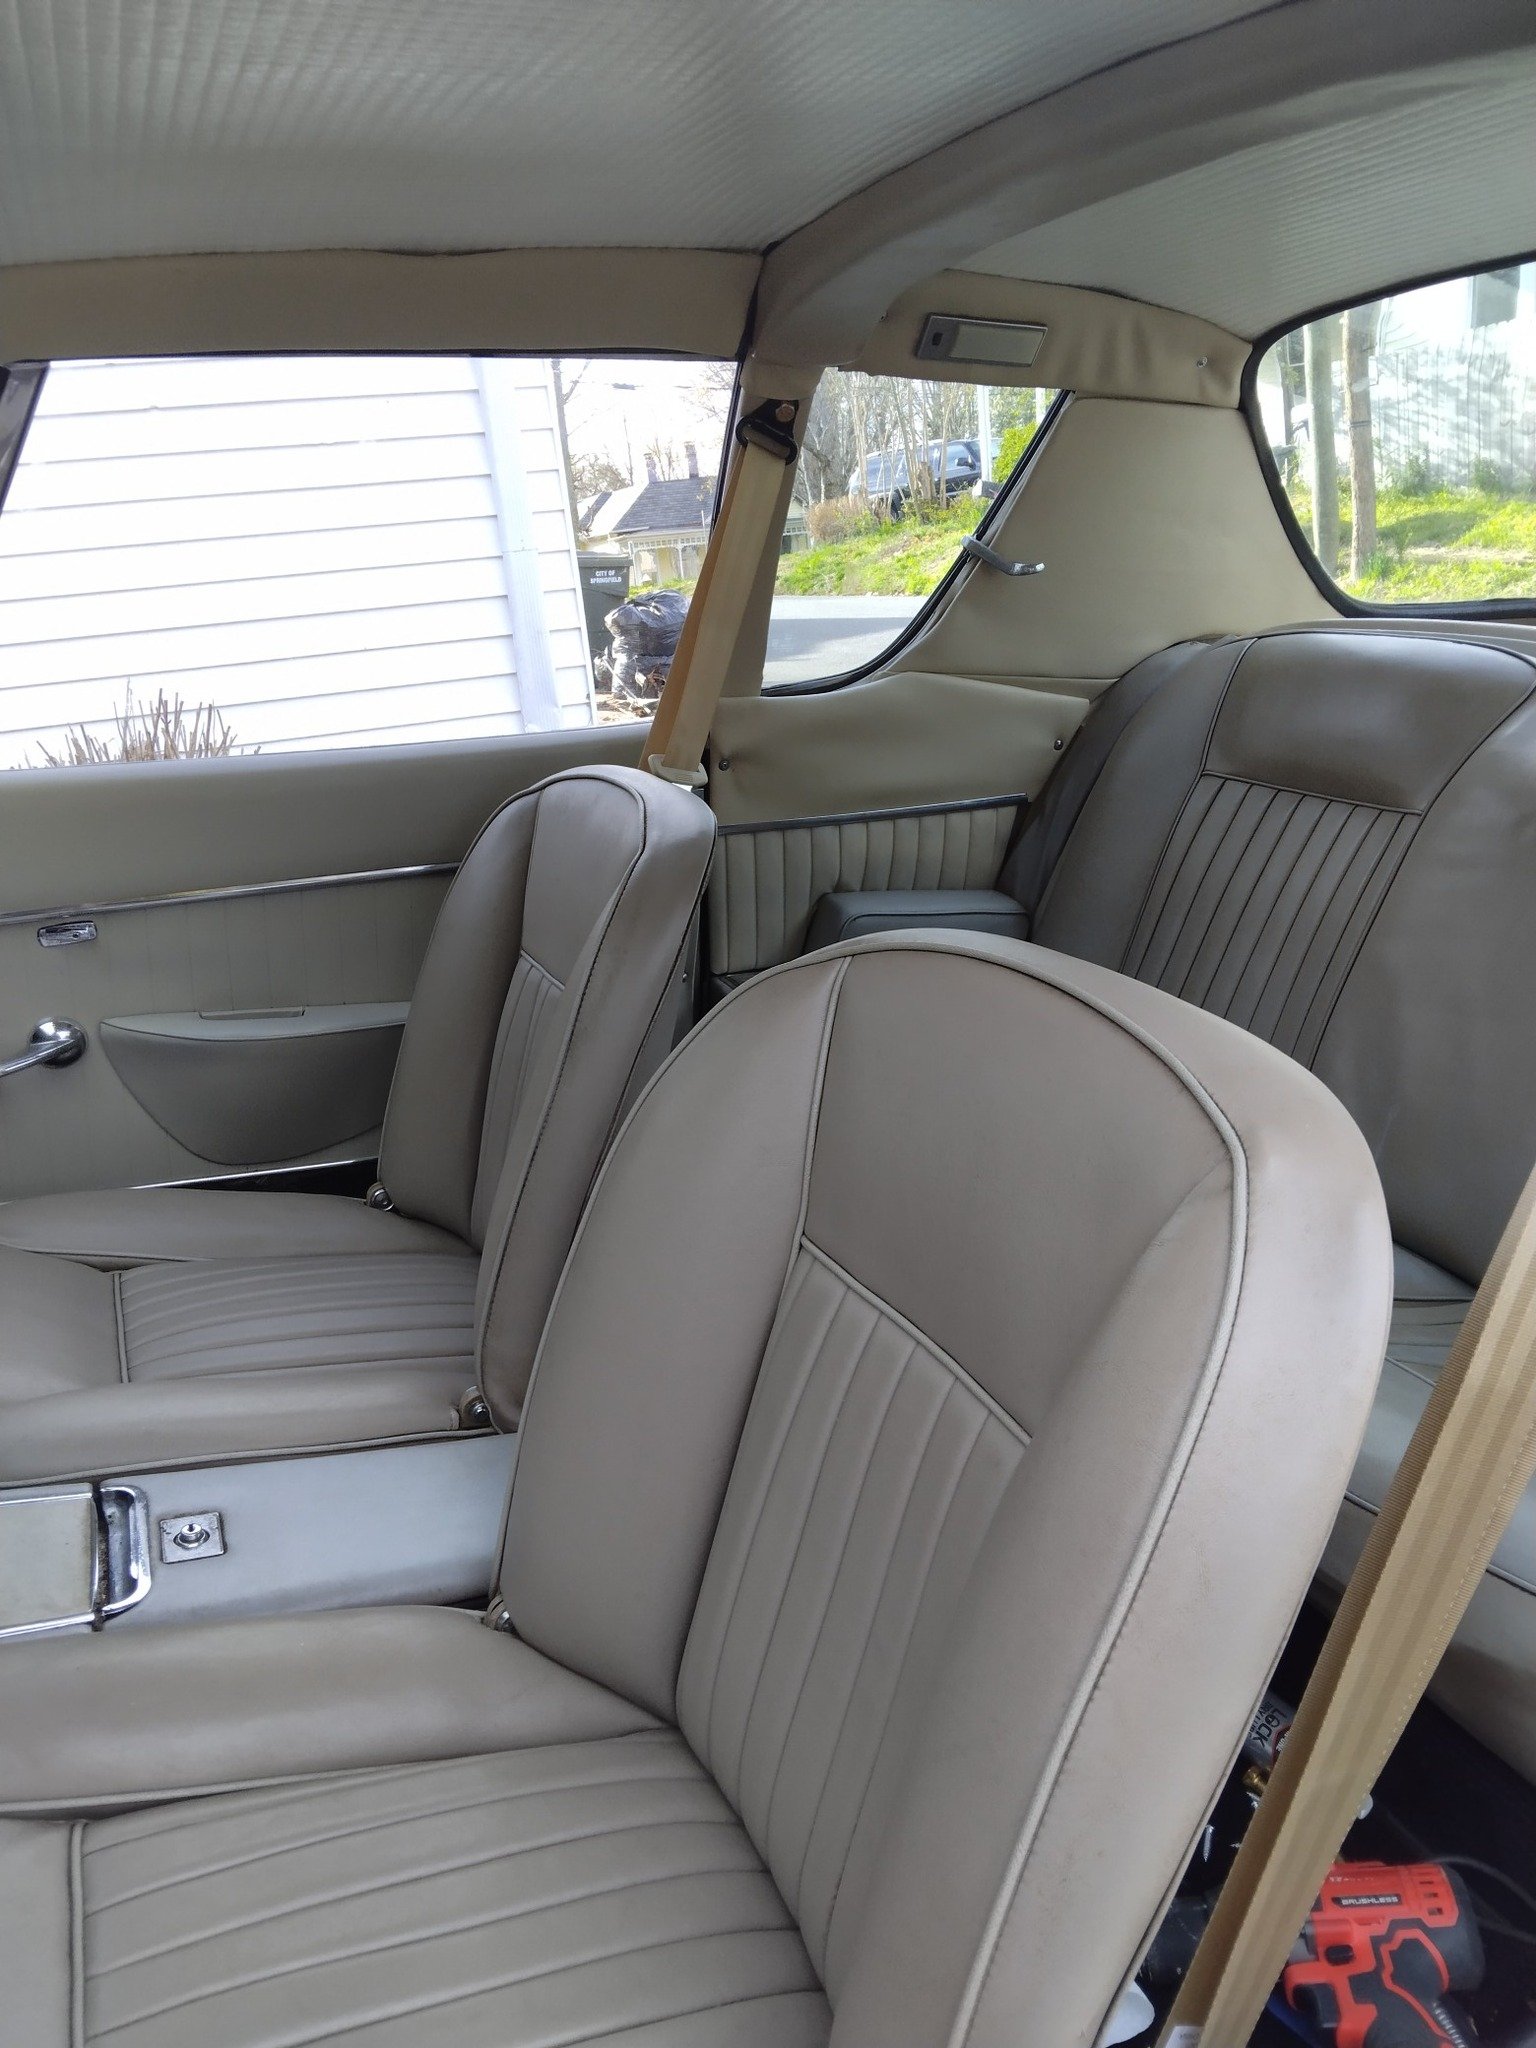
There are a few things that affect the value not seen in the photos, such as the air cleaner housing needing rechroming (and no NOS or repop available), dash pad needs replacing and is covered by a mat, etc. I price them realistically to move. If I do more work to improve the value, I'll increase the asking price accordingly.
-
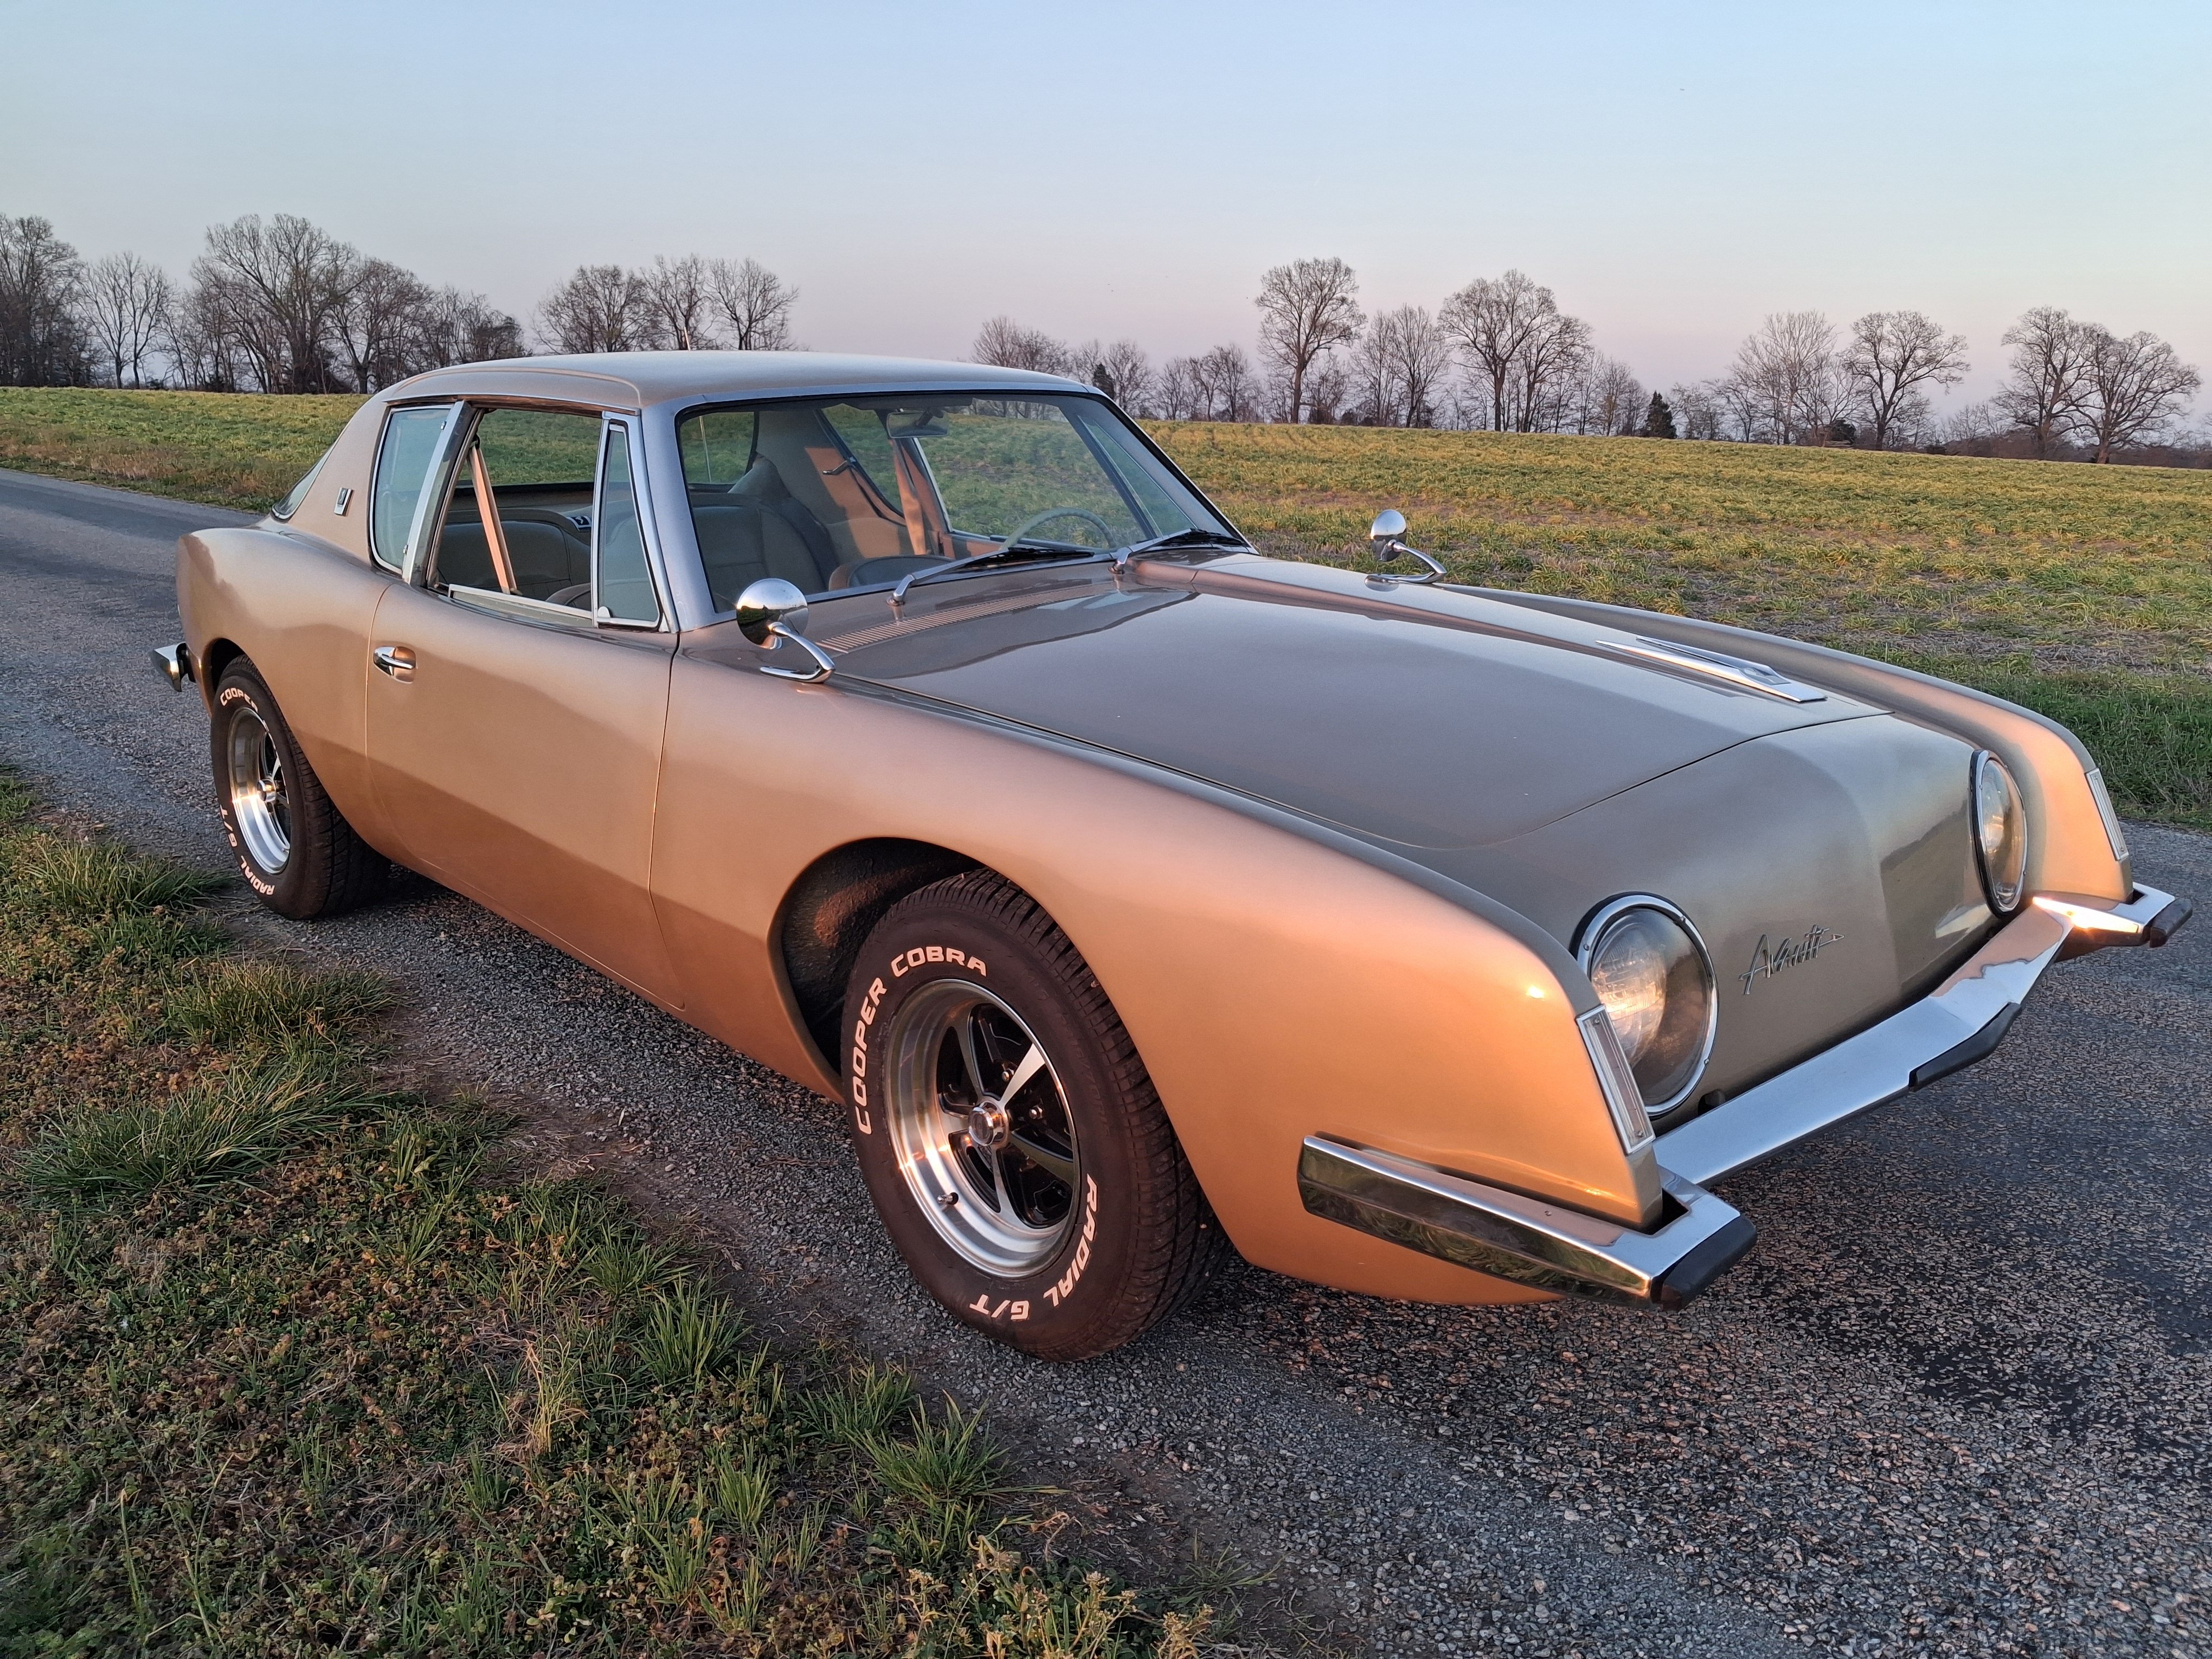
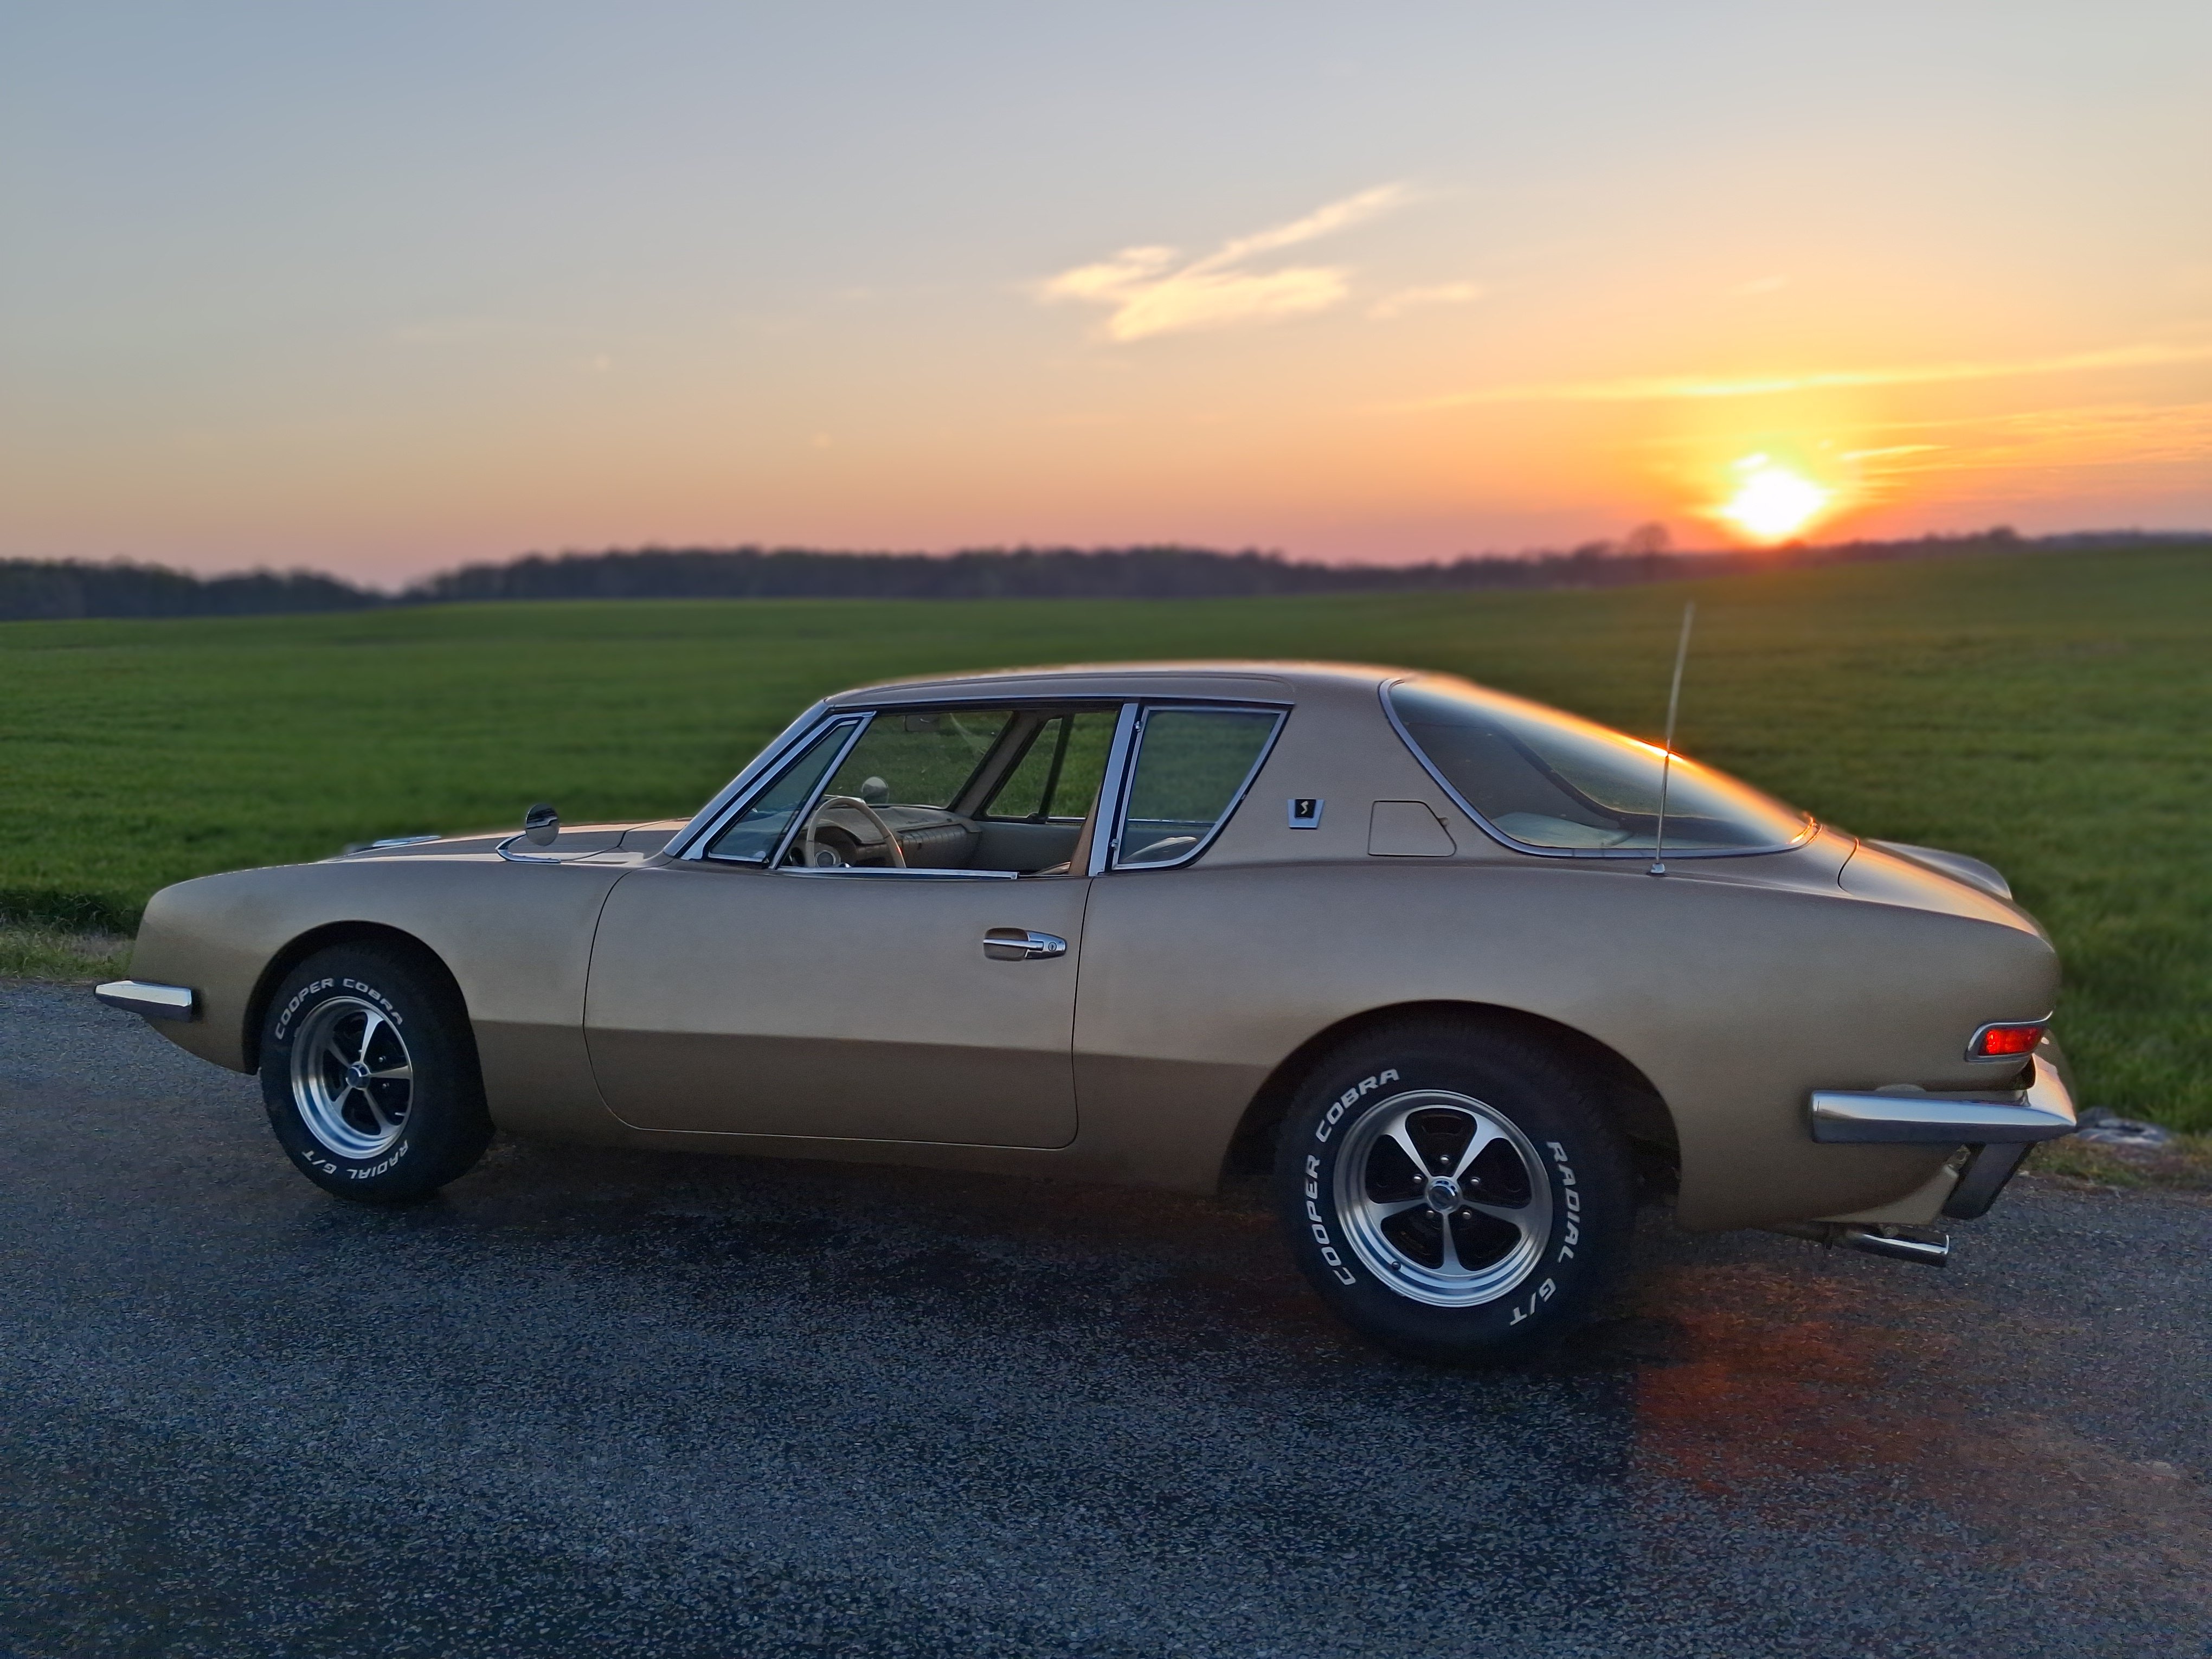
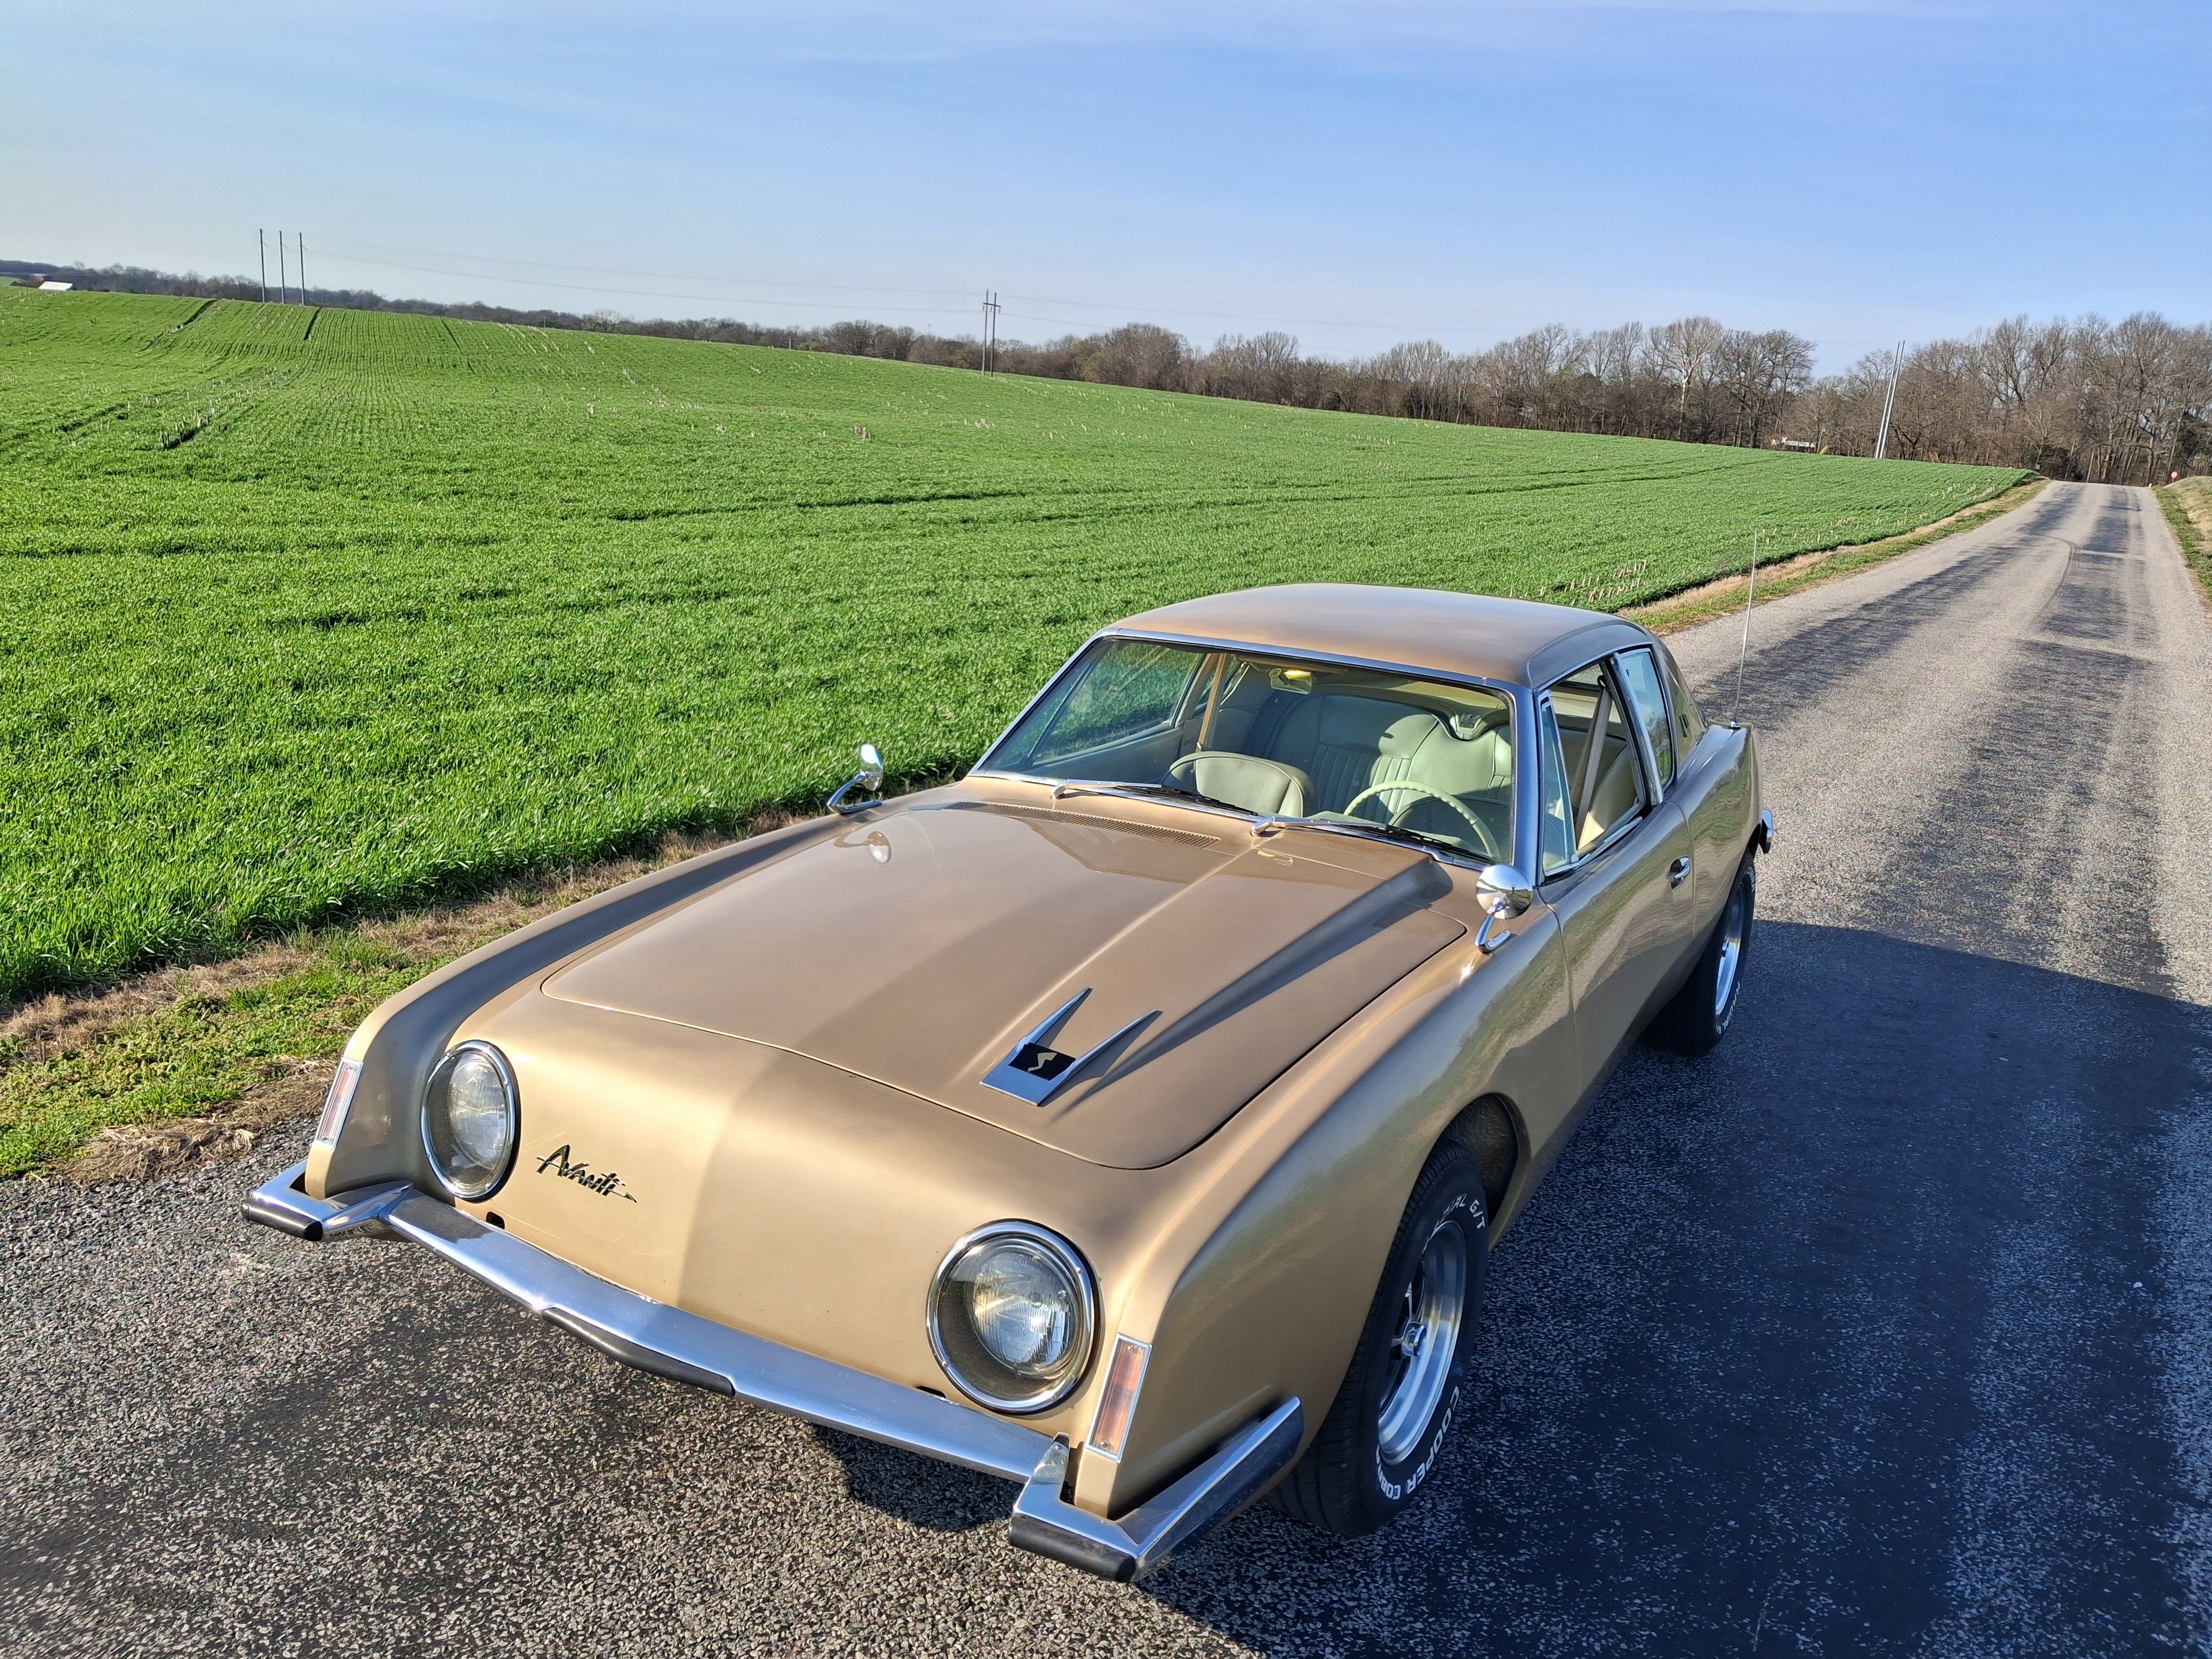
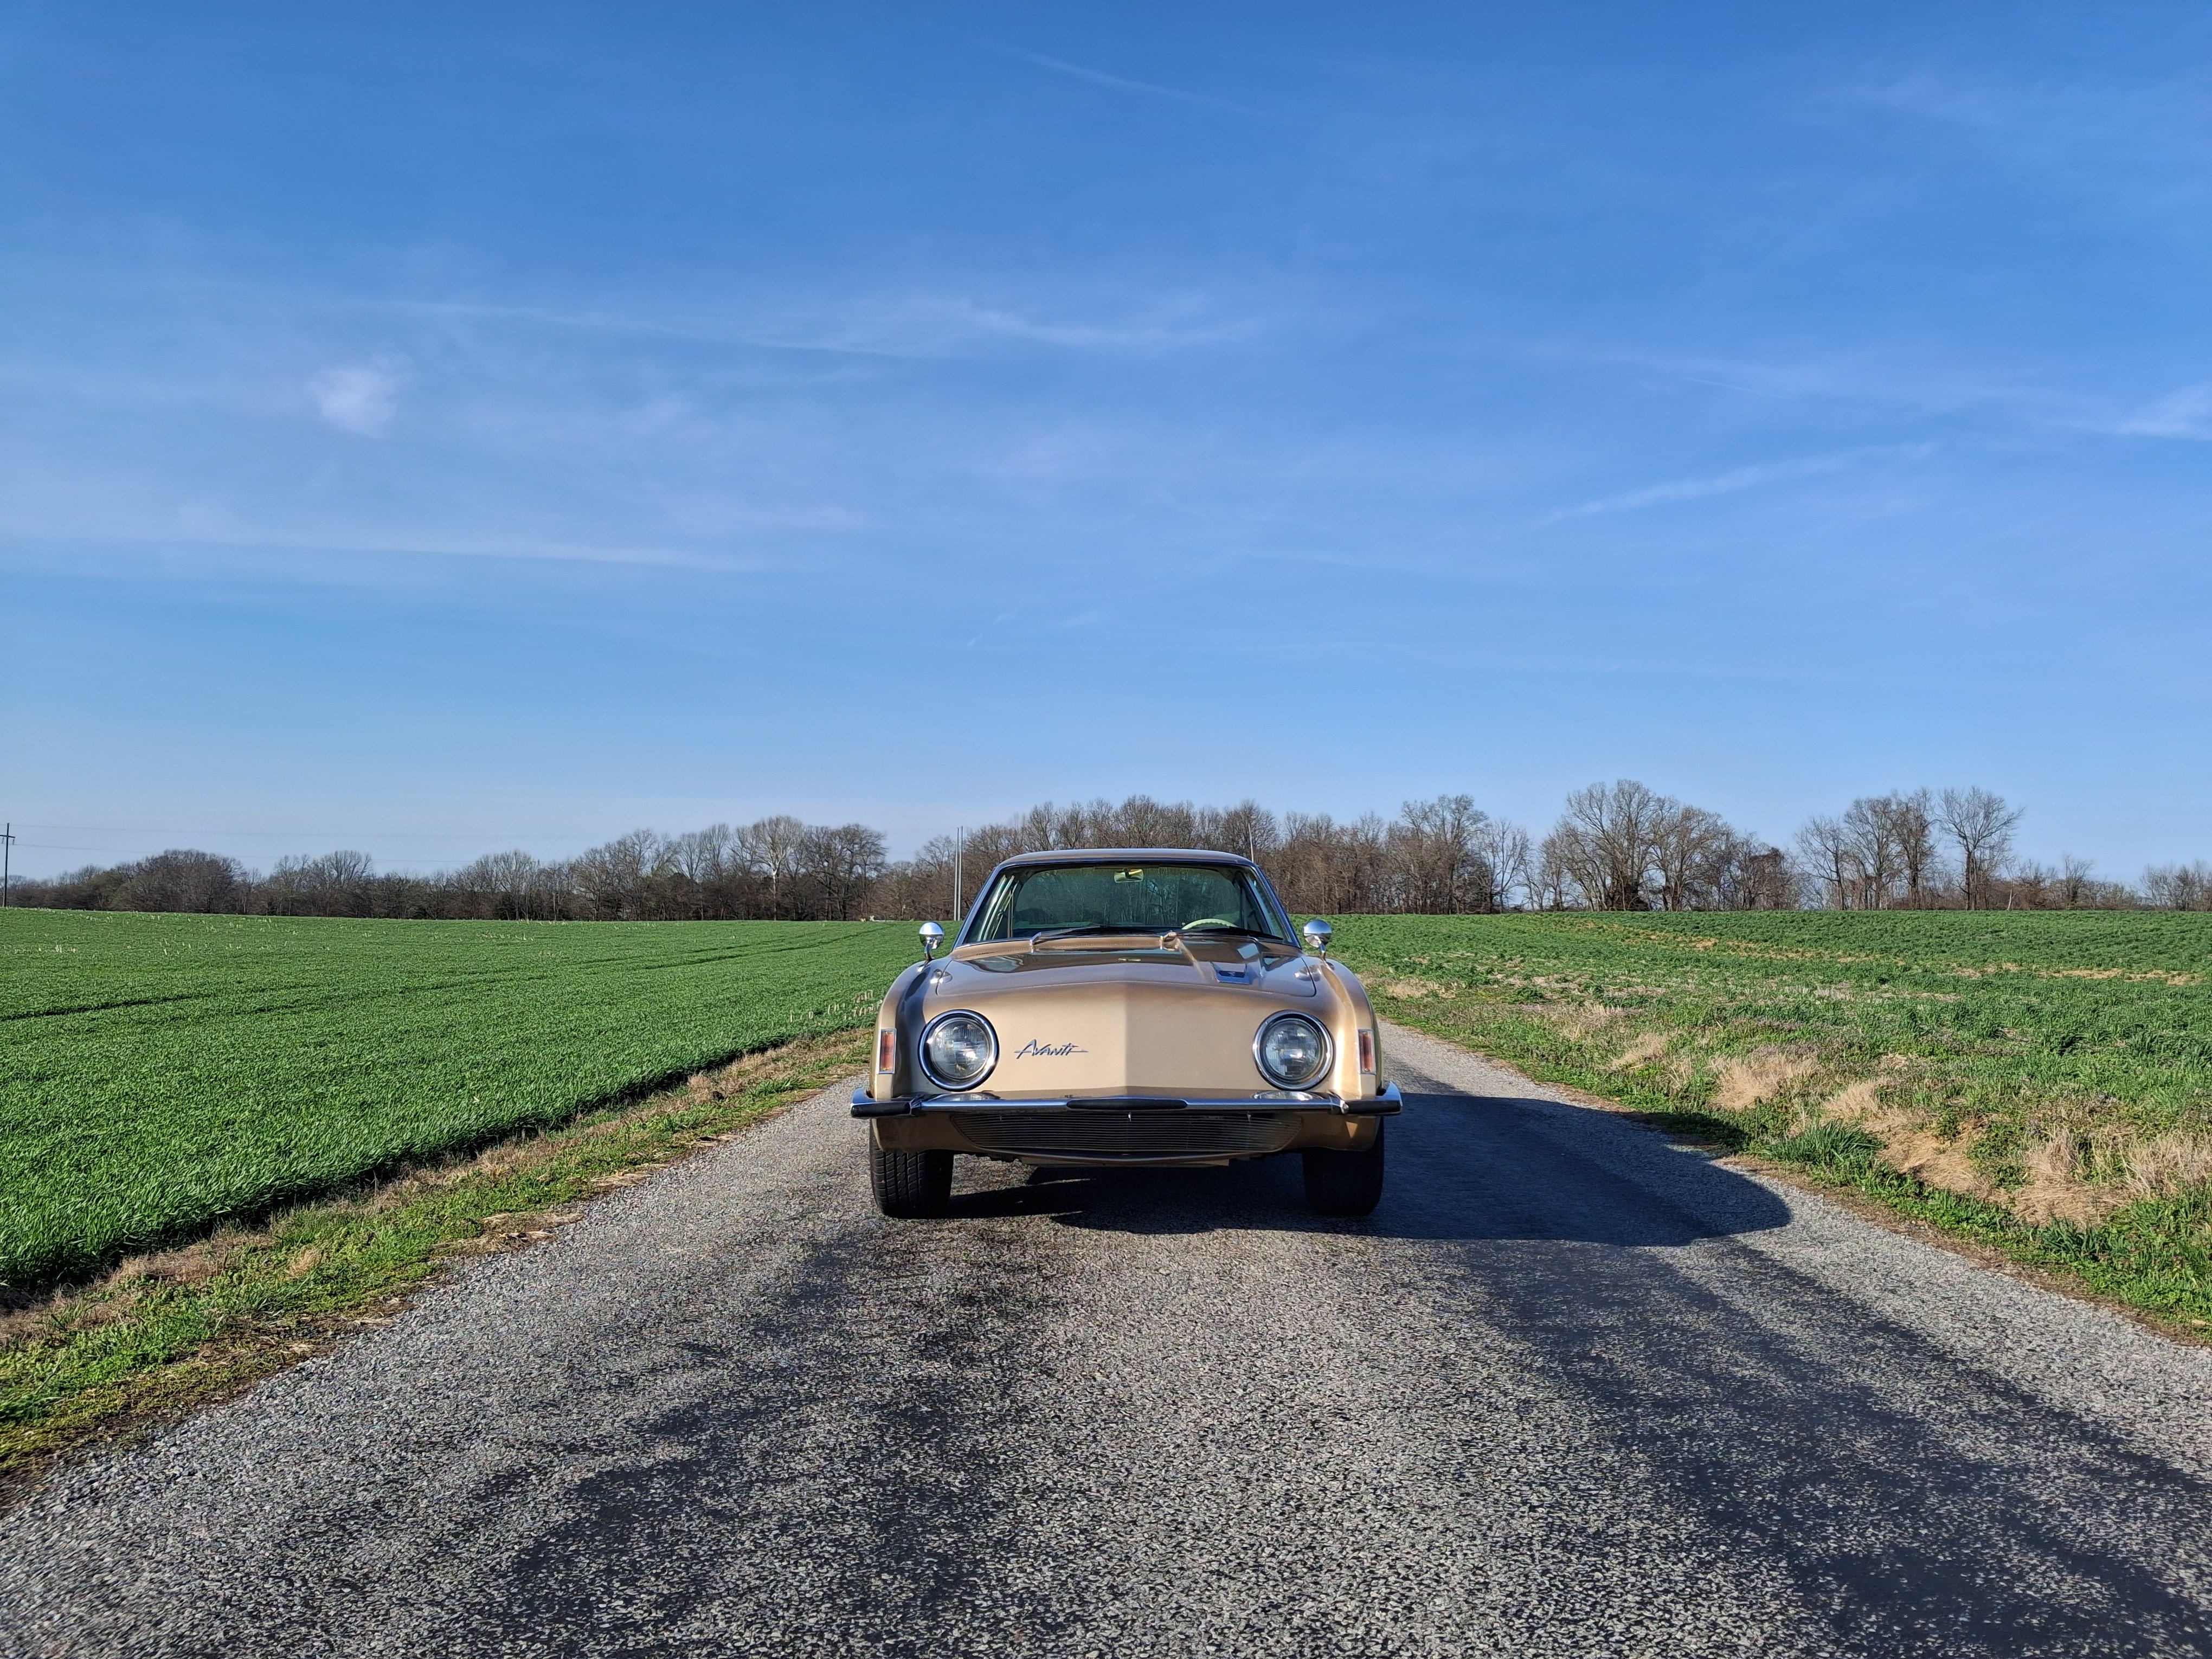
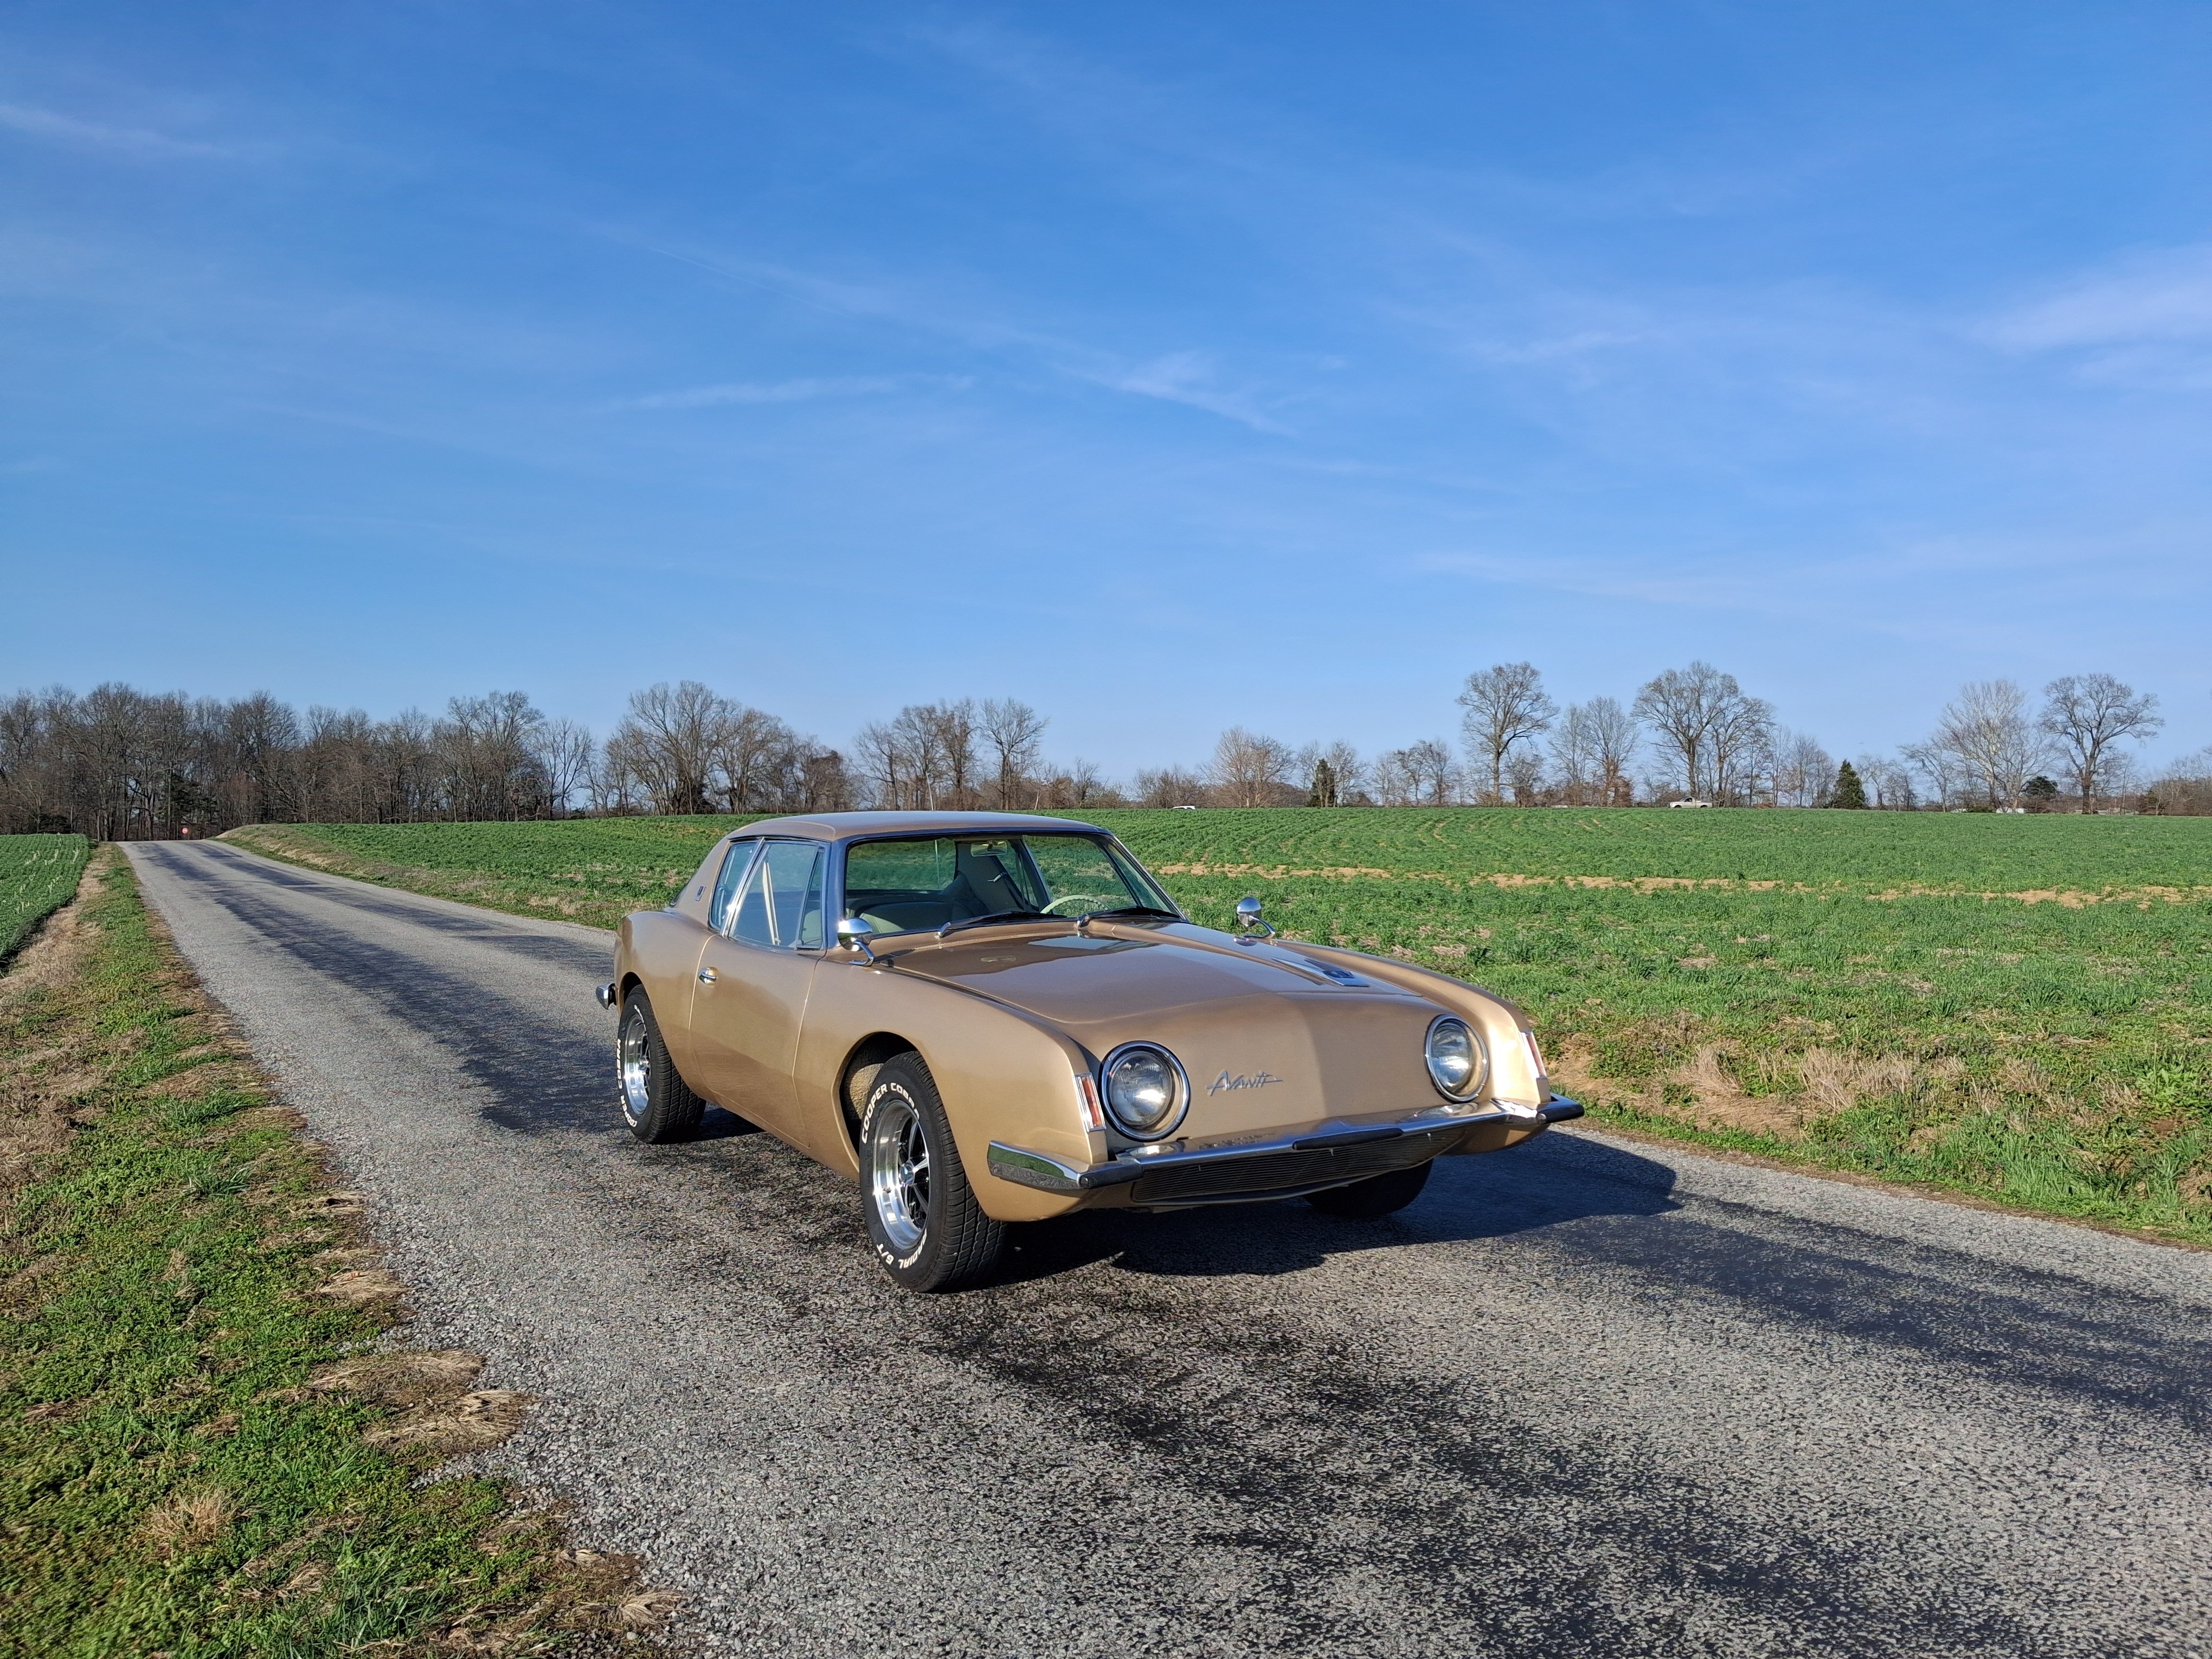
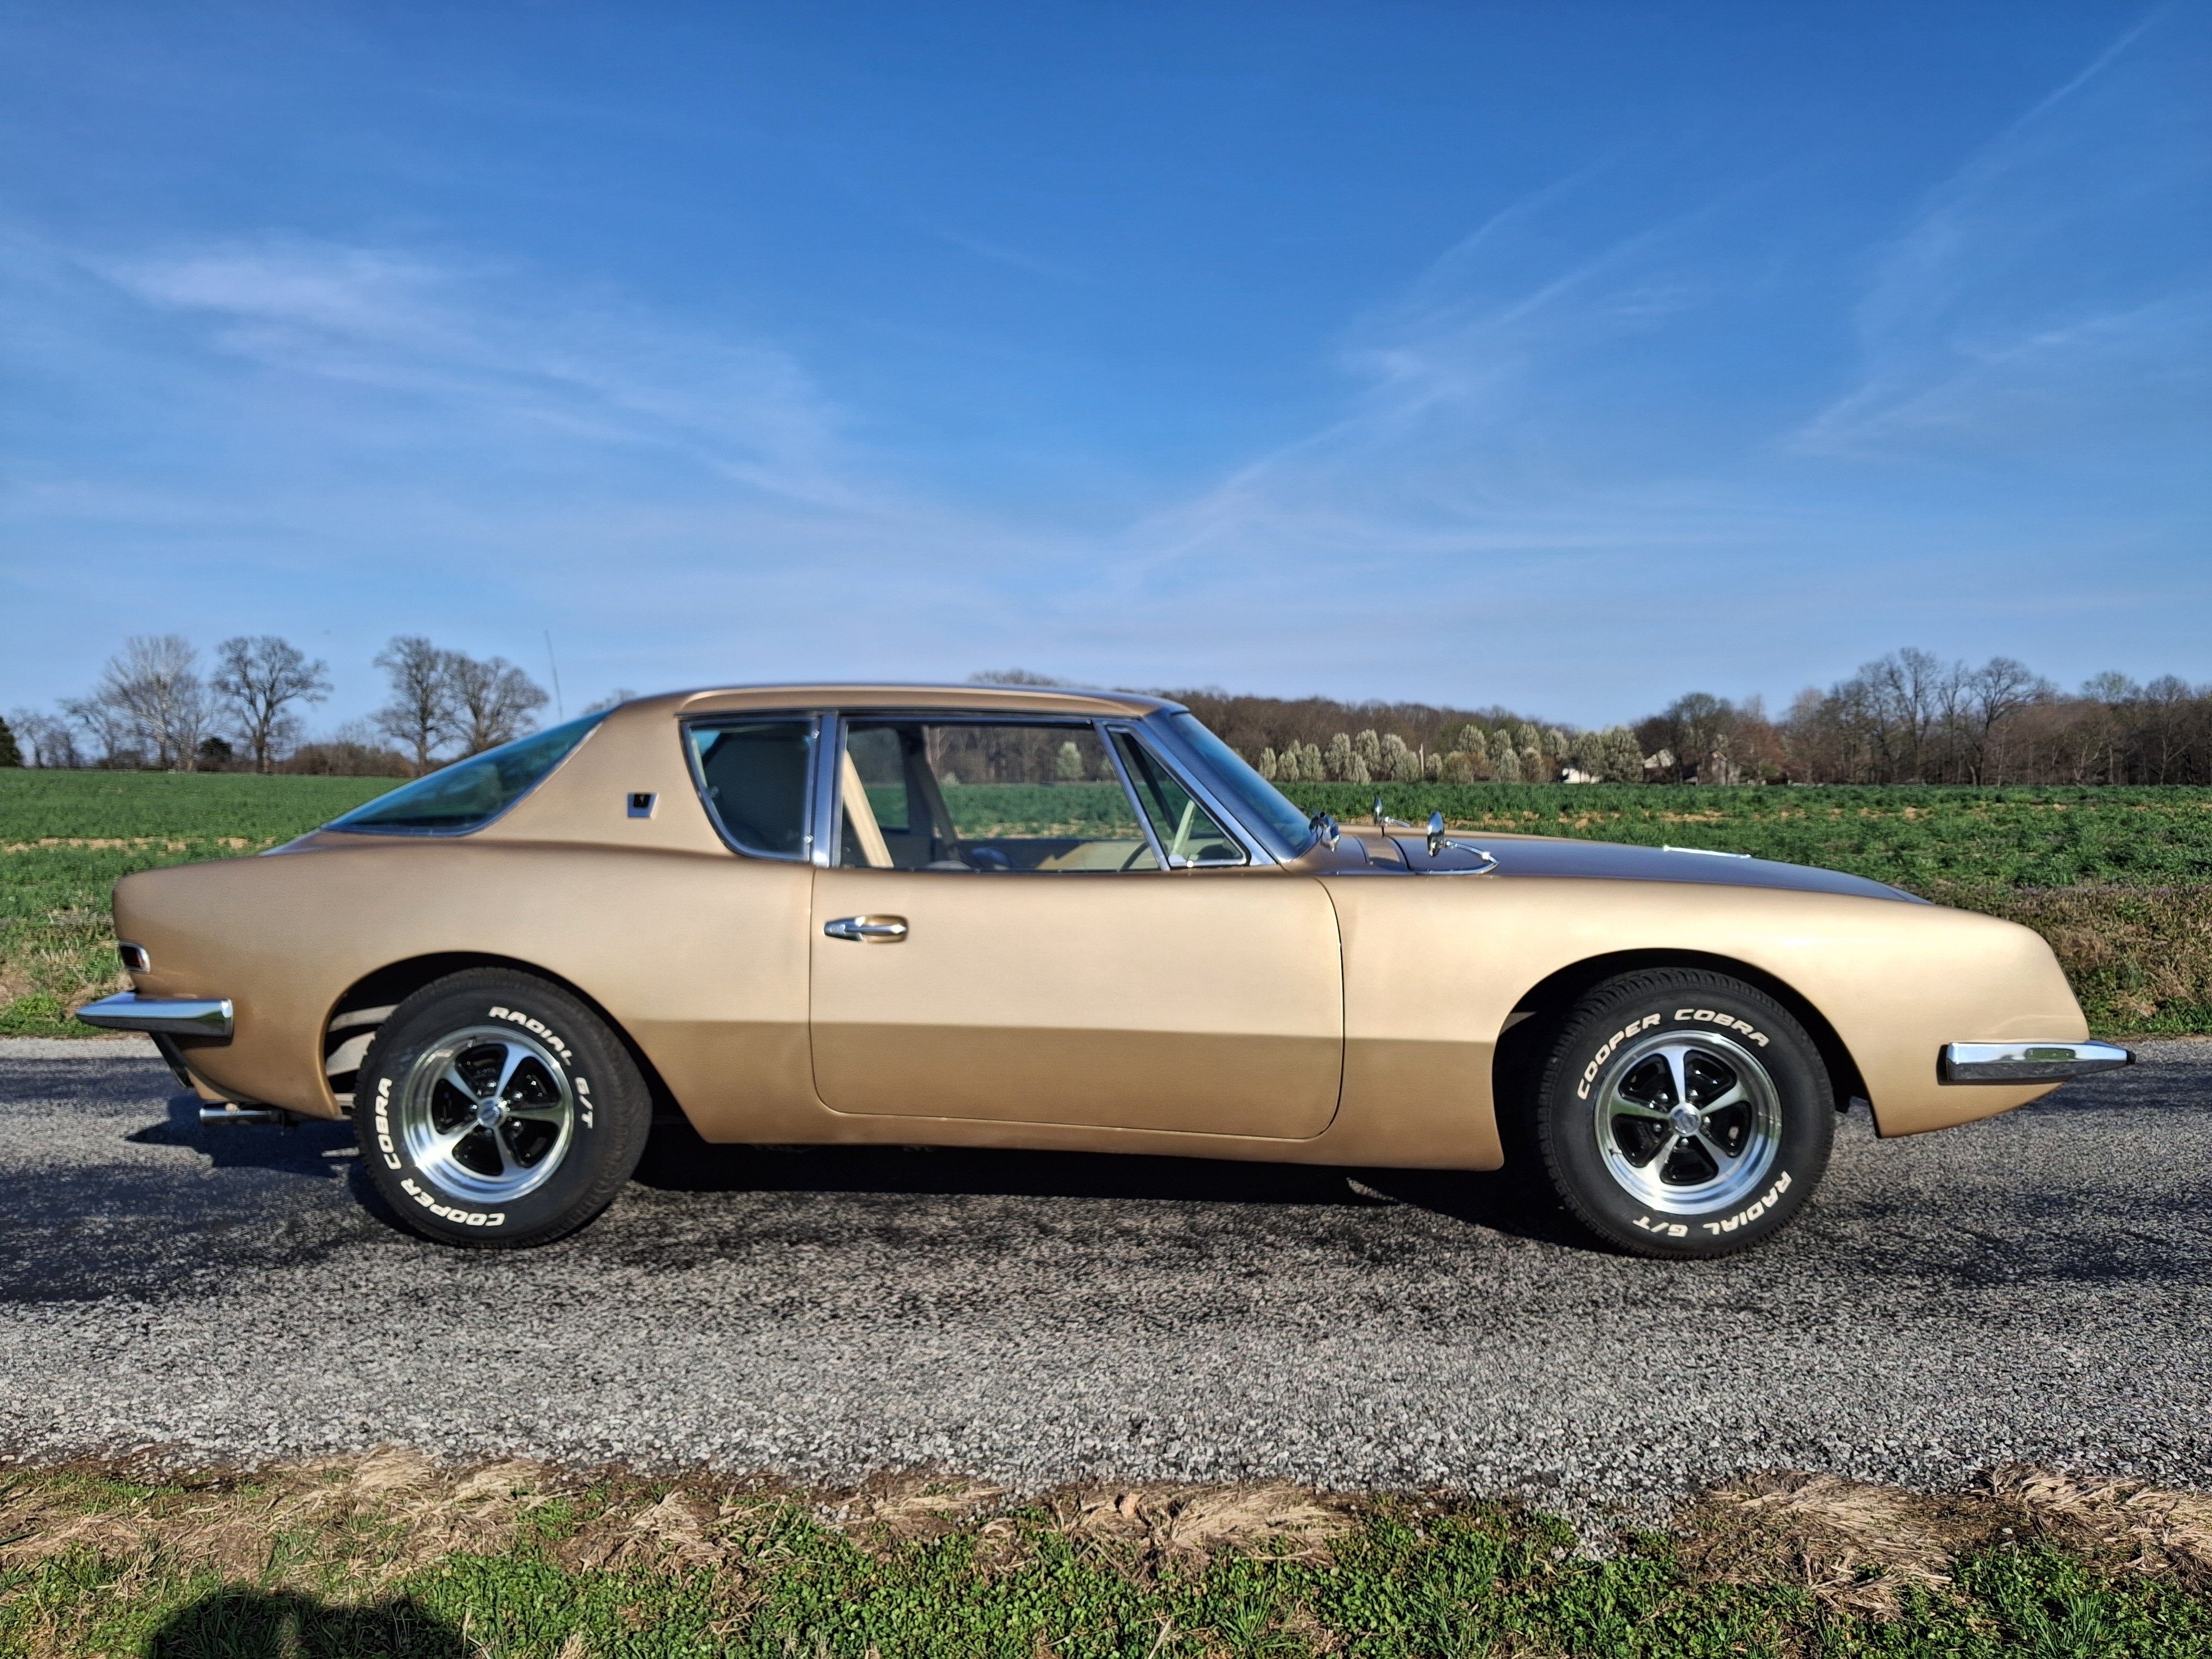
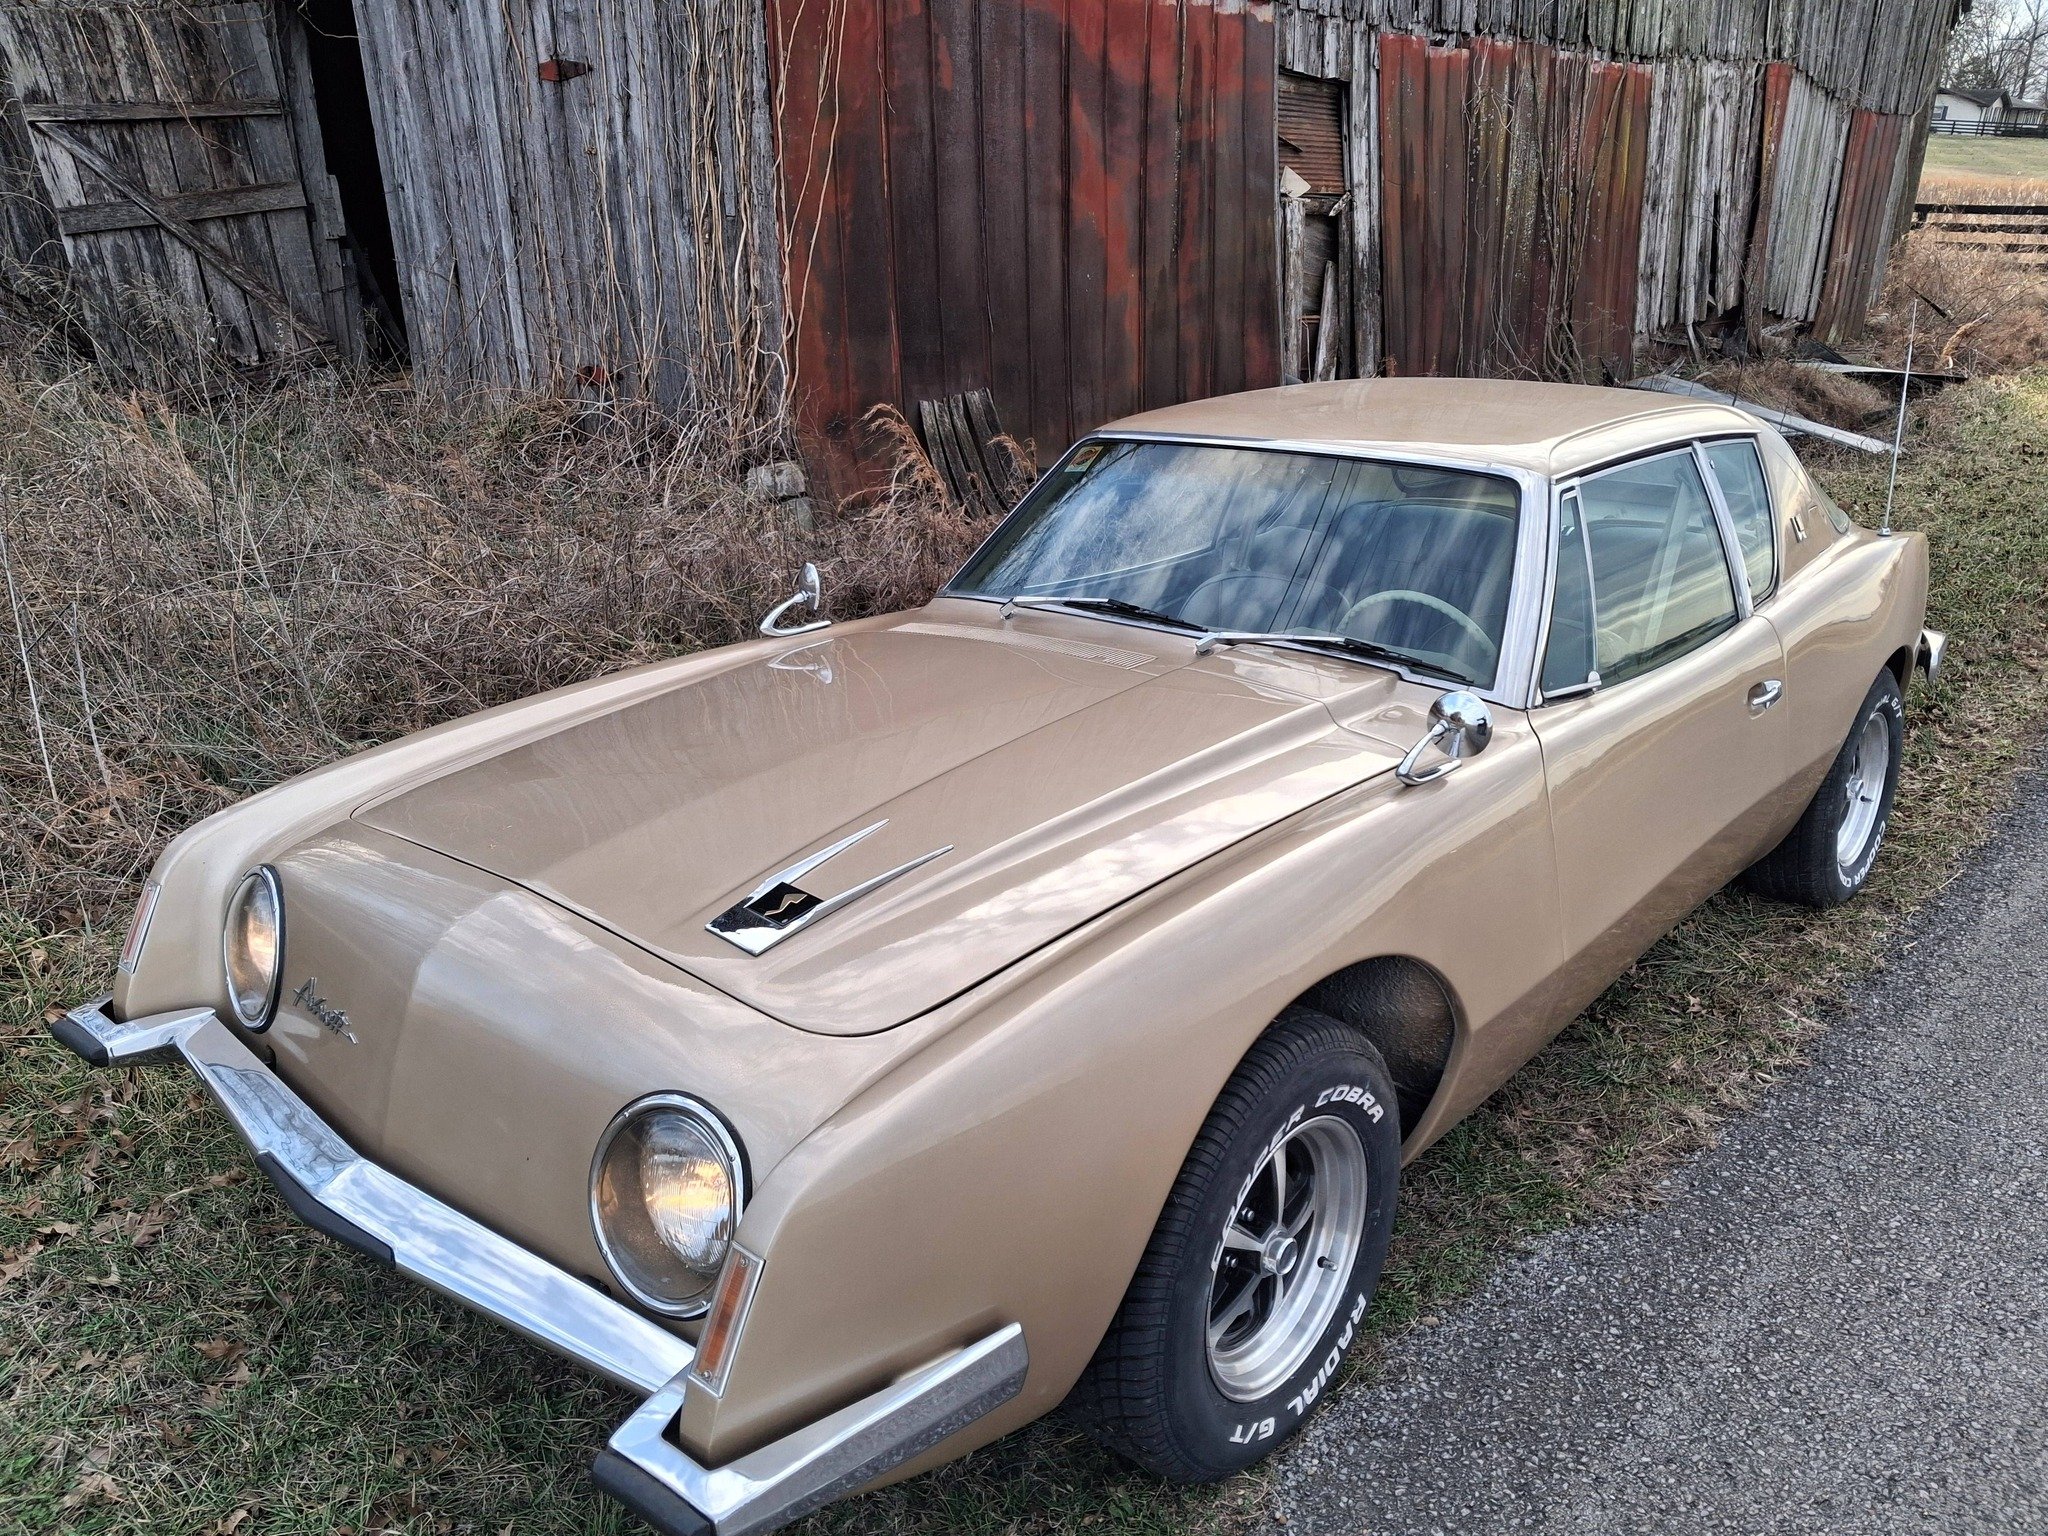
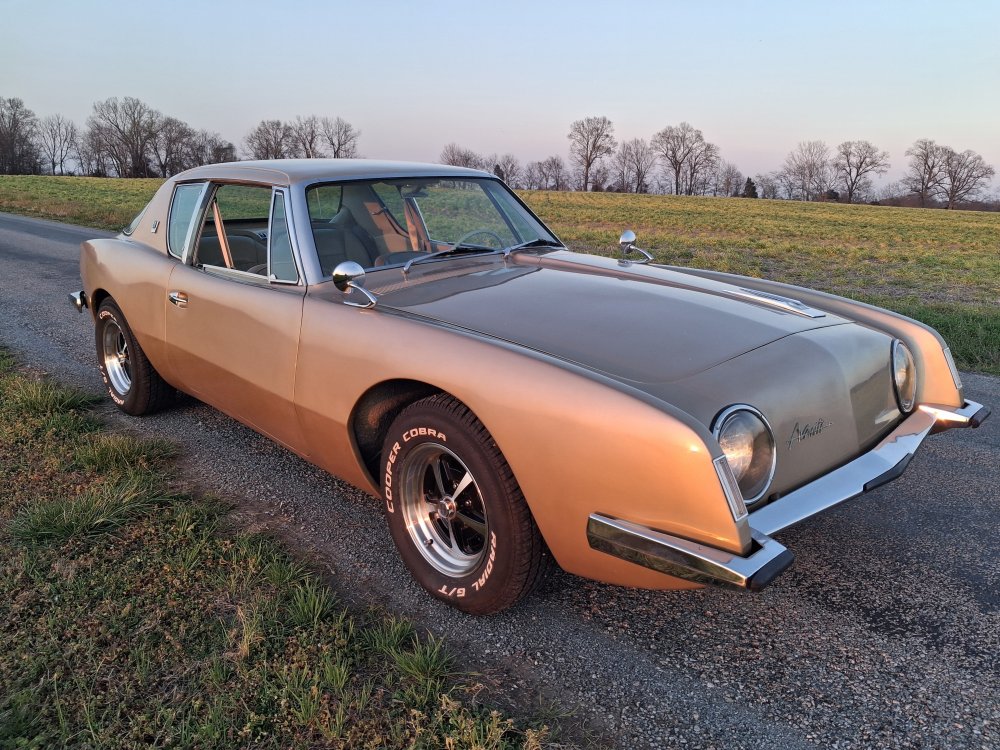
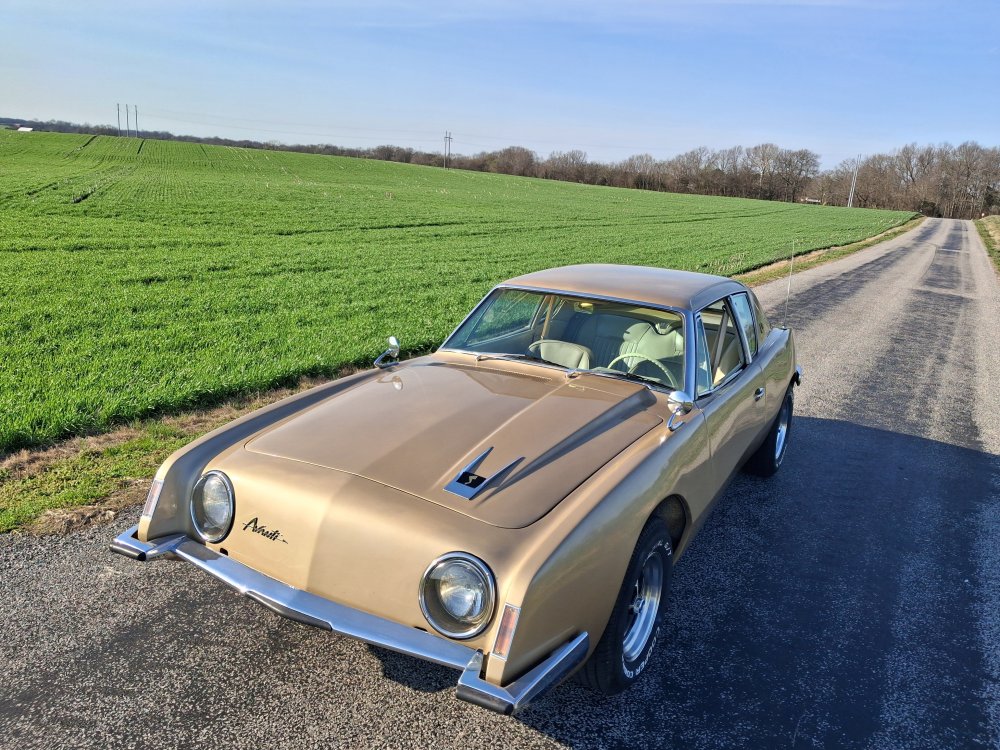
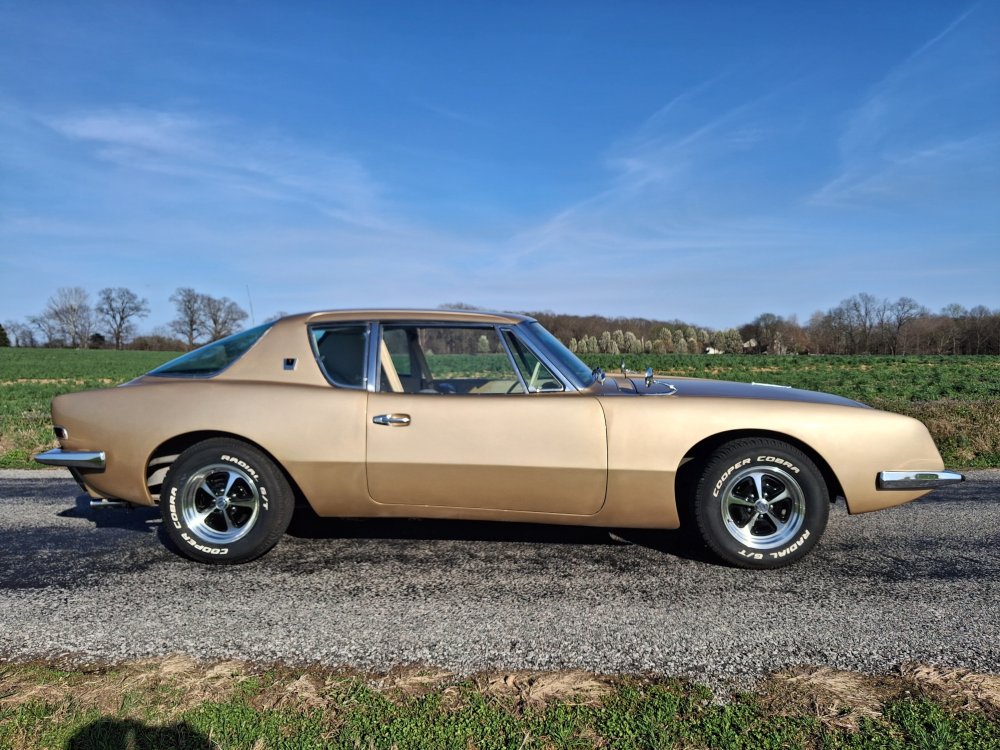
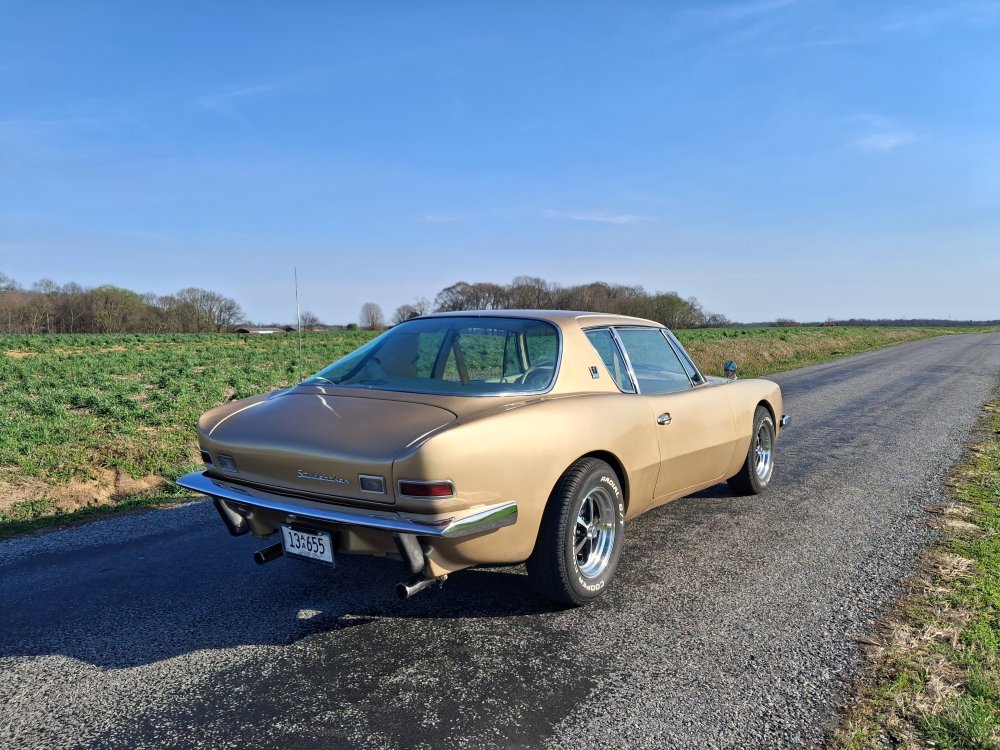
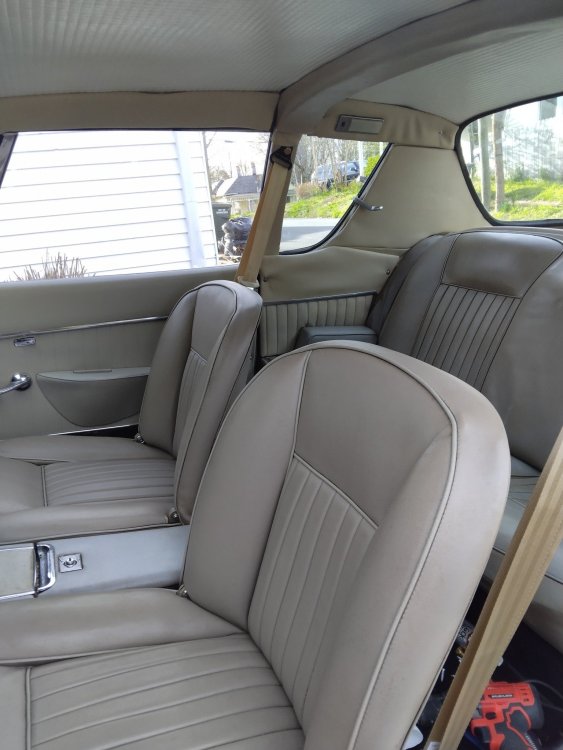
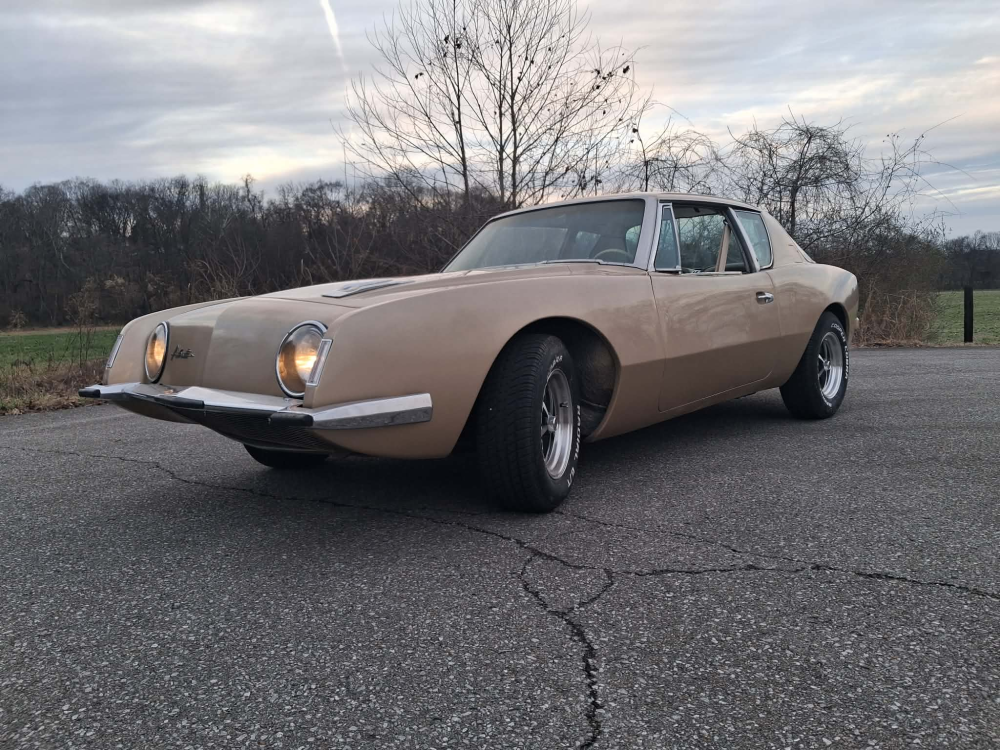
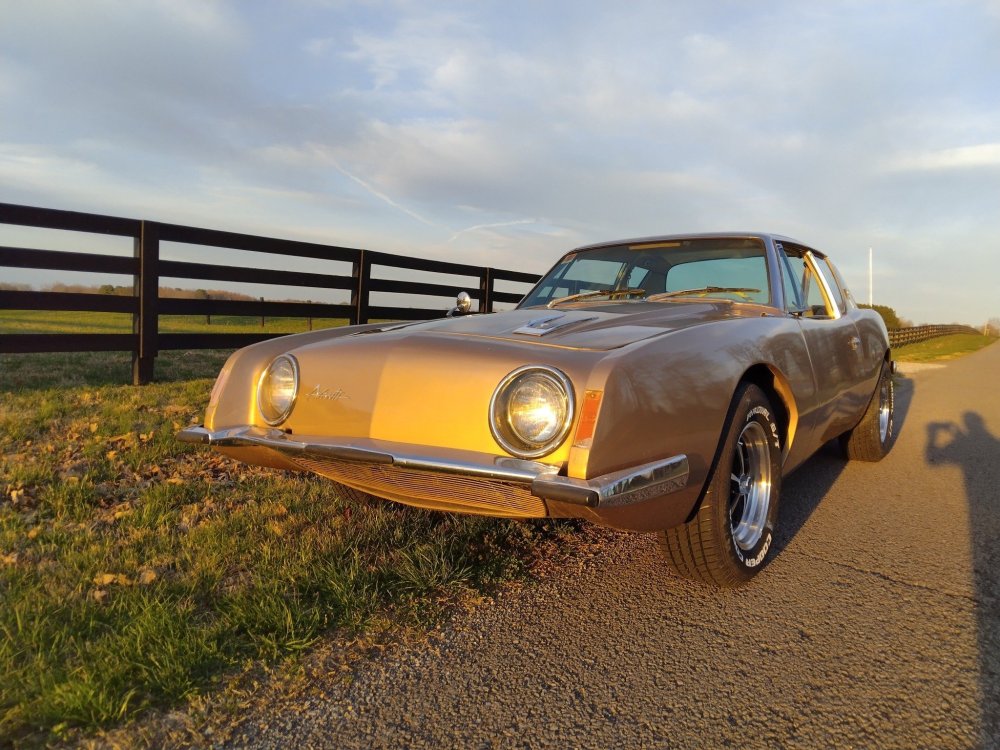
I'm a former classic car appraiser and have bought and sold four Studebakers over the last several years- a '54 Conestoga, a '62 GT Hawk, a '57 Silver Hawk, and the '63 R1 Avanti (R4223) I still own. When putting one up for sale, I always try to read the market and price it at roughly 110% of what I expect it to sell for. A much more realistic approach than the pricing I see on many cars listed. I don't use the spaghetti at the wall approach. So far, every car I've listed has sold within a few weeks. Not currently considering selling it, but if at some point I were to sell the Avanti, I would price it between 25 and 30K. This is based on observing the market over the last year or so. The car has an inch thick book of receipts from the previous owner for mechanical repairs, including a thorough engine and transmission rebuild. It has automatic, PS and TT. I've repainted it in Avanti Gold , updated the A/C to a modern system and installed a Turner brake update. Original wheels and hubcaps are in storage. Had I not done much of the work myself, I would probably have 50K in it. I'm probably giving away my labor, but that's OK as that is the part I enjoy.

-
Looking for a good Avanti mechanic in Kansas area
Hogtrough replied to TerryR2's topic in 1963-64 Avanti
For mechanical work, find a mechanic who understands old cars in general. Go to a local car show and talk to someone with a 50's car. Anyone who understands 50's cars can understand an Avanti, because underneath, it's basically a '53. And the engine is very similar to early 50's Caddy and Olds motors. -
Curious .. do You shoot for authenticity or modification?
Hogtrough replied to aardvark's topic in Avanti Pub
How do you go about gutting the battery? Mine is 6 months old and already faltering, just a matter of time -
Where are you located? Have a set I might sell but don't want to ship. I'm near Nashville. Would definitely trade them for an R1 air cleaner with good chrome though
-
See the article I posted here ... probably not that much extra work and you will have A/C too (assuming you don't have it). These units simply hook up to your heater hoses and you have heat.
-
I have the later Chrysler minivan Turners and my Magnums fit fine
-
I raised mine at the front end by putting thick washers between the lid and the hinge. Still not quite there , but better. The back can be adjusted at the latch slots, which determine how far down it goes
-
Do you know how I can contact him? Is he parting a '63 or '64 R1?
-
My daughter and son in law tinker with AI songwriting, so while visiting for the holidays I told her to ask AI to write a song from the perspective of a new '63 Avanti waiting patiently in the showroom for it's new owner. She's a big Toy Story fan so she told it to make it similar to a song in the movie. Here is what it cranked out in about a minute. As you might expect, it failed miserably on the photo attached to the song, so I posted my Avanti below. https://suno.com/song/9f92ace4-33cb-41d8-9aee-34b263ed02ae?sh=MEh30LYupukGKBvI&fbclid=IwY2xjawOayVNleHRuA2FlbQIxMABicmlkETFOR0VpemFQZGxaNmFjZ1Qwc3J0YwZhcHBfaWQQMjIyMDM5MTc4ODIwMDg5MgABHnTBySmWNVzdZY6q04I7gRume-eN-2BWdFFcdP-0GhlQZaCrUnosLX9rSVaQ_aem_Q28XfNXE2LHFENJgDo0j2Q

-
Sorry for the late reply- its a standard 14 x 20 parallel flow type coil
-
Sorry, got no notice that there was a reply here and have not been back for a while. I probably do have the switch, or, you can easily repair these old switches because they are made to take apart. Just bend back the tabs, remove the guts, file the corroded contacts, put back togther.
-
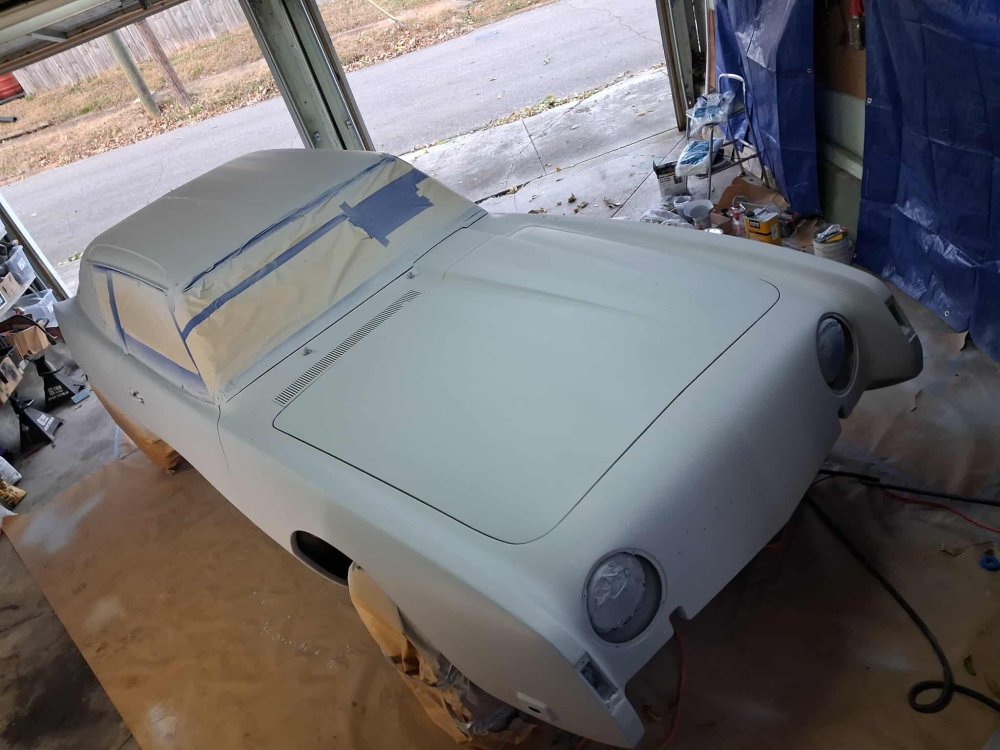
The OEM grille is pretty simple and mine is currently removed while I primer the car. If anyone wants to build one, let me know and I'll supply the measurements. I don't think it is anything more than several straight stainless steel wires cut to particular lengths and mounted to three vertical stainless steel supports. No frame around the outside

-
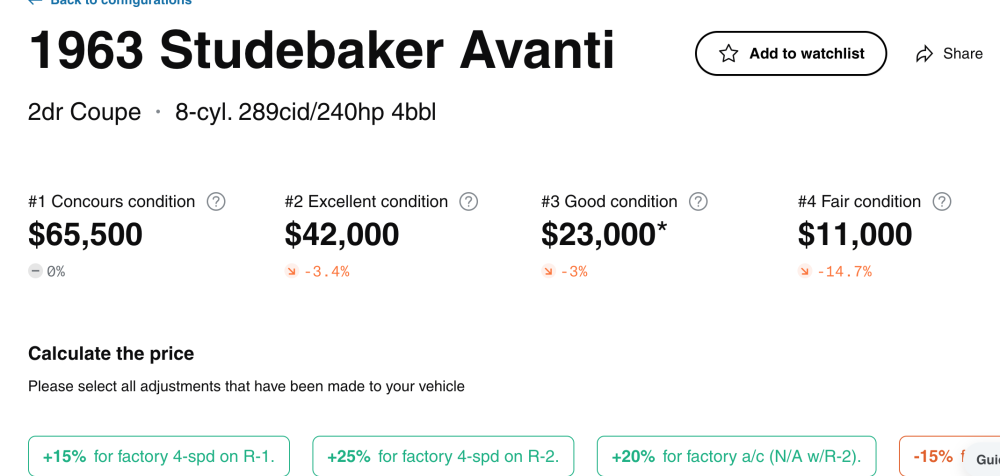
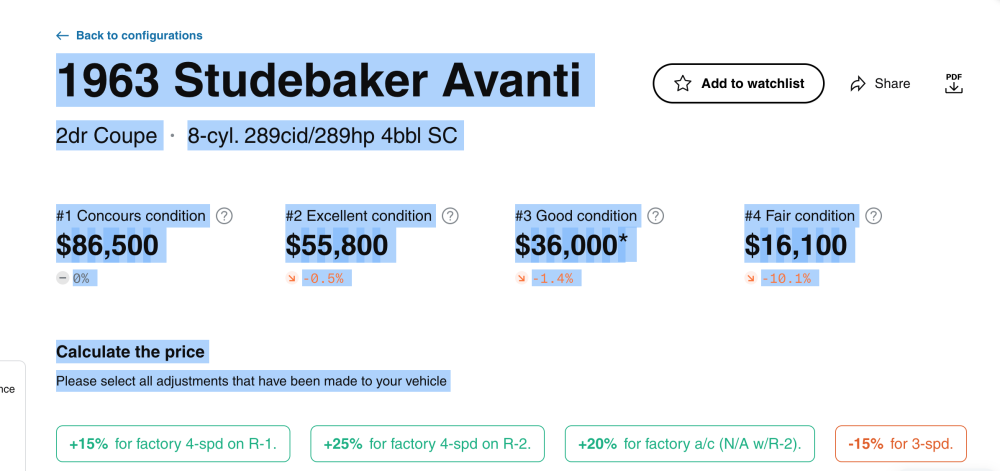
Hagerty prices look unrealistic at first, at least to me. However, a big factor is that nearly all sellers would pick a condition number one larger than their car would really deserve. A number two car is driven, but otherwise virtually flawless in every way, and a number one car never leaves the trailer. My Avanti recently experienced a condition downgrade when a body shop I left it with parked it outside with the windows down for 2 months, pretty much reversing everything I had done to the interior and ruining what was left of the paint by sanding it. When I'm done redoing it, with new paint and refurbished interior, the car will be a strong number three R1 with air conditioning, putting it at $27,600. Sounds about right.
-
....and here are the R2 prices:
-
I'll take a stab at 63 and 64. R1 needing everything 8K, driveable but needing TLC 12K, nice drivers needing little or no work 20-25K. R2 needing everything 12K, driveable but needing TLC 16K, nice driver needing little or no work 25-30K. I don't know much about the later models. Here is what Hagerty says abouut R1...:
-
Somehow I never saw this response, sorry. Should you (or anyone) still need AC parts, while i've sold everything else, I do still have the compressor and will take $150 plus shipping. Most likely converted to R134 and I have service shop paperwork stating that.