

tanda62
-
Posts
150 -
Joined
-
Last visited
Content Type
Profiles
Forums
Events
Posts posted by tanda62
-
-
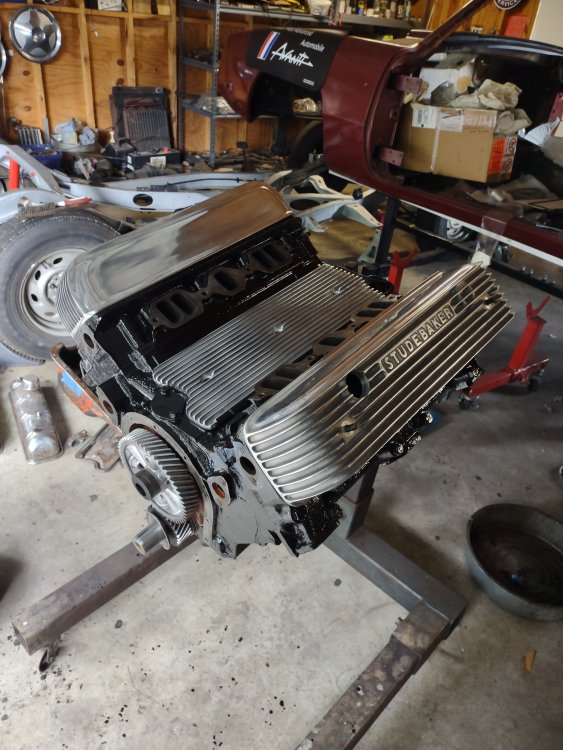
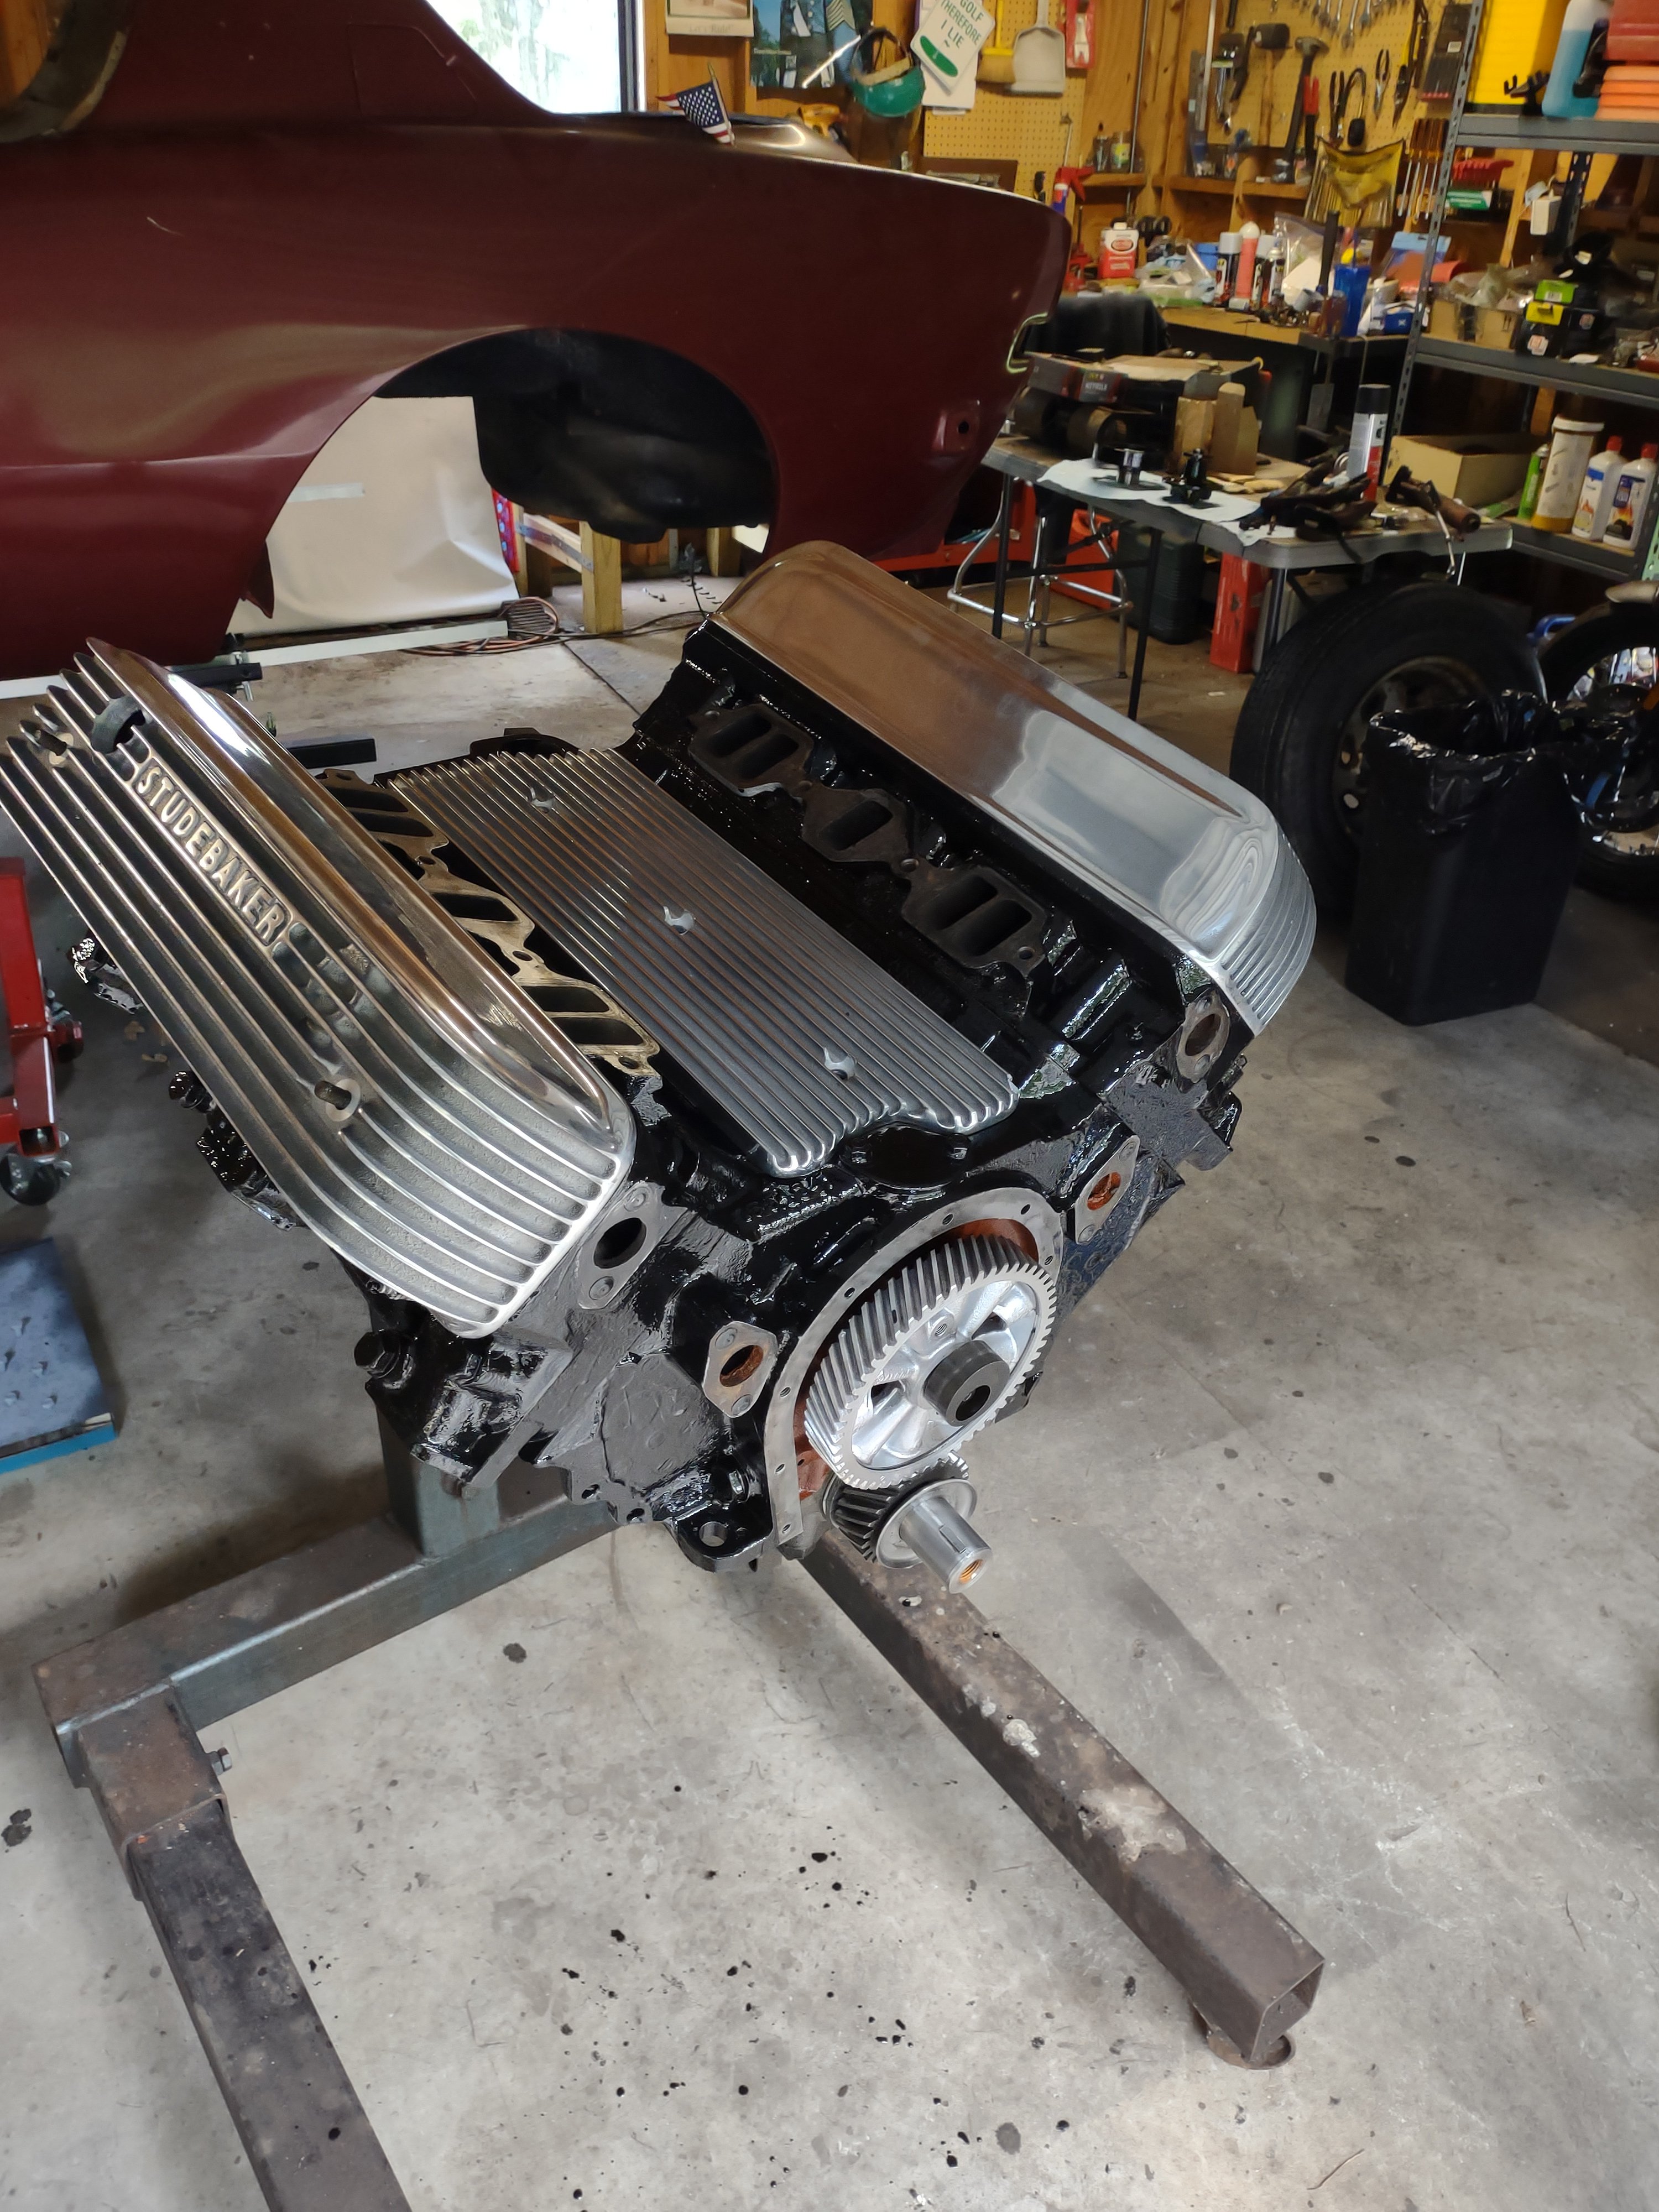
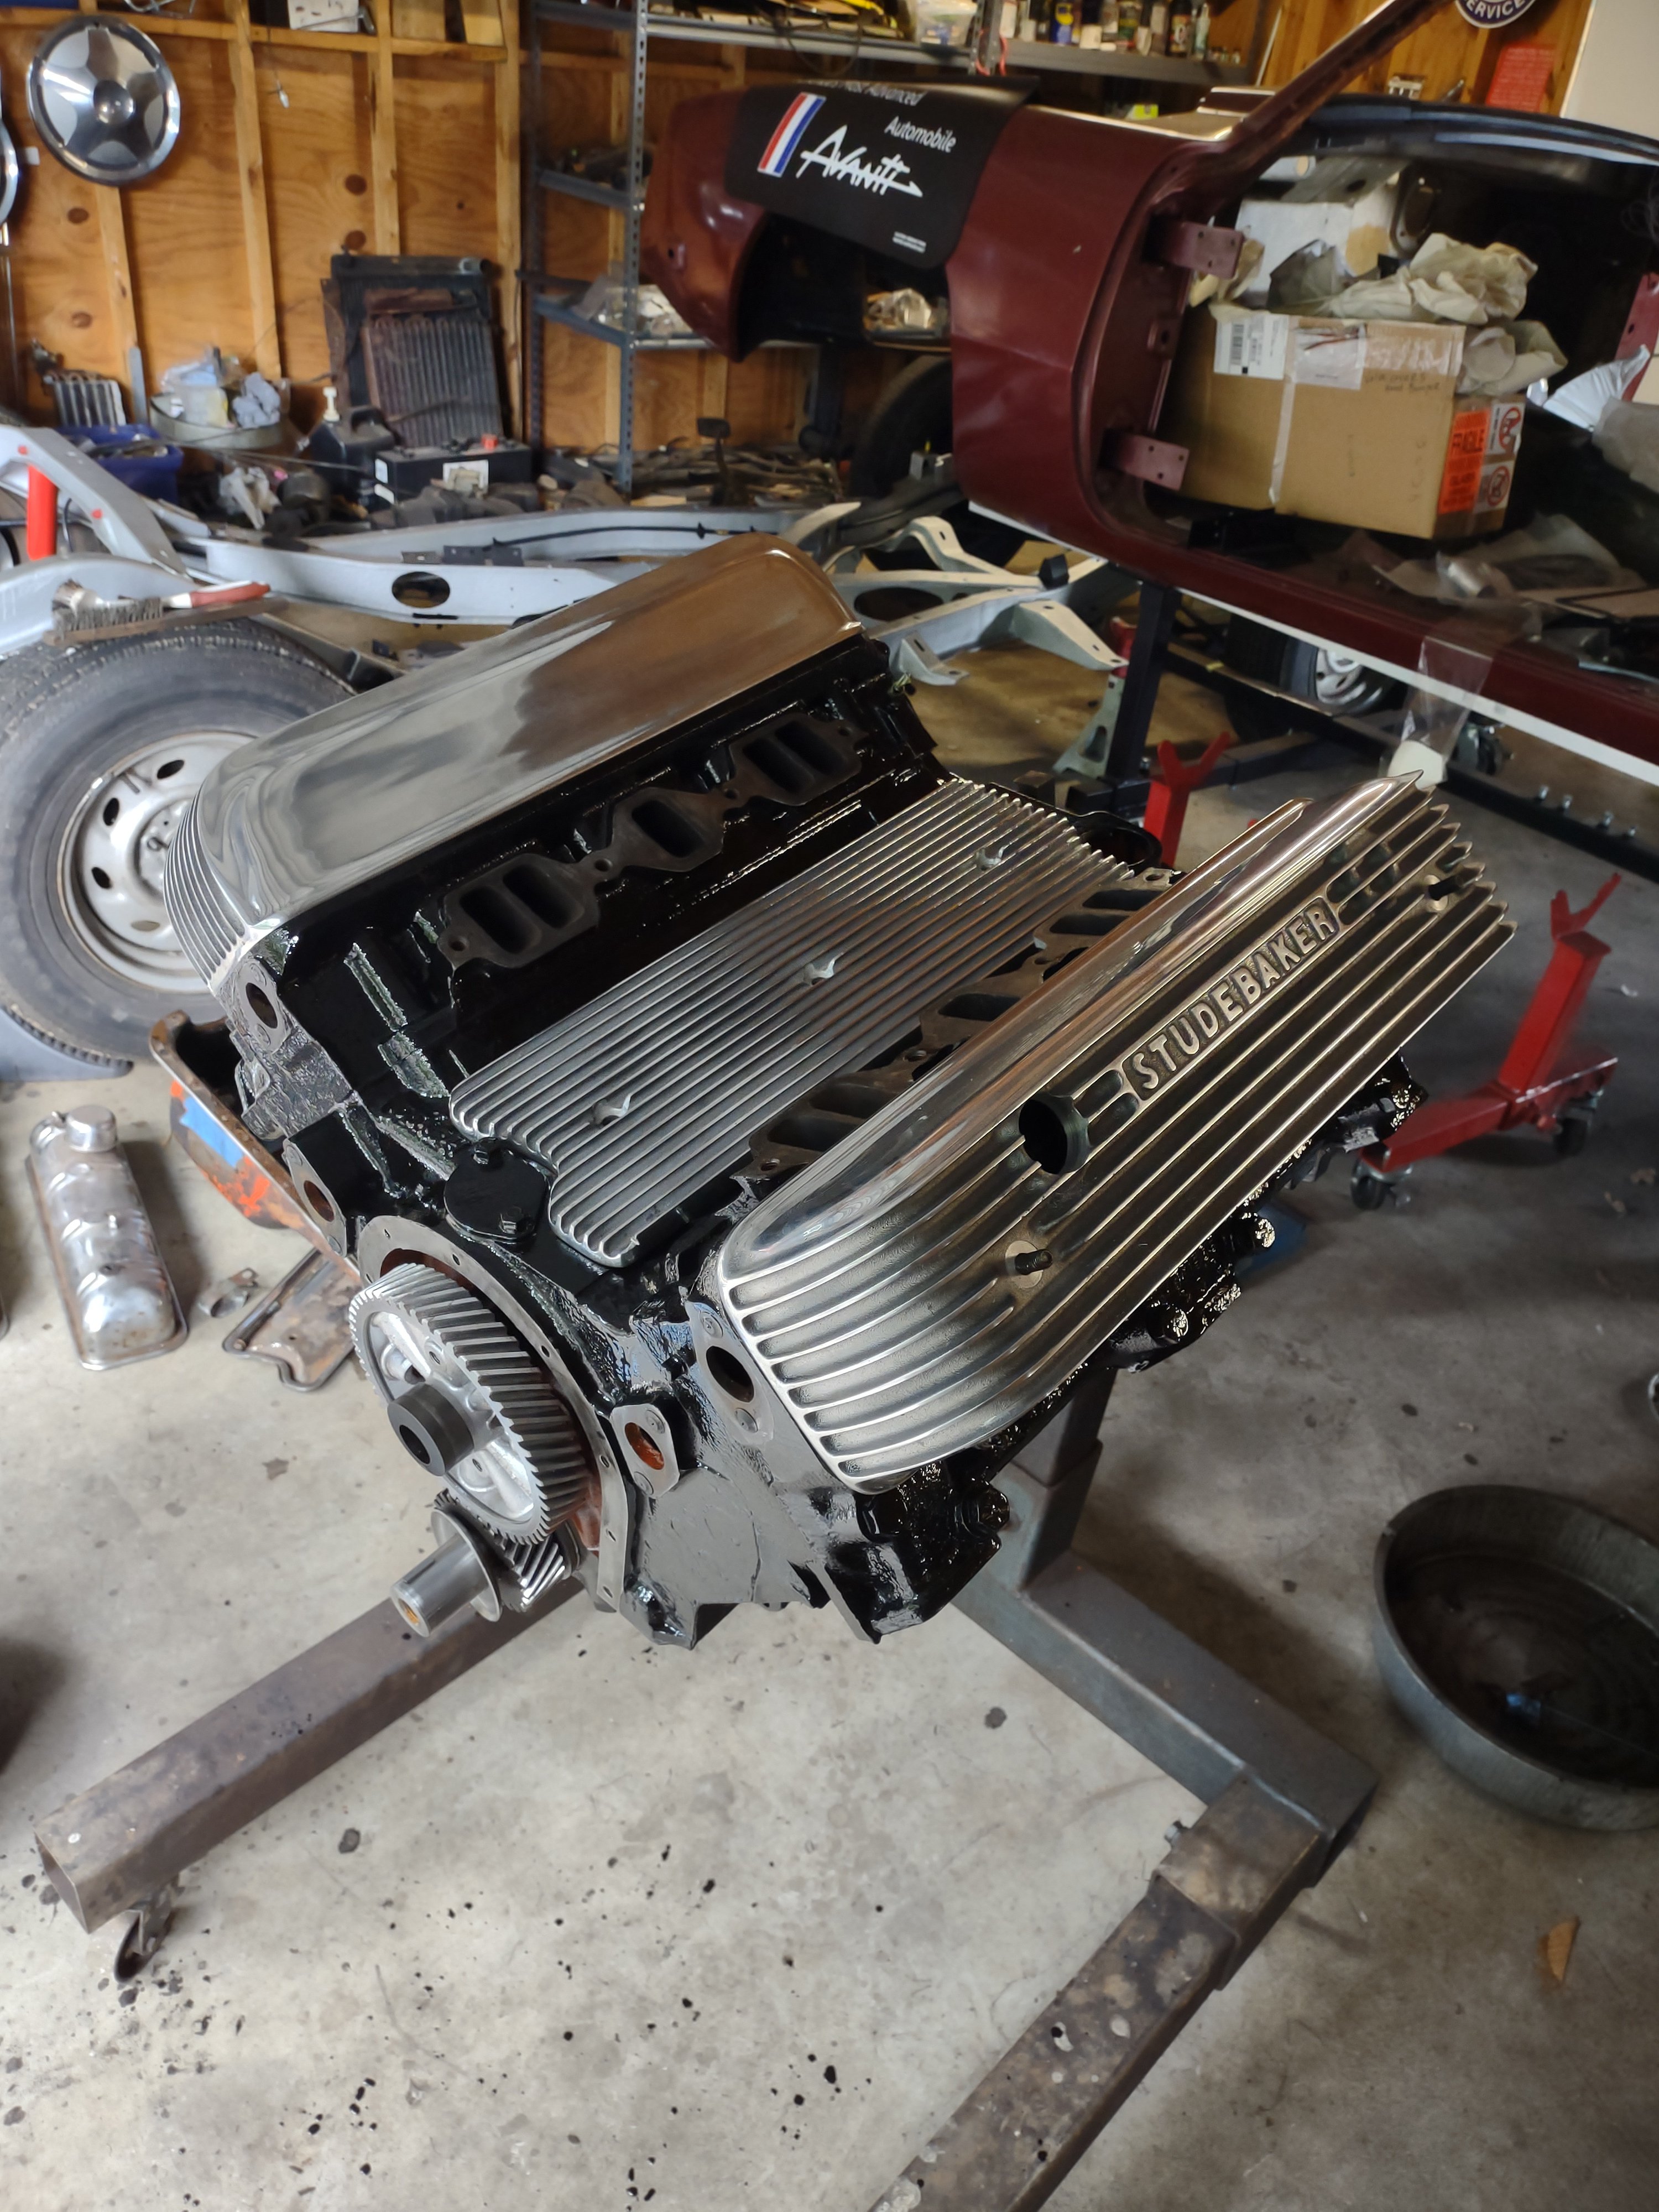
Update: after many hours of cleaning I have finally gotten the engine painted!

-
Check with Studebaker International or try studebakerparts.com, thier website list an aluminum tank.
Tom
-
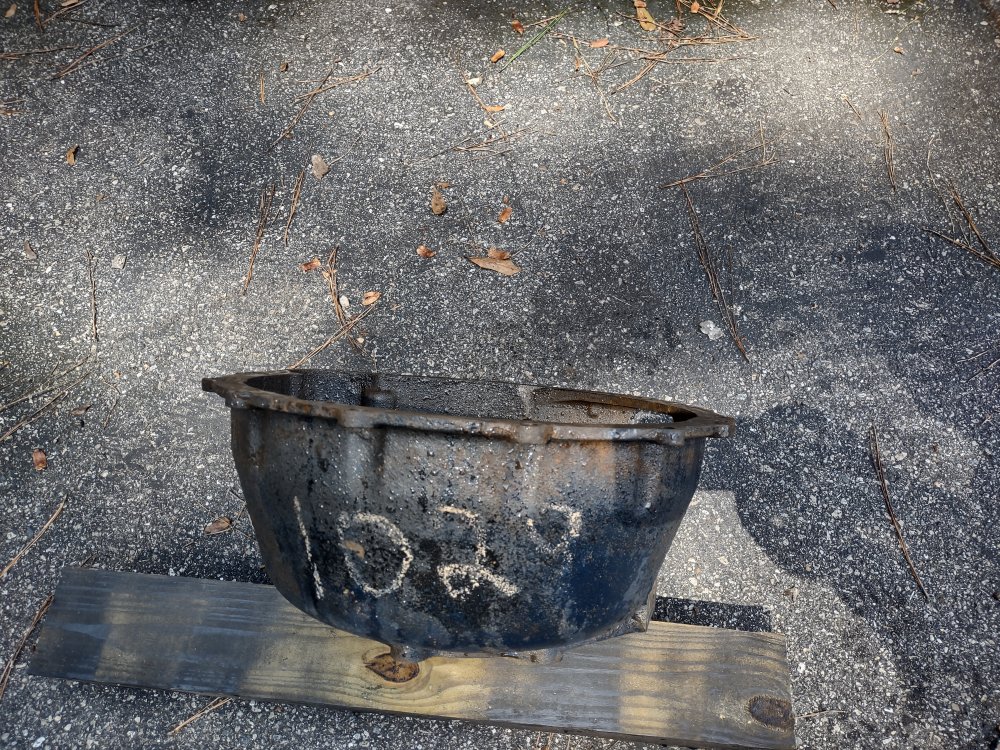
Cool discovery today. As I was cleaning the bell housing I came across this number 1029 which is the line number used when the car was originally built. Gonna have to recreate the number after I paint the bell housing.
-
So this is the routing I have come up with and I think it should clear everything it needs to. The line is the stainless steel wrapped in black fuel line you see in the picture. I bent the bracket to keep the line as low as possible to clear the body and it looks like it will help clear the exhaust when that gets put on as well. Maybe this will help others.
-
Trying to determine the route for the rear brake line from the flexible line towards the front of the car. As you can see in the picture someone did an "interesting" routing in the past. If someone has a picture of the correct routing I would really appreciate it, thanks, Tom
-
Call Dan Booth at Nostalgic I bet he has what you are looking for.
-
Okay sometimes I look at something and just plain get myself confused. The brackets are behind the a arms and once I dug them out of my inventory from breaking the car down I figured it out. What a slap to the forehead moment. Sorry to waste everyone's time.
Tom
-
I did get the complete kit. Looks like the bracket for the flexible line on your car is located towards the rear while the brackets on the Avanti are in front of the a arms. I am considering relocating the brackets and that would solve the issue.
Thanks for your response. Tom
-
For those who have installed turner disc brakes on the front I am curious how you routed the brake lines. Since the calipers are in the back of the rotors instead of the front like stock the lines have to be routed differently.
Thanks, Tom
-
Thank you very much.
Tom
-
Getting ready to reinstall my steering box and of course I did not take a picture to help myself with this detail - what goes into these two holes (see arrows) in the frame under the steering box? They are threaded and there are no corresponding holes on the passenger side, although the indentations in the frame are there.
Thanks for any help! Tom
-
Got the front suspension on today. Had to remove the upper a arm bumpers and really crank down the spring compressor on the progressive springs. After a few smacks with a rubber mallet, things came together. Now I can put on the turner brakes and have four wheel disc brakes.
-
You are welcome!
So I went to test fit my front shocks and found the hardware that comes with the shocks is too small. So like the rears, you have to take out the mounts and bushings and install the bushings from the shocks you take off the car. It is always fun adapting things...
-
The rear shocks are Koni 8040 1018 (8040-1018) Rear Classic Shock for Chevrolet/Pontiac and the fronts are Koni 8040 1017 Classic Shock for Chevrolet/Pontiac, both available from Amazon.
Do keep in mind you will have to take out the bushings on the top of the rears and either use the tubes from your original shocks or make some and get new bushings. This does require a press to get the bushings out and the new ones in.
Hope this helps,
Tom
-
Got the rear Turner rear disc brakes installed and the Koni shocks.
-
Bill,
Thanks for the offer but I think I want to go with the taller tire to fill in the wheel well that much more. Since you are looking at Goldline tires have you checked out these options:
https://dbtires.com/product-category/tires/type/goldlines/
https://www.cokertire.com/tires.html?sidewall_style=4396
Tom
-
I am about ready to get tires for Ava my 63. What came off her were GR78-15 with a Section Width of 8.4" and Diameter of 28". I have 16x6 wheels from Rocket Racing and looking around it seems a 205/70 R16 tire would be a close match with a Section Width of 8.2" and Diameter of 27.3". This car will be a daily driver in North Florida so no "winter" driving. I am also putting in electric steering, have Turner disc all around and flanged axles.
So with all that information, does anyone have a recommendation for tires? Does this size make sense? I have looked at Continental ContiProContact and Firestone Destination LE2. Anyone mount these? Any others someone is using?
Thanks for your help,
Tom
-
Looks good Gill. Now comes the fun part!
-
Gill, thanks for the update and the information on the blast material. Good luck with the repairs!
Tom
-
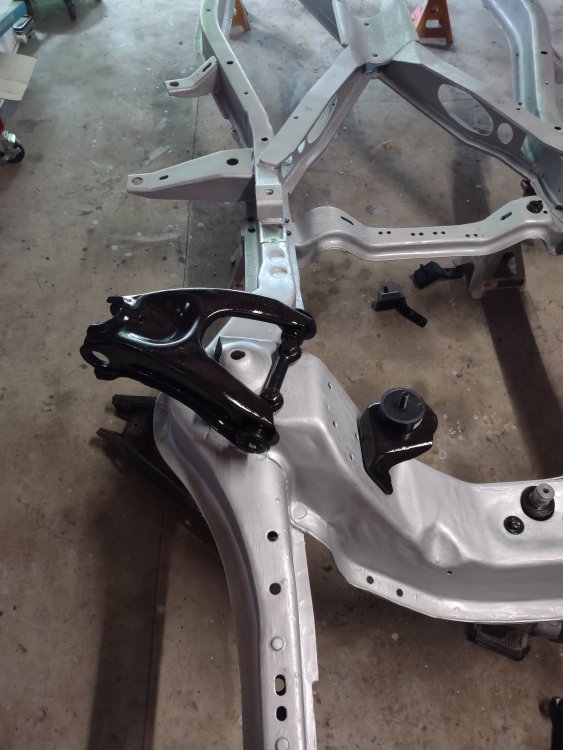
So while working on the rebuild of the front suspension of my 63 I am trying to decide if I should replace the lower control arm pivot with new parts or stick with what is there. The bearings screw on to the pivot just fine as is and there doesn't appear to be any damage to the threads or much wear on the pivot. See the attached picture.
Thanks for your opinions! Tom

-
Have you looked at this product for heat and sound insulation? Lizardskin.com
I am considering using it on mine. BTW what media are you using to blast the body?
Thanks, Tom
-
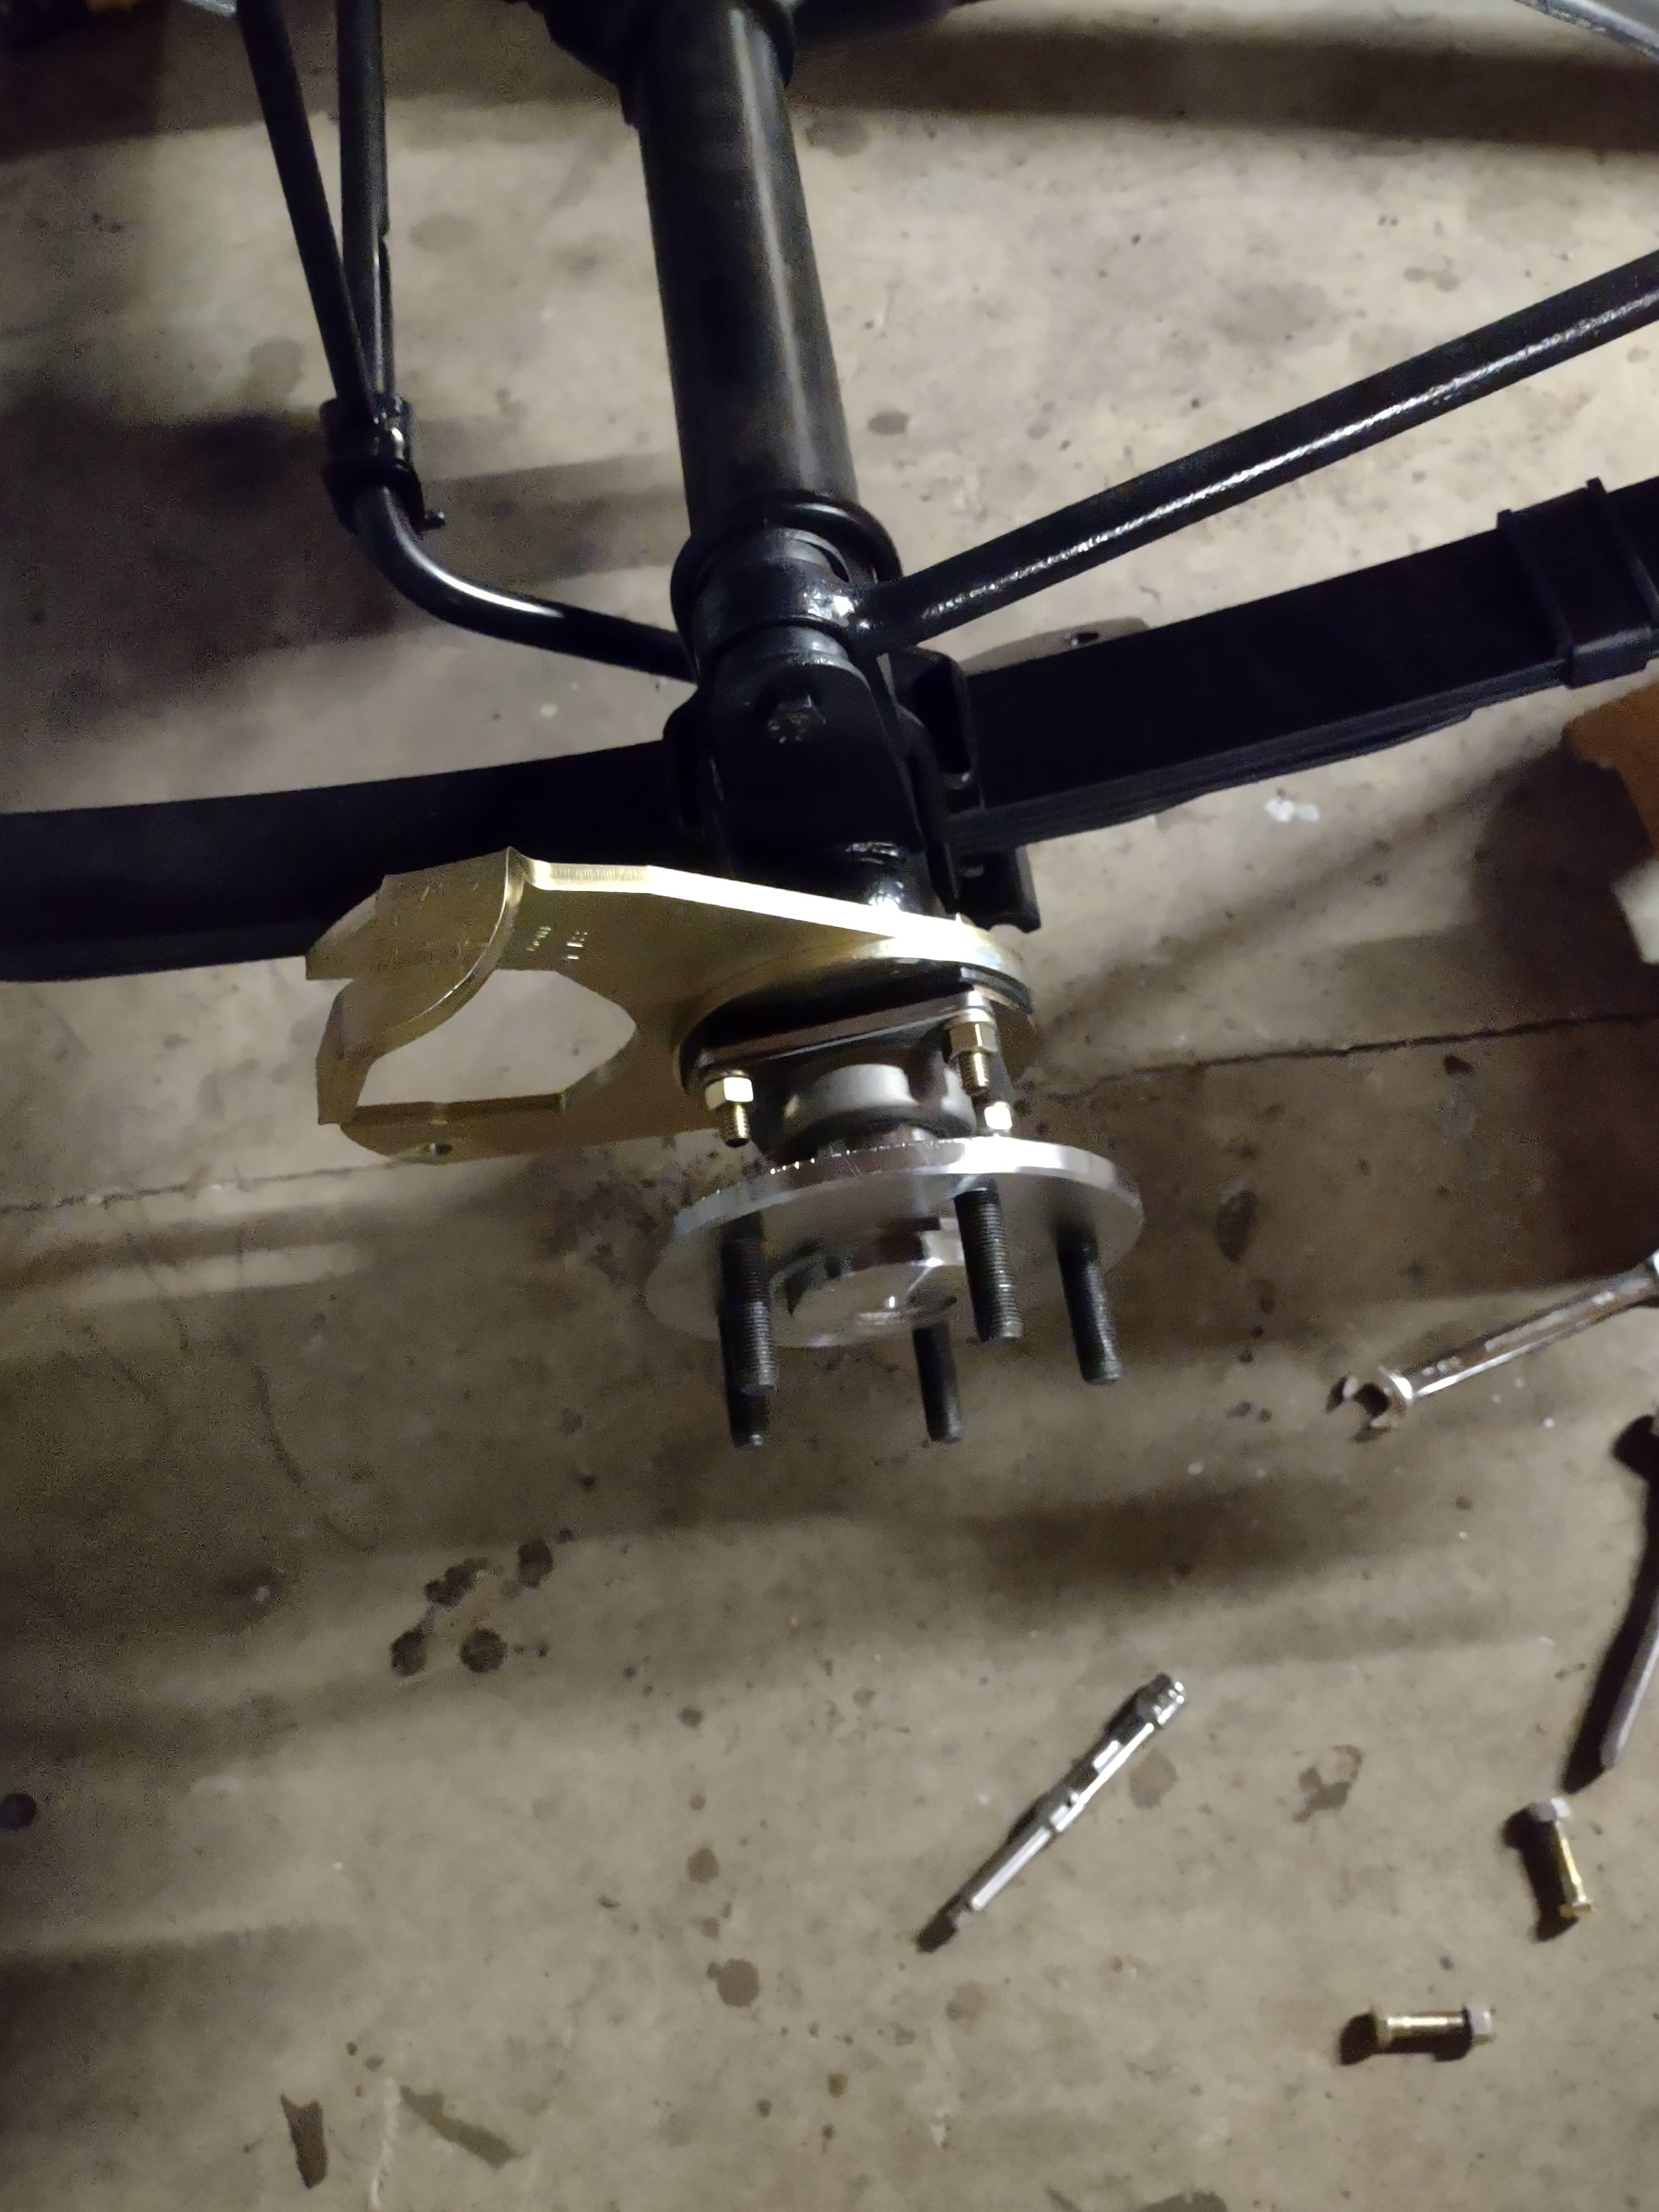
Progress. Got the upper a-arms on and the flanged axles. Using turner disc brakes hence the bracket. Had to use longer bolts to get the spacing correct for the calipers.
When I took out the tapered axles I found the driver's side did not have an inner grease seal installed. The fun things we discover during a restoration!
Tom

-
Your build looks great! I got almost all the rubber I need from Studebaker International, front and rear suspension bumpers, A arm bushings, rear spring bushings and such. The body to frame pieces I have not been able to locate but will probably just get this (https://www.steelerubber.com/body-to-frame-webbing-20-1599-48) and cut to size. I also got larger sway bars from Studebaker International. When installing the rear I had to bend the frame attachments for the stabilizer supports to fit correctly - see my post here - https://aoai.org/forums/topic/42740-bare-frame/
If you want to go a little off the beaten path there is this - https://www.ebay.com/itm/263096998485?hash=item3d41cd9a55:g:xhcAAMXQVERS1wza
Since you said you have considered replacing the front suspension.
Have you decided what electric steering unit you are going to use? I am also going electric but haven't bought a unit yet.
Hope this helps,
Tom
-
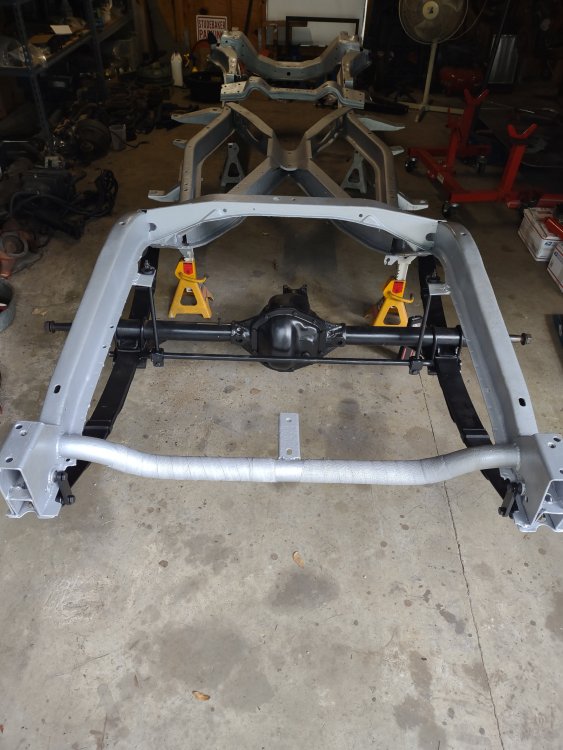
Got most of the rear suspension put on. The new thicker sway bar from Studebaker International required me to modify the upper attachments. The bar doesn't go back as far as the original so the supports were at an odd angle. Bending the attachment points made it work. I had also already added some welds to strengthen the area due to the new bar.


Bare Frame
in 1963-64 Avanti
Posted
Covered up the cam gear and got the balancer on thanks to a borrowed tool from Bob at avantiparts.biz.