Zedman
-
Posts
286 -
Joined
-
Last visited
Zedman's Achievements
")


-
I checked my old parts stash (kept for reference !) and it appears to be the same as yours- I never checked this fit so I was also surprised. Because the actual bearing surfaces are the screws and they rotate, the Pinch bolt Clamps the 'Trunnion' tightly and prevents its rotation. Don't lose sleep over this one ! 😴
-
Lovely- Excellent set of photos.... be very proud 🙃
-
I thought I'd ask this question here rather than the Avanti Trivia page, where there is a discussion going on about Ferrari engines... Dwight has postulated a bore-out by 80 thou over would have brought the 289 Engine into the 302-ish realm. My query is - Surely the ability to change the core patterns for the casting of Engine Blocks would have been a viable, economical and realistic way of ensuring an increase in HP as well as a safety margin to ensure overboring would not be compromised by thin walls. Anybody wanna comment here? 🤷♂️
-

-
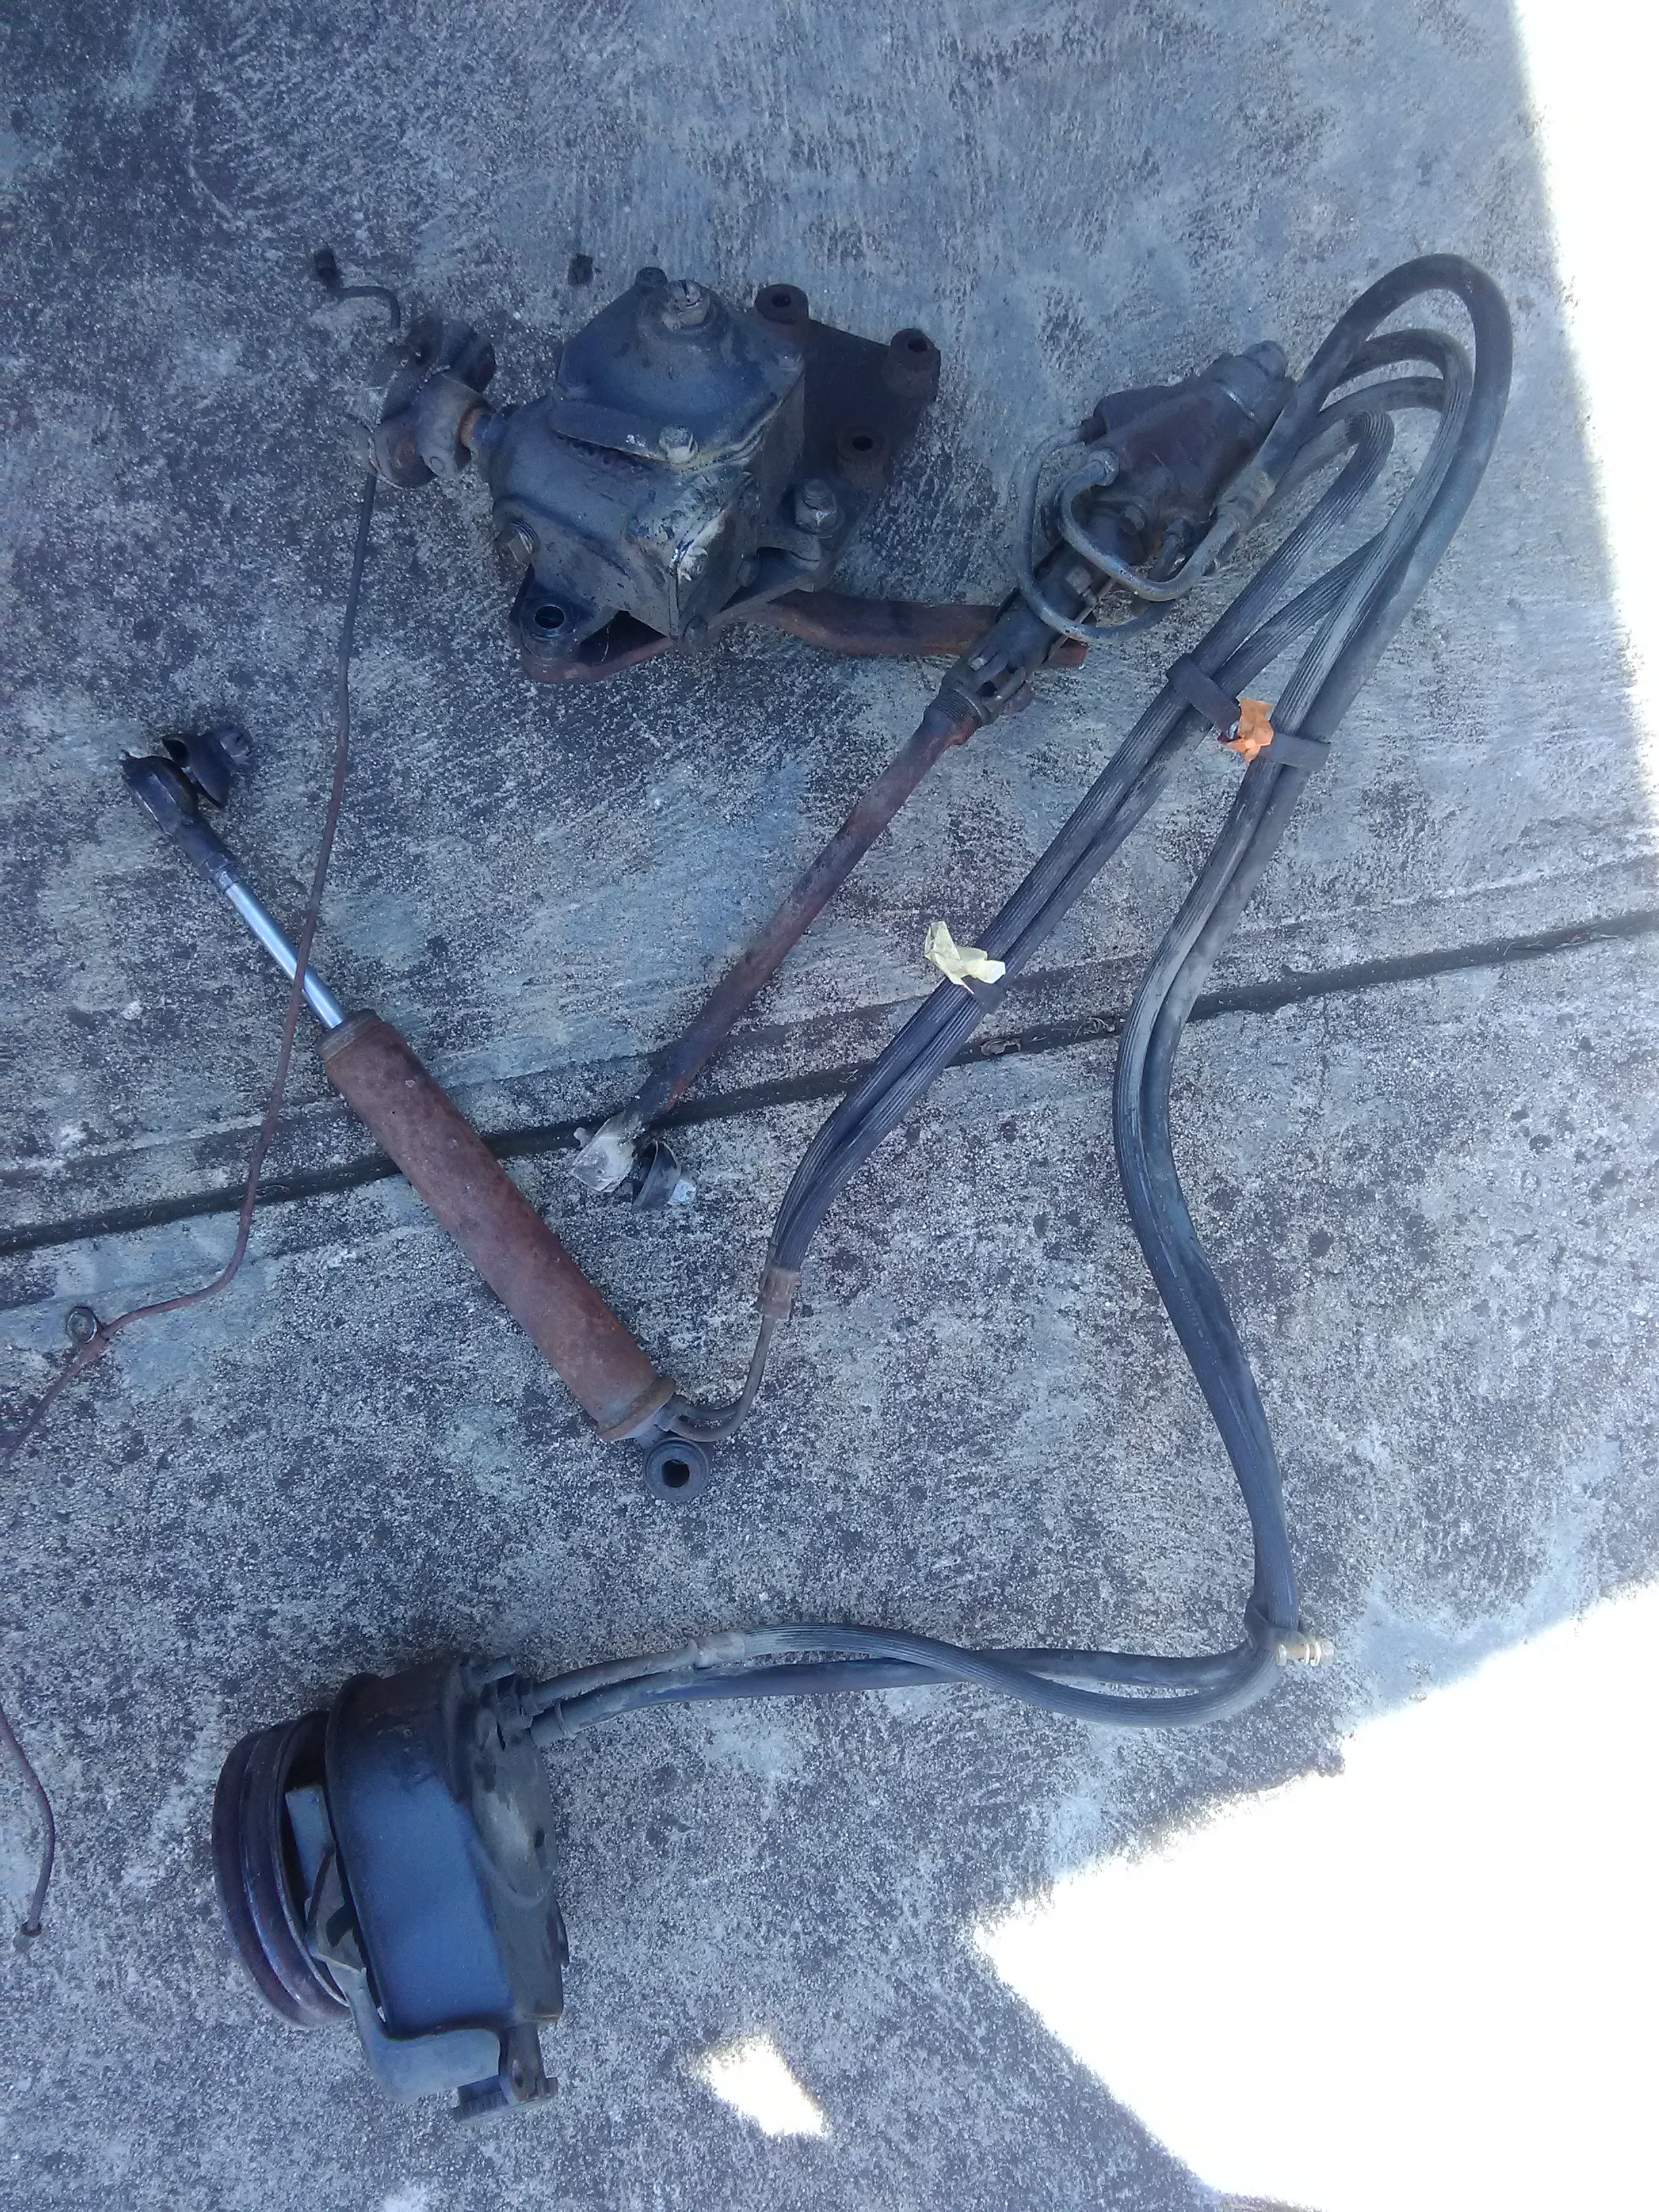
Hi Tom- I took lots of photos of my setup before I dismantled it but still ended up a bit confused. I can post these if you want them just the same. However- the following links were useful to me and may well help you as well.... BTW- the parts book shows some detail BUT there are differences in the bends of a couple of the steel tubes- these will probably only confuse you. https://forum.studebakerdriversclub.com/forum/your-studebaker-forum/tech-talk/4695-studebaker-power-steering-hoses-replace-how-to https://www.studebaker-info.org/Tech/Psteer/valvehose.html
-
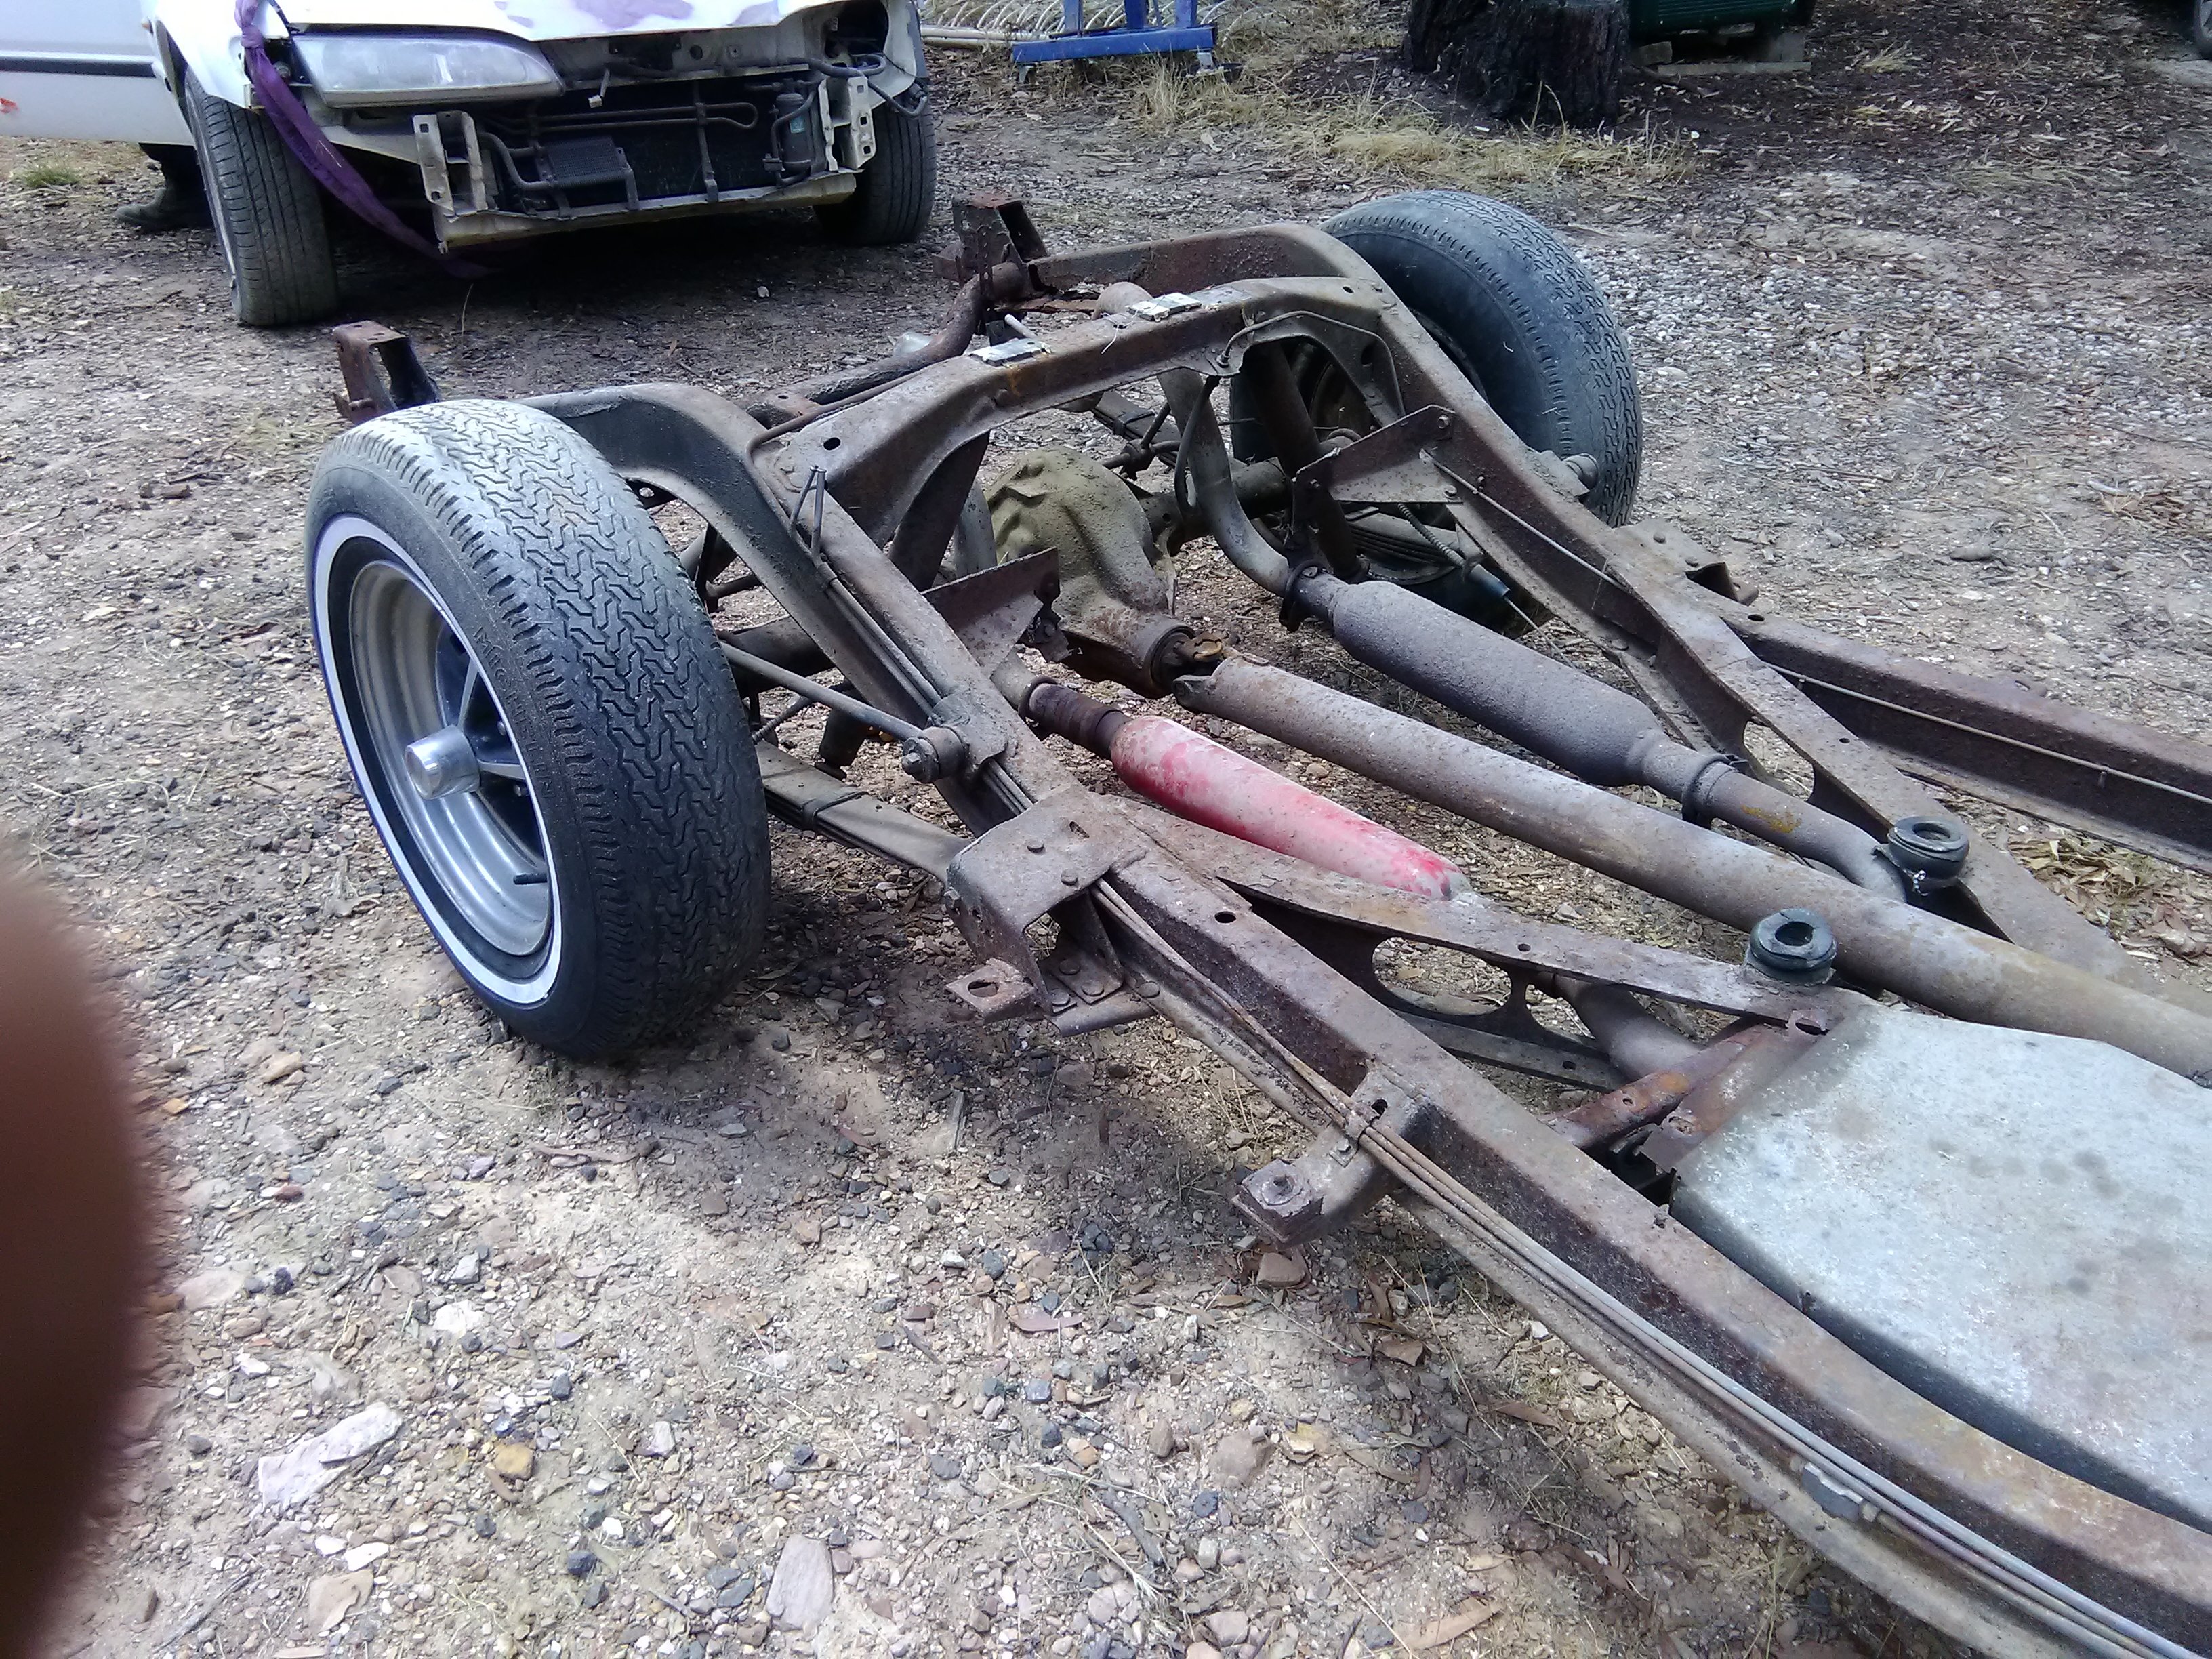
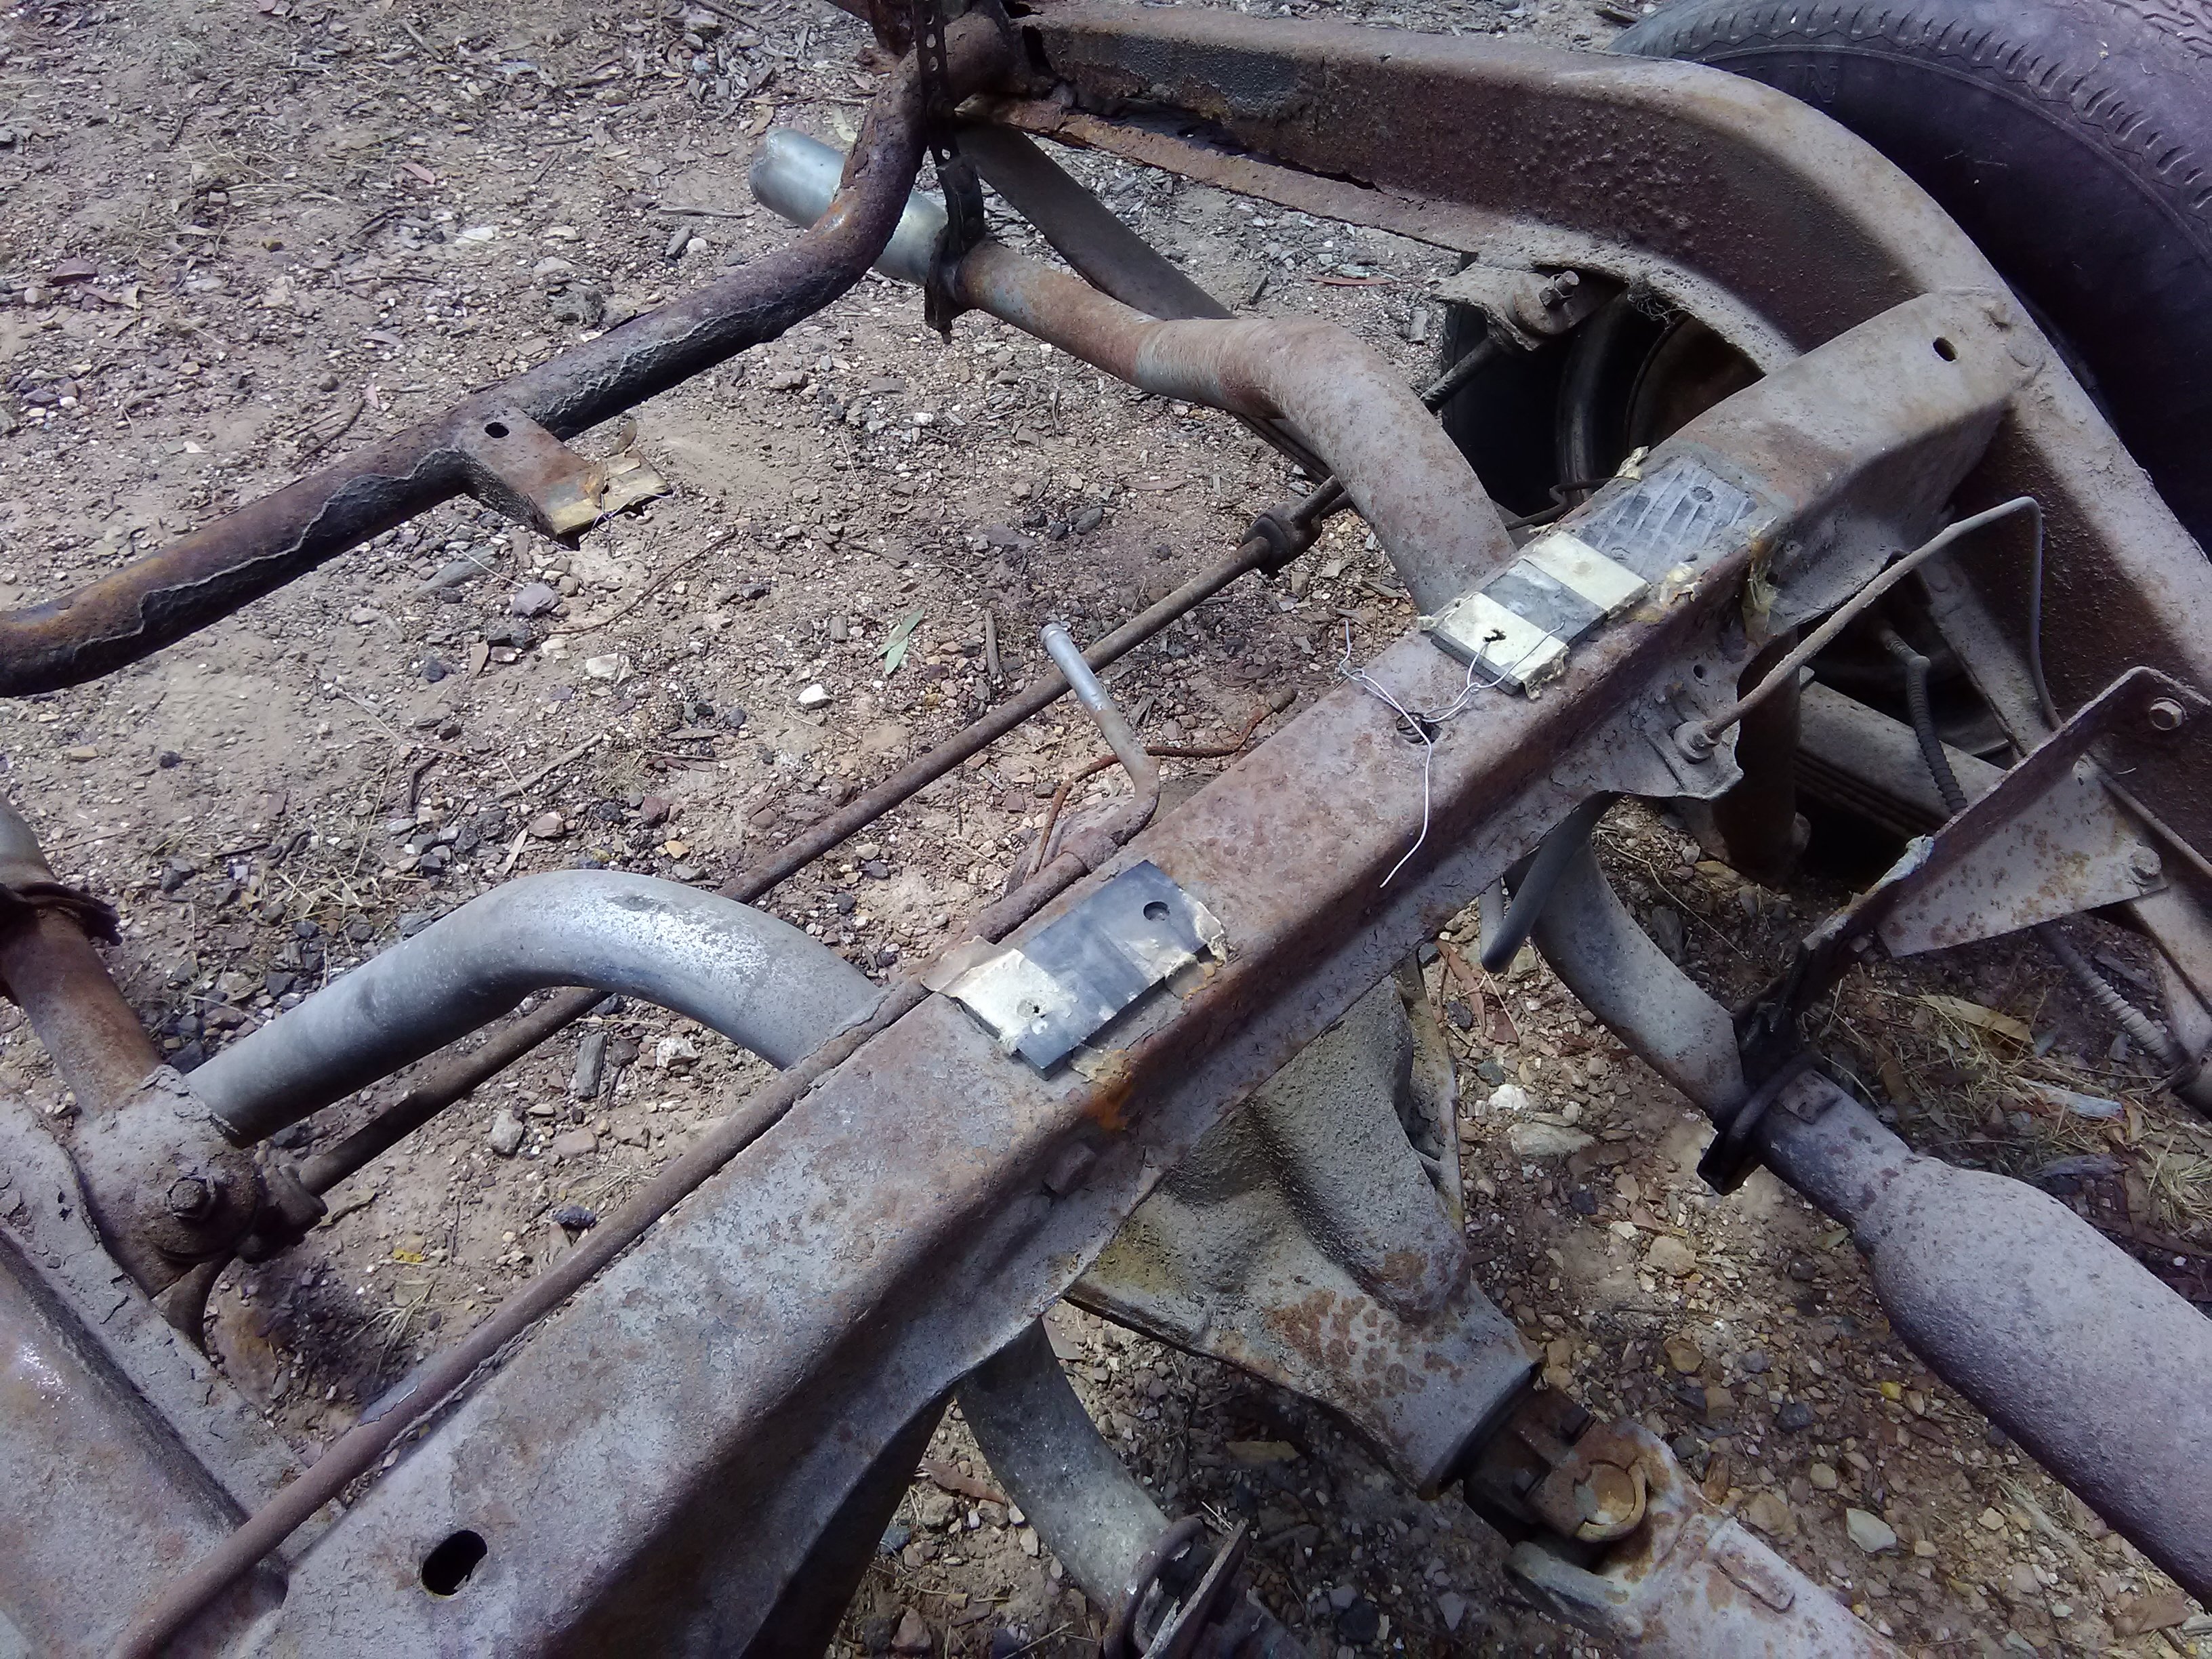
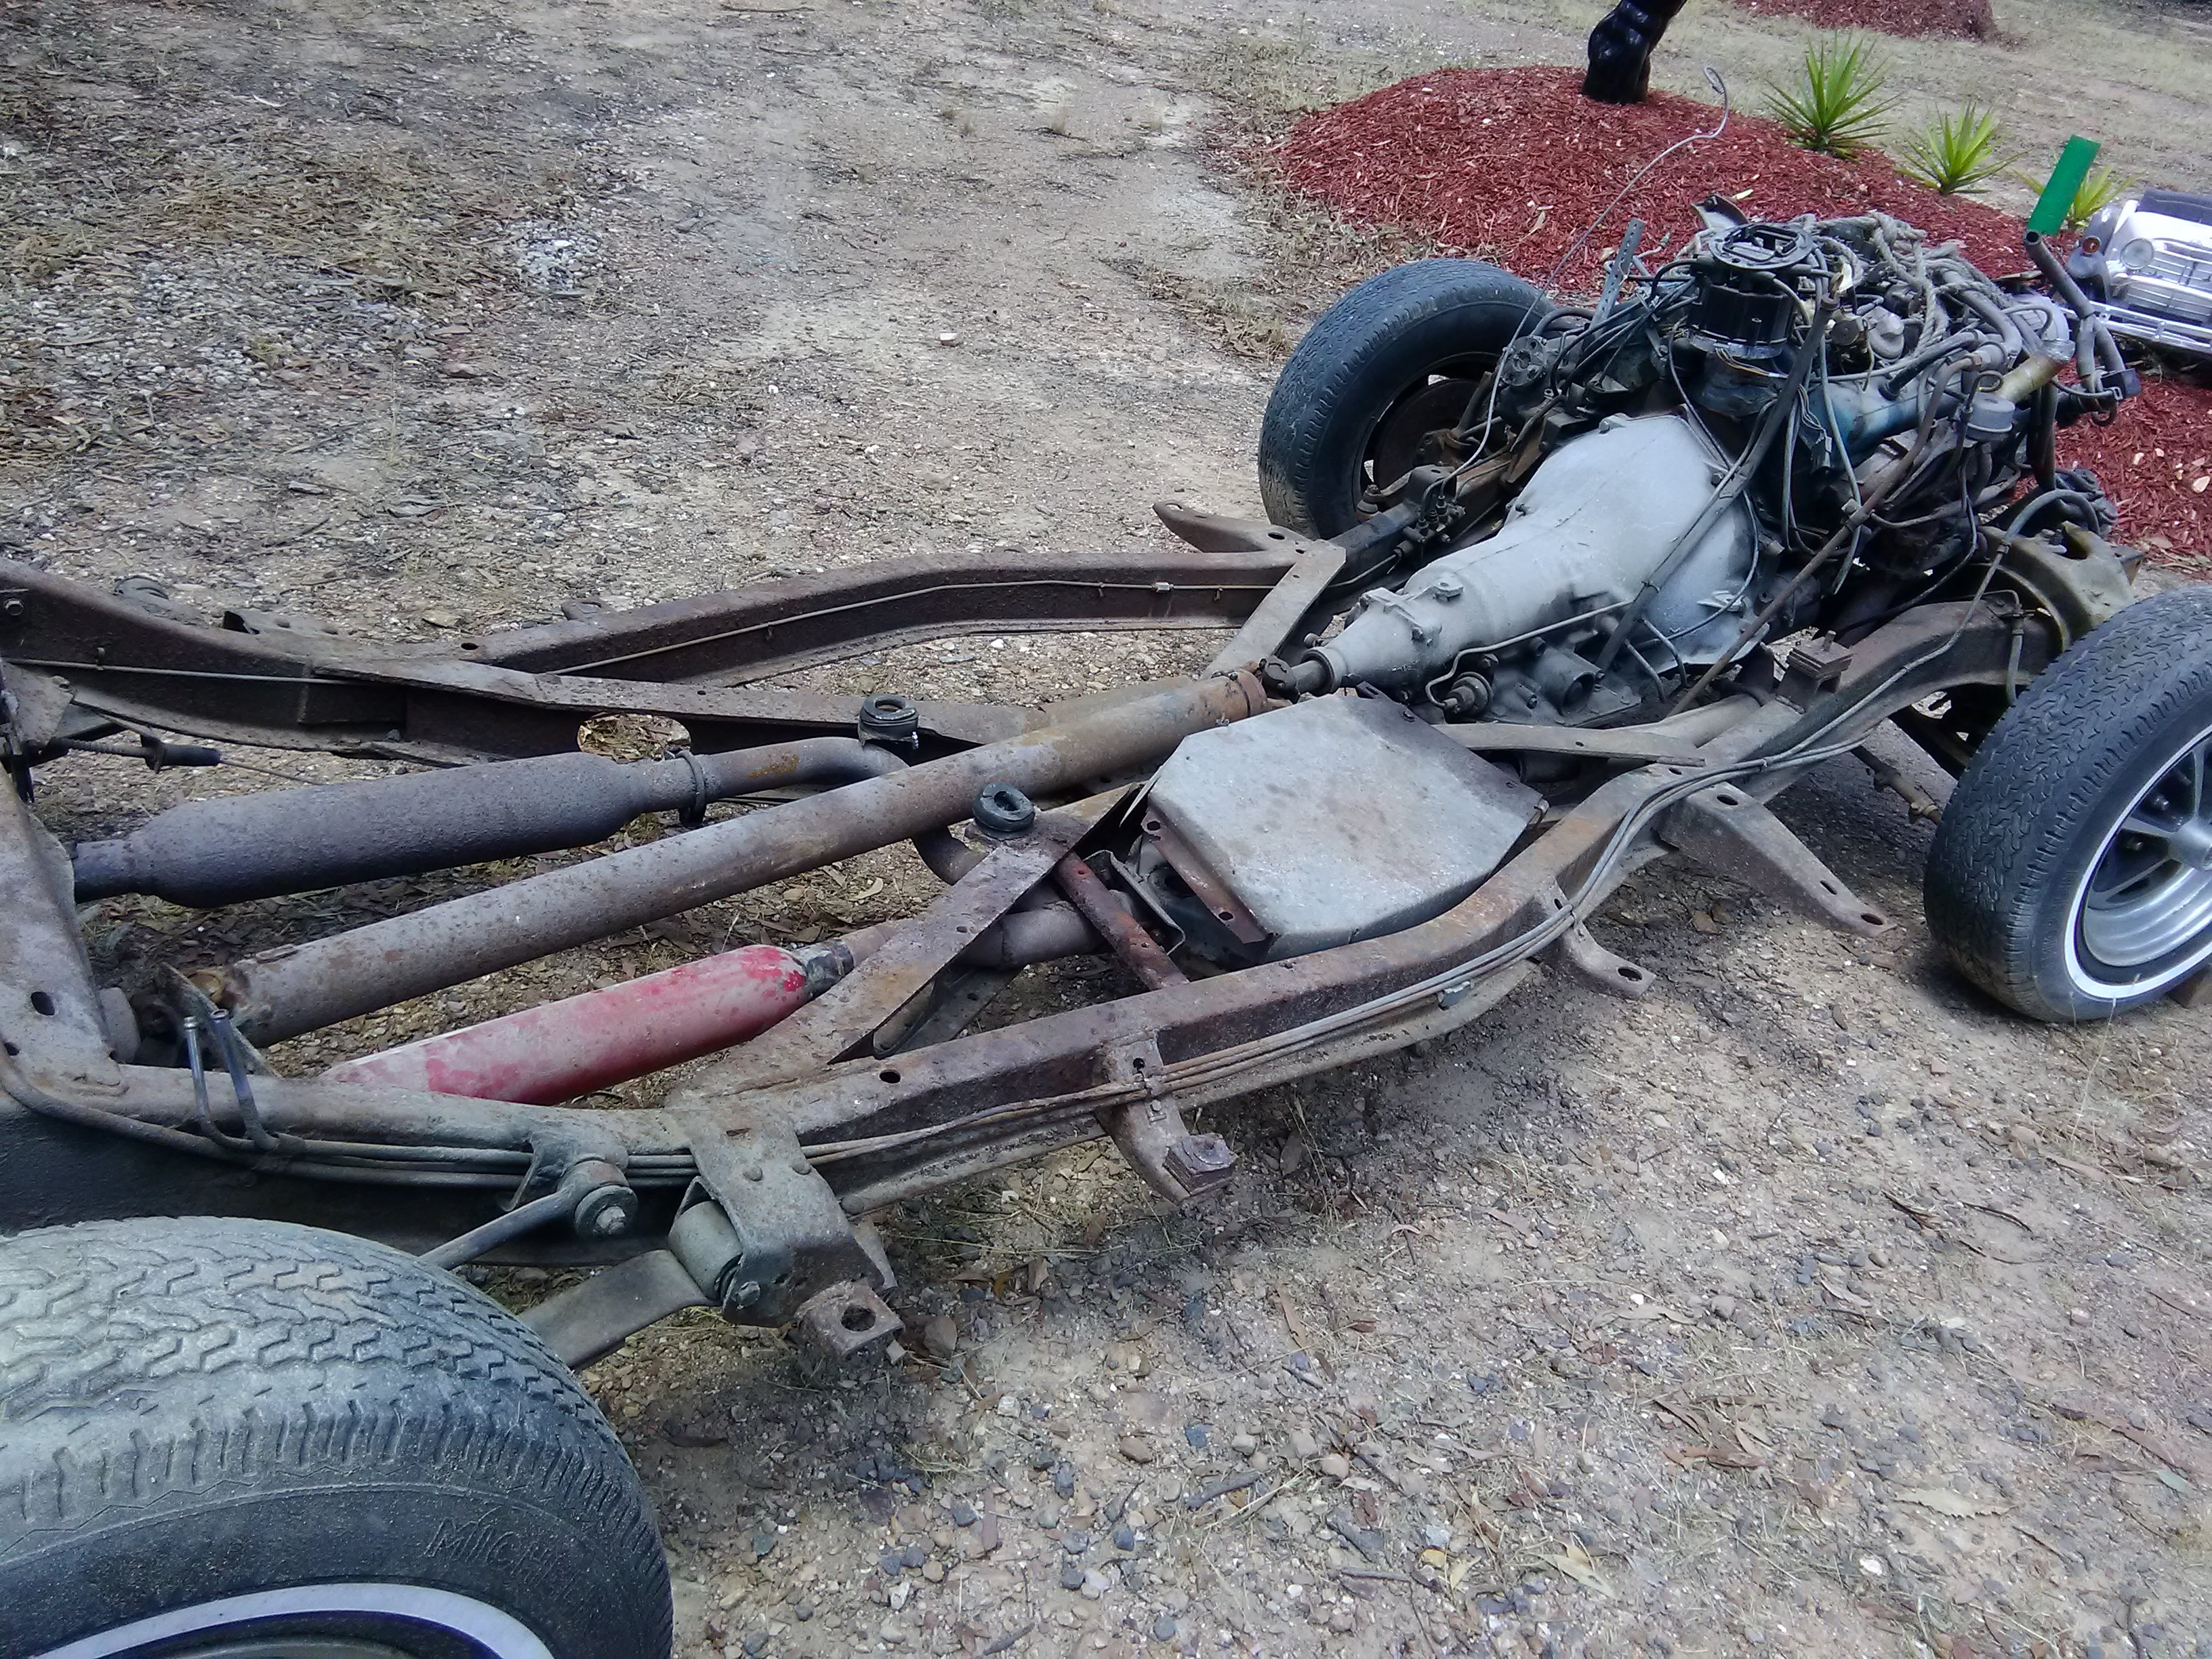
Hi Roy- I'm yet to get my Avanti II Body onto my new Frame so your story interests me. One query, though, where you mention using rubber in some Frame to Body. Where did you put these exactly- only steel shims should be used throughout the mounting points, so I don't think rubber should be in there. The only rubber I found were two on the top of the Crossmember above the Rear Axle 'kickup' and they were only taped in place at the factory (don't really know why they are even there). My photos in an earlier post on this thread show what came out immediately after the Body lift. Just askin' !
-
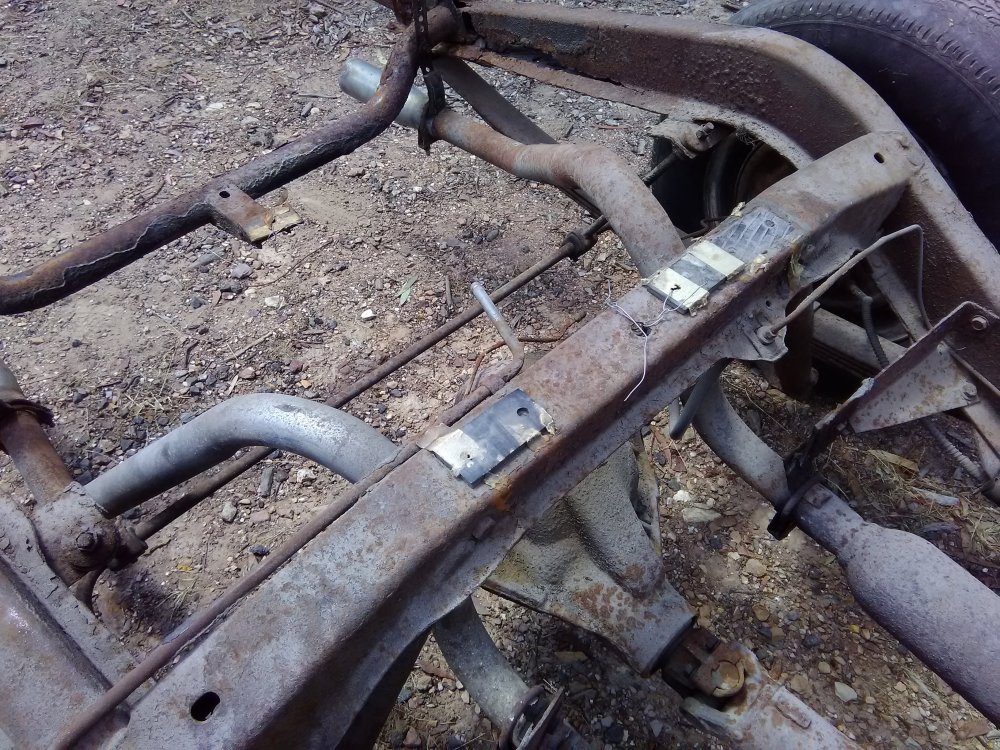
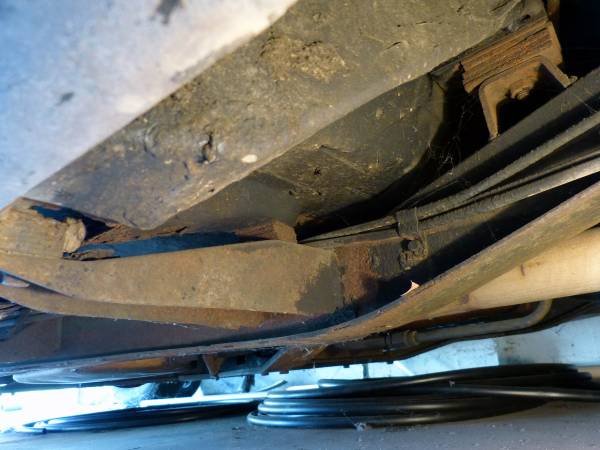
Here are some naked Frame photos- these may help... My Chassis was very salt corroded and some fuel lines were virtually rusted through and broke completely during removal. Are yours as bad as mine?


-
Th Coefficient of thermal expansion for Aluminium/alloys is around 0.0008" per degree Celcius - That's nearly a thou every degree. From that standpoint I'd wonder whether Stress cracking would be a valid problem.
-
Hi Ted- I'm very interested in doing the same and I will be keen to hear of your results. I believe that most of these carbs come with a selection of jets and Metering Rods. There is an excellent article by a well respected Rochester rebuilder by name of Lars Grimsrud here.... https://studebaker-info.org/Tech/Qjet/tuneaQjet.pdf . This is a must read IMHO- it is not just a matter of rejetting, but of the CFM range of the carb as well. As I have a 305 engine, I only need a 600CFM range. Many of the carbs offered are 750's for much larger engines. Many years ago he took on a Chicom Quadrajet copy for a customer and went through it in great detail to get it running right. Metering Rod and Jet sizes were covered. The whole topic was covered on line with heaps of photos. This is here.... https://www.corvetteforum.com/forums/c3-tech-performance/4523417-new-chinese-q-jet-inspected-evaluated-and-tested-the-complete-results.html I'm pretty sure Alcohol blended fuels will more than likely require slightly larger jetting. Good luck-
-
Hi All- I've followed this thread with a good deal of interest because I will be putting RQB3269 back on a new Frame soon. The matter of shimming has been an interest to me. This thread prompted me to look at my reference photos and the 1 1/2" x 2" x 1/8" steel Shims at the rear of the Hogtroughs were stacked 5/8" and at the Firewall they are a stack of six BIG 1/4"plates giving 1 1/4" lift above the horseshoe shaped Stand. this means there was a 'rotation' upward at the front end. Interestingly these all fall within Group 2103-116 but exist as three different part numbers... 287685, ('oldie'- listed in 1959 parts book as an engine mount 1/4" spacer in group 0101-40), 284488 (I'll assume these are 1/8") and an additional different one at the top of the stack of longer length to provide better bearing on the Fibreglass floor which I will only assume might be 1336199. So all up, I don't see a 2" lift even at the front end. 🙃 Dont'cha just love this forensic stuff !
-
Source For Replacement Rochester Quadrajet on 1969 350
Zedman replied to TED DIMON's topic in 1965-83 Avanti
I believe these are the Chicom copies that receive various comments online. The good thing about them appears to be the bellcrank arrangement for the throttle- it appears to be the same as the originals and a drop-on-fit, plus the correct orientation of the fuel inlet (skewed to one side). These can be had much cheaper if you buy them online on Temu and Amazon- 'Bricks and Mortar' stores need to put their profit margin on top. Beware there are two CFM models... the ones for large capacity engines (750 CFM) are actually way cheaper than the ones for pedestrian 350's and 305's (650 CFM) but on the whole pretty inexpensive all around. Most of 'em even come with a kit of various jet sizes. I'm just about done trying to find a Quaddie with electric choke and the correct Bellcrank here in Oz, and despite my reservations, will probably end up with a Chicom. https://www.temu.com/ul/kuiper/un9.html?subj=goods-un&_bg_fs=1&_p_jump_id=894&_x_vst_scene=adg&goods_id=601100904891709&sku_id=17597587194867&adg_ctx=a-3935607e~c-5992c87d~f-d01a0905&_x_ads_sub_channel=shopping&_p_rfs=1&_x_ns_prz_type=-1&_x_ns_sku_id=17597587194867&_x_ns_gid=601100904891709&mrk_rec=1&_x_ads_channel=google&_x_gmc_account=5403696277&_x_login_type=Google&_x_ns_gg_lnk_type=adr&_x_ads_account=4525514603&_x_ads_set=22941029271&_x_ads_id=184778158539&_x_ads_creative_id=771606302339&_x_ns_source=g&_x_ns_gclid=Cj0KCQiAx8PKBhD1ARIsAKsmGbcB05R9dI16NMfleCmHQKElaxZo0BE_tzbjNSo0VAAn4A1ylDNg9KQaAqp9EALw_wcB&_x_ns_placement=&_x_ns_match_type=&_x_ns_ad_position=&_x_ns_product_id=5403696277-17597587194867&_x_ns_target=&_x_ns_devicemodel=&_x_ns_wbraid=Cj8KCQiAx8PKBhC9ARIuAFZ07iBPfOFdM3dr7Lir434E1f-8SuBb1PFTHqH5JXFnMms_bG11Ztf1Uo4kohoChz8&_x_ns_gbraid=0AAAAAo4mICEP_ciMPSaknqRKALVeqFnjt&_x_ns_targetid=pla-2437418753229&gad_source=1&gad_campaignid=22941029271&gclid=Cj0KCQiAx8PKBhD1ARIsAKsmGbcB05R9dI16NMfleCmHQKElaxZo0BE_tzbjNSo0VAAn4A1ylDNg9KQaAqp9EALw_wcB -
Ahhh- so that's the masonite peice... I have counted about 8off 1/8" shims at the outrigger mounts under the hogtroughs of my '18 Avanti II so I figured 2" is too much and would say False to the original question.

-
I reckon the Fan Shroud might well have needed tweaking so Ill say yes to that, but two inches of shim..... I'll say no to that.
-
My compliments SCPO-PD, you are doing a great job ! Great photos . On my own Avanti II, found the little bellows/seal where the brake pedal plunger goes through the Firewall to be hard and decided t replace it, seeing I'm eventually painting the firewall. You're lucky... I can't get the windscreen washer bottle off the top of the firewall.
-
Hi AG-R3. Thanks most kindly for your assistance- this is exactly the information I'm requiring. Regards.... 🙃