


mtgibby
-
Posts
122 -
Joined
-
Last visited
Content Type
Profiles
Forums
Events
Posts posted by mtgibby
-
-
Here's a real rookie question for you!
My left and right exhaust manifolds were refinished when I purchased my stalled restoration project.
The studs for the exhaust pipe had been removed. I will get a replacement set from SI.
How can I tell left from right for reinstallation? Is the only difference the longer studs on the passenger side for the heat riser valve?
Thanks,
Mike
-
I talked to Jon. It looks like Gabriel has changed the design specs of these shocks, but left the model number the same. The yoke should be 3 3/4 inches across, but all the new ones on the shelf are 3 1/2 inches.
-
JWL1940, let me know if you want to sell your old steel wheels, as I am looking for a set. I am near St Louis.
Mike
mtgibby@hotmail.com
-
R-5148 - Donald Solomon, Hazel Park, MI. (AOAI 1977) (Allstate Prize Car) >
-
I purchased shocks for the 63 R2 yesterday.
The Gabriel (Hencho en Mexico) rear shocks (model 82103) went on easy-peasy. The front shocks (model 82087) are a different story.
It seems the tabs (ears? Flanges?) that bolt to the lower arm are not wide enough. I can barely get the bolt heads to cover 1/2 of the tab. I put washers on to try and improve the coverage, but it looks like poo and doesn't make me feel very safe.
Any ideas?
-
So, back to the subject at hand, does anyone know what type of pads were taped to the X beams at the factory?
-
Getting close to mounting the body back on the frame.
The body should be back from the paint shop this month, so I need help sorting everything I need to do before the two are joined together.
I have plenty of the rectangular rubber pads for the places where the body is bolted down. I have heard that there are other pads used as well, some that are taped to the X-cross members. Does anyone have a picture of these pads or know where I can get some?
Any other tips before the two halves are bolted together forever?
Thanks!
Mike
-
Mine arrived two days ago, just 3 days after I placed the order. I now realize my car will never be close to original, but the book will be awesome when it is time to re-assemble!
-
I have a pdf of wiring diagram of the foot operated switch that came with my new harness from YnZ. Would that help?
I can email a copy to you.
-
My engine (289 R2) was rebuilt a few years ago and has never been run. I received it from the previous owner assembled, except for the ancillaries. I pulled the intake manifold off to give access to larger bolt holes to pick up the engine during the engine/transmission dial-in procedure. The metal (crush?) gaskets had some light surface rust and were a bit tacky, so I bought new gaskets.
My question is, do I need to use any liquid (silicone?) sealer on the intake or exhaust manifold gaskets? I have seen this type so sealer used on tv shows about rebuilding engines. Do I need to use it on the paper gaskets, like the oil filter mount?
What about surface prep before assembly? Any advice?
-
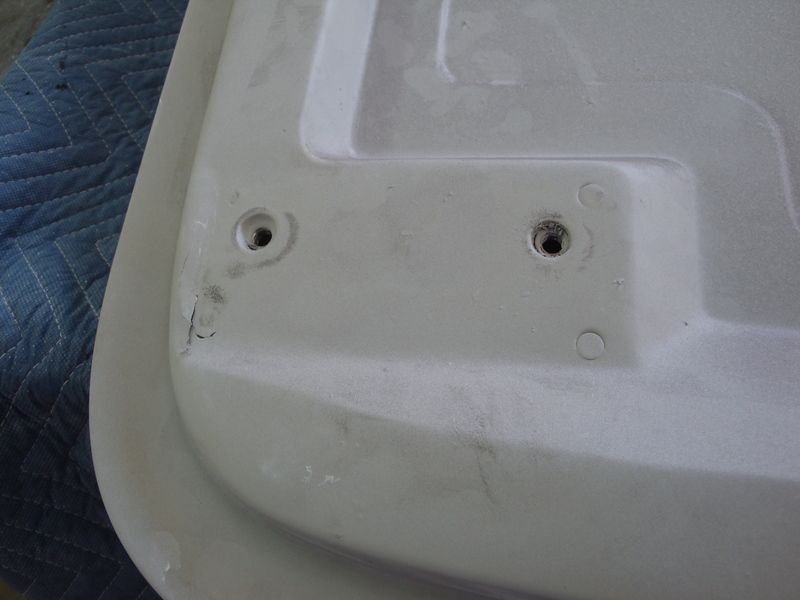
I thought that maybe in addition to adding glass mat to the area, possibly drilling two holes on each side and injecting expanding foam behind the hinge plate until it comes out the second (vent) hole. Just to add some foundational firmness behind the plate? No? Crazy idea?
Mike
-
All,
The paint shop noticed some cracks on the hood near the hinge attachment points.
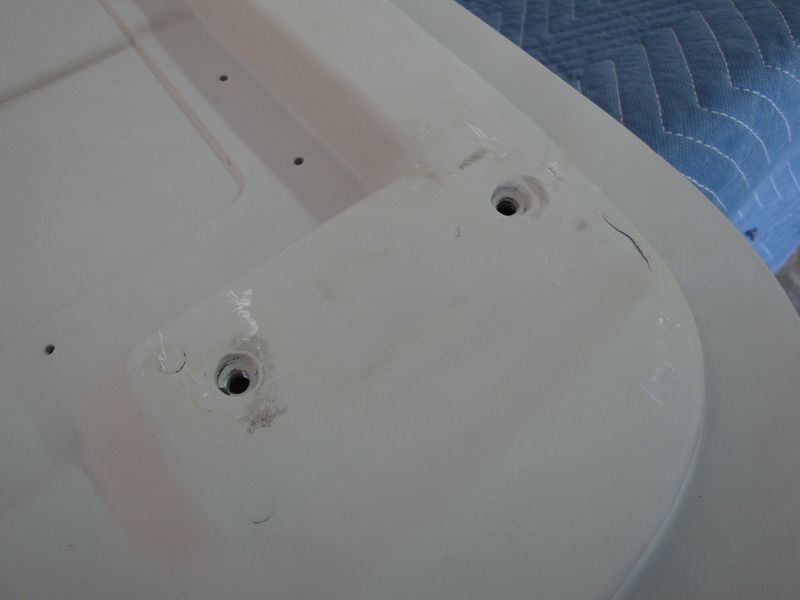
No idea when the occurred. They may have been there when I bought the car or happened when I trailered it back from Ohio. Or the body (boat shop may have done it when reinstalling the hood. No way to know for sure.
Is this a common failure area?
Any experience fixing such a failure?
Thanks!
Mike
-
Just to close the loop on this thread, I got a used prop shaft from Atlanta (eBay) and it is much shorter.
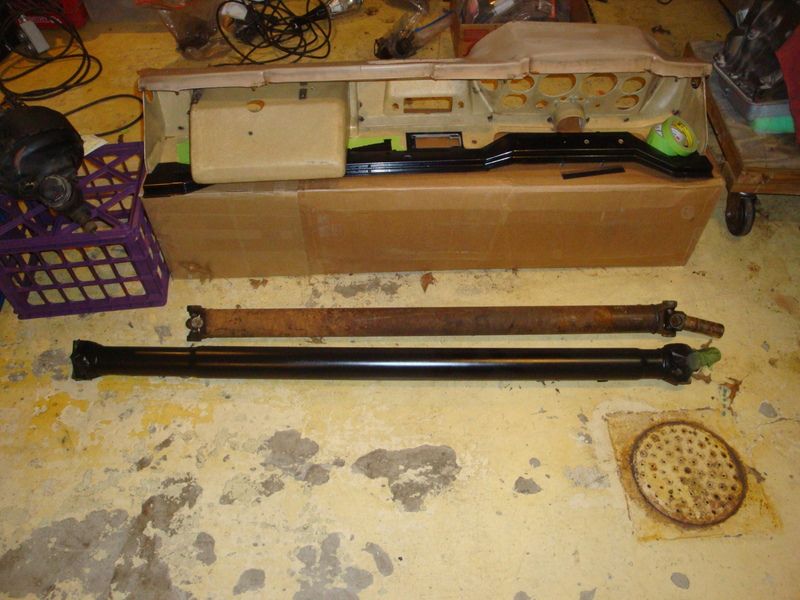
I contacted the restoration shop that started the project in 2012, and they said the car came in with a Chevy powertrain (350?). This explains the significant number of GM parts I have found in the boxes The owner must have had the Studebaker engine in storage, because the block # is correct for the build sheet.
Anyone need a nicely painted prop shaft that is 6 inches too long?!?
-
Has anyone ever published a guide for exactly where to place the Avanti's many badges and emblems?
I have found most of the original holes, even those that were covered by body filler, but the supercharged plaques and the front "Avanti" script are evading me.
Many thanks!
Mike
-
All,
I was dismayed to learn that all Avantis had undercoating in the wheel wells when new. I really don't like the look of undercoating, and I prefer the clean look of the painted wheel wells.
Has anyone restored a car and NOT reapplied the undercoating?
Bad idea?
Thanks!
Mike
-
My Avanti project is missing the power steering pump. I am missing everything; pump, resovoir, bracket and pulley. Is there another source for the pump? Was it used on other models? Will I need to trade my least favorite child to afford one?
Mike
-
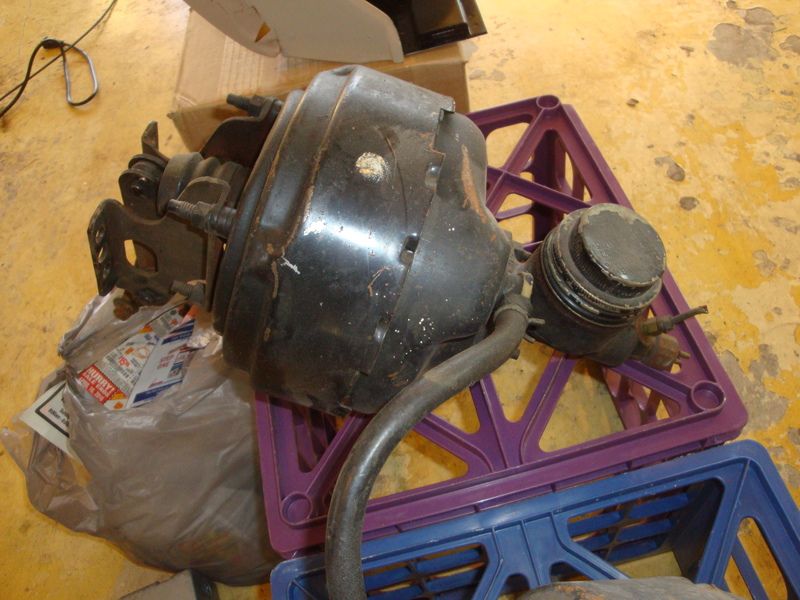
I just found a picture in the book "Avanti, Studebaker and Beyond" of a 1967 Avanti II with the exact same brake booster.
-
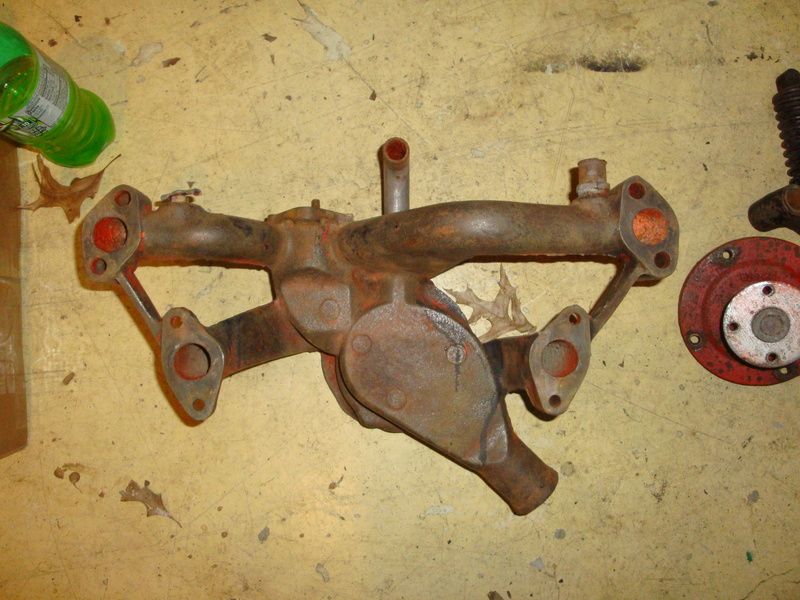
It is good to know the water pump manifold is as it should be. My parts manual shows a nipple there, not a pipe.
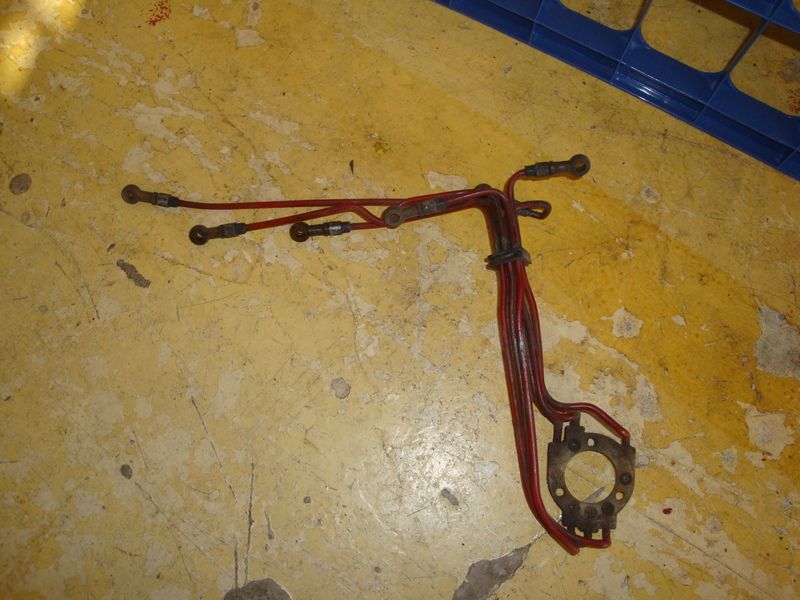
The tubes are indeed too small for spark plug wires with an O/D of 3/16". The air injection sounds about right. Probably not worth saving, huh?
Anyone need a GM alternator bracket? (Freshly refinished!)
OK, here is a extra Studebaker washer fluid bag holder that came with the car. But this one has a larger plate spot welded to it. Lark?
The car came with two brake boosters. One is clearly the Avanti booster and is in need of a rebuild, and this one. It is a Studebaker or Avanti II maybe?
-
I hope this thread can help me find some answers to some of the mysterious Studebaker/Avanti/What The? car parts that came with my dismantled 63 R2.
Being my first Studebaker, this pile-o-parts never ceases to amaze and confuse me. Taking on a restoration already in progress for my first Avanti was probably not a great idea, but I am learning a lot! I use the parts manual to help identify most, but here are some stumpers.
Why is there a 1/2" pipe coming out of the top of my water pump manifold? It seems like it was put there by design, but I have no idea why. It is threaded into the top of the manifold and heads aft. Any ideas?
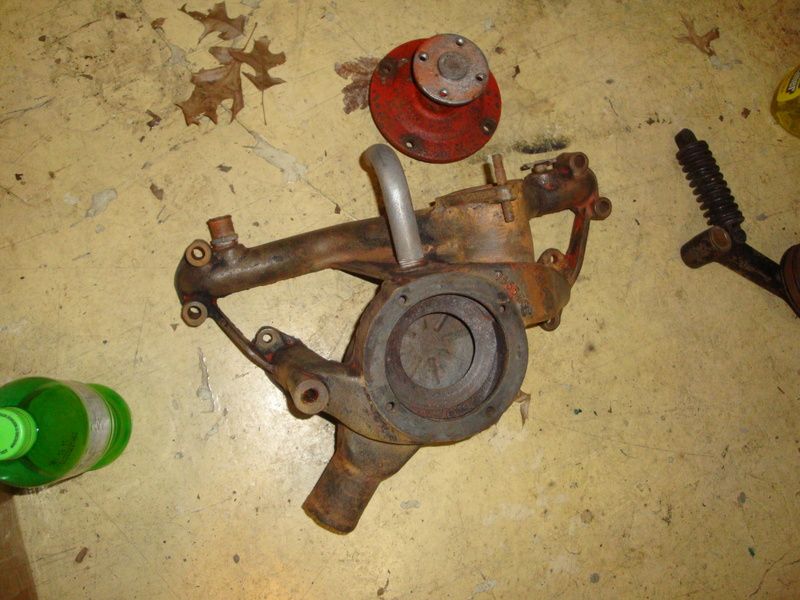
Is this manifold from a non-Avanti 289?
OK, I know this did not come from the Avanti, but I just can't bring myself to throw it out. SOMEBODY out there needs one of these, whatever it is......
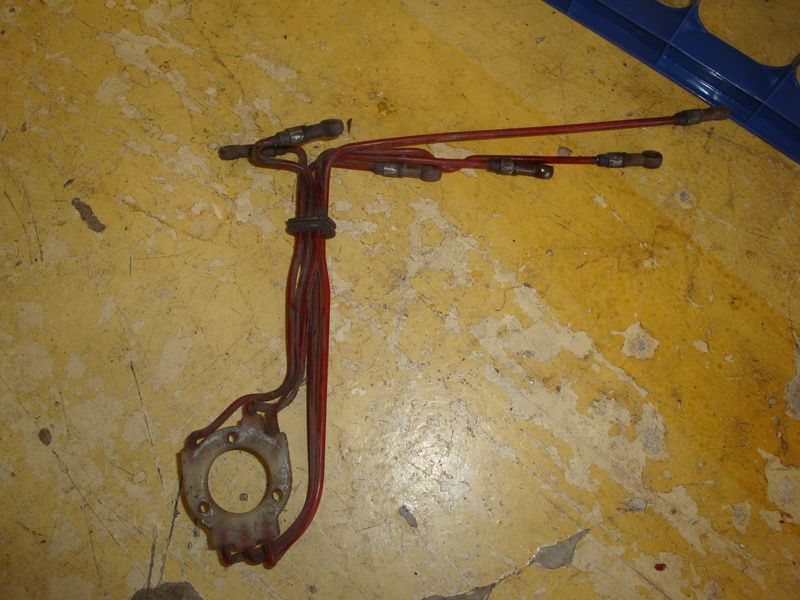
It has six lines and fittings coming off of a plastic center hub. Any ideas?
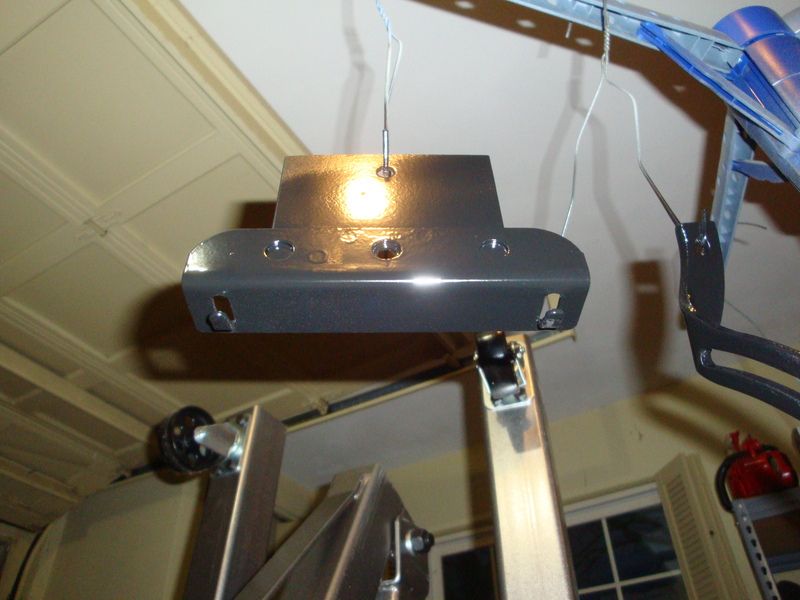
Last one for tonight. I refinished this large bracket and then realized I had no where it goes or if it is even a Studebaker part.
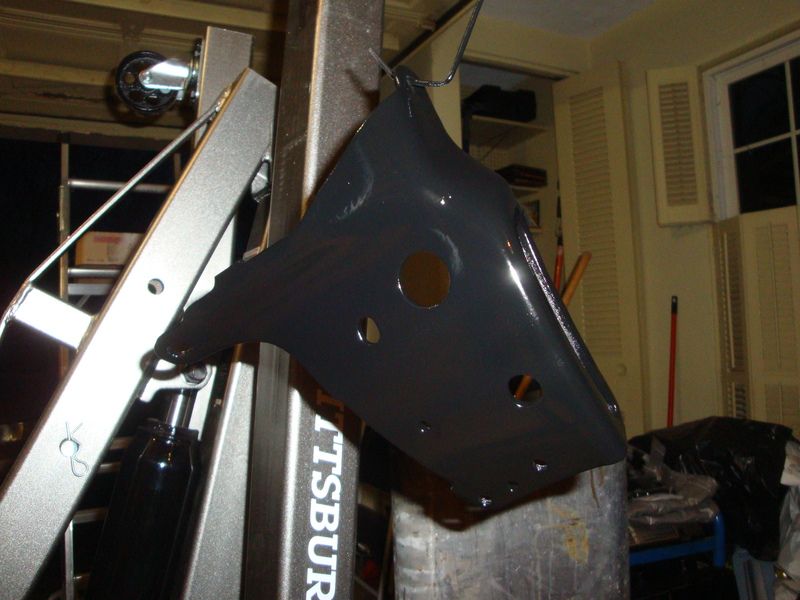
It has a long adjustment slot on the side so I thought it was an alternator or generator bracket, but it doesn't match the Avanti bracket.
I am awaiting your wise and learned responses!
Mike
-
Thanks for the responses guys!
Lou, I am no expert on the transmission types. I understood the transmission was the original Studebaker unit rebuilt by Goodell Transmission in Columbus, OH.
I wrote to Goodell and they said it was rebuilt to manufactures spec.
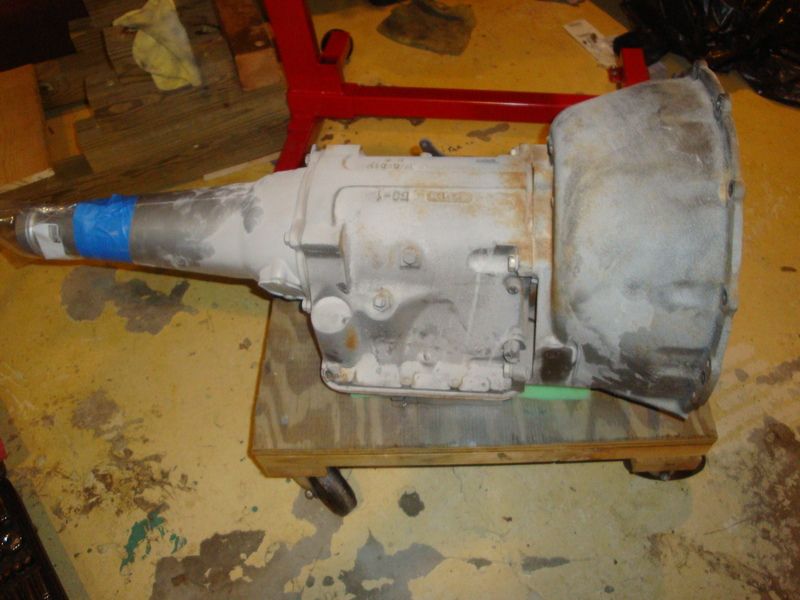
I guess I will have to wait to see if it fits when everything is back together. I just can't figure out how a shaft that is 6 inches too long would work?
-
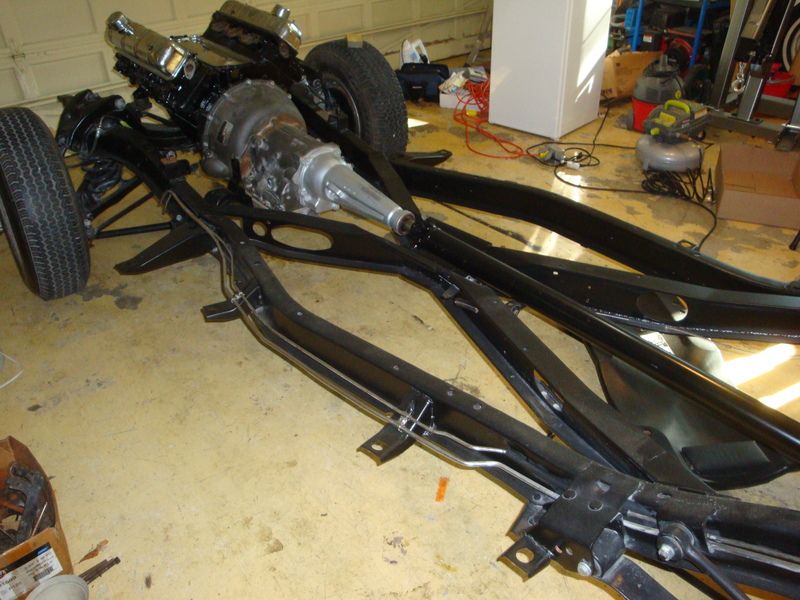
I pulled the propeller shaft out of the 'yet to be restored' pile o' parts and started to clean it up.
Even though it had a label on it that said "Bentley's 63 Avanti" (Bentley was the PO), I think it has been modified or replaced at some point.
My biggest concern is the length. The book says the prop shaft for an automatic before serial number 4882 should be 46 9/32", and this one measures 52 3/4" (shaft alone) and around 58" with joints.
I would offer it up and check the length, but the engine and transmission are out and the body is at the boat shop getting some fiberglass work done.
The shaft steps up to just under 3" between the joints. There is also a number stenciled on it that looks like (bar)7812620.
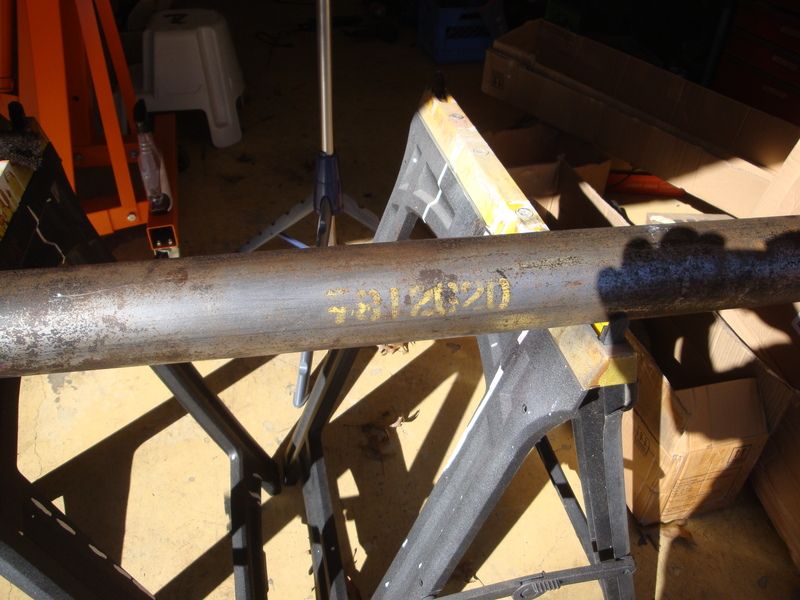
The joints don't have the snap rings on all the cross and bearing units like the book shows. I don't know how to disassemble the bearing units that don't have snap rings.
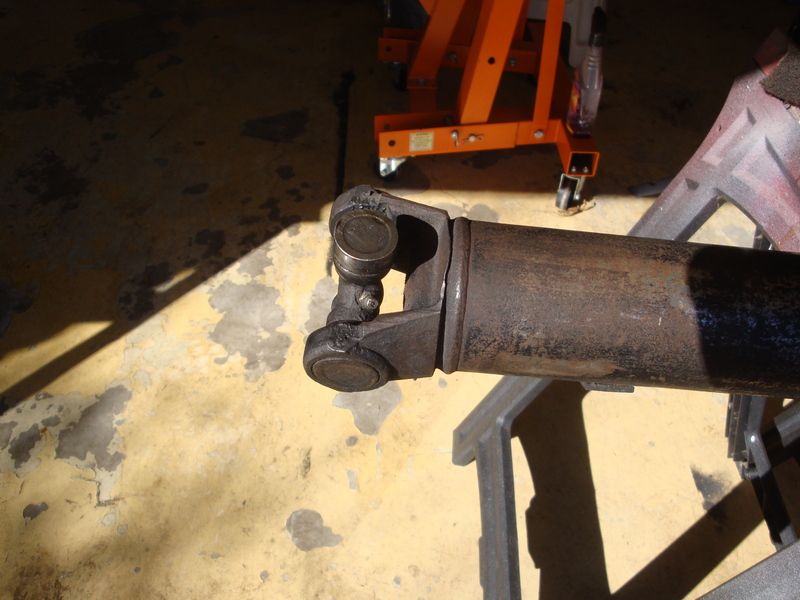
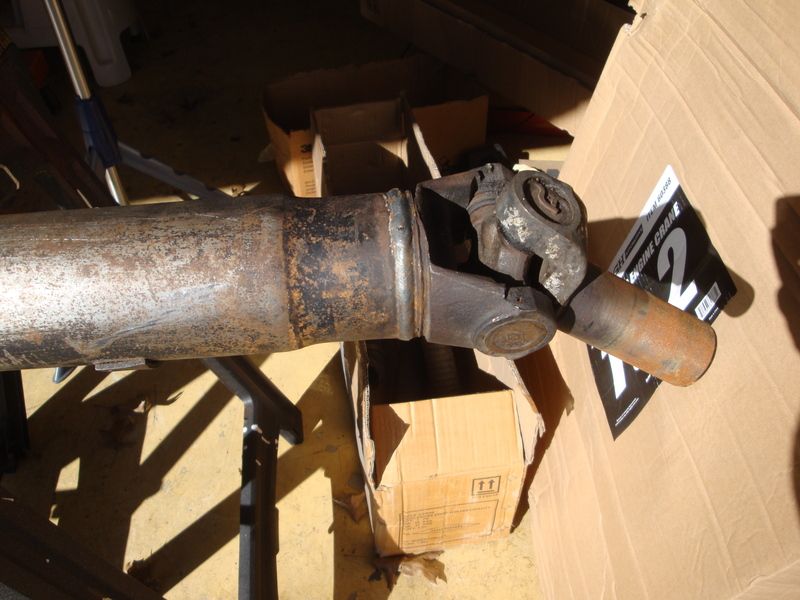
Would you trust it? Should I just get a new one made?
-
I purchased new SS 3/8 alignment pins.
Should I enlarge the old holes or drill new holes?
-
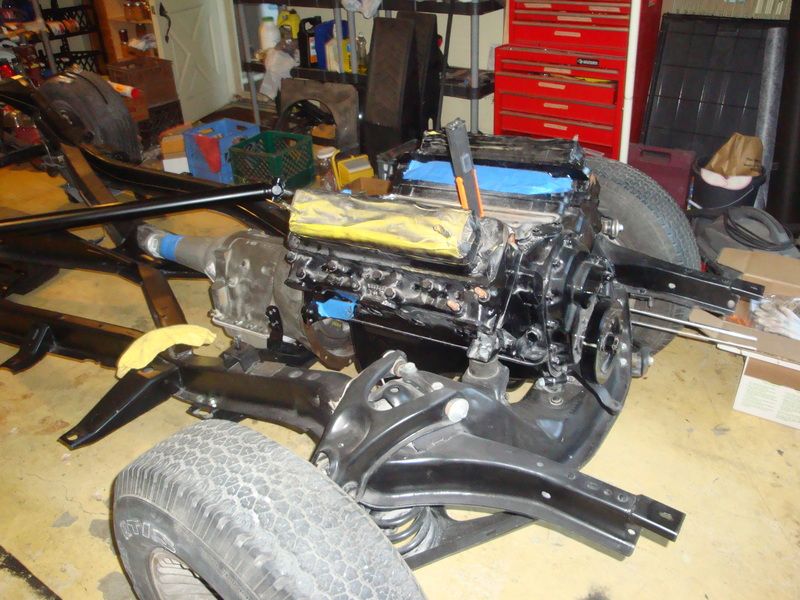
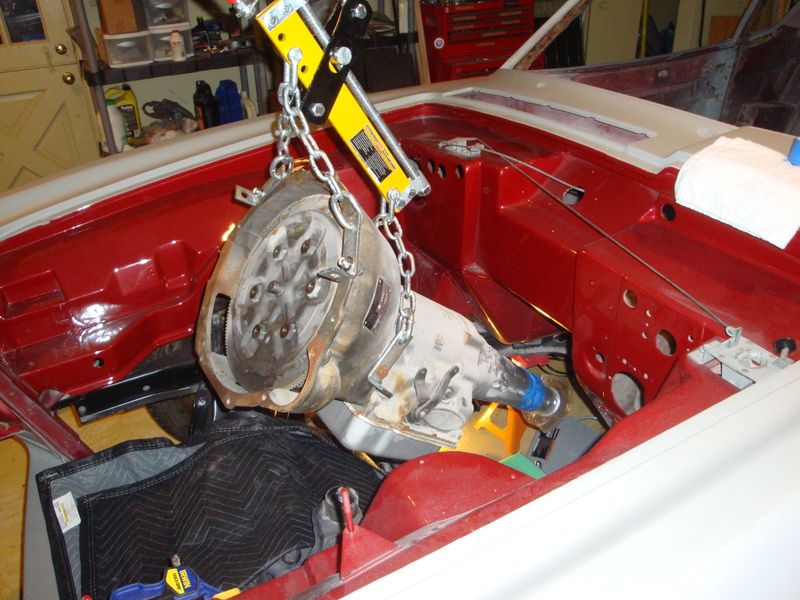
I pulled the engine and transmission out of the R2 this weekend. The previous owner had them temp installed when they stopped the restoration.
Turns out the bell housing alignment pins are not installed.
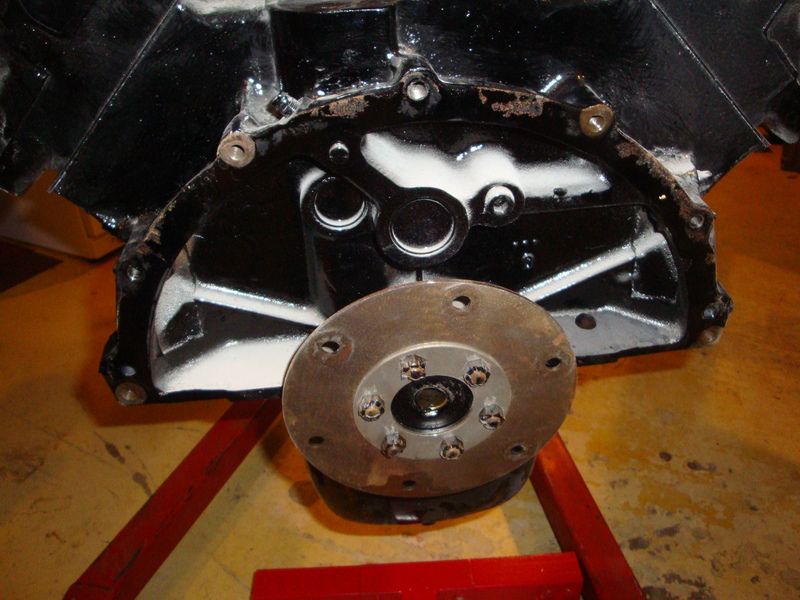
After I center the bell housing using the alignment procedure, what is the best way to replace/install the missing pins?
Is there an off the shelf replacement?
Thanks!
Mike
-
Lew,
Really cool! Next time give me a call and I will bring the donuts!
Mike


Exhaust manifold question
in 1963-64 Avanti
Posted
Thanks StudeNorm. I think I have all the hardware to hang the SS Silvertone exhaust this weekend!