

Michael
-
Posts
52 -
Joined
-
Last visited
Content Type
Profiles
Forums
Events
Posts posted by Michael
-
-
Thanks Bob, Jim, and Rick...The "mucking" starts tonight. Dayton site http://www.daytonwirewheels.com/wheels/direct_bolt_cross_lace.php I am trying to keep wire wheels on the car.
-
The 89 's had Dunlop wire wheels... We wish they had Dayton wires on them. I cannot keep the Dunlop wire wheels round and am looking to upgrade to a larger diameter wheel. If I do upgrade this yr I will keep you in mind as I will have a complete spare set of wheels and caps.
-
My 89 has the paint code sticker on the inside front of the driver's door frame, on the body where the door hinges are. I do not know about the base and clear question..
-
Ken, My 89 convertible has a weatherstrip mounted (glued) to the door. The strip wraps from the top inner front of the door, wrapping around to the bottom, then up the inner rear of the door stopping at the top of the door body curve. The weatherstrip seals to the door opening in the body, when the door closes and if missing would be noisy and cause rattles. I can send pix if you would like. My email is mgrutza@gmrsales.com Please send me your email address if you want pix. If you have a hardtop coupe I do not know what is used at the top of the door to seal the door to the roof panel......Mike
-
Jimmy, Where did you get the antenna?? I could use one...
-
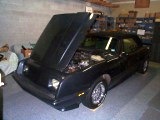
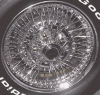
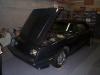
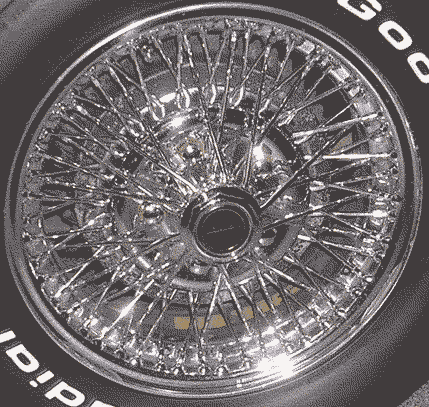
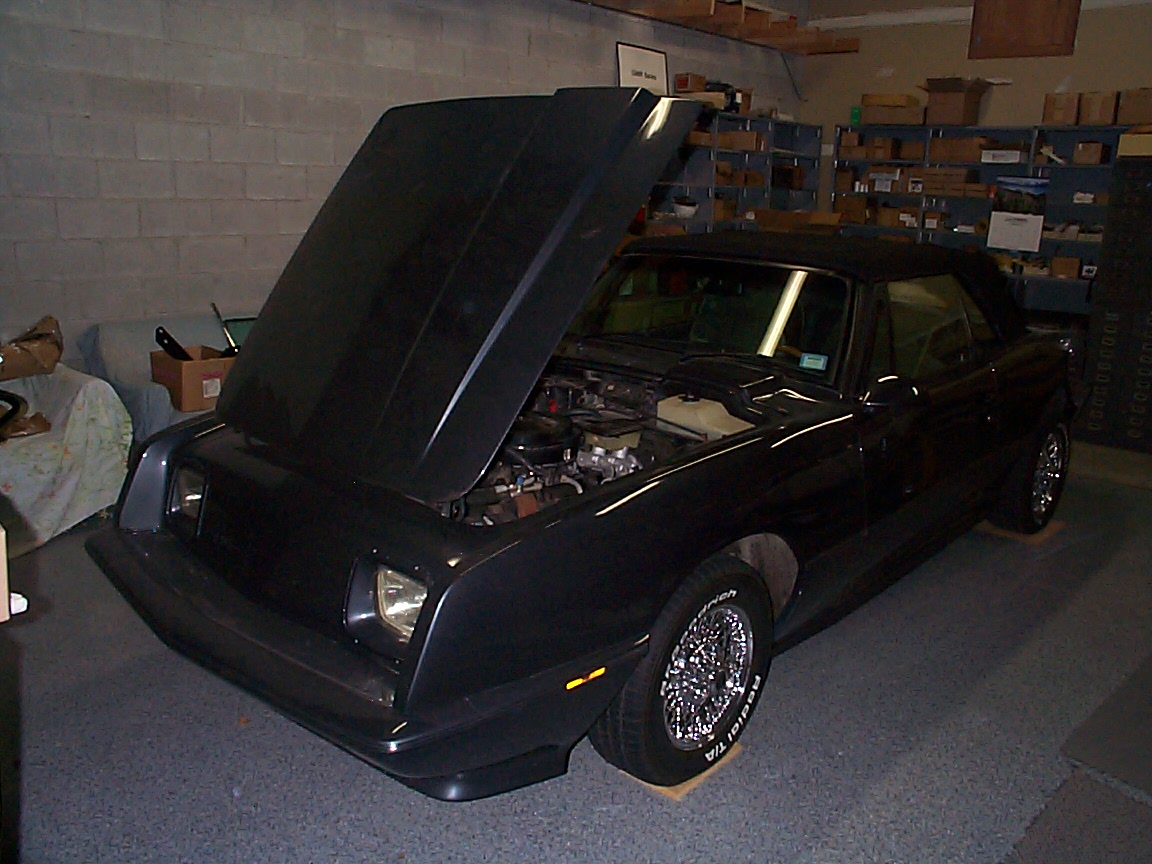
Current wheels are 15". Current tire is P21565R15. I want to replace the factory wire wheels (picture attached) with a non-wire wheel. Has anyone changed their wheel size to 16: or 17"? I would like to see some pictures and know what troubles you encountered trying to match up the larger diameter wheel with a lower profile sidewall tire. You can send pics t
 o my email mgrutza@gmrsales.com I can accept up to 10meg of pictures in one email. Thanks.................Mike
 -
Not sure where to find a wiring diagram...What is the problem you are having ewith the a/c...Fan? comprerssor clutch?
-
Danny,
I have an 89 convertible.
I suggest www.steelerubber.com 800-447-0849 or Restoration Specialties...814-467-9842
If they have no record of what was used on the 87 convertible I could send you a picture of what is on my '89 convertible, (and a crossectional drawing so they can match it.)
Since my car is on a different chassis than yours I do not know how this might change the top and the rubber seals. Would be nicer for you to have info from an 87 convertible owner..
Send me your email address if you are interested in what my cars has for rubber. My car has the original rubber. mgrutza@gmrsales.com
-
Roger that, Dapy... Will call you this weekend, If I don't forget 847-370-4350
-
I forgot.... the electrical connector at the bottom rear of the door panel, for the interior light mounted in the door panel. Disconnect this connector when the all screws are removed from the carpeting and when you pull the bottom of the panel away from the door frame. Disconnect these wires before lifting the door panel off the door frame.
-
You just need the right tools. It will take about 20-30 minutes..I did this last yr to replace my window motor, window wipes and rubber all around..
You need to :
1. pull the inner door open lever off its mounting shaft using the special tool. Note it's position on the shaft. The lever is retained with a "C" clip, NAPA has the tool to remove the clip. Snap-On Part # A-159.TTell the auto parts guy you need to remove the inner door panel door lever. Send me your email and I will send a pic of the tool.
2. remove the arm rest. There are 3 screws or bolts to remove. Look at the bottom side of the arm rest and you will see 3 openings in the leather, 1 up high where you grip the handle to pull the door closed, and 2 holes on the bottom of the arm rest where your elbow sits. These screws/bolts are recessed. They might be large head phillips screws or 3/8" hex head bolts. My car had Phillips screws.. If yours are bolts use a deep socket and 3/8 or 1/4 drive handle.
3. remove the 4 visible screws on the door panel, 2 at the back edge and 2 at the front edge of the door panel
4. remove the screws that have their heads covered by carpet at the bottom of the door panel. This takes some patience. Just pull the edge of the carpeting up that is on the door panel bottom to exposed the screw heads. The screw heads are all around the carpet edge, top edge and bottom edge of the carpet.
5. Unscrew the door lock/unlock "chrome " knob at the top rear of the door panel
Once the above is done you can pull the bottom of the panel away from the door. Now lift the whole panel up about 2 inches so the top of the inner panel clears the top of the inside door frame. Once the panel is loose set the panel on a cardboard box that is the same height as the bottom of the door, and let the panel rest against the inside dr frame. There are wires to disconnect now. Locate the electrical connector at the back of door lock switch. Pull the electrical connector straight, off the back side of the door lock switch. Then locate the electrical connector for the mirror switch. You might have to pull the wires from the openings in the inner door frame to get to the connectors. Disconnect the mirror connector and the panel should be completely loose from the car. The door lock switch and mirror switch stay mounted on the panel you are removing.....
Voila... QED
Peel back the "not so clear" plastic sheet/cover that is glued to the inner door frame to access all the mechanicals in side the door.
I may have forgotten something so feel free to contact me...847-370-4350
While you have the panel off I suggest you get some silicone spray. Clean first, then spray up the door lock/open mechanism, key lock, window mechanism, window spring, and window tracks, so all work better. If you have any door rattles be sure to see that the mechanism pieces are tight and have sleeving where they contact other components in the door.
When putting the panel back on, do not overtighten tighten the panel screws. The fiberglas inner door frame is not steel!!. It does not take kindly to overtightening.
-
dapy, I have the Cafaro 89 convertible since 1991, ..you should go look at it..The price range above sounds right for the convertible model. I see few for sale, more 87's than 88, 89's. How many convertibles built is a good question...I am not sure anyone really knows, all the guys who would have known disappeared, few if any records. I just replaced all the rubber on my vehicle (window wipes, door and lid gaskets, etc.). This car might need that too? If you want to talk you can call me at 847-370-4350
-
There are lots of reasons to buy. Not sure if appropriate for the forum but we can discuss it..
I have an 89 convertible.
-
I would try 2 things when the car will not re-start:
1. Check to see if you have spark at the ignition coil when the engine is cranking over, and
2. Look down into carb and see if gas is being delivered when the accelerator linkage is actuated (gas pedal pumped).
If no spark - Further investigate the ignition coil or all components under the distributor cap. There is a resisitor under the cap which drops voltage to thecoil. I think they call it a groundingresistor.
If no gas - I think (but not positive), the carb on the engine has a fuel pump and filter built into it....
Happy hunting.
-
Hi,
I replaced the motor on my 89 2 months ago. Picture of the motor I removed is attached here. The plastic gear that ran against the linear worm gear was cracked. The motor ran but the window did not move. When I put the new motor in I did clean and relube all the guides and tracks. I also cleaned and lube sprayed silicone fluid on the spring coil. The spring was really corroded. The window works gear now. Good luck.........Mike
-
Hi Bill,
Please tell me more about moving the outside air intake to the front of the car. Sounds like a good project for next winter..When I replaced my blower mtr and fan speed control yrs ago I took the Max a/c door (yes, blue vac line) and rigged it to always stay open so I nebver pull outside air from under the car. I am in the Chicago N. suburbs and would like to see your car sometime.
-
Thanks Bill D.
I will remove the carpeted box under the dash on the pass side. I had this box off a fews back when I lost hi speed on the blower mtr. I replaced both the resistor assembly and the blower motor as long as I had the underdash box removed. At the time I was hoping for a way to get more volume from the blower motor. I have always thought it was weak. I have never had the radio out of the car, but that can't be too big a job.
Do you remember if there were 5 vac lines to the back of your dash control head? 1 source and 4 supply lines to the vac actuators? I am not sure what defines whether a car has the "Acme" system or not. A couple yrs after I bought the car the Avanti factory guys in Youngstown had me take the car to Goshen for the water valve problem you described. The Acme people confirmed the system was theirs. My car has the radial "R6" compressor without a high or low pressure cutout switch on the back of the compressor. I have been told this is not the typical GM compressor because it does not have the high and low pressure cutous in the back. Also, my 89 is the only 89 I have seen that has the a/c compressor on the driver side of the engine compartment. The other '89s I have seen have the compressor on the pass side of the engine compartment. Where is your compressor? Pass or driver side?
-
I can't seem to find the cable you are referring to. I only see one cable attached to the temp slide control, and it is attached on the driver side of the lever, behind the control unit. The only place I can see up under or into the dash on the pass side is at the pass left knee area, up against the console. Through the small opening, in the picture attached, I can see the air box and a vacuum actuator can with a yellow vacuum line to it. This vac actuator gets vacuum delivered to it whenever the heat and defrost buttons on the dash control are pushed. Otherwise, in all other positions there is no vac to it. This actuator is sitting directly behind the radio, about 8" behind the dash front surface and 6" below the radio plane. When the vac line is removed from the actuator the system looses its ability to channel air to the floor. When connected this actuator seems to control air flow to the floor, in the defrost and heat modes. Is this in the area of the actuator where the cable or damper door you refer to should be? Or maybe where you are referring to as the passenger side is above the footwell area, where I need to remove the carpeted box covering the blower motor? Thank you
Mike
-
Thanks Alberto. Good insight. I did shut off the gate valve on the hose, under the hood. I also clamped the hoses shut going from the engine compartment through the firewall, in case the valve was not operating properly. I still have the trouble where the system will not blow cold air from the a/c. With the valve under the hood turned off the system will blow "ambient air", little or no temperature change from the input air temperature. When I open the valve the air becomes heated. My trials and tribulations continue.
-
Hi CokeBottle,
Nice Car...
I believe that your Avanti used the Camaro/Firebird frame, engine, drivetrain, etc.. General Motors "R" Series.
Good luck.
-
I have an '89 conv with an Acme Radiator (Goshen, Indiana) a/c system and vacuum control head. The company now known as Mobile Climate Control in Goshen has no records...The a/c system uses what I call the standard GM components in the engine compartment, under the hood. In the passenger compartment is the Acme system. The a/c compressor and all components are cooling as they should (I can get the accumulator to sweat and a cold suction line) but I cannot get cold air to be delivered to the dash vent openings. The system will deliver/blow heated, and non-a/c air to the dash vents, defrost position, and floor vents. All seems to be opertaing regularly except for delivery of the cold air to the dash vents. There are 4 vac actuators under the dash and I was wondering if anyone knows this system and the actuator sequences required to deliver the cold air.
-
My '89 convertible uses the same Camaro pod as referenced. The mirrors are from the Chevy MonteCarlo series. Good luck.
-
My winter project is to replace the rubber window wipe strips and whiskers on my 89 convertible door panels and qtr panels. I have been looking on line but not finding what I need.
I cannot get Restoration Specialties & Supply to reply to emails or phone messages. I hope the pdf picture I have attached is helpful in further explaining my problem and project.
You comments and directions are appreciated.
Thank you.
Mike
-
There are tools specifically designed for that but a narrow pick with a hooked end or an awl with a pointed, threaded end to screw into the orifice tube can be used.
ErnieR
Thank you... I guess I just gotta get rough with it.
dunlop center cap
in 1984-91 Avanti
Posted
Avantidavid - Tell me more about balancing tires "on the car". I just priced new Dayton wires for the car and it's $2800, including new tires. Does not matter whether the wheels are 15" 16" or 17"...All the same price. UGH. I am happy to throw some money at the car to see if this helps/solves the problem. Please give me some more info on how they balance the tire "on the car" so I can talk to the shops I know and find out if the possess "the right stuff". Thanks Mike