


KWOL
-
Posts
16 -
Joined
-
Last visited
Content Type
Profiles
Forums
Events
Posts posted by KWOL
-
-
Ok,
Here's some questions.
1. Where are the fasteners for removing the dash and how many of them are there?
2. What should the 4 speed shifter knob look like in 63r2587?
3. Is there anything special in rebuilding the fiel pump?
Thanks.
-
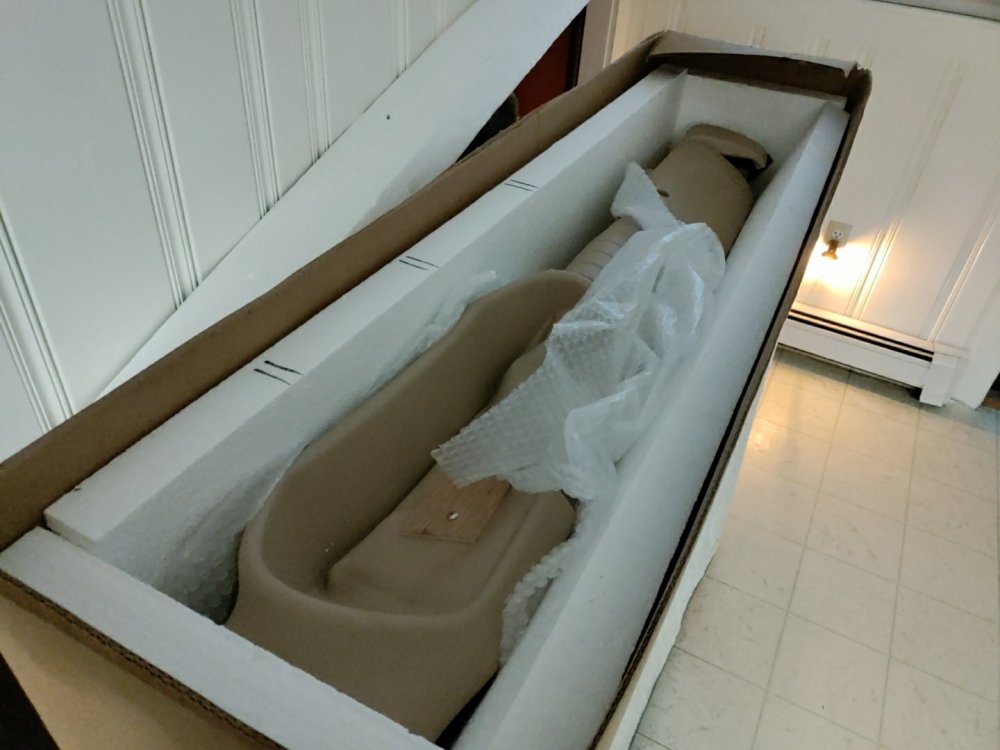
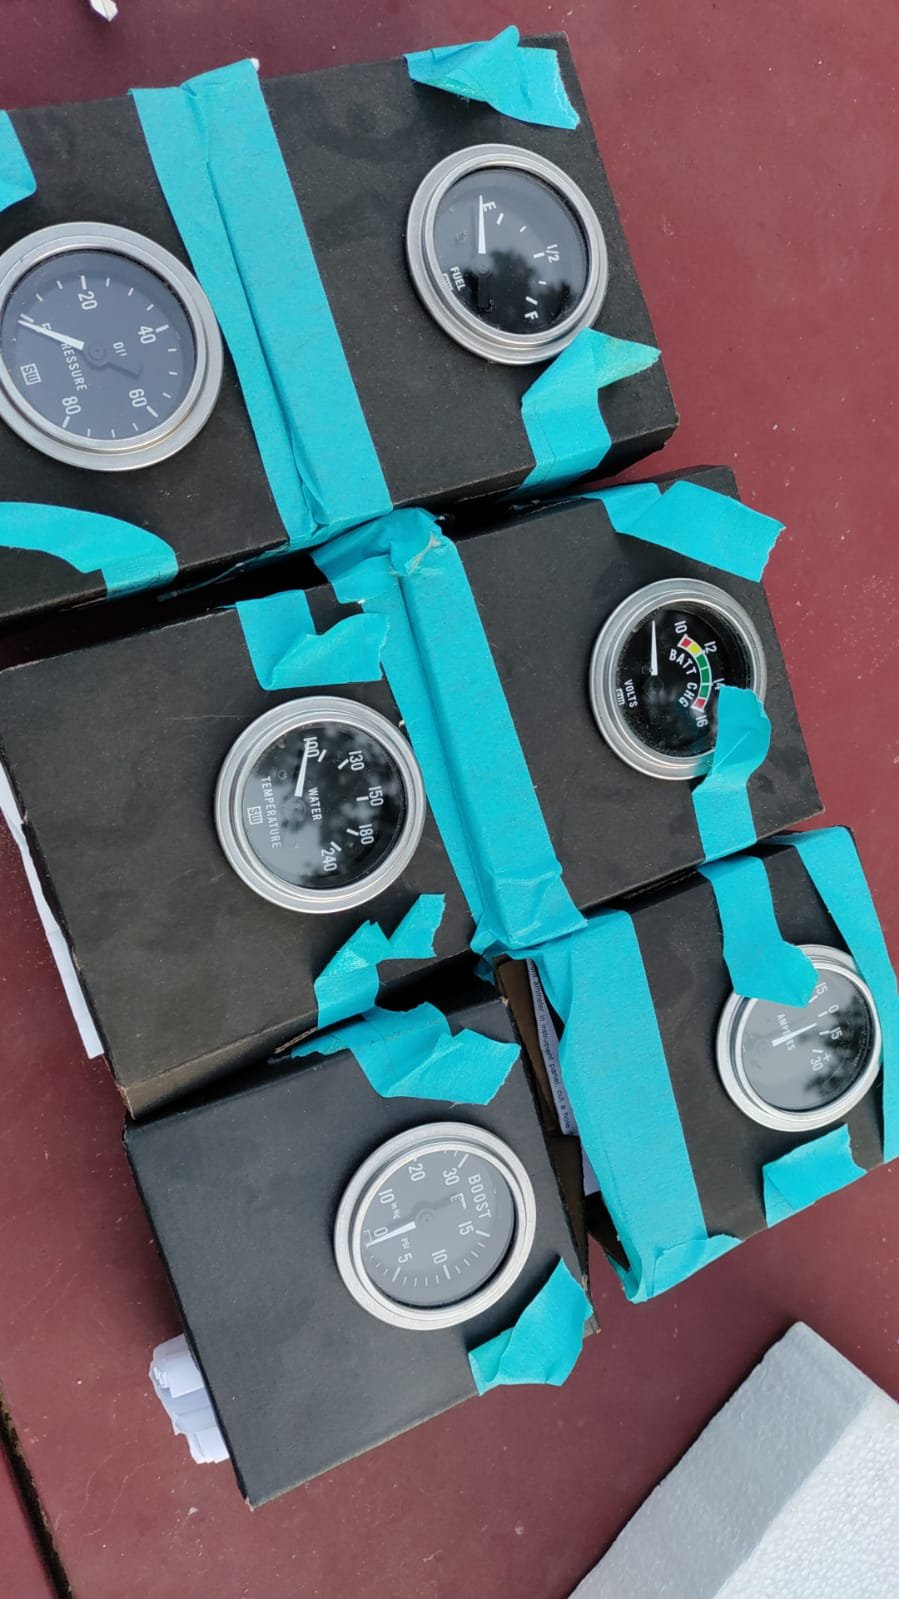
Here's a set of SW gauges I have to put in as well.

-
Paulk,
71 corniche, NICE! I have a lot of choices when I reach for a set of keys in summer I mostly pick the shadow. As you say, they are a little bit of work to maintain, but if you do it's totally worth it. I get more thumbs up, and selfies, and smiles with that car than any of the others and one of them is a mini!
The Avanti has done nothing yet except sit in my yard, but I've had more folks stop and ask about it so I expect it will be a smile engine as well when I get to driving it.
I just bought this house last fall so I am not working on the cars much, but I'm finally getting ahead of things so maybe I'll be back to the cars soon.
Here's a repro dash cover that came with the car.
-
15 hours ago, RoyG said:
Best of luck with your new project. I'm a couple months into mine (a lot rougher than yours!) and enjoying most of the process.
About the hog troughs from down south: Just because an Avanti spent its life away from salted roads and a lot of moisture doesn't mean you are in the clear. There are weep holes that let water escape from various points (like the cowl vent) and lead the water down into the hog troughs where (in theory) it could easily escape. In the dry dusty southern regions, where they get a lot of wind blown dust, this dust can get washed down into the hog troughs where it collects and then holds moisture. That constant moisture can easily rust the hog troughs out from the inside. When you get the car up on a lift first check for visible signs of rust, and then hammer test (lightly) the bottom of the troughs for weak spots.
My right side troughs was "toast" but the left side looked solid. I figured "what the hell" and decided to rip them both out and replace them. The left side was badly rusted and needed replacing almost as badly as the right side, even though it wasn't "rust through" except in two very small spots. The job is a real "PAIN" but I feel much better knowing I'm working now from a solid base.
Roy, thanks.
Sounds like we are in the same situation.
I am heading home from a week in WI and can start on the car. I basically trailered the car home from Scranton and went on holiday.
I'll post some pics.
Also the battery area is the thin one is there some clever solution to that or should I just run the battery in the trunk?
-
I really like the blue trim on white in the interior.
-
6 hours ago, 1inxs said:
No sand and buff yet, just wash and wax. It’s been under a car cover since 1969.
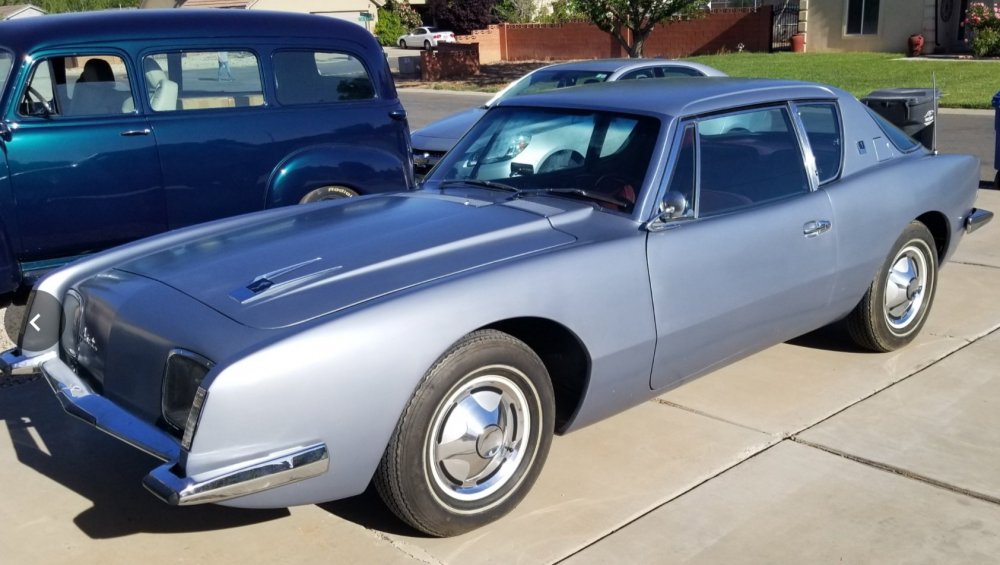
Couldn't find a drooling emoji so just imagine I' m drooling.
-
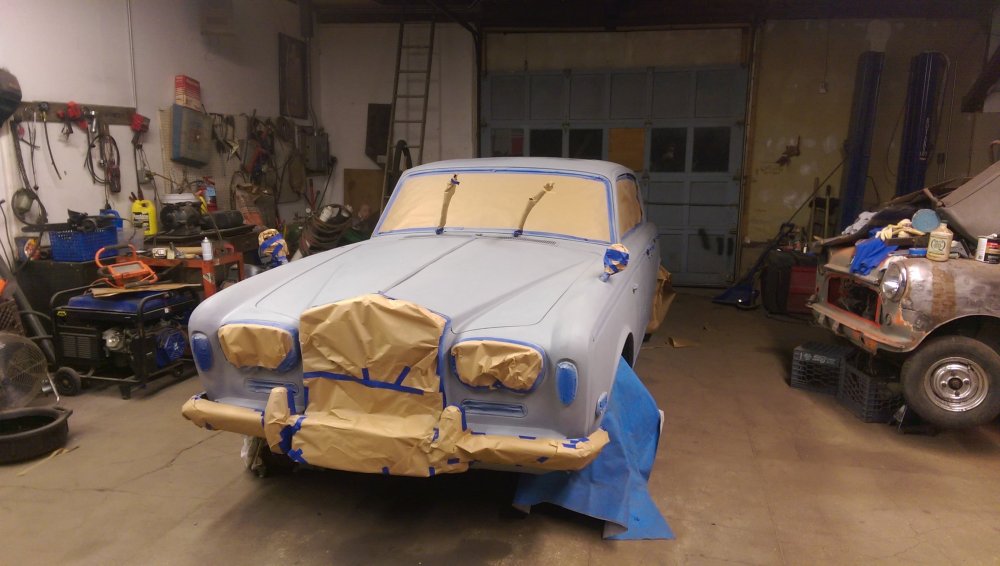
10 hours ago, Avanti83 said:
Looks a lot like my hi-tech spray booth. Your plan to go forward is solid but when you get the car in the air to replace the bottom plate (basically 4"X 1/8" plate steel) give the hog troughs a very close look. If they need some metal but are good nick generally, it's basically just sheet metal work.
Nice paint job. The shop looks pretty nice. I just moved and I haven't built a barn yet so who knows where I'll be painting it yet.
-
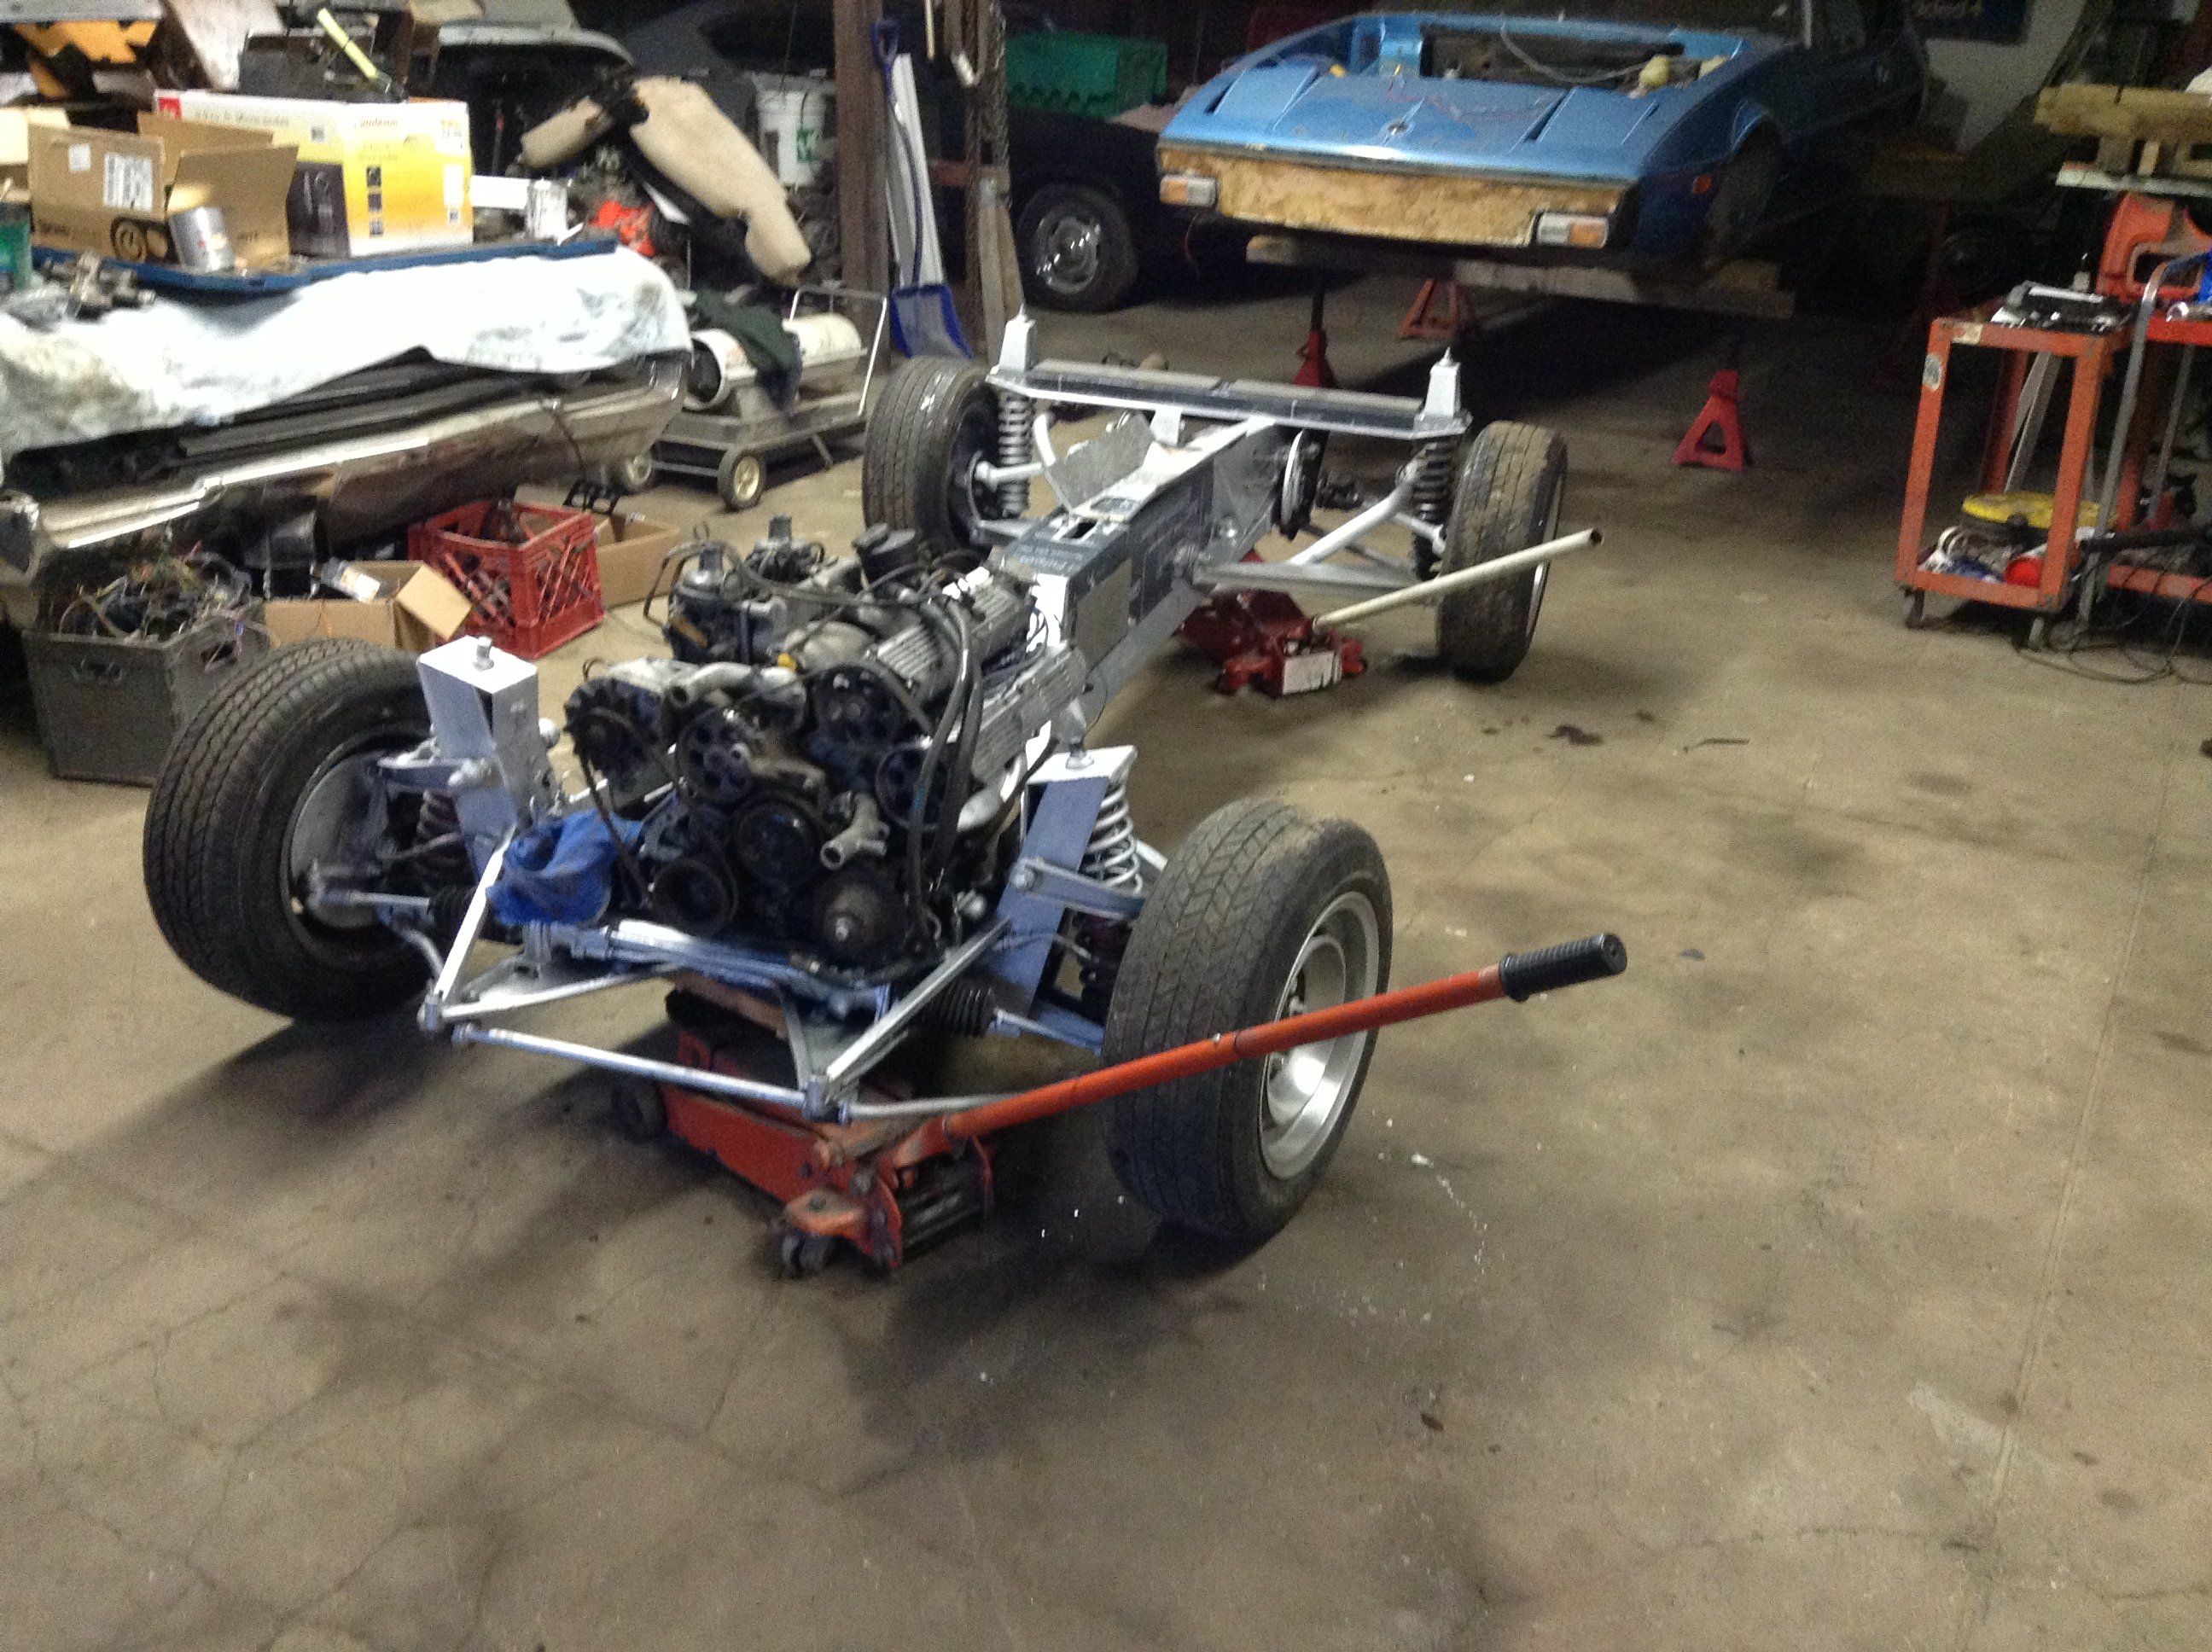
That was the lotus frame off I did a few years ago it. It's actually worse getting parts for those with three digit production figures.
-
9 hours ago, KWOL said:
The car came from somewhere down south. The bottoms of the rear frame horns are perferated but the frame on the whole looks good. The hog troughs look good enough that I probably wont have to do work there. I pulled the body on my lotus a few years back which is a little trick because the "frame" is basically just two subframes linked with a sheetmetal box to prevent flex. The fibreglass body is a big structural component on those cars. First priority is the brakes, then the rear end, then the cooling system ( so I can move it) then I'll check it out the frame before moving on.

-
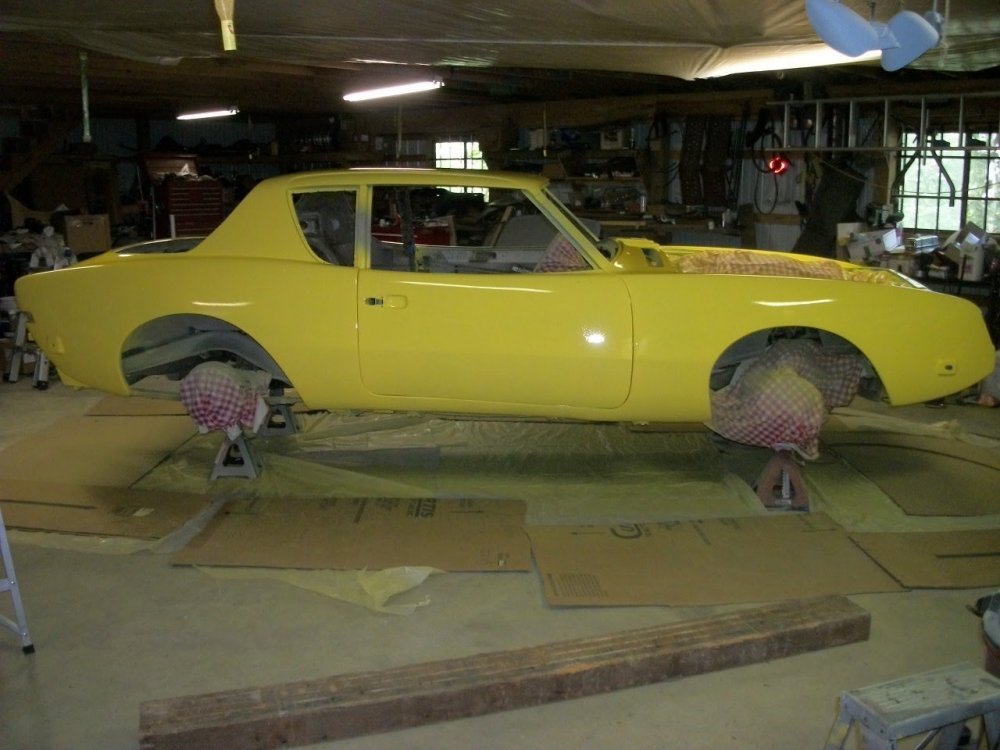
Just now, KWOL said:
That is one great looking car. I unfortunately I will need to be painting it. I have been known to paint cars. Notice the spray booth which you might have mistaken for an operating theater because it's so clean.
I also sometimes don't paint cars.

-
That is one great looking car. I unfortunately I will need to be painting mine. I have been known to paint cars. Notice the spray booth which you might have mistaken for an operating theater because it's so clean.
-
6 hours ago, 64studeavanti said:
Also check the windshield frame and a pillars, especially under the windshield reveal molding on the sides of the windshield. Quite often these items are completely rusted away. They can be replaced, but at a substantial cost.
I'll certainly chevk thst out.
-
10 hours ago, Avanti83 said:
Let me also suggest that you inspect the "hog troughs" and frame for rust. As you probably know these are the areas of the Avanti that are prone to deteriation and it's better to evaluate and repair before others fixes on the list as a complete repair could entail removing the body from the frame or cutting the rocker panels lose and then glassing them back in if the hog troughs need replacing.
The car came from somewhere down south. The bottoms of the rear frame horns are perferated but the frame on the whole looks good. The hog troughs look good enough that I probably wont have to do work there. I pulled the body on my lotus a few years back which is a little trick because the "frame" is basically just two subframes linked with a sheetmetal box to prevent flex. The fibreglass body is a big structural component on those cars. First priority is the brakes, then the rear end, then the cooling system ( so I can move it) then I'll check it out the frame before moving on.
-
Here's a list ( not in any order)
Front brakes install upgrade kit ( have )
Rear brakes install cylinders and shoed (have)
Brake lines replace with cunifer
Gauges install and wire
Front turn signals purchase and install
Carpet install
U joints purchase and install
Shocks purchase and install
Left front spring install
Left sway bar mount straighten
Diff and axles inspect and fill/ pack
Cooling system replace hoses and fill
Wipers and washer Test and fix
Scuttle vent clean and prime
Dash panel install
Fix left rear wing hole
Fix grill opening crack
Left rear window latch purchase and install
Fuel pump rebuild
Body prep and paint
Wheels replace
-
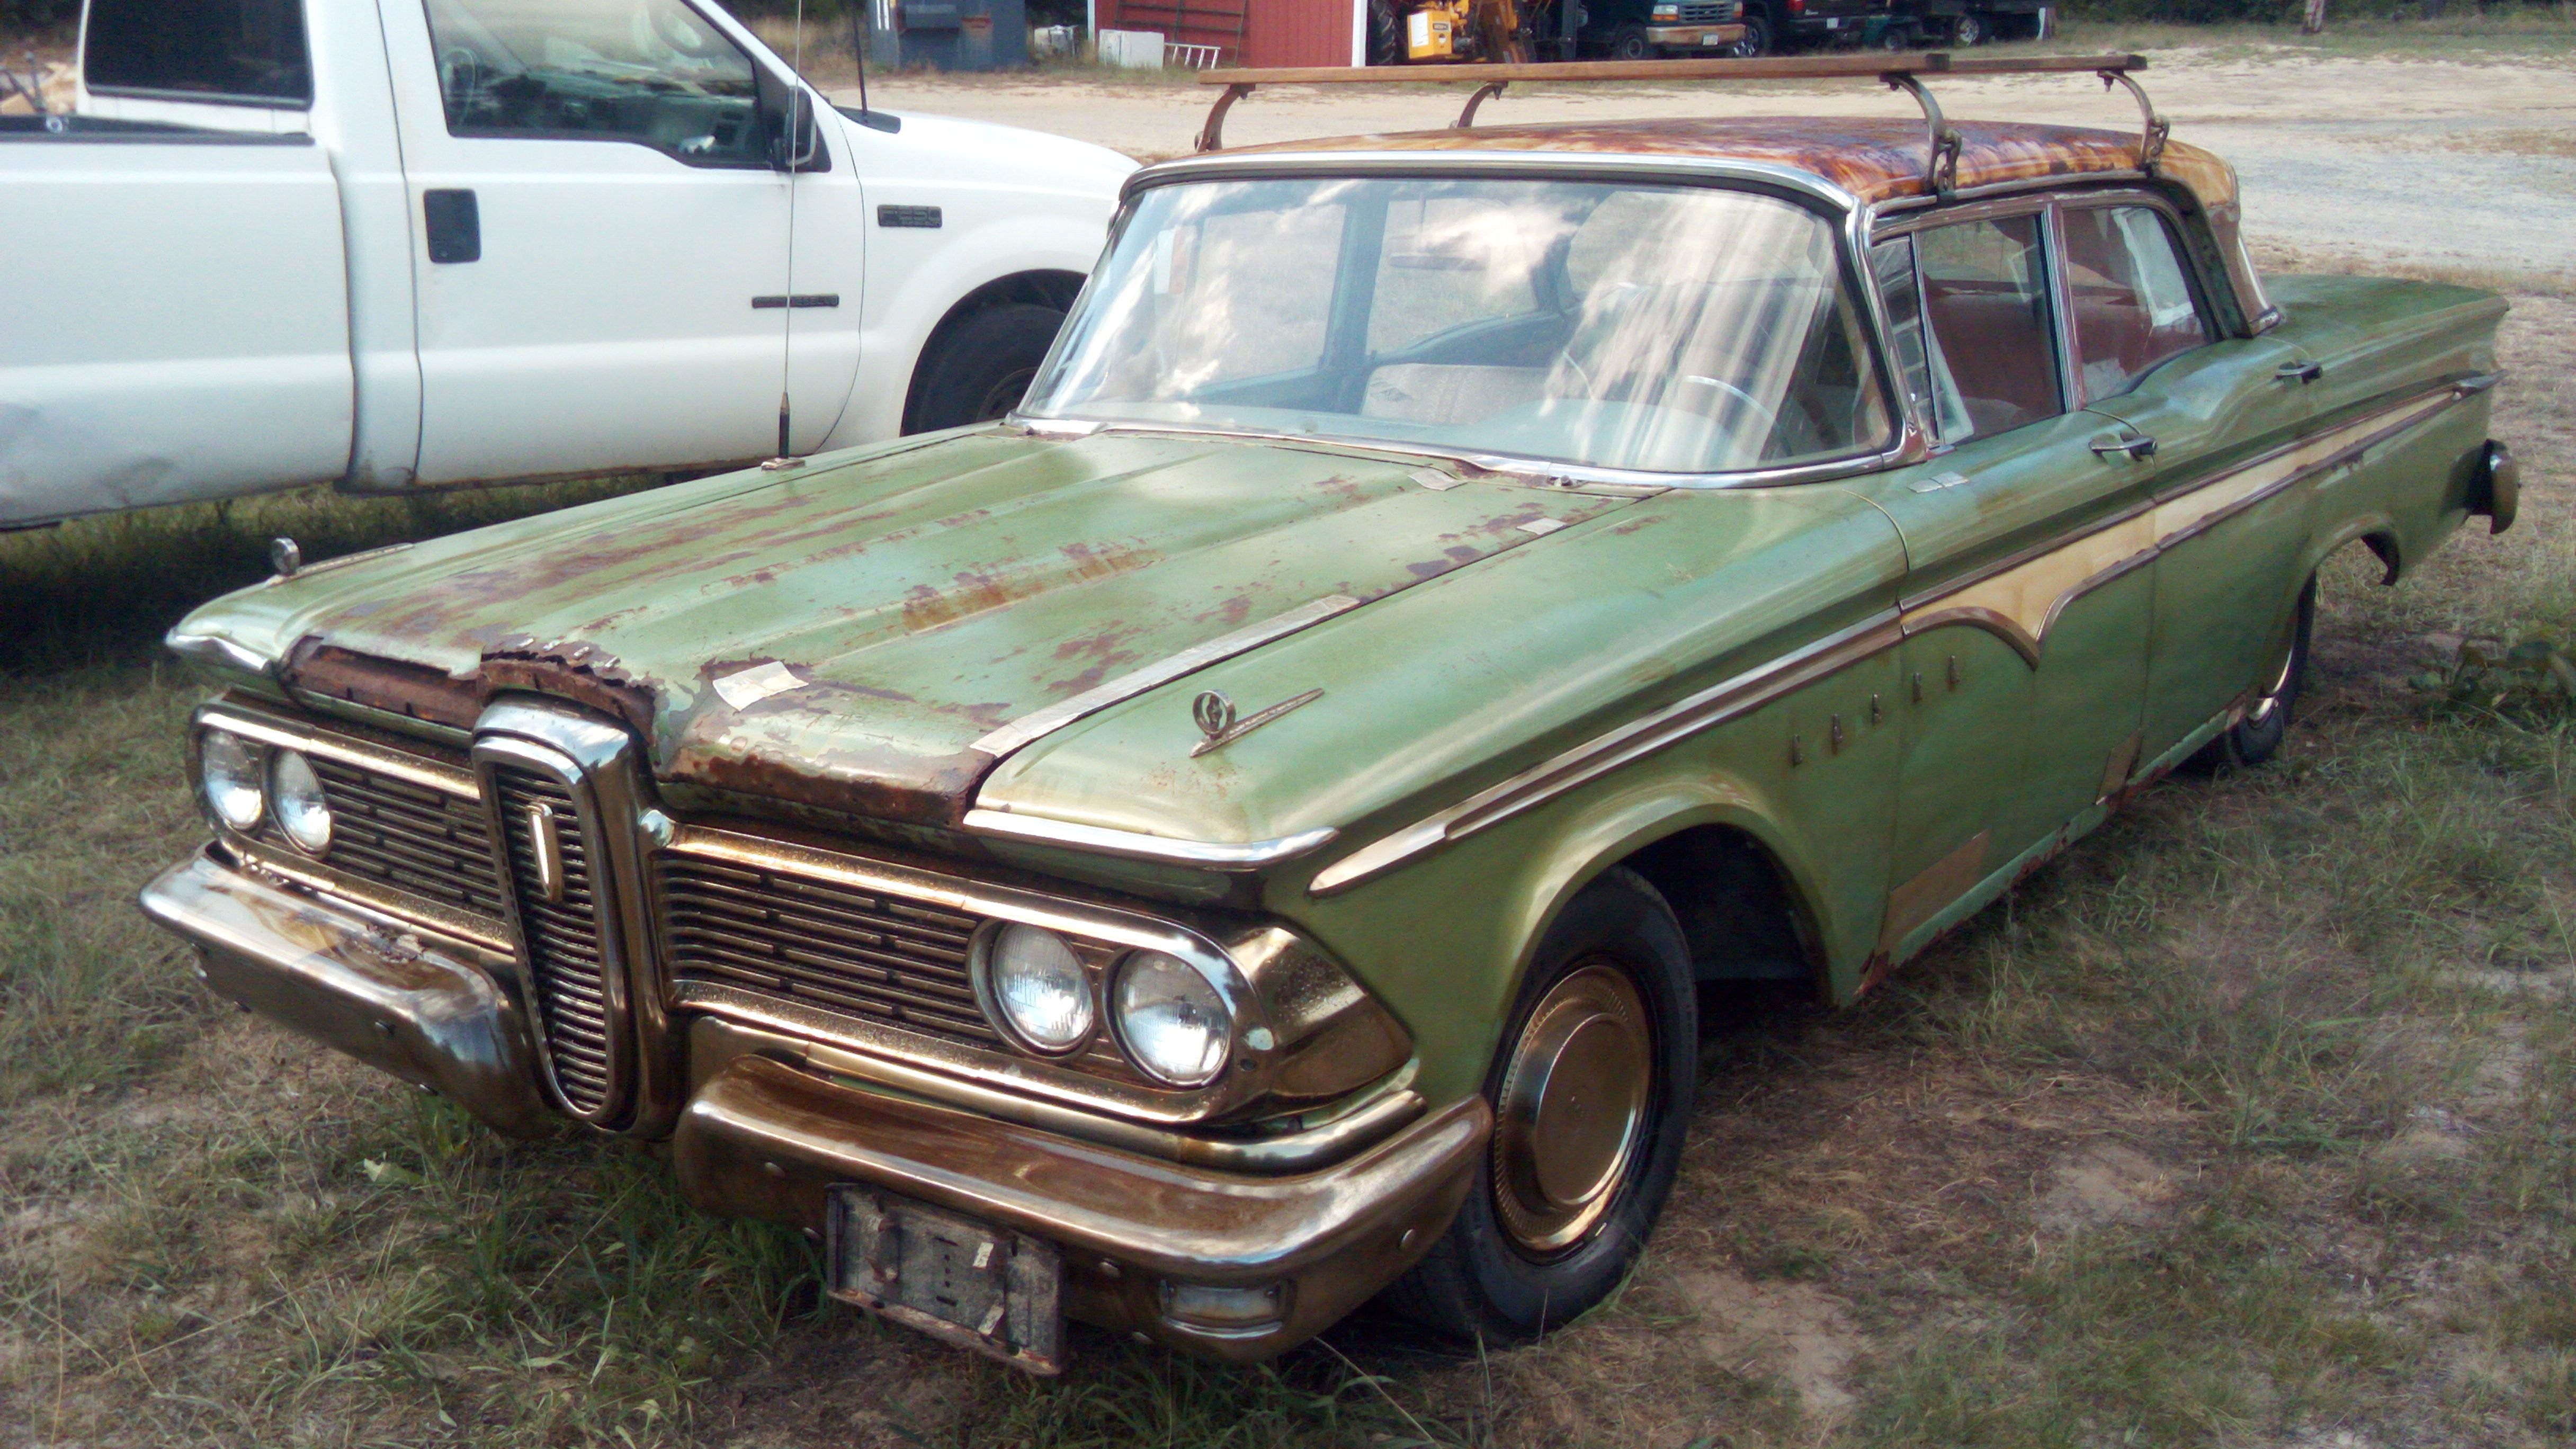
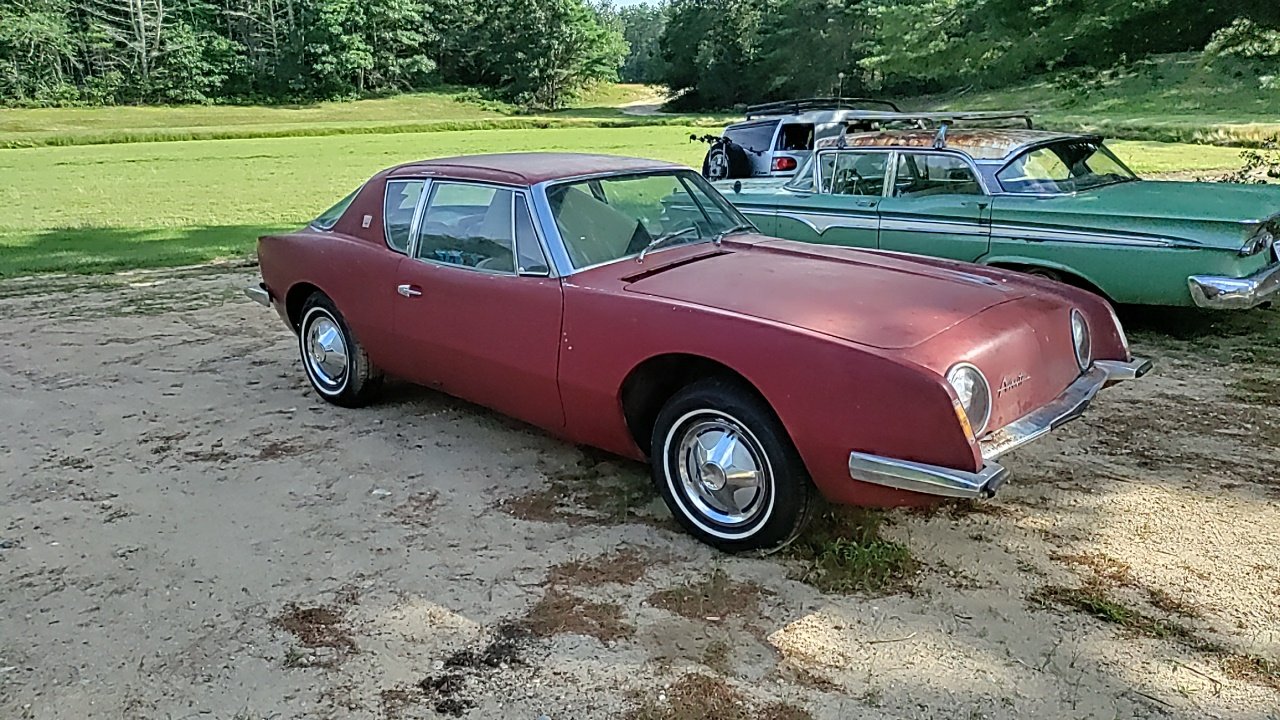
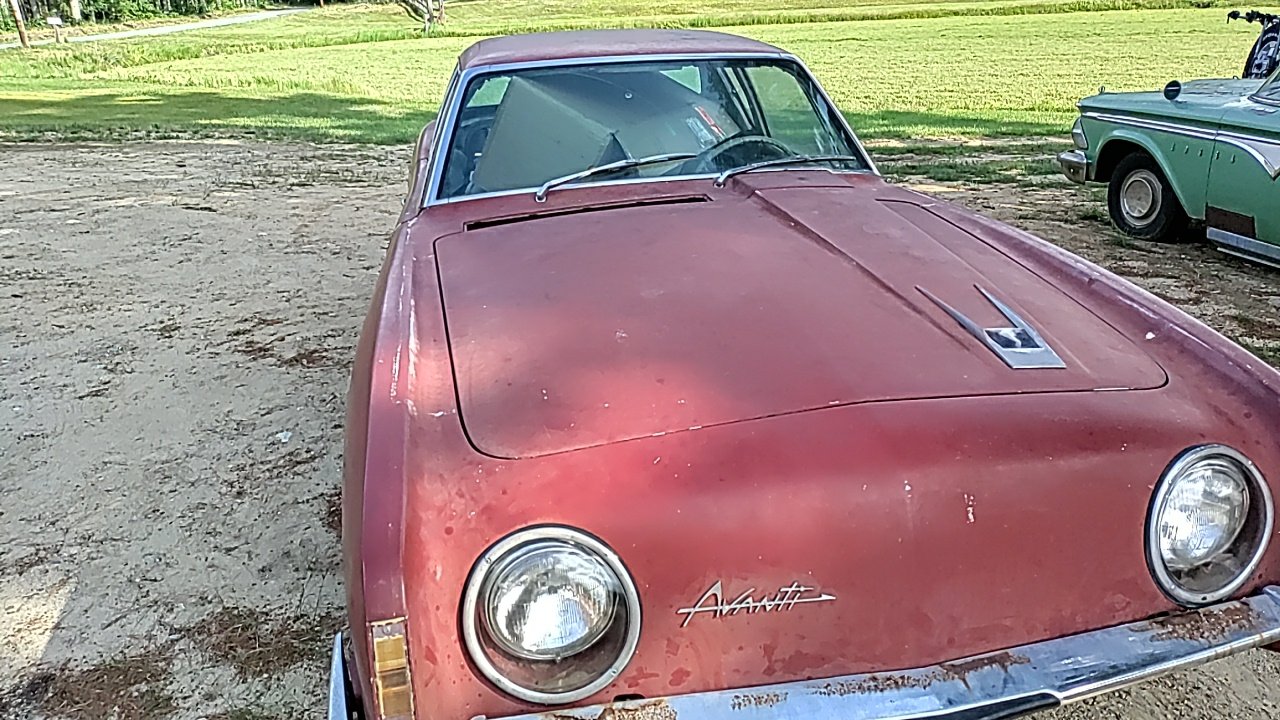
I just picked up an Avanti that I am going to restore to a driver. I will have some questions and probably some parts requests.
Here's some pictures of it sitting next to my 59 edsel.


New Avanti questions
in 1963-64 Avanti
Posted
That's awesome. I should be able to figure it out after reading that.