


wwundt
-
Posts
58 -
Joined
-
Last visited
Content Type
Profiles
Forums
Events
Posts posted by wwundt
-
-
I have an existing set in my 1963 Avanti which I took to an auto upholstery shop last week in order to have a new set made for my 1982 Avanti. I was able to select the grade and color of carpet I wanted for the new set, and the Avanti logo was digitized from the existing set. As soon as the new mats get back from the embroidery shop I will take a picture of them and post here. I have been waiting for some time for Studebaker International to find a new source, but they have been unsuccessful to date.
-
Delamination tends to occur first on the back edge of the sunroof. This does not necessarily make the sunroof inoperable, but the sag allows air to flow into the cabin. Noise, cold blasts in winter...but worse...water pouring into the headliner and draining into the floor behind the back seat when it rains. If you pull the gas tank, you will find that water pools under the tank as well and starts it rusting out. When reattaching the frame of the sunroof to the body is a good time to replace the sunroof weatherseal and inspecting the drains as well.
-
Logo 4 with AC....
-
Logo 5, script 1.
-
"Original motors have four wires coming out of their cases, and carry the 1960 Ford/Lincoln part number C0LF-14553-A, or Bosch M 05810."
-
Some power window motors were made by Bosch?
-
My Recaro seats were made by REuter CAROsserie Kircheim/Teck Germany.
-
Why are some hoses hard to remove? Shop Manual states this (in reference to replacing heater hoses at the heater control valve: apparently they are glued on!
"Use special gasket shellac to install the hoses onto the control valve. The shellac will make it easier to slip the hoses onto the fittings; when it hardens, the shellac will ensure a water-tight seal, strengthening the joint against leaks when the system is under pressure. Never use soap, lubricant, or non-hardening sealer on the hose connections."
-
Avanti Grey?
-
You've probably already removed the tank, and you may have discovered the following:
Try to siphon as much gas as possible before removing the drain plug under the driver's door. Unless you install a nipple, the gas will spill onto the frame and create a mess. By siphoning most of the gas out of the tank beforehand, the container you squeeze under the door may actually hold all the gas that will be pouring out. (Having a shut-off valve in the fuel line makes this easier). After you have drained the gas from the tank, raise the front of the car a little with a jack. The fitting under the tank is not centered but located more to the rear. When the car is lifted, the tank will tilt to drain more gas out of the tank. Install a plug under the tank before removing the tank and you can proceed without spilling gasoline inside the car.
-
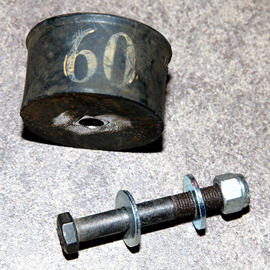
Jon Myer modified "60" mount with thru-bolt installed on R4415.
-
"The driver’s side front engine mount is the nemesis of every V-8 powered Studebaker, the Avanti no exception. Due to the torque applied to the driver’s side (left) front engine mount under heavy acceleration, the engine will twist and the front engine mount shears. Then, every time you stomp on it, the engine twists with catastrophic consequences: cracking the hood, breaking the distributor cap on the engine bay firewall. From the Studebaker Forum: “My experience, once ‘broken’ (vulcanized rubber separated), the motor will most always lift 1/2" or so when under hard acceleration and can be felt it in the gas pedal as the motor rises then re-settles.” Studebaker trucks use a different mount, one with a bolt that goes all the way through to tie the engine down to the mounts."
-
Here is a relevant quote from the forum. Search this topic and you will see some pictures that Matthew Frushour posted with his comment.
Matthew Frushour – “The thick front motor mount was the stock mount for the R1 and R2 the R3 got the shorter motor mount. I tried to use the shorter ones in my car and I ran into steering clearance problems.... the left tie rod was hitting the header pipe! Also the main crank pulley rubbed on the power steering ball joint!”
-
I ordered this special front engine mount from MYER'S STUDEBAKER PARTS in Duncan Falls, OH. Jon Myers takes a stock motor mount and drills a bolt hole thru it – and provides the bolt.
-
“The number 60 is significant because it identifies this as an Avanti motor mount. Other motor mounts look like this, but have a white “40” stamped on them that identify them as for other Studebaker models. The flared outer end is the side that rests on the metal support member and the number “60” will be right side up.” Avanti Authenticity Manual
-
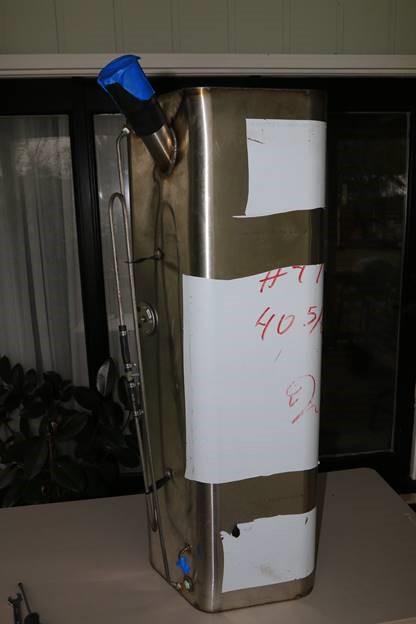 I am installing a new fuel tank in RQB-3430.
-
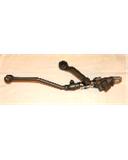 My power steering control valve was refurbished by Randy Stanger in Leon Valley (San Antonio) Texas. Randy is associated with the Mustang club and primarily works on Ford units. He said that the Studebaker and Ford systems are virtually identical. Randy replaced the seats in my Avanti's power ram and control valve.
-
On 7/24/2017 at 8:39 AM, Avanti-Tom said:
If you can activate the starter solenoid remotely as reported and cannot activate the starter solenoid from the ignition switch, either the ingnition switch is bad, or the gear selector netural switch is bad or the lines to the solenoid are open. The coil negative side goes to the distributor points and also feeds the line to the tachometer. The positive side of the coil receives direct B+ from a line from the solenoid only when the solenoid is activated. That's the green/black tracer line. The + side of the coil also receives voltage from the dropping resistor and the other side of the dropping resistor receives full B+ from the ignition (run side) or "on" side of the ignition switch.
Thanks! Made the correction and the starter now works.
Warren
-
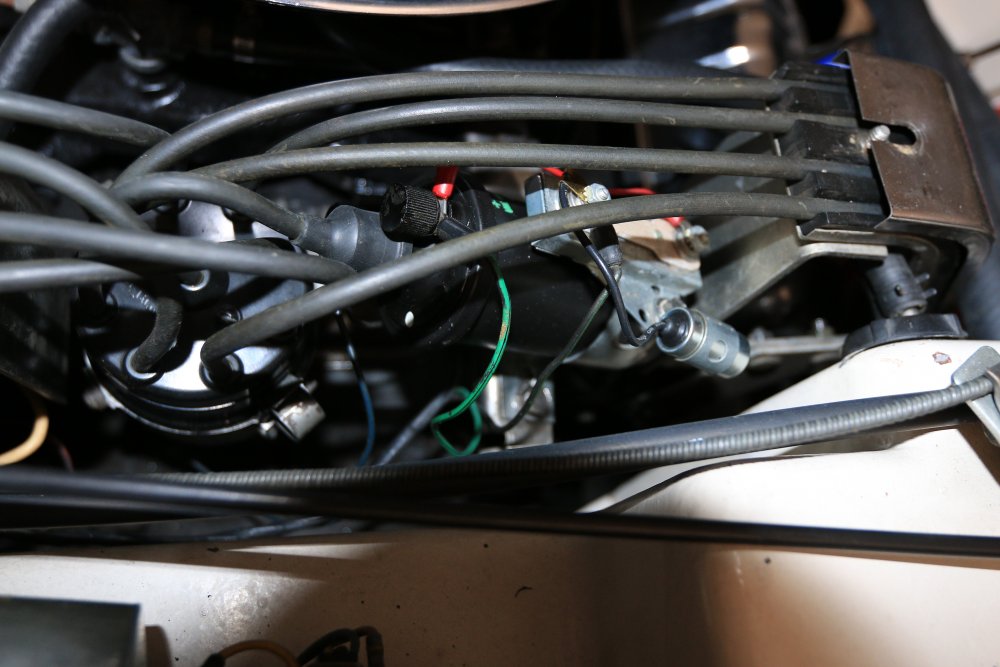
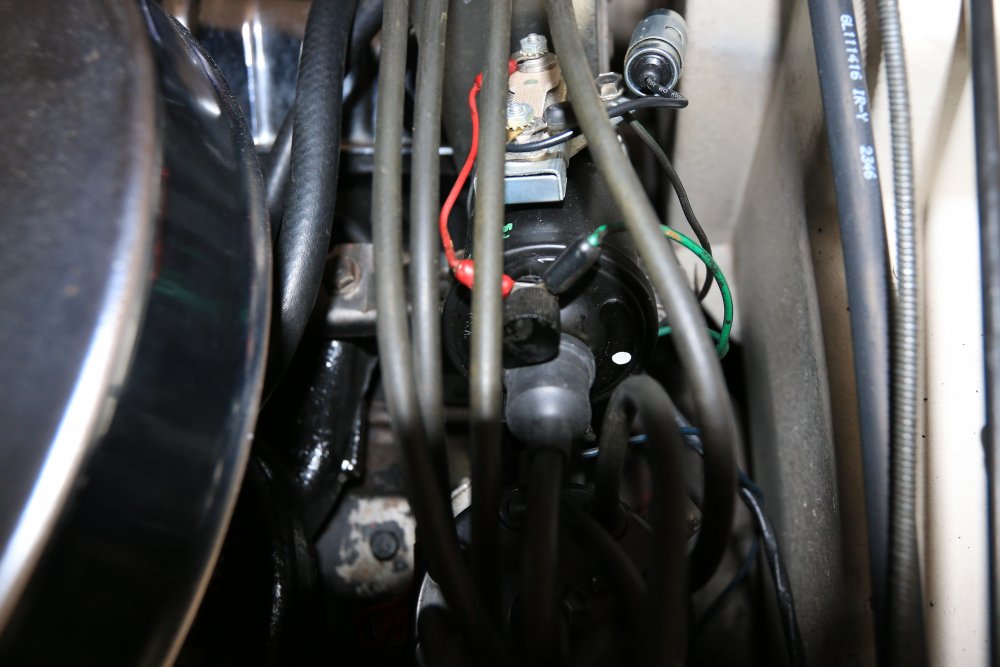
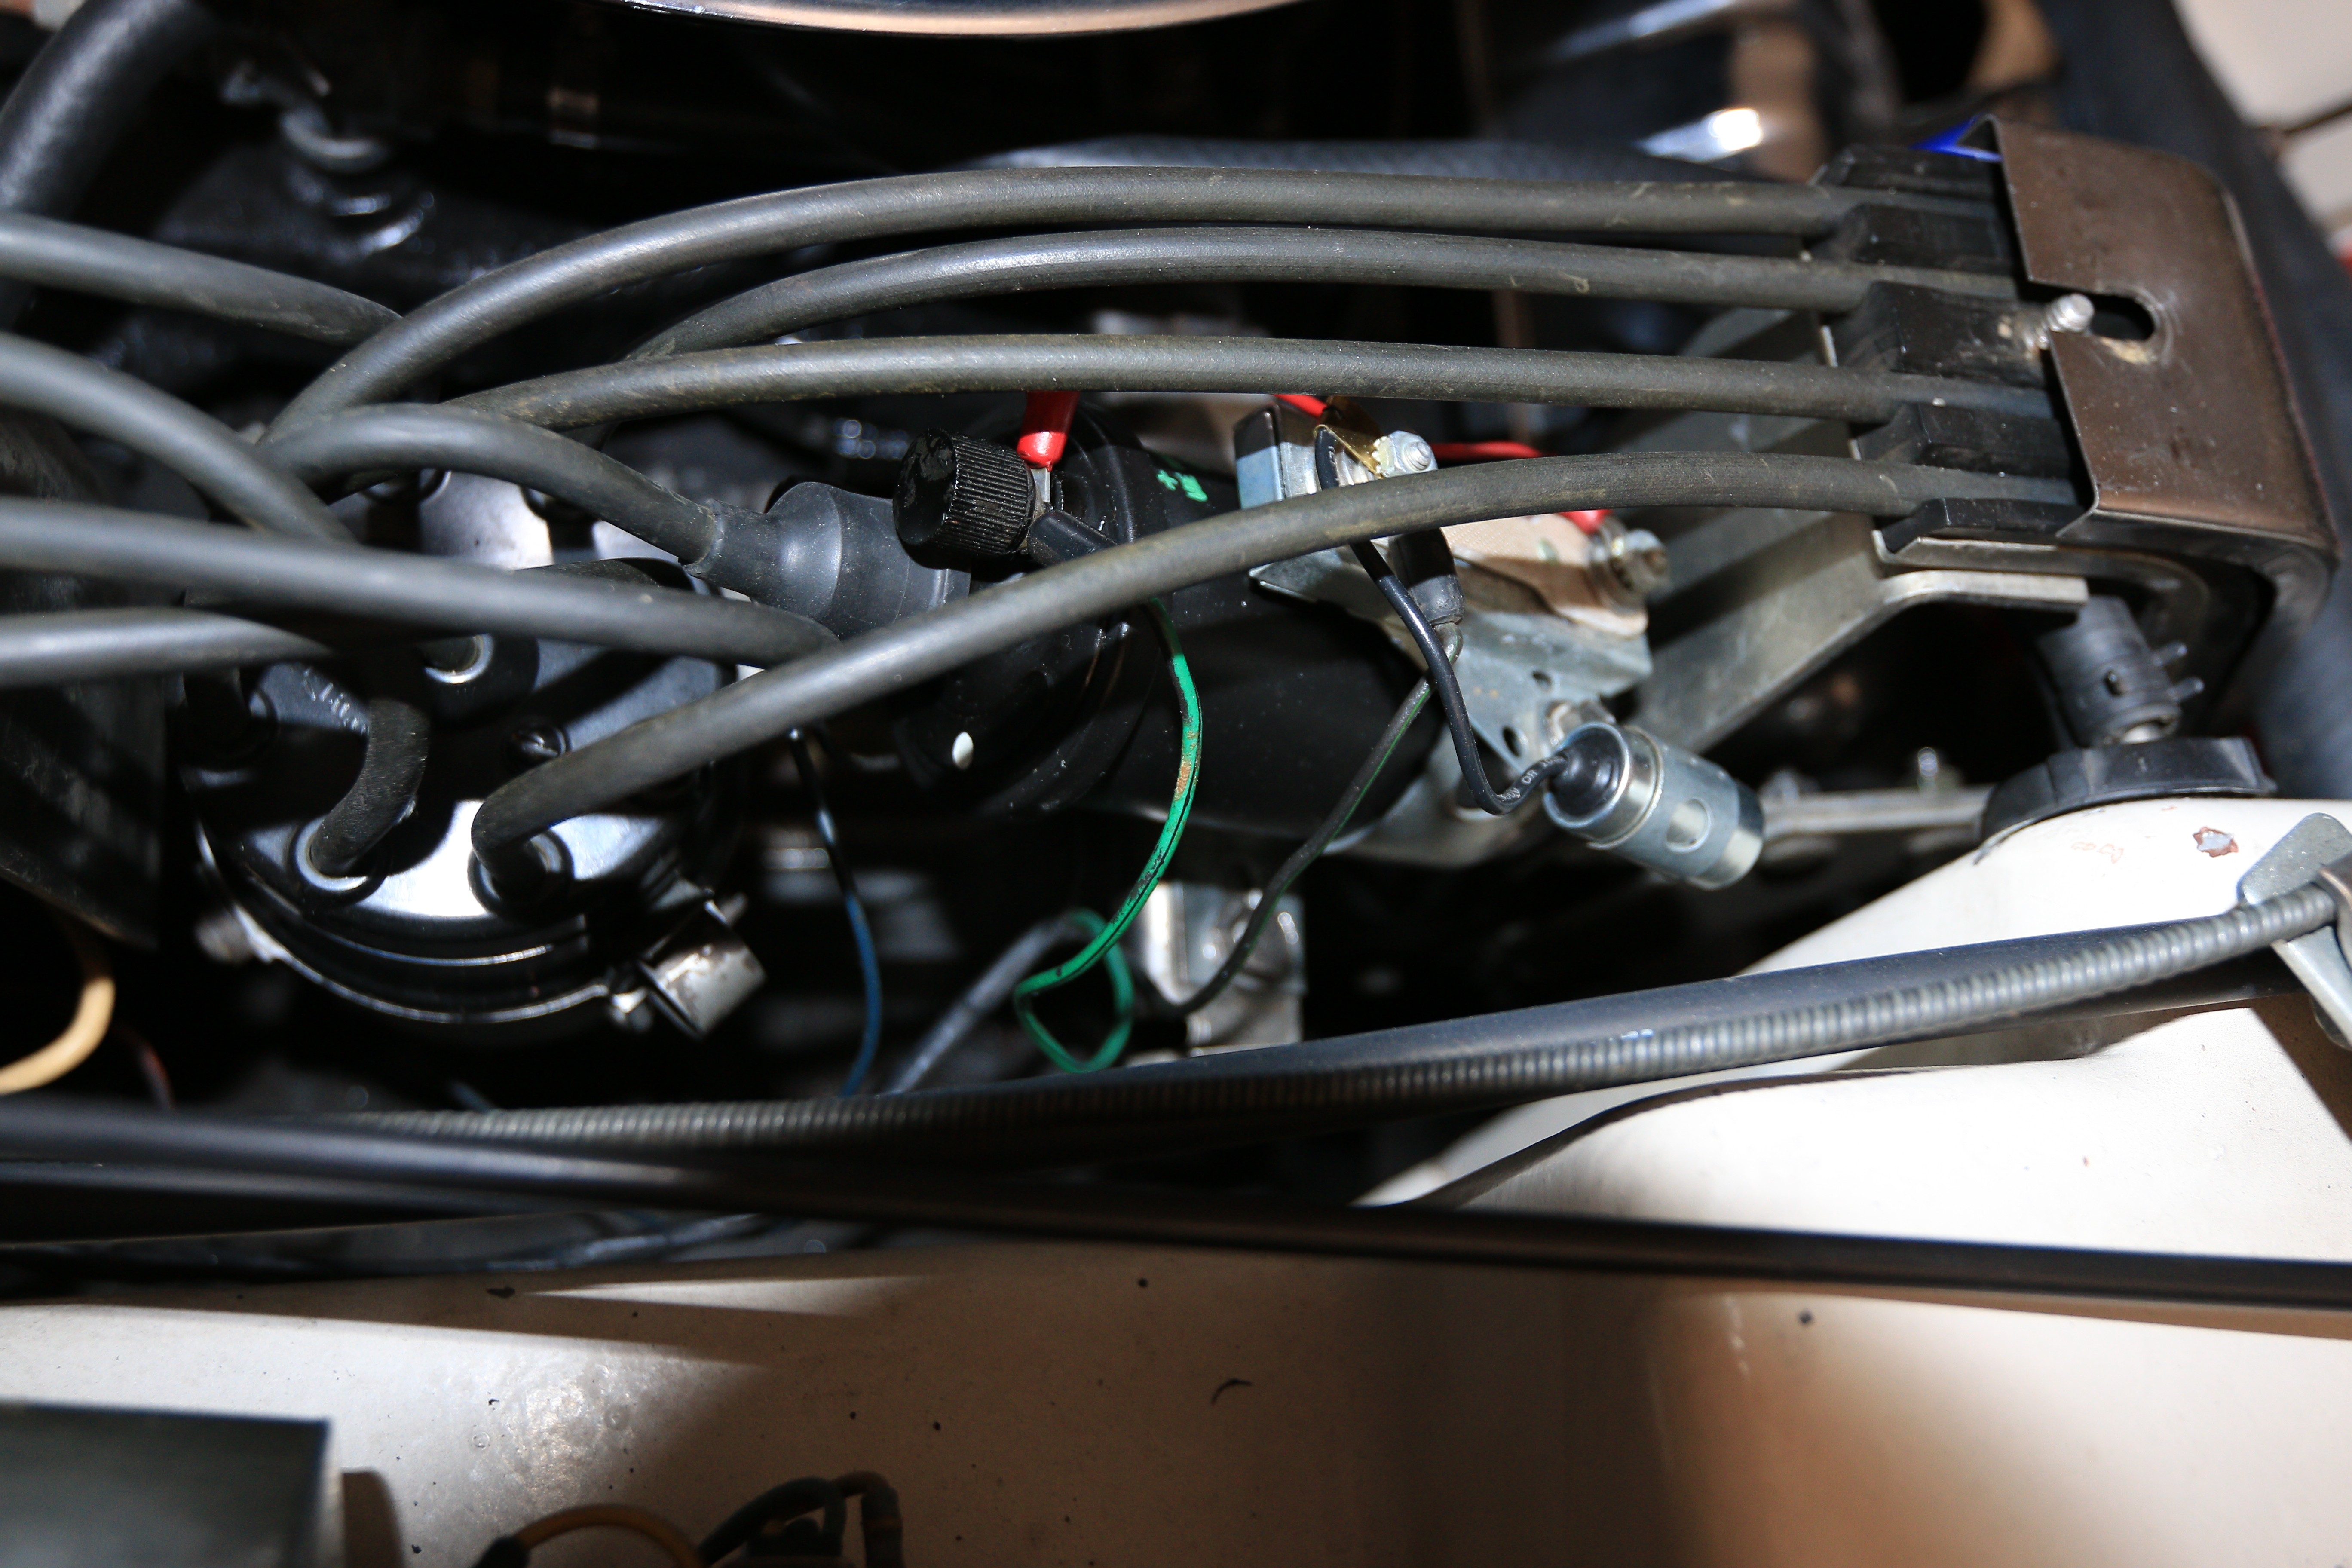
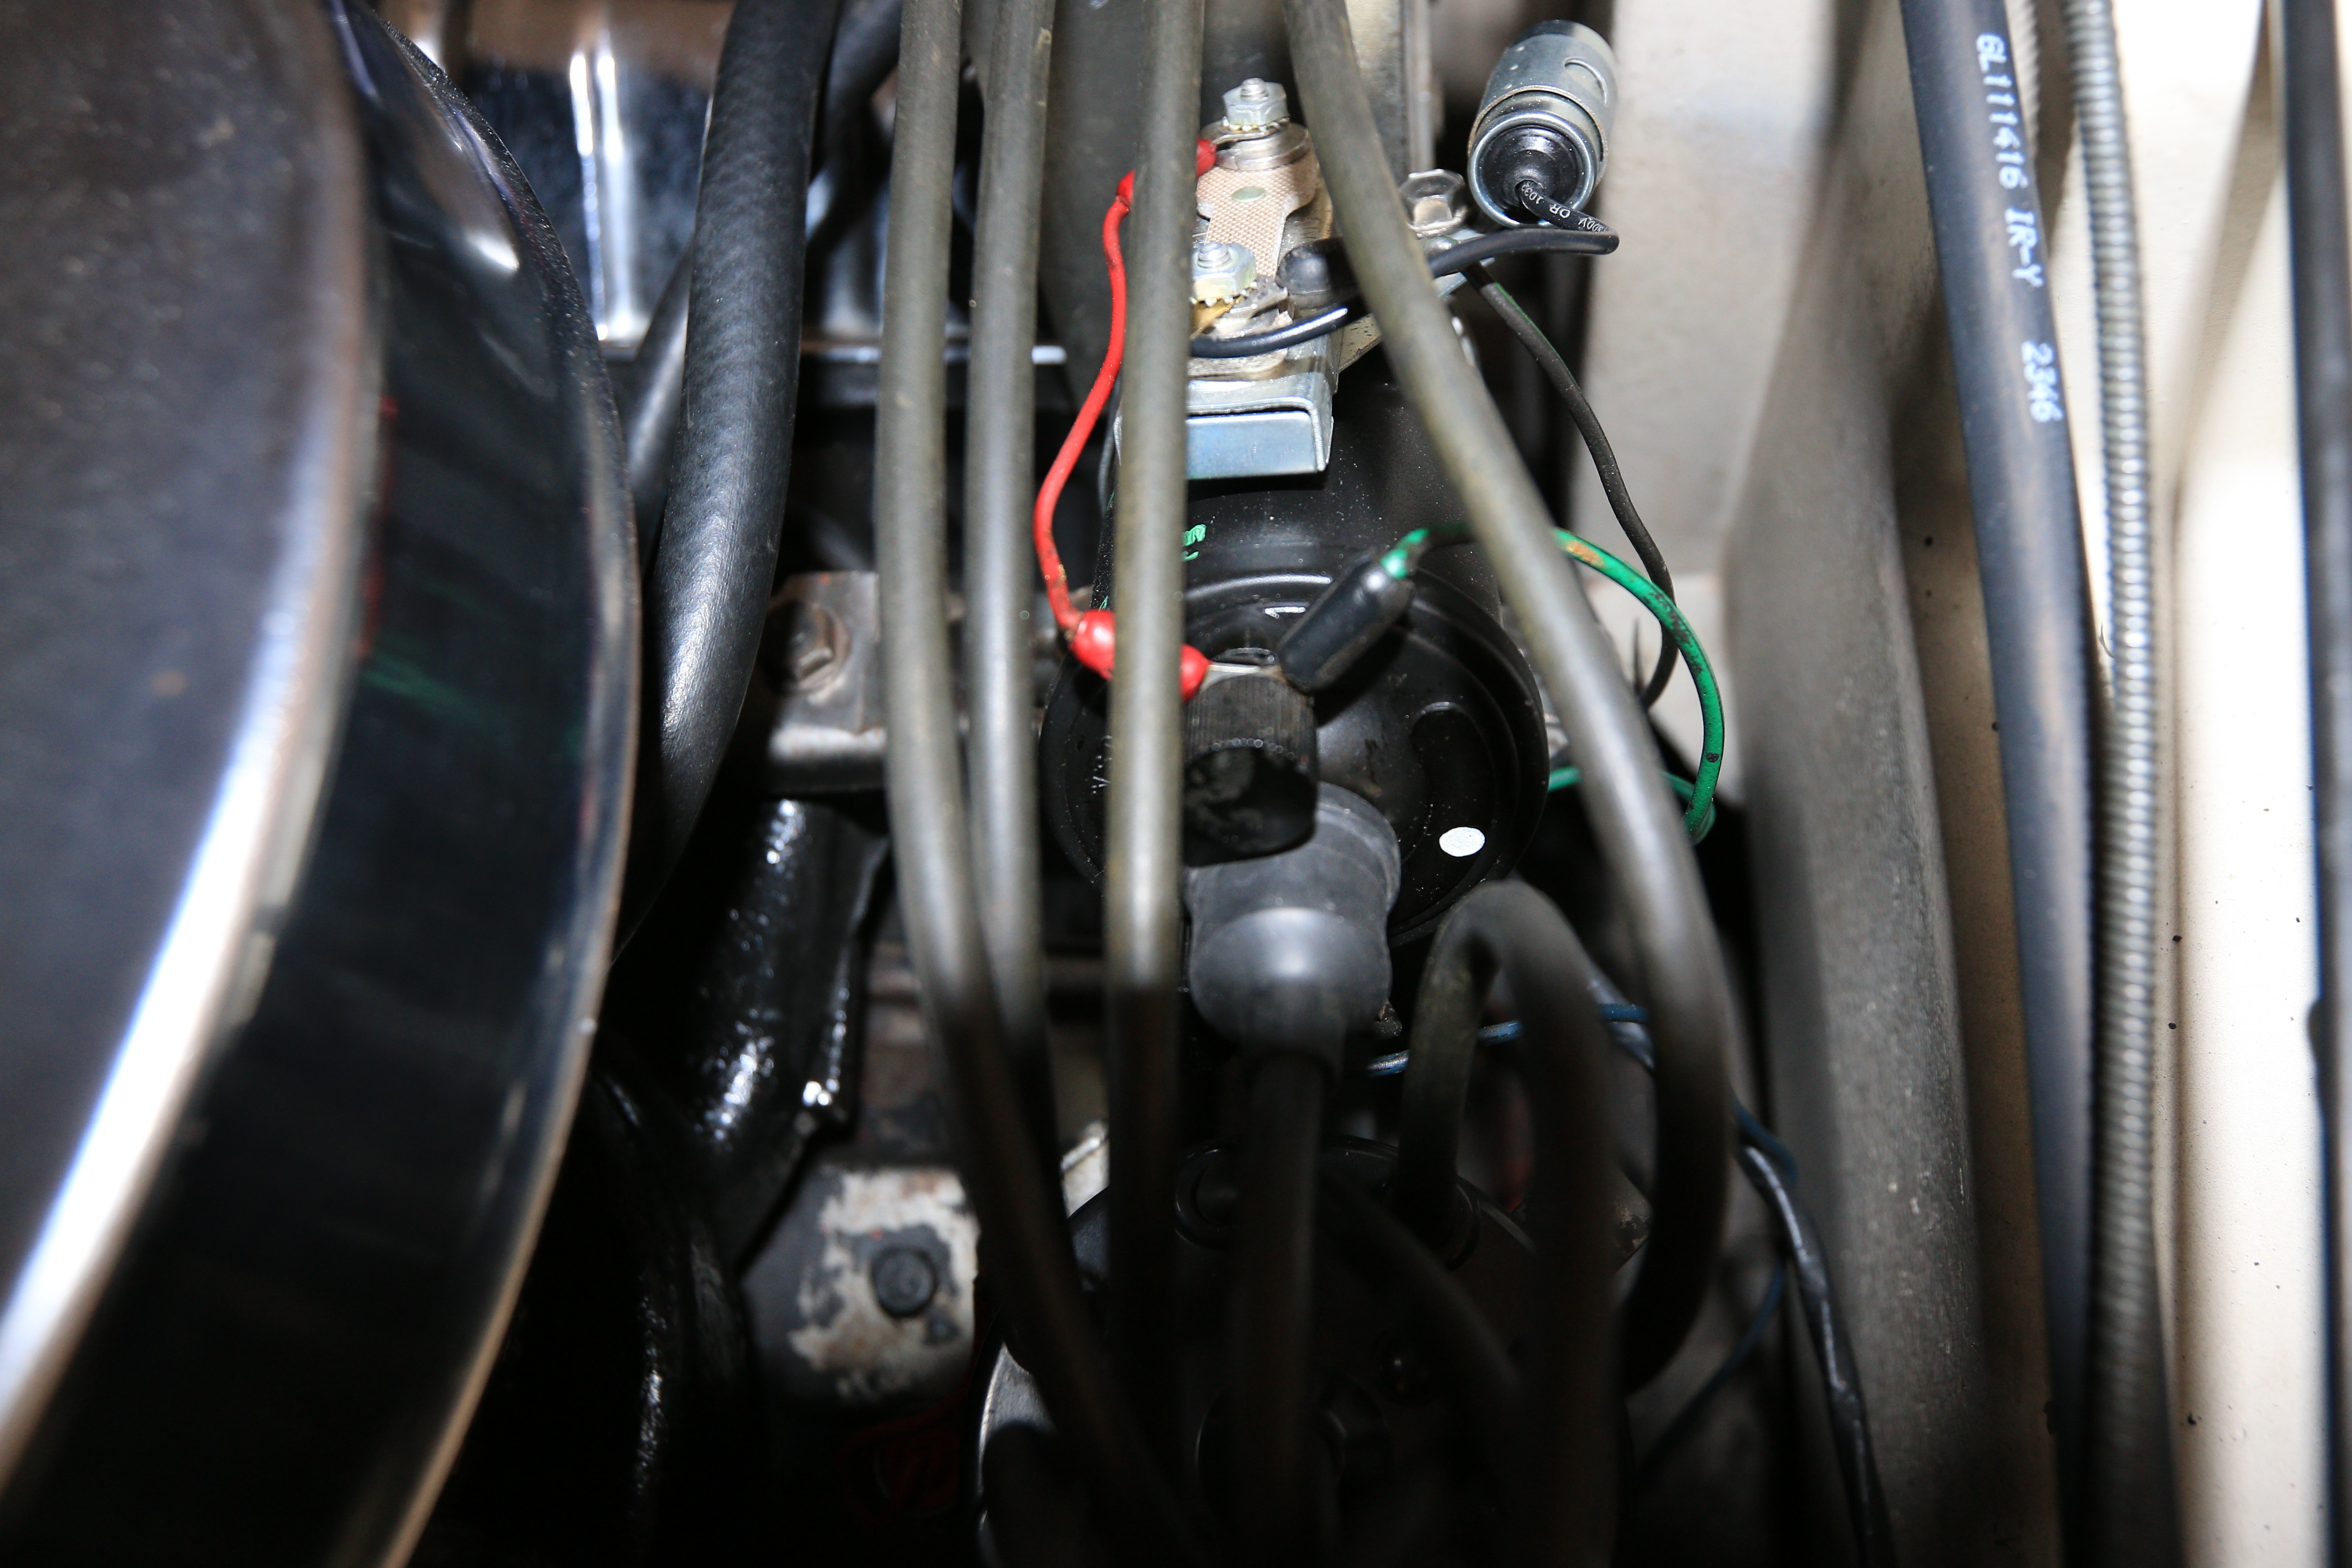
I replaced the coil in R4415 with a new-old-stock coil from SI. At the same time I also installed a new resistor. I tagged the wiring so I would know what went where, but one of the wires escaped and I don't know if I re-attached it where it should be.
When I turn on the ignition and try to start the engine, the starter does not work. If I jump the starter solenoid, the starter works. Since I haven't messed with the starter solenoid, my problem must be with how I wired the new coil and resistor.
I am attaching some photos. Can anybody point out what I did wrong?
-
Could it be that keeping the fuel tank more than half full dilutes any trash or fines in the fuel tank (that would not be trapped by the 10 micron fuel filter) that would contribute to wear in the engine? (Misunderstood the question to refer to life of the Avanti, not the tank!)
-
-
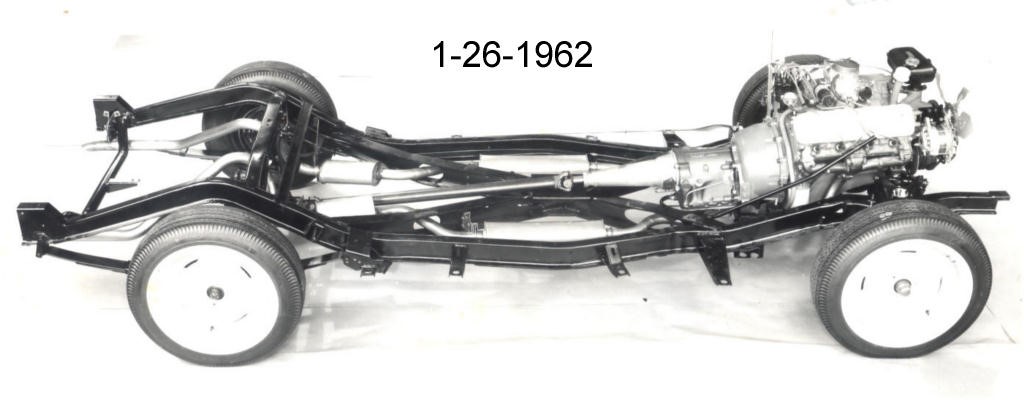
3) 1/62
-
Car Quest # 85049 and NAPA Gold #1049 are both made by WIX and are identical in all respects except for the label on the can. It is getting harder to find the NAPA Gold filter.

-
Oil Filter: NAPA Gold (WIX) - 1049
Smog pump/diverter valve delete
in 1965-83 Avanti
Posted
RQB3430 1982 Avanti-II. I installed an Edelbrock 1403 500 cfm carb and Edelbrock Performer Model 2701EPS intake manifold, HEI distributor, and removed the smog pump equipment. The old GM air cleaner will not fit the Edelbrock carb. The new Edelbrock air cleaner required a 3/4 inch lower air cleaner element in order for the hood to close. I also installed a 4th gear kickdown switch to overdrive, necessitated by the removal of the old computer-controlled carb and distributor. Without the computer, the transmission could not otherwise shift into overdrive.