


1inxs
-
Posts
171 -
Joined
-
Last visited
Content Type
Profiles
Forums
Events
Posts posted by 1inxs
-
-
Steve, Thank you, I appreciate it.
Robert
-
I wonder if that is the trunk popper motor bracket?
-
I’m in need of a pair of original side markers for a 1969 Avanti II. Please let me know what you have.
Thanks
Robert
-
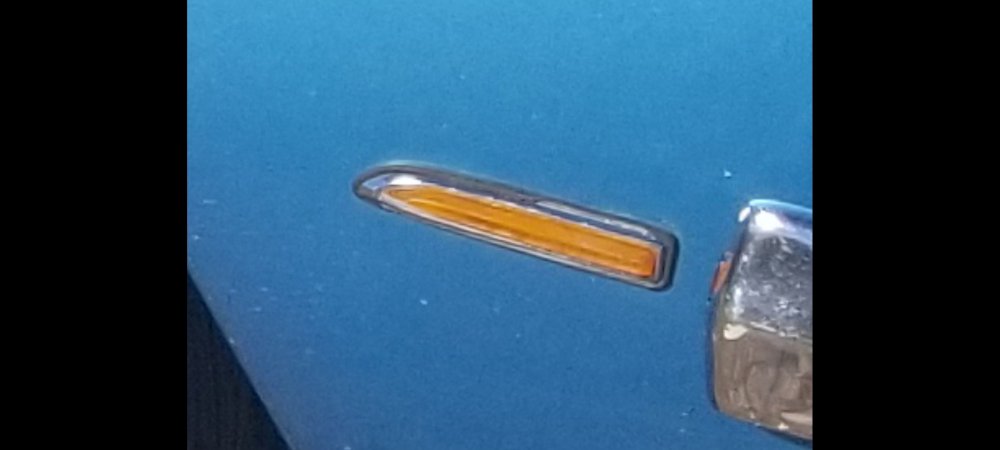
Here is a picture (albeit blurry) of the original Avanti side marker.

-
AD, Yeah, I believe it was a Datsun part. I appreciate the link you attached. I had already actually looked at those and save them in my eBay watch list before my post. They look similar, with the exception of the screws in the lens. The originals on the Avanti had no screws. I may have to measure mine and see if those would work in a pinch.
Thanks
Robert
-
Gunslinger, appreciate it. I’ll talk with Dan in the AM.
Hoping someone else in the forum worked on Avanti and has knowledge of the parts vendors used during the 1960s.
The marker assembly on my 1970 has SAE P167 FW7010 Japan R embossed across the lens.
-
One of my 1970 Avanti side marker lens separated from the housing. I may use a good epoxy to re-attach it. I thought I would start searching for replacement for the future. I wasn’t sure how to pose the question, so I’ll pose it three ways. What front side markers were used in the Avanti? What manufacturer built the front side maker lamps for the 1970 Avanti? Where can they be purchased?
Thanks
Robert
-
I’m attempting to return my 1981 Avanti II cooling system to original. It currently has two radiator caps. One is in a tee in the top radiator hose and one is on the radiator. It also has an overflow container mounted radiator support to the right of the radiator.
My thought is to have a 13lb cap in the radiator and eliminate the one incorporated into the upper radiator hose assembly. Am I on the right track, or did Avanti Motors include two (2) radiator caps in the Cooling system?
I also purchased a new radiator overflow kit from SI to replace the old one.
-
11 hours ago, Nelson said:
I assume the early Avanti II used the Late 64 seat bottom and back. Eventually the seat back acquired the built in head rest. Was the head rest simply an add or weld on to the existing Studebaker design? In other words, could an early Avanti II seat back be re conformed to the original late 64 style?
I would like to find or duplicate a set of late thick back buckets to reupholster and install in a 64 Avanti.
The Avanti Motors Avanti II seats were completely different from the original Studebaker seats. The seats were made be Recaro. I’m not sure what years the original seats were used and when Recaro were added. Someone else will probably respond with more input.
-
My 1981 Avanti is getting closer to handling like my 1964. I removed the bellcrank bracket with shaft and cleaned it with solvent. It was still tight and rotated smoothly. When I removed the 7/16” - 20 x 2-1/4” pinch bolt , it was only snug. I doubt it even had 25 ft lbs of torque. The threads were buggered up, so I purchased a new replacement. When I got it all put back together, new zerk fitting, greased properly and torqued to 65 ft lbs and took it out for a test drive. I put nearly 70 miles on it today and the steering feels much better. It still doesn’t seem 100%, but I’m hoping that it just needs to be aligned to clear up the steering completely. But the excessive play was pretty much eliminated with the proper torque of the Bellcrank pinchbolt.
-
Is the headliner material still available? I wouldn’t mind updating the headliner in my 70 Avanti.
-
Thank you for the help Zedman! I’m hoping this helps cure my scary steering
-
Zedman, Sorry, yeah, after your post, I decided to put more effort into researching my parts manual for the answer. For Avanti with power steering I see a listing for the listing for 7/16” -20 x 2-1/4” and a washer 7/16” - 20, but I don’t see a nut for a power steering car. I also didn’t think there was a nut involved in this assembly. Have I made a wrong assumption?
Thanks
Robert
-
I appreciate the quick info. I wasn’t able to locate the pinch bolt from SI, so started to look elsewhere.
Thanks
Robert
-
Do I need to order the bellcrank pinch bolt for an 81 Avanti from a Studebaker vendor or does somebody have the specification for a pinch bolt that I can pick up at a hardware store?
Thanks
Robert
-
How many hours does anyone’s Avanti sit outside in the elements. Mine are usually in a 72 degree temperature controlled shop.
-
2 hours ago, bbstudegal said:
There are other issues. Decided just to have it done while the guys have the engine out instead of waiting and having to do it later.
Sounds like a great project, well worth the research you are doing. Sounds like it will be a fun car when you’re finished with it.
-
I vote-no clear coat for best appearance. Spinners plain-can be used on full Studebaker line of cars as well as Avanti Motors. Just to clarify, would clear coat wheels also be $295 or is clear coat at additional cost. Are the spinners still $425 a set?
Thanks for the update
Robert Sylvester
-
Tom, Nice looking! Personally, I really like the looks of the non clear coat wheels. They appear sharper, crisper and cleaner. Are you saying that $295 is base price for the wheel without clear coat and clear coat would be an option upgrade? What cost will a set of spinners be?It’s just my opinion that an A in the center of the spinner would be a plus for Avanti II owners, but not if someone was installing on their Larks, GT Hawks, Studebaker Avantis or some of the other Studebakers. I would recommend plain like the sample. I think doing 60 wheels with the Chevy 5 x 4.75 would benefit you greatly. Thanks for the update
Robert Sylvester
-
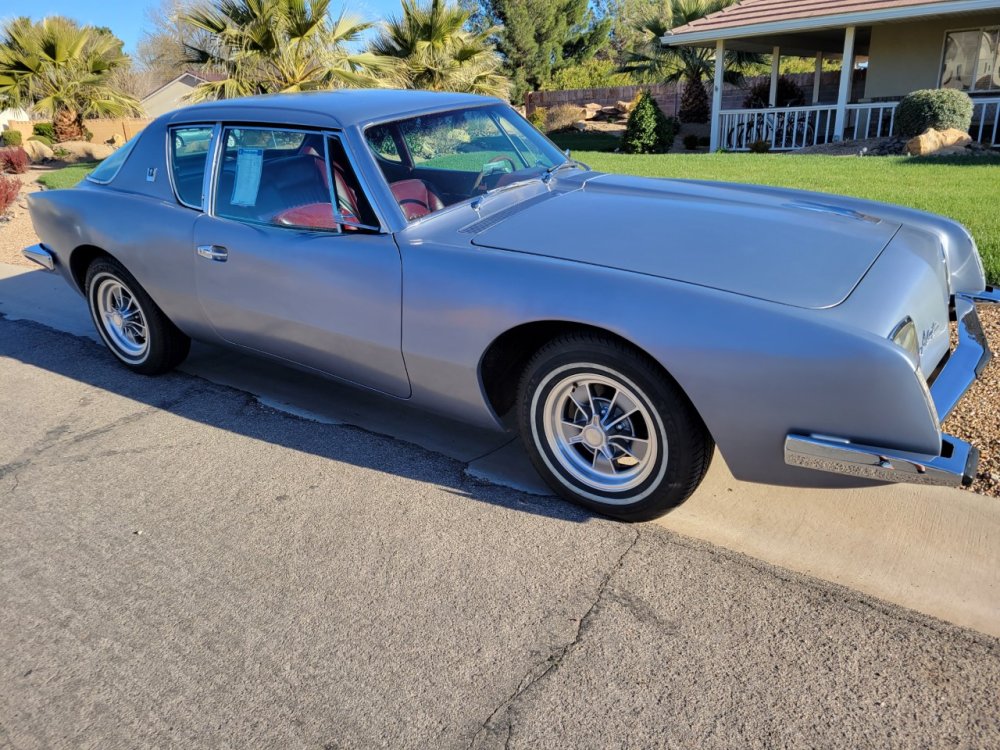
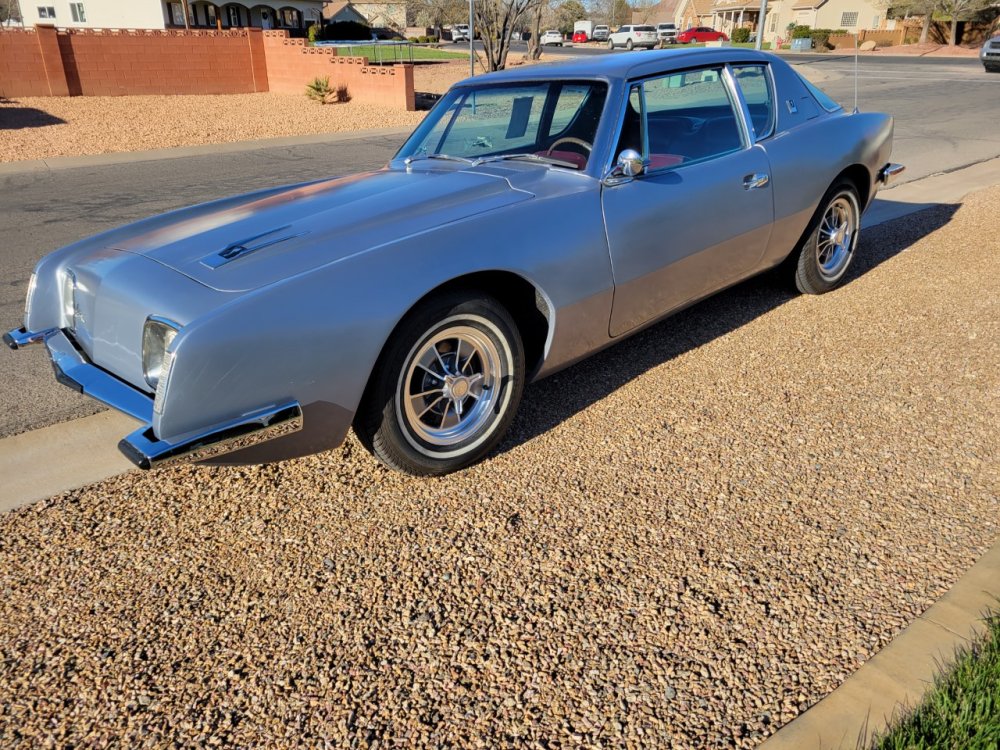
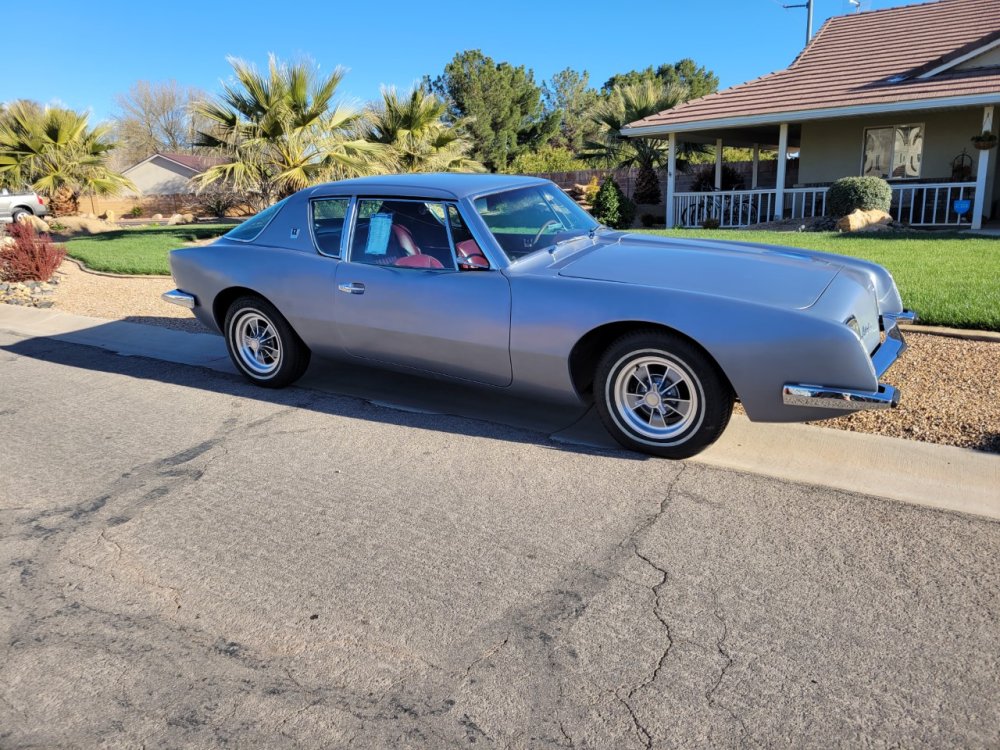
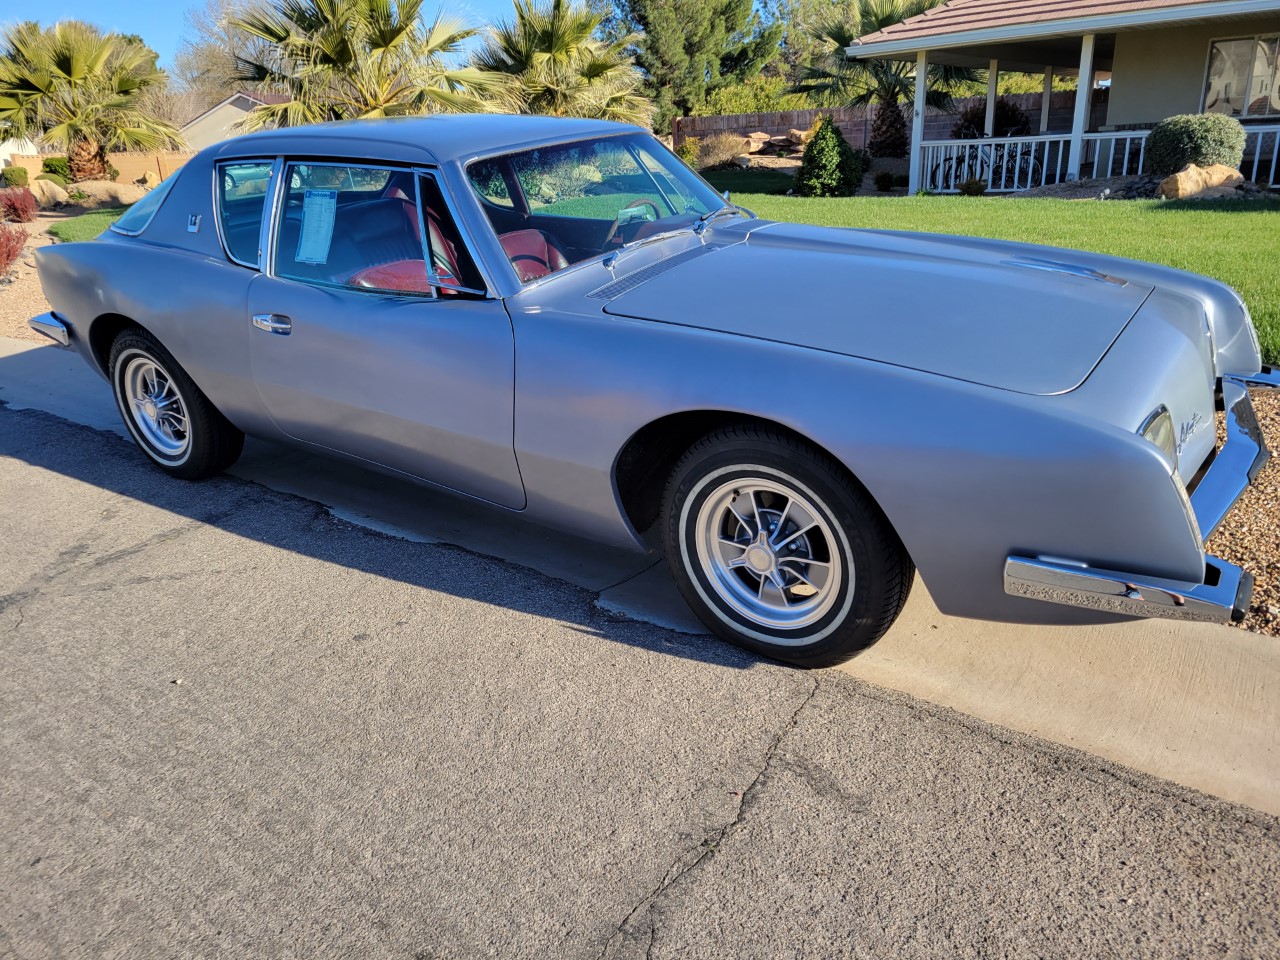
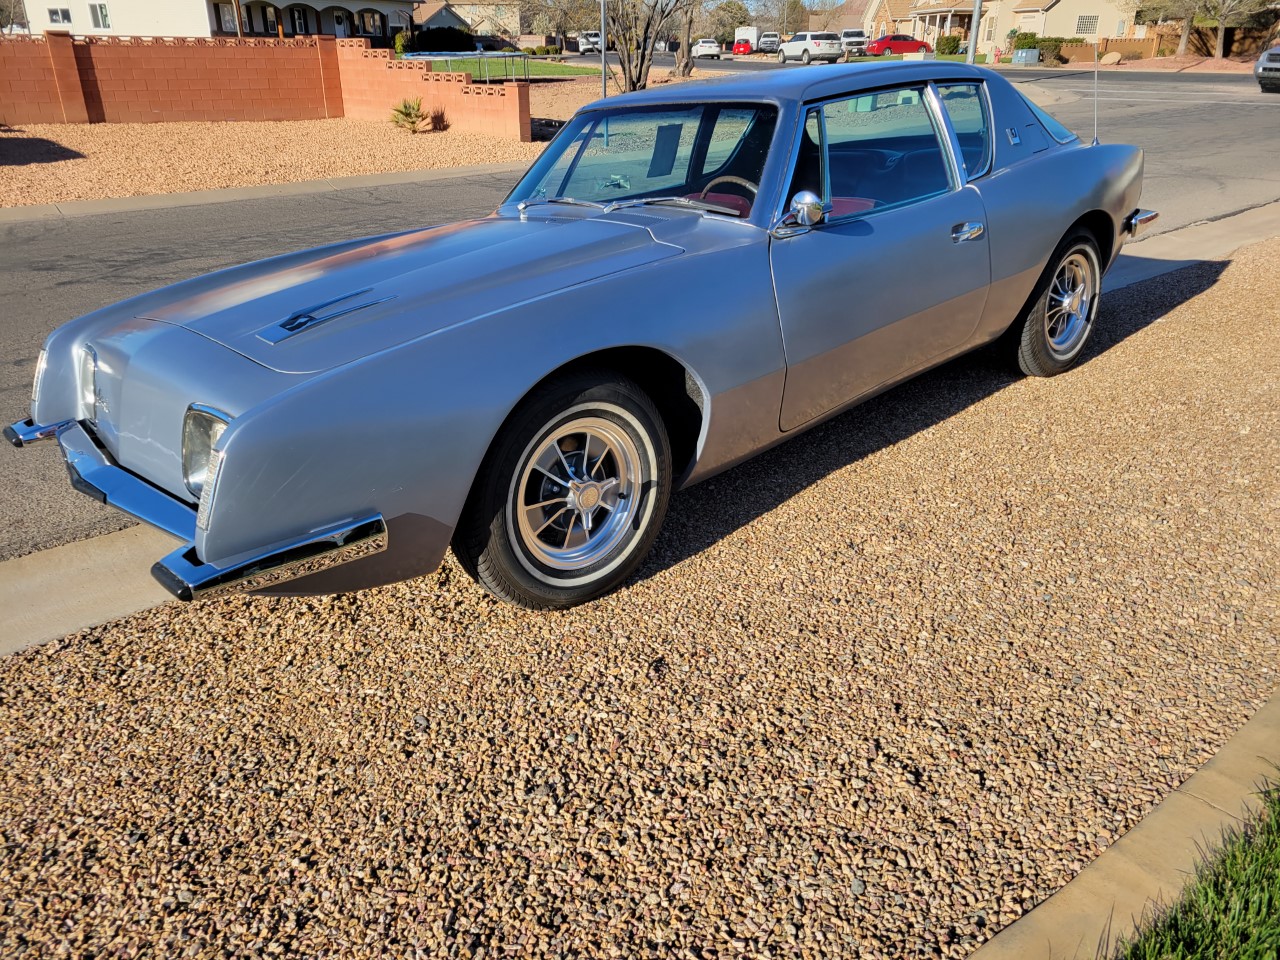
A picture with the Halibrand wheels installed and a new attitude!
-
The roof panel is removed at the same joints as factory installed. The roll cage in a non-moonroof car is near the underside of the roof panel. A sunroof car is approximately 3” lower than the underside of the roof panel to allow for the sunroof to slide back into the pocket. Installing the sunroof is simply cleaning the mounting joints from the original skin installation and fitting the new skin in place. These cars are composite fiberglass and a two part panel epoxy is used for bonding and structural strength. Prepping and painting to finish the install. The interior would need some modifications near and around the roll bar to make everything look acceptable.
It’s not a super hard job, but needs to be done by someone with talent. A jack of all trades so to say!
Until 1979, I owned a Body Shop that specialized in fiberglass cars and boat repair, as well as I was an upholsterer for years.
Good luck!
Robert
-
I’ve got a black one in my trunk and for some unknown reason, this was with the car. It seems pretty stable looking, but I never use them.
BillyBob, It should be pretty easy to get a new one for your Avanti. Unless you’re like me and enjoy the hunt for authentic OEM vintage.

-
1 minute ago, Dwight FitzSimons said:
I once had one of those fold up, dropping the car on the ground. Granted, it wasn't on level ground. Just be aware that those jacks are junk.
--Dwight
Dwight, Which jack are you referring to as junk? I just wanted to clarify to eliminate any misunderstanding.
Robert
-
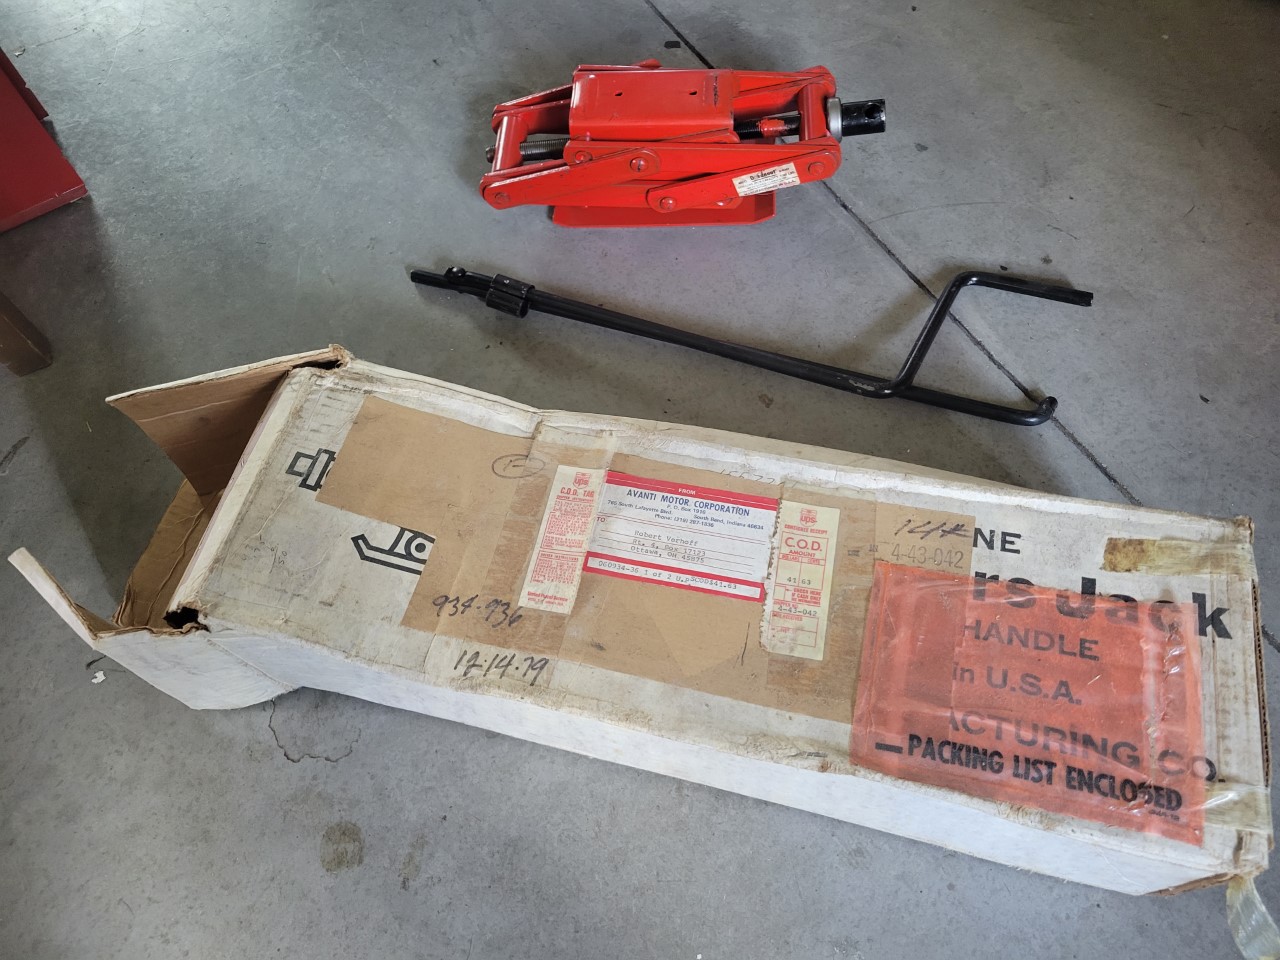
4 hours ago, BillyBob said:
Looking for - how would one say? - a "Driver Quality" Studebaker jack and jack handle.
...hope to never need them but one never knows!!
Thanks, BillyBob
Does anyone actually throw these in the trunk and carry them around while driving? They seem to be quite significant! I have the original new in the box that came with my 64 Avanti, but I keep it in the man cave with the gas pumps, lubesters, porcelain signs, and all the other Studebaker collectibles. If by any chance I have a tire issue, I’ll call my roadside assistance to come help me out.


Vendor question
in 1963-64 Avanti
Posted
I spoke to Bob just last week. Never had a problem reaching him.