

Cotuit Boy
-
Posts
21 -
Joined
-
Last visited
Content Type
Profiles
Forums
Events
Posts posted by Cotuit Boy
-
-
Like all of you, I have a light in my trunk that comes on when the trunk is opened and goes out when the trunk is closed. The light (#90 bulb) located on the left side of the trunk "ceiling" is on the same circuit as the back up lamps and the other interior courtesy lamps. Mine was not working and after the typical diagnostics, I determined that the tilt switch had failed. The original switch is a mercury type switch which are not used any more. Studebaker Intl. sells a replacement for about $35. I found many similar replacements on the market place for much less than that and would recommend this one:
 It is sold by Digi-Key and has part number: 1835-1002-ND. It sold to me at $14.00 including USPS shipping.
The part I liked about this was the stainless steel bracket that holds it in position. I mounted it to the underside of the trunk lid with two #4 sheet metal screws and soldered the leads in as required. Since it is held with a snap in holder, it can be taken out when leaving the trunk open for show judging and the switch turned upside down so the light doesn't run all day long.
Price was right, looks right when installed, and is versatile enough to not need an override switch during the show display and is not a mercury filled switch.
Cape Boy
-
My R1 needed to have the pipes and hideous Thrush mufflers, installed by a previous owner, replaced before I lost my hearing. All of you who have used the pipes and mufflers that Don Simmons at Silvertone builds have given them high marks for correctness. So, based on your recommendations, I ordered an all stainless set with the mid-tone style mufflers. They arrived in short order and were well packaged. Don was great to work with over the phone to be sure I ordered correctly. He marked the pipe sections to avoid confusion during installation. I am fortunate enough to have a lift available for jobs like this so the whole exercise was painless and very straight forward (god bless those who try to do this job on the floor!!!). Everything installed perfectly and all points through cross members etc. went off perfectly (just a little rotational or longitudinal tweak needed if any). I can't recommend this vendor enough.
-
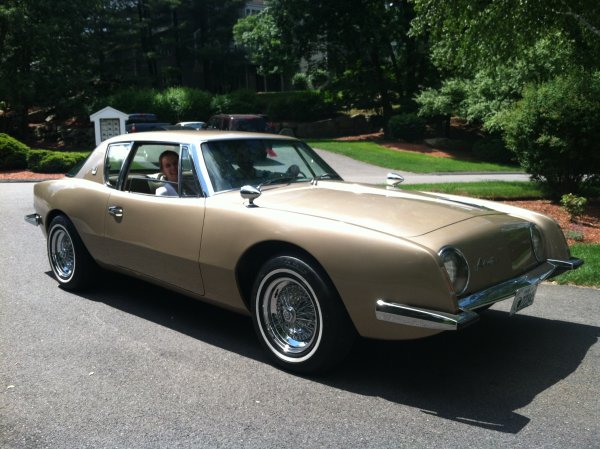
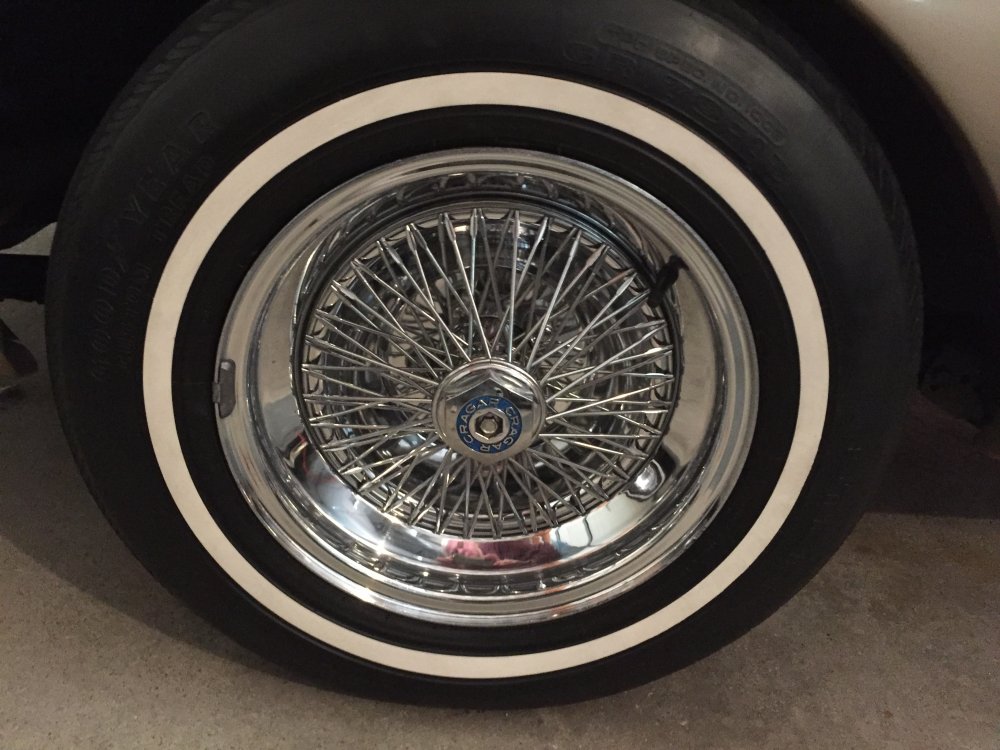
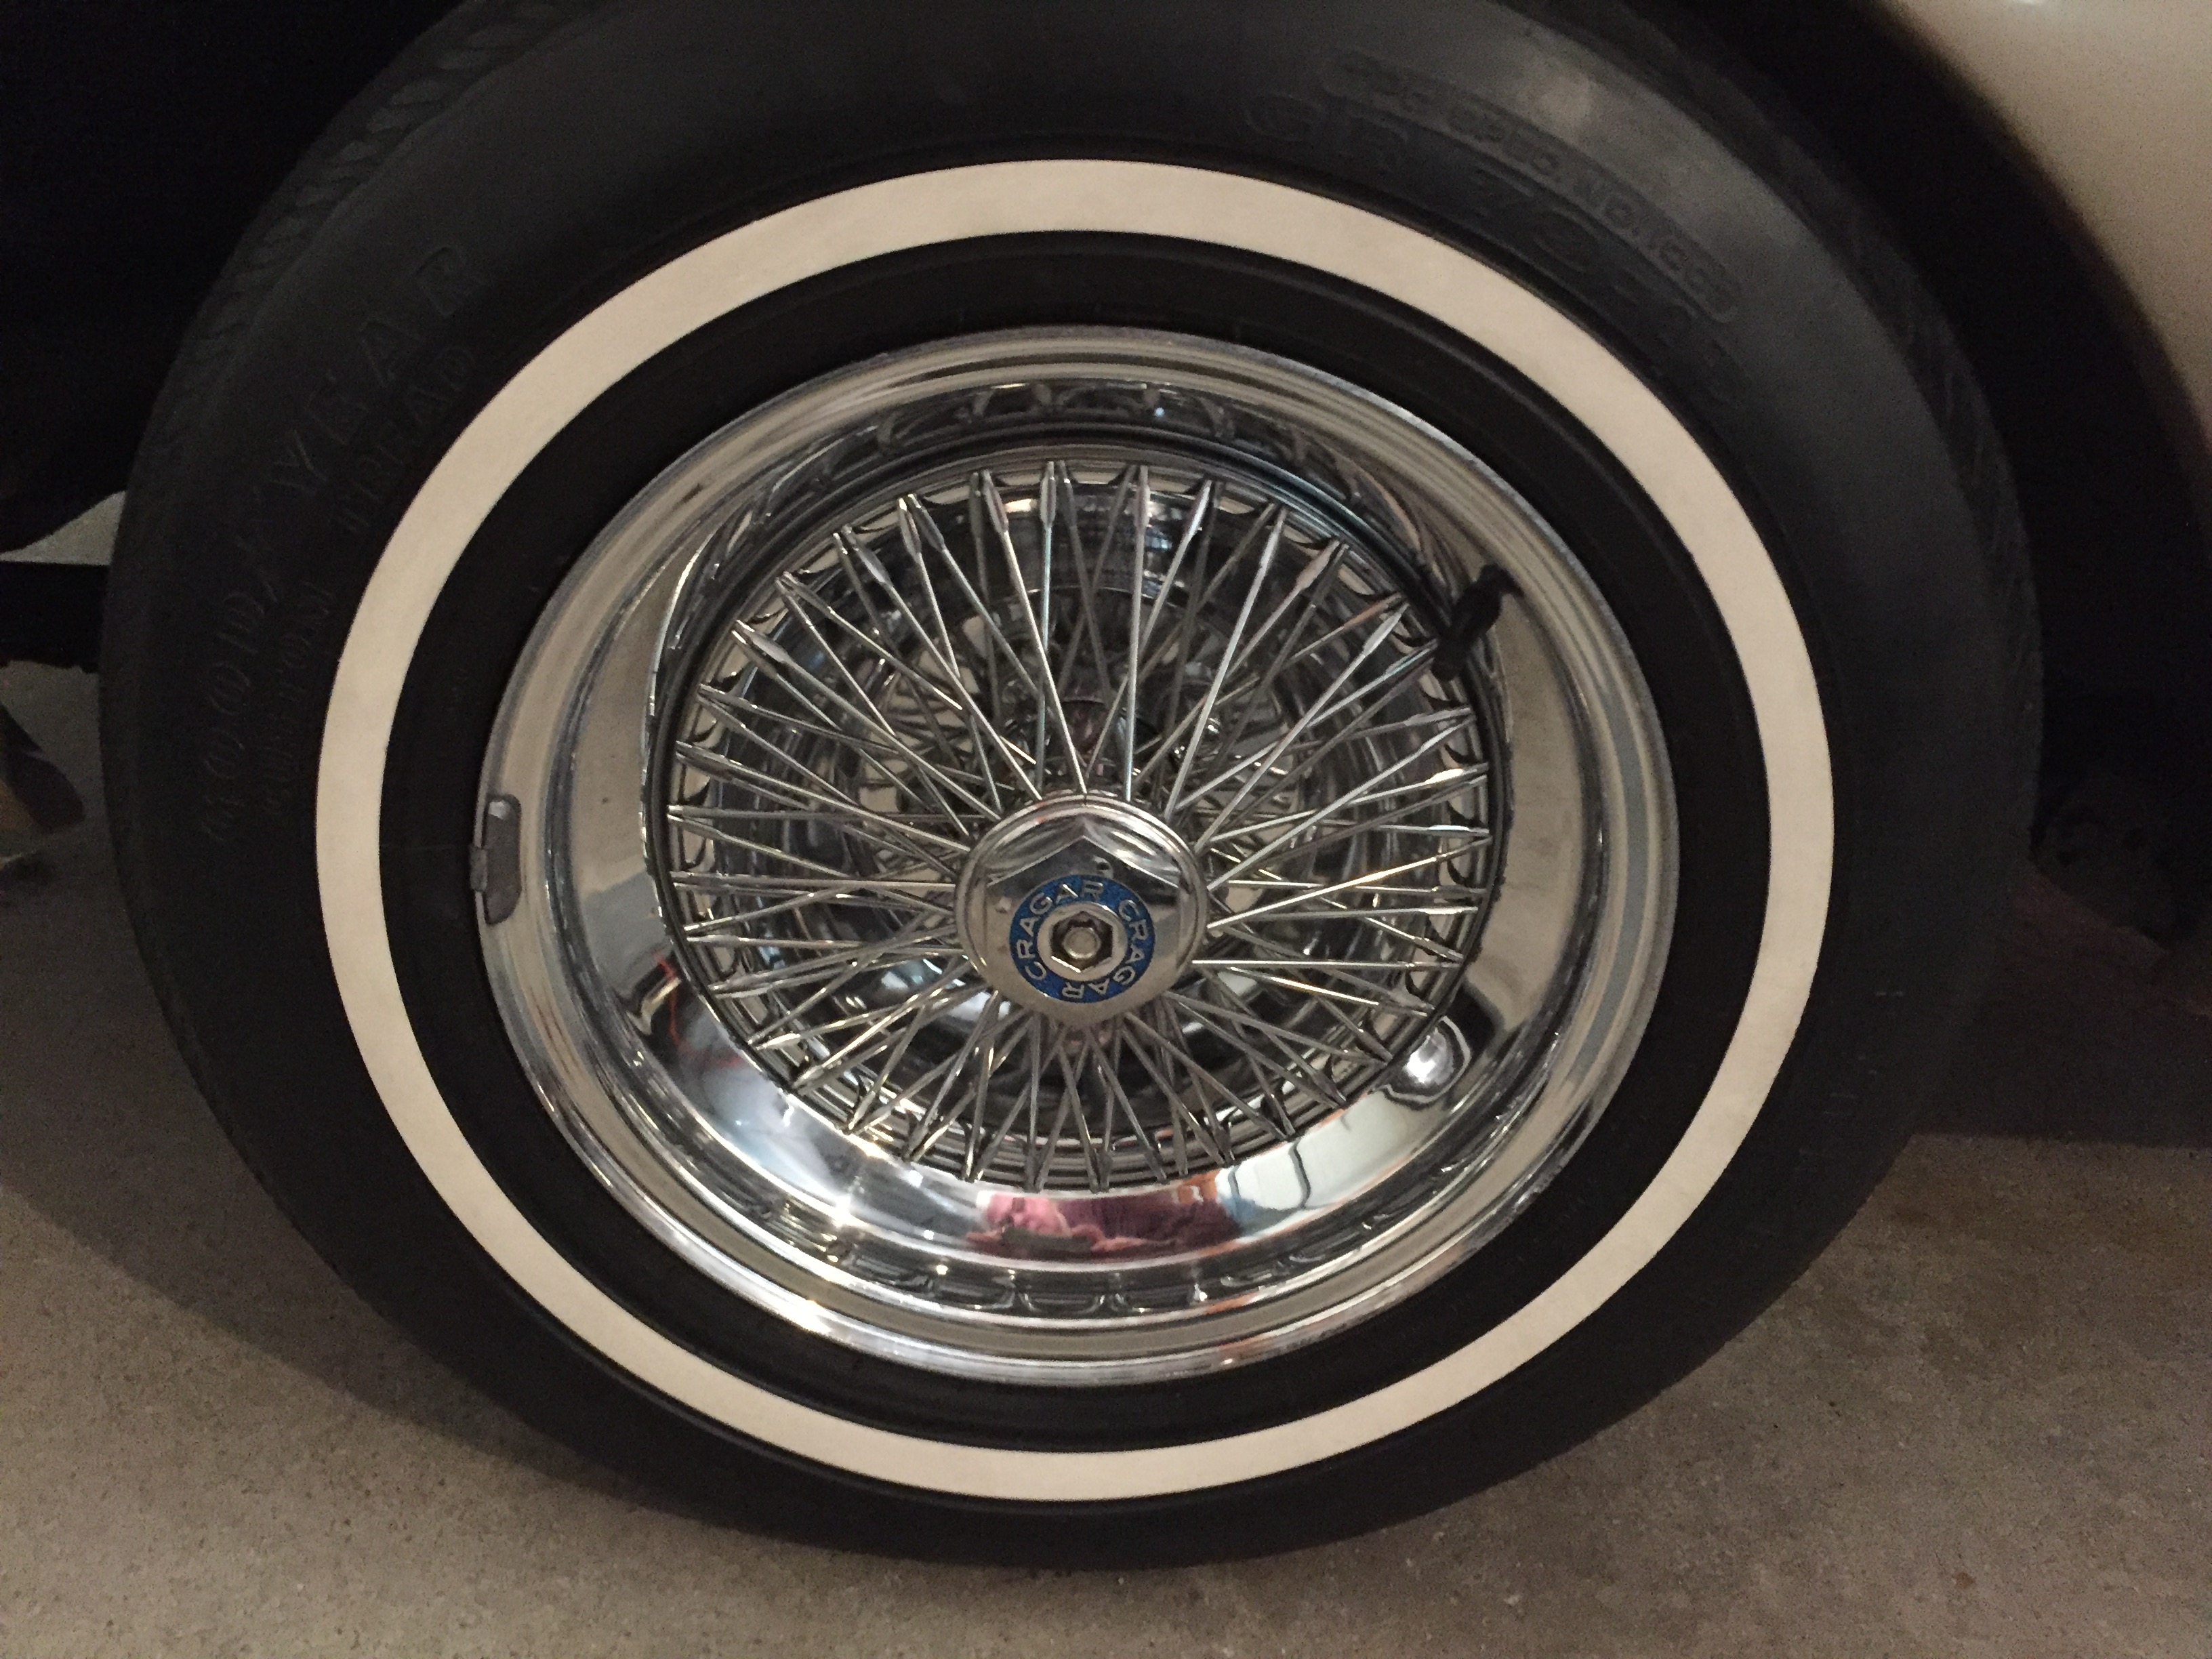
These Cragar wheels have just been sold. Thanks for your interest. They are on their way to Utica, NY for a '66 T-bird under restoration.
-
I recently put my 63 Avanti back on her original steel wheels and stock hub caps. I'm sure I probably won't go back to the Chrome Cragar wheels with wire inserts in spite of how great they looked. These are in great shape with some minor rust on the inside faces. Exterior faces are great. If anyone would like to spruce up their ride with some period correct after market wheels, give me a response. I'm only asking $150 for all four not including any shipping (from Nashua, NH).

-
Thanks Kennie. I did purchase a new link from SI and have all back together again. I just wanted to give the members a chance to unload used parts from the corner of the garage first. Thanks for your reply.
-
I am looking for 1 (One) rear Stabilizer Link P/N 1557477. If anyone has one in good serviceable condition, Please give me a shout.
-
I liked the bonded style I chose since they have a large bonding plate to spread the load. They are available in male stud or female thread as my write up mentioned. They are also available in stainless steel as well as the plated steel that I used if corrosion is a concern. Like minds think alike!
-
Well,
Kennie sent me off to recheck my pulley alignment, which was a little off. I made a shim adjustment and rechecked. It was terrible. Too terrible to have been from the minor shim I had just installed. Upon further inspection, I discovered that the pulley was bent. Most likely the belt climbing off strained it enough to bend it. It has quite a wobble. New one on order and I'll take it from there.
Thanks Kennie for making me stick my head back in the engine.
-
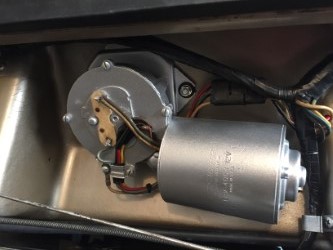
If any of you have ever removed your windshield wiper motor you know that it is very difficult to access the nuts located on the inside of the firewall that secure the four screws that are inserted through the wiper mounting grommets. I had no issue removing the nut securing the wiper linkage to the motor shaft by accessing it through the center console. I won’t comment on accessibility for those having the A/C unit located in the console. I unscrewed the four 10-32 round head machine screws holding the motor assy. in place from the outside; letting the nuts just fall into the car’s interior to be found with a mag pick up tool. Getting to them from the inside for reinstalling again - even without A/C - was too painful to think about. So I offer this solution which makes installation whenever the motor is removed, quick and easy.
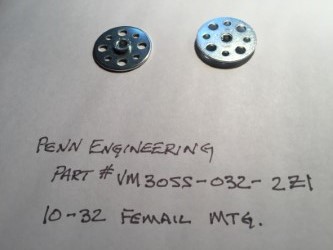
Having worked in the machine design world for many years, I often used “PEM Nuts” when sheet metal parts needed to be secured with threaded fasteners. Penn Engineering (http://www.pemnet.com/) offers an entire array of fastener solutions so I turned to them for my way around this difficult problem. I chose two different types to evaluate. One a female 10-32 mount (P/N VM30SS-032-2Z1) and the other a 10-32 x 3/4” (5/8” stud length) style mount (VM30FH-032-12Z1). The company was nice enough to send me samples of both at no charge. Complete CAD drawings can be found on their website.
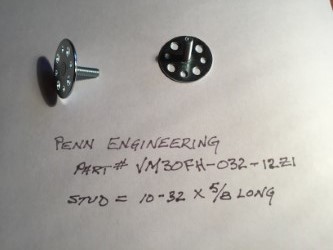
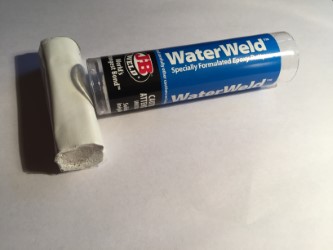
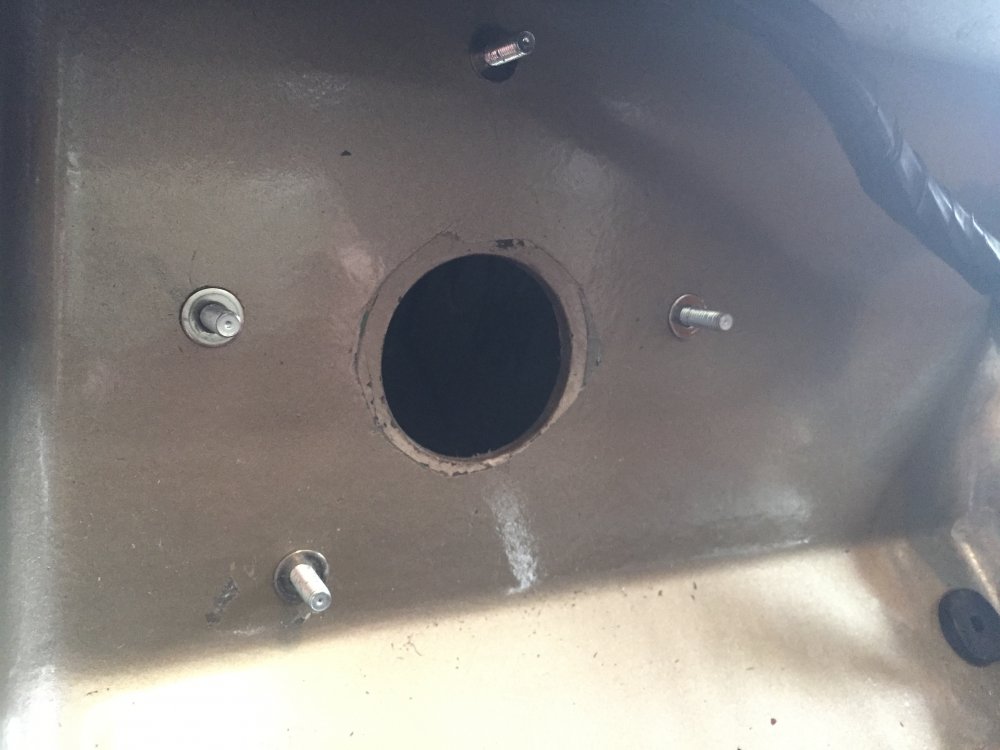
Because the four holes in the fire wall are a tight clearance fit for the 10-32 screws that hold the motor mounting plate and rubber grommets I was concerned about using the female mounting, as I would have to open the holes in the firewall and was concerned about losing alignment with the motor bracket. So, I went with the male 10-32 stud mount which required no modifications to the car. The mounting method is designed to be secured with an adhesive and I chose a two part epoxy putty since it wouldn’t be dripping down my arms while I inserted the fastener into position through the large opening in the firewall with my fortunately long fingers.
After inserting the fastner thru the hole in the firewall, I installed a flat washer and a nut then pulled the fastener into place forcing the putty to “ooze” into the holes in the backing plate making a secure bond to the fiberglass body. Once cured, the wiper motor with its base plate could be dropped onto the studs & flat washer, and secured from the outside with another flat, a lock washer, and 10-32 hex nuts.
The purists among you may like the female -2Z1 style fastener since it can be secured using round head machine screws like the factory used. Either way, there is no need to go at it from the inside again. Those of you with A/C, my apologies, as I don’t know what you have for access to the nut securing the shaft to the wiper linkage but the motor securing method I have described should work for you just as well.
-
Kennie,
Thanks for your reply. The lower support bracket is in place. I have checked the alignment of the p/s pump and the pulley on the crankshaft that drives it in the past. Since the engine was just rebuilt, it would be wise for me to check it again.
-
Thanks Gunslinger for your reply. I'll take a look at the condition of the belt although it was relatively new. Alignment of the drive and driven pulleys is also good so mis-alignment is not the problem here either. Still scratchin' my head.
-
I'm scratching my head on this. My R1 with power steering, having just been completely rebuilt, operates perfectly but if I punch the engine hard, I lose power steering and find the belt off once I get back to the garage. Not broken, just off. The pump is still tight and in its original tensioned position. If I put the belt back on, all works the way it should. I have found the belt inside out which leads me to believe that the engine has overpowered the pump and driven the belt off the pump pulley. Did I miss something on the pump rebuild?
-
Thanks for that lead. I'll call him if I don't hear from any of the other Forum members.
-
I think I may have just learned the hard way that I should have replaced the seats in the power steering conrol valve when I rebuilt the system, All works perfectly but I'm getting a small leak which I believe is coming from one of the hose connections. I'm seeing lots of seat kits for Mustangs but don't know if they would be correct for my 63 Avanti unit. Can anyone share a source they recommend and part numbers and opinions.
-
Thanks Regnalbob for your response and the link for a source.
-
We are all in agreement. Thanks
-
I think I may have solved my mystery with the info from 64studeavanti. What he has described to me is a conventional 7/16-20 x 2" long grade 5 hex bolt. The diameter of the unthreaded portion of that size bold is about 0.432 and is about 1.063 long as he stated. the threaded portion is around 0.88 long. So, with the hex head, the total length would be about 2-1/4" long. We don't typically include the head dimension in the length of a bolt so the approximate length would be that for a 2" bolt. I assumed the pitch size to be a UNF 20 pitch since that concurs with the thread size of the nuts listed in the parts manual.
The bolt isn't a "shoulder bolt" per se since the industrial catalogs don't' list 7/16 dia "shoulder bolts". I found a 2-1/4 " long bolt in my shop that has all those dimensions but for the longer length. If I buy a 2" long bolt and the shoulder section doesn't measure up, then I assume that a 2-1/4 inch bolt has been modified in total length which may answer why the Avanti catalog calls it a "special".
Let me know if my assumptions seem correct to anyone else besides me!
-
Hey 64studeavanti, Thanks for digging into that. The parts manual mentions 7/16-14 (course thread) nuts. A 7/16 (0.438) shoulder screw would be consistent with the hole diameter of my starter mounting flange which is 0.470D. Your 0.375 diameter shoulder doesn't seem to make sense for this situation. Unless my starter is different from the original (it is a rebuild starter from what I can see).
What is the thread size of your mounting screws? Is it a hex head?
-
I need to install the starter in my 63 R1. It was removed by a 3rd party so I didn't benefit from the exercise of taking it out and don't have the bolts that were removed. The Avanti parts catalog indicates the bolts to be #529367 and that they are "special". The nuts are 7/16-20 and locks are 7/16. The catalog gives no indication of type, size, length, grade of the bolts or what is special about them.
Can you shed any light on what is the correct bolt to use?
I'd appreciate any help you can offer.
Cotuit Boy
R1 - R2262
-
Logged into both today. The magazine is world class as always and having it in electronic form makes for great access when away from the home mailbox! The AOAI website was always a bit weak and this new one shows a great investment in bringing it into current tech levels. Just need to work on content now. Kudos to all who worked on both of these projects. Well done.

Trunk Light tilt switch
in 1963-64 Avanti
Posted
Getting hard to find mercury switches even in thermostats nowadays. I scrounged through some of my late fathers junk because I remembered him having saved some but couldn't find them. Had to go green")