

cmholm
-
Posts
29 -
Joined
-
Last visited
Content Type
Profiles
Forums
Events
Posts posted by cmholm
-
-
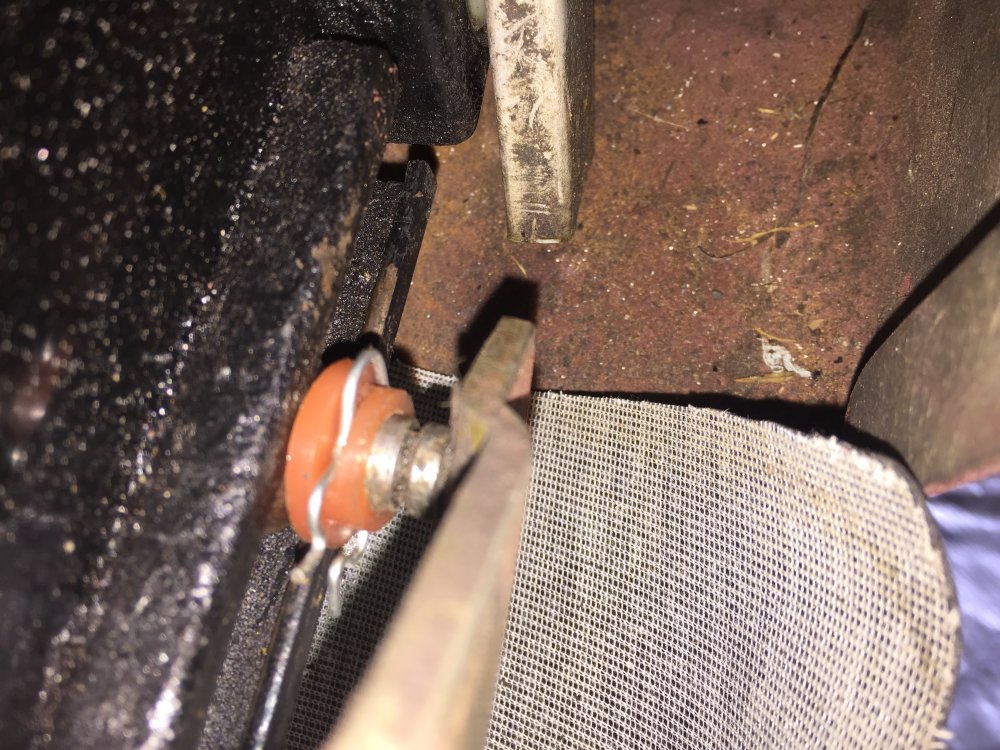
Abstract: my steering column to rag joint bolt holes are both ~5/16", while my new rag joint bolts are 5/16" and 3/8". Best way to cope?
Following up on @A83's question from 15 June, 2021 regarding steering column rag joints... after getting accidentally bounced over a hydraulic security barrier in 2019, my (solid shaft) steering column was left with some vertical play. I lived with it until this year, and found that both the rag joint and plastic steering column bushing were damaged. I ordered replacements from SI (bushing) and Nostalgic (rag joint).
I made the mistake of not test fitting the rag joint on the steering column while I had the column out and disassembled, and now find that while the bolt holes at the end of the steering shaft are both ~5/16", the bolts on the rag joint are 5/16 and 3/8". I understand that having differing diameters reduces the odds of reattaching the steering column 180 degrees out of whack, but when my car was built (R3318, 02-18-1963), Studebaker apparently hadn't yet seen the light.
Dan Booth said he hasn't run into this before, and so I'll need to drill out one of the holes. I'm not religiously opposed to doing this, but I lack a drill press, and am not enthusiastic about doing this with a hand drill. What is your experience? Is there a source for 5/16" x 5/16" rag joints, or should I suck it up and drill out a hole to 3/8"?
@silverstude offered up some rag joint suppliers that A38 could check for his '83 Avanti, but I suspect anything with an adjustable steering column for a '64 onward isn't going to be compatible.
-
Thanks, @mfg, that looks good.
-
While I have my dash disassembled for a pad replacement, I'm looking at the instrument panel overlay finish with a more critical eye. A previous owner didn't do a bad job with some fawn paint touchups along the edges, but I'm wondering if anyone has had any luck with a stripping/repainting. If so, what did you do?
-
Glue: I ponied up the money for Nostalgic's pad. Which vinyl glue seems to work best? I was considering RH Adhesives HH-66. I'll ask Dan Booth, but figured I'd make this a place holder in case he was hit by a bus. [answer: weldwood contact cement]
-
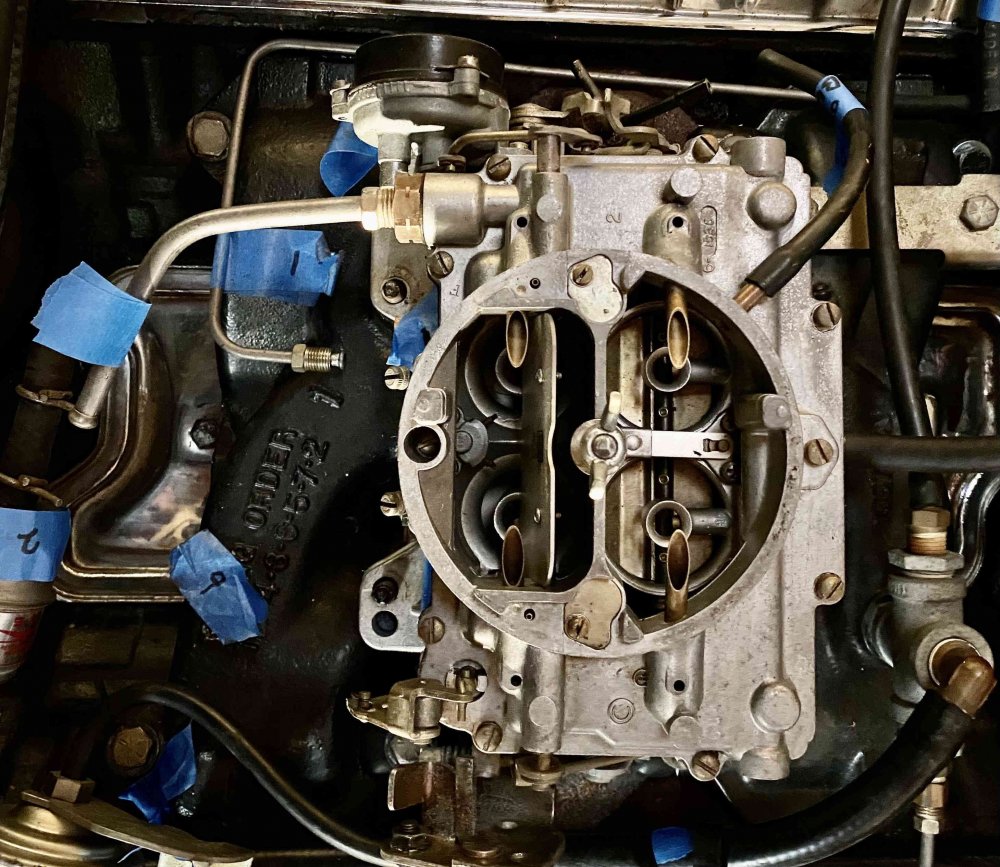
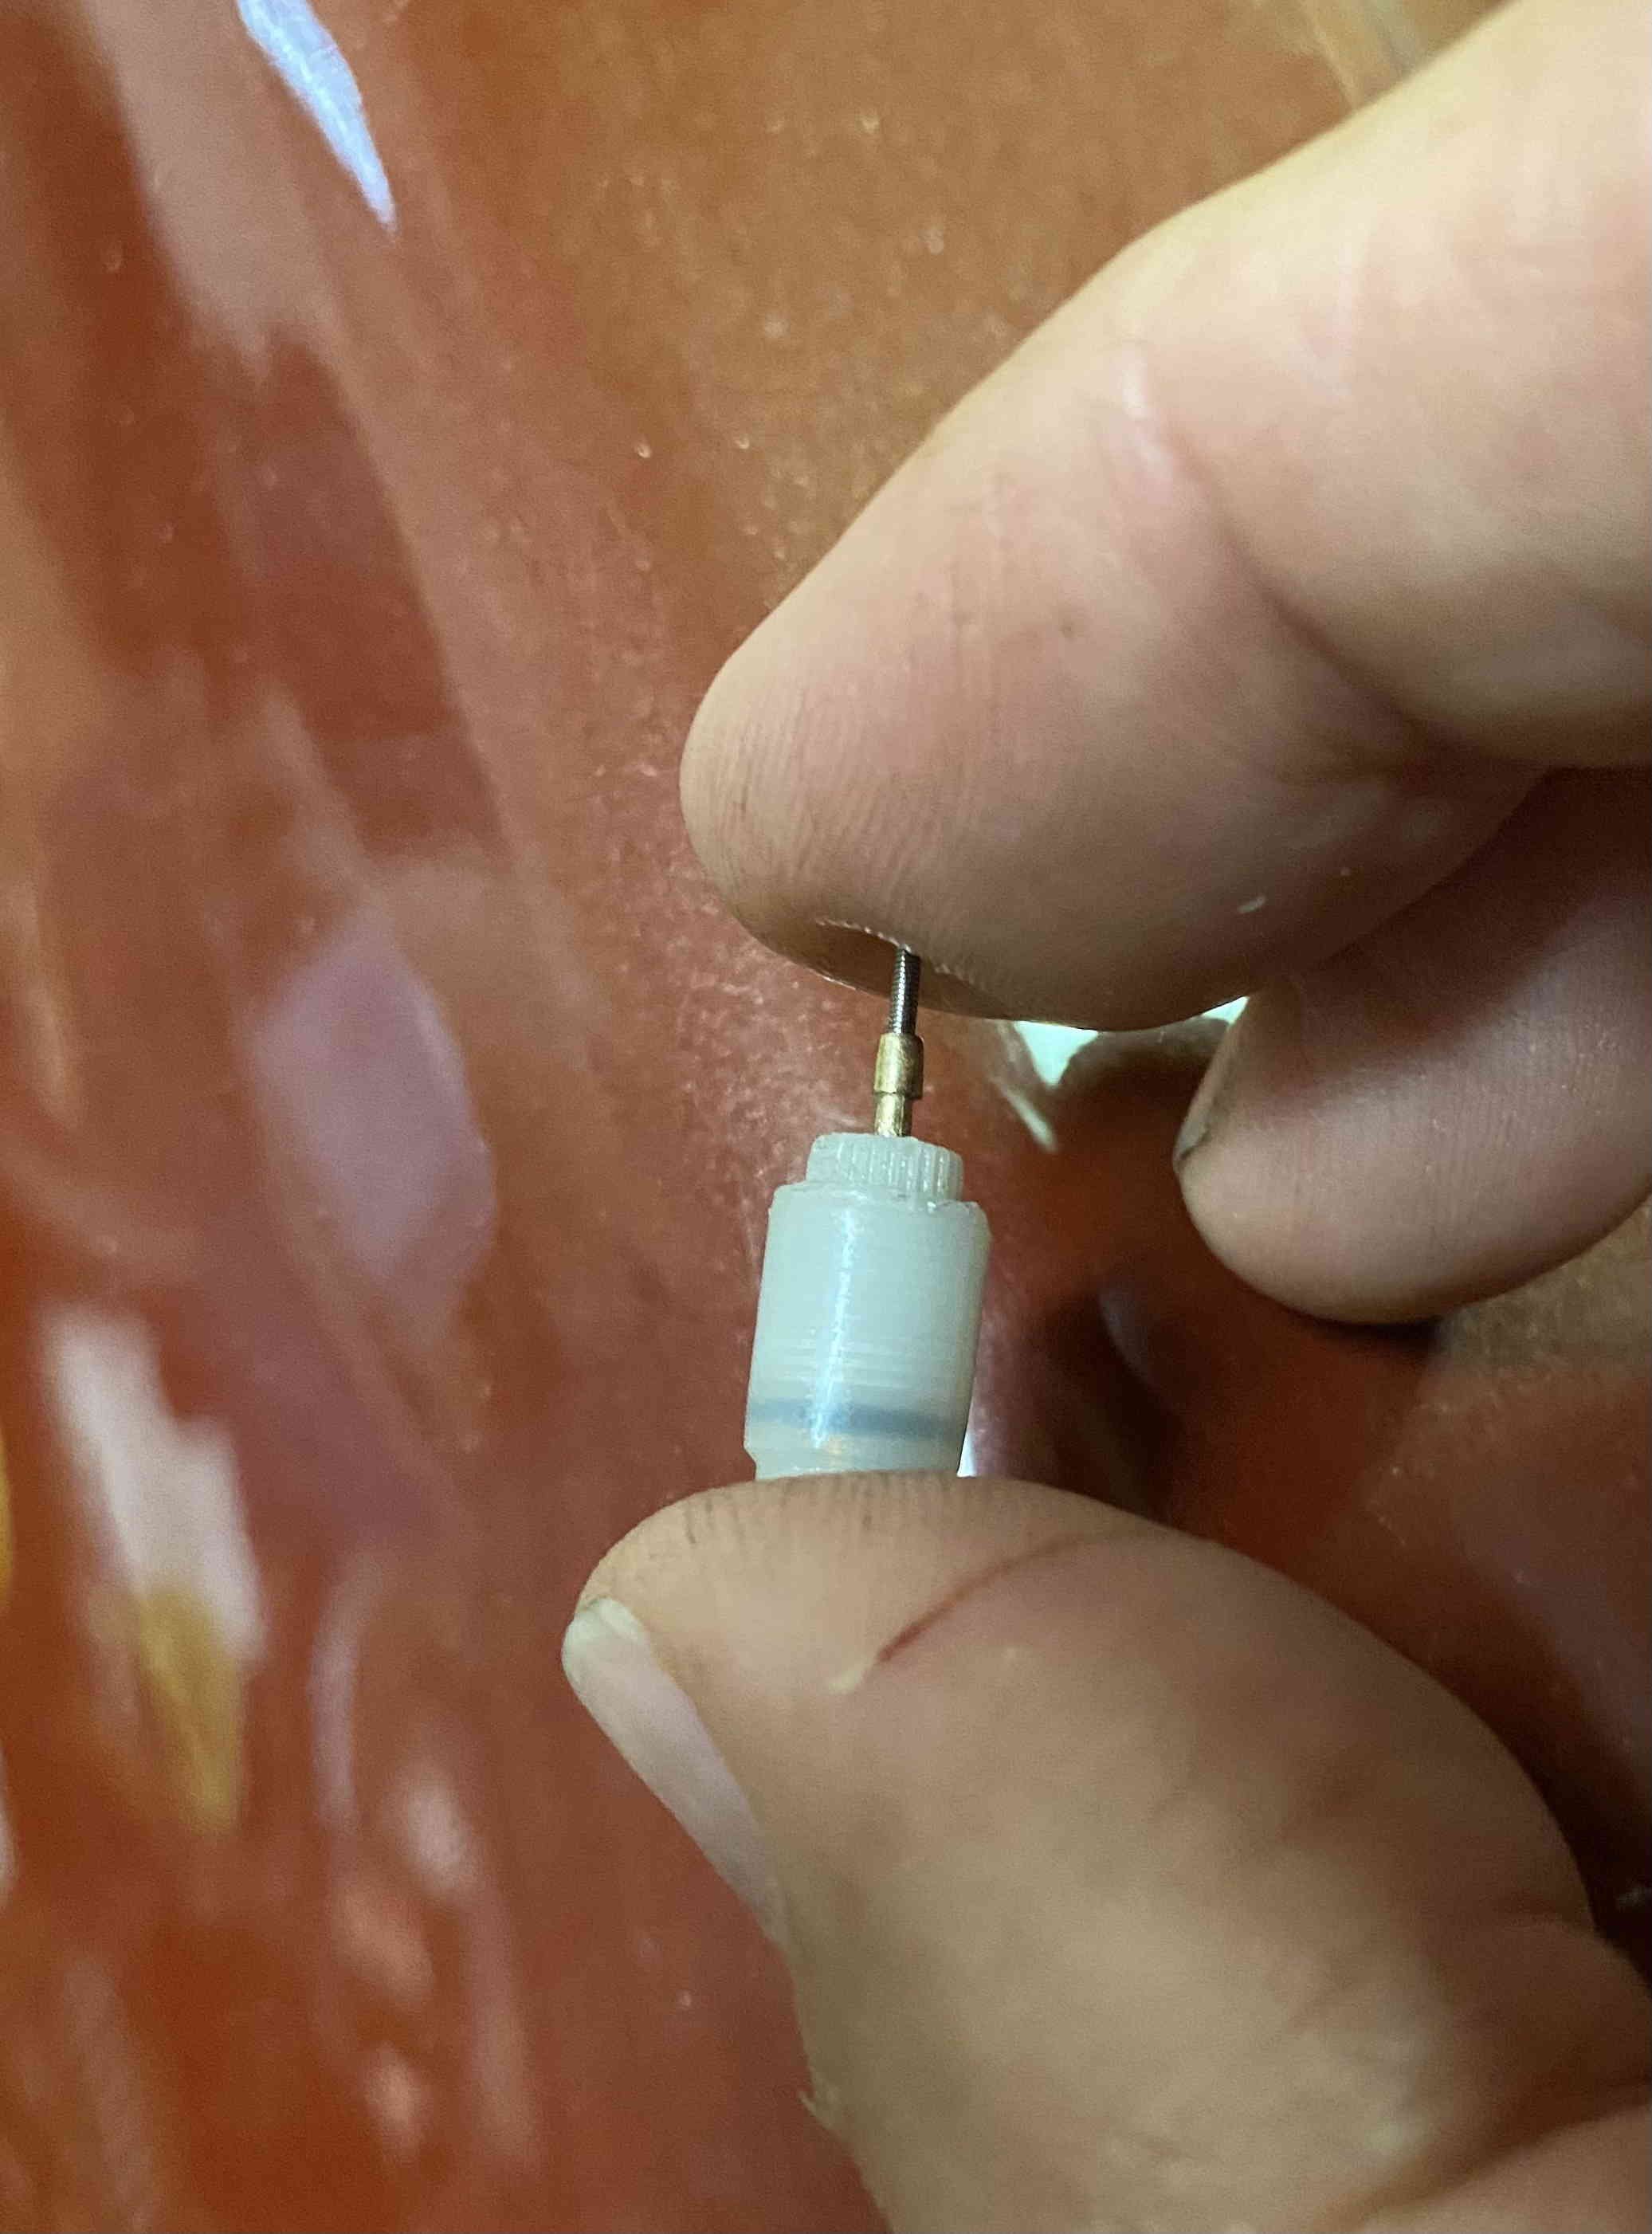
While installing new intake manifold and carburetor gaskets on my '63 R1, I briefly turned the carb upside down. A small (1/2") white plastic barrel with a brass pin fell out. I've reviewed the Carter AFB parts in the parts and shop manuals, on-line diagrams, and watched a Carter/Edelbrock carb rebuild video, but have no clue where this bugger goes. Can anyone purchase me a clue?
On reflection, I recall hauling parts from a disassembled laptop passed my workbench on the way to the rubbish, so it's possible that this is a bit of wayward electronics. But, I thought I'd double check before I hooked the carb up.

-
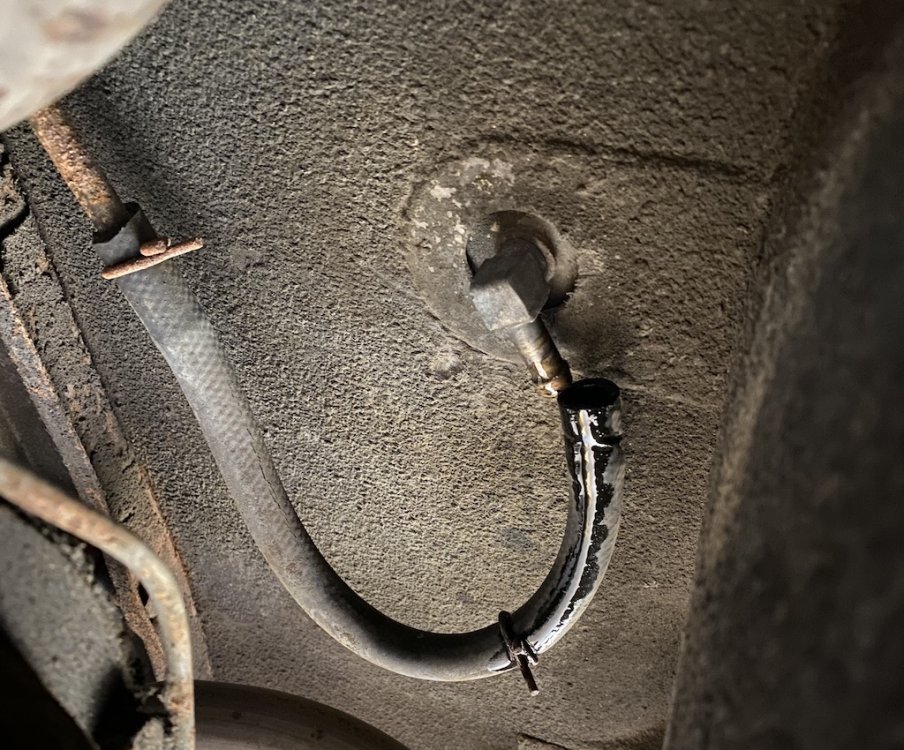
On 3/31/2021 at 8:45 AM, Avanti83 said:
Yup! Just unscrew it but put a 1/4" pipe plug in it's place as there's still some fuel in the tank and it smells bad and makes a mess.
Yup, I woulda/shoulda/coulda checked for more responses to read this valuable tip before I found out the hard way. 🙂
As it was, I needed to hunt down a longer 9/16" spanner to get enough leverage to start with.
-
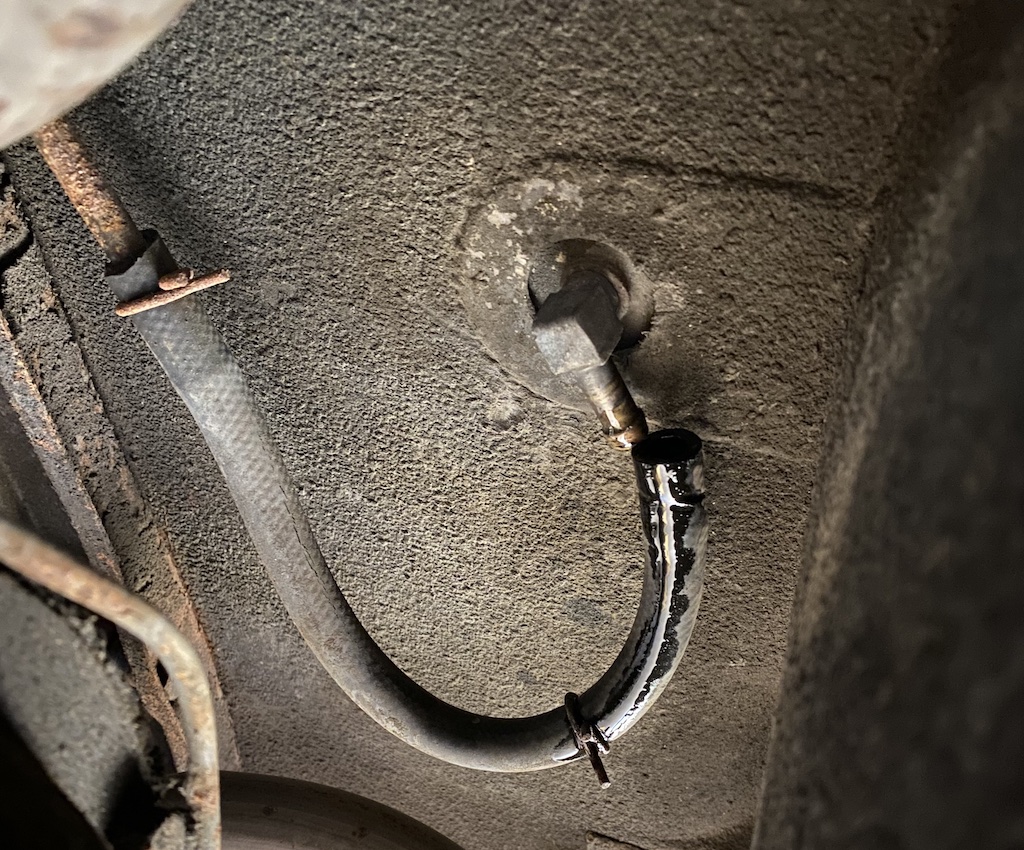
I'm in the midst of replacing a '63 fuel tank, at the stage of disconnecting the various connections before pulling it from the inside the car.
As Stan Gundry notes in "What The Shop Manual Won't Tell You", the tank isn't going to come out (neatly) without removing the fuel line elbow from the bottom.
I'd just as soon not break anything in the process. So, will it unscrew lefty-loosey? Or, is there another motion?
-
-
Abstract: Is walnut or other "soft" blasting media fiberglass-safe when cleaning surface rust underneath?
Mea cupla: When I bought my Avanti in Oz, it appeared free of visible rust when I crawled under the car. Driving it on salted roads maybe four times one winter in Yorkshire, UK earned me a patina of rust over most of the exposed steel. Now that I'm in Arizona, I'm not likely to make my boo-boo worse, but I'd like to get the rust off.
Short of having someone lift the body and go to town on the chassis, I'm wondering if anyone has experience getting their car blasted with a soft media to clean things up. In the post Undercoating removal, @Stacey mentioned using walnuts and plastic beads on Corvettes back in the day.
Question: Has anyone had success blasting light rust off the bottom of their their Avanti?
-
Abstract: my '63 AFB carb's automatic choke heater pipe is clogged. Gas tank has interior rust. Best path to clean/replace?
My '63's R-1 engine had recently been having a dickens of a time lighting up and staying lit. The vacuum seemed ok, so I took the car to a carb shop that advertises in the local SDC chapter's newsletter. They noticed a couple of things: 1) rust coming in through the fuel system, and 2) the heater tube for the automatic choke was blocked. The choke thermostatic spring was apparently incorrect, and replaced.
Issue #1 rust in fuel: I'm going to address it with a replacement tank, and a new fuel sender while I'm at it, the gas gauge never having read more than half full on my watch. I'll test the gauge too. Studebaker Intl's replacement tank is apparently aluminum, which even if not coated inside I'm thinking will do better with current fuel than steel. Based on my experience cleaning rust from surfaces I have full access to, I don't see any value in attempting to clean and re-seal the current steel tank.
Issue #2 clogged choke heater: The '63 parts catalog (page 29) shows p/n 1557420 Pipe, Automatic choke heater. As you'll likely know, the bugger is a metal loop plugged into the intake manifold. The part isn't in stock with either Studebaker International or Stephen Allen's (mystudebaker dot com). Unless I can run a pipe cleaning brush through both the rubbish in the pipe and the sharp bend in the loop (not likely), I'm going to have to remove the manifold and tap the thing out from behind to remove and deal with. I pray the crap in the pipe isn't due to a hole.
Questions:
- How have you cleaned or obtained a replacement choke heater pipe? Or, do most people ditch the original automatic choke for an electric?
- Should I bother sealing the aluminum gas tank? I was considering Caswell's gas tank sealer.
-
Someone on the Avanti Owners group on FB suggested I look for quarter inch, fine threaded bolts of whatever length worked with my wheel puller.
For extra points, I created this challenge not only in the land 'o metric, but a week before the car is due to get shipped back to the US. A local lawnmower repairman who deals in a lot of older (imperial spec) equipment gifted me a couple of 3" long .25" fine thread bolts. I attached one to the wheel to check the fit, and with just a slight tug, the wheel came right off. Woo hoo!
Subsequently, my less than perfect installation of the Grant steering wheel leaves the car w/o a functioning horn or turn signal cancel. But, it's on tight, good enough to get me to work this week, and for the very short drives onto the slow boat to the US and truck ride to my garage. When I catch up with the car this summer, I can take the time, and have the right tools, to set things right. -
Question: Random steering wheel puller won't connect. What's the bolt diameter of the emblem retainer screws on a '63 Avanti steering wheel?
Long story: three years into owning R3318, I made the mistake of bracing myself against a 55 year old plastic steering wheel while adjusting my seat for first-ever rear seat passengers. The wheel broke away from the nearest spoke. I'm going to keep the wheel for the day my car budget covers ~$1k to remanufacture it. In the meantime, I bought a Grant wheel that's about the same size and similar spoke pattern, plus a mounting adapter and steering wheel puller.
Being my first time at bat, I found out the hard way that the attachment bolts for the puller are intended for non-tapped plastic wheel holes. There isn't enough plastic above the metal core of the wheel to make a sufficiently secure purchase while the puller's center bolt pushes against the steering column. What I need are long bolts that will fit the threaded holes in the steering wheel's center metal core.
The emblem retainer screws are obviously threaded correctly and the right diameter, but not anywhere near long enough. Unfortunately, neither the shop manual nor the parts catalog mentions the screw dimensions. Can anyone purchase me a clue?
Carl

-
I considered the Weekend Loewy, but I ran out of vacation for '17 while exploring the UK. Too bad, it looked like you lot had a good time.
-
Welcome to Yorkshire. Until last winter, I'd never driven in winter salt country, and it took me a month to realize I shouldn't drive my car once they started gritting the roads. What were once basically rust-free nether regions are no longer.Outside of the oil soaked areas of the engine, trans, and frame, there are scattered areas of light surface rust on the undercarriage, especially the leaf springs. I'm looking to have a shop take their best shot at removing the crap and treat the metal with a coating of some sort. Since I'm not going to remove the body, I believe hosing down the frame and suspension with a blasted media is the preferred route. Given the adjacent fiberglass, I assume sand is out, and I've read the claim that soda won't remove rust.Should I have someone blast it with walnuts? Or go DIY, bust out the rust converter and spend some quality time on a creeper? What have you had good results with?
-
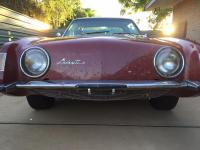
BTW, the car (and I) are now in Yorkshire, UK. The car, laying low in pea soup fog with NT plates...

-
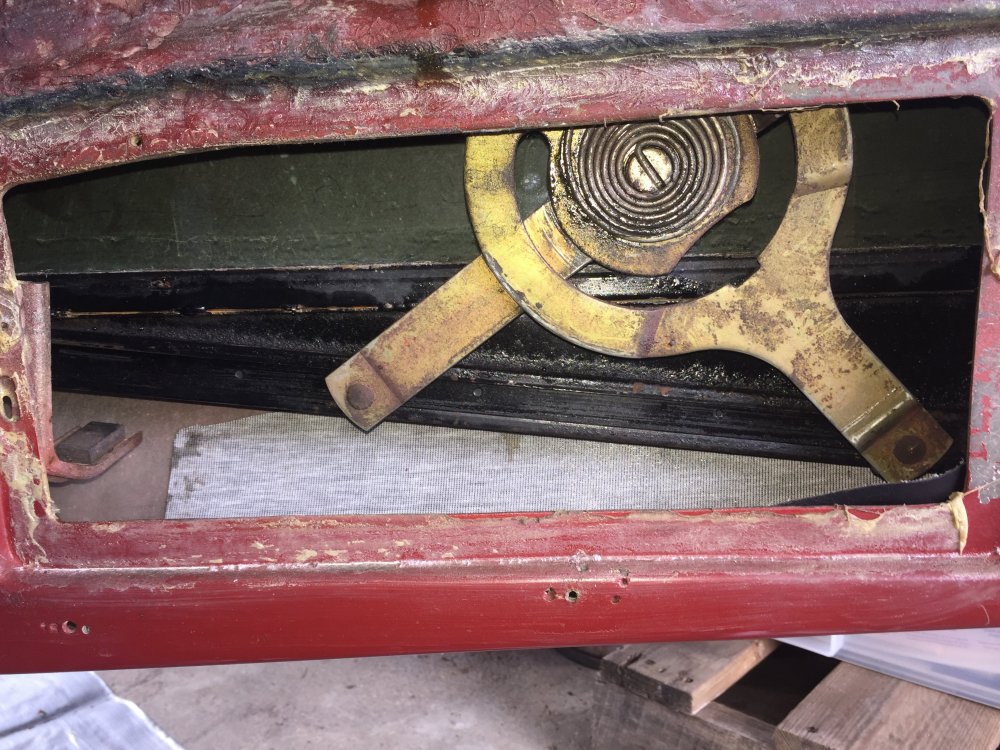
Acting on guidance from Silverstude, I stuck my hand in through the bottom of the door access port, held the back of the window level with the front, and cranked it all the way down. Magically, the crank assembly showed at the bottom of the door, just like in the shop manual and parts catalog.
I tried pushing the right idler arm back into the channel guide roller, but it pops right back out, so a on-line ordering I go.
-
Whoa, I may be late to the ask, but I'm interested.
-
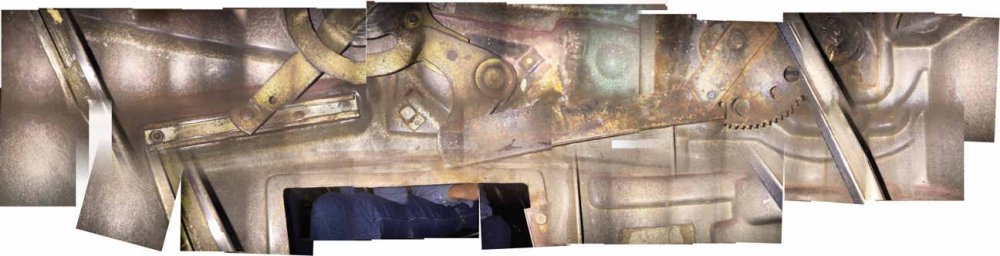
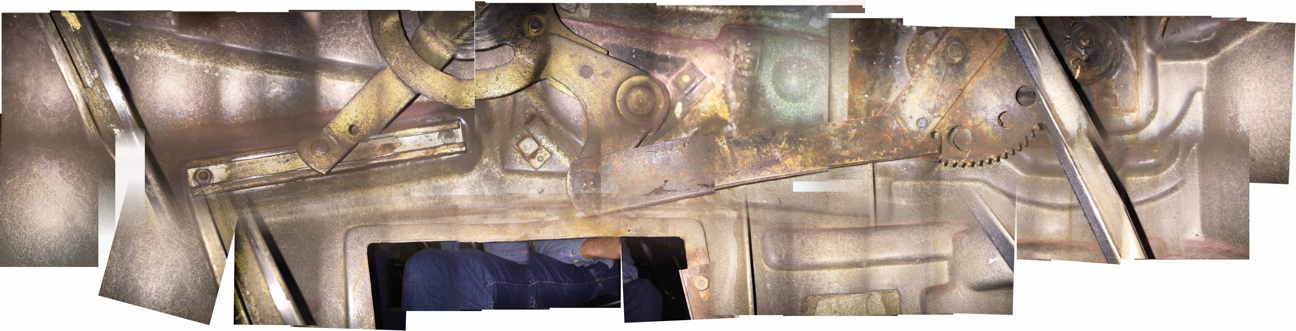
After a year of weekly to almost daily rolling the passenger side window up and down, something came loose, and it came down at an angle. I pulled it back up to seal up the car, sent it in for a spring detailing, and ordered a door handle tool. My hunch was that the glass has slipped out of the channel, but I wanted to know rather than guess.
So, I've been sliding my phone against the inside of the outer door panel and snapping shots. Since the panel is curved, there's a bit of a parallax problem with the mosaic thus far, but I'm hoping with one more pass, I'll have enough to see what's up.
The attached mosaic is the result of the three rows of snaps thus far.
-
Is the 289 a Ford? I get that all the time.
-
Yep, I've been following your Dad's example. A couple of beach towels work wonders.
-
My quarter window weather strips seem to be in good shape, but the latches don't "snap" shut. Enough pressure to keep the windows closed and prevent wind noise, but not enough to keep water from gushing in around the glass in a no-brush or car wash or when using a pressure washer.
Is this typical, or does this suggest the need for an adjustment or (gulp) replacement of the latches?
Cheers
-
Bob,
If running through resizing and renaming a large number of image files is an issue, you might try GraphicConverter (https://www.lemkesoft.de/en/products/graphicconverter/), free to try forever, if you don't mind the start up nag countdown, and $40 to buy. It offers a batch processing mode where, after the initial setup, you can run a number of effects on a folder full off files in fire and forget mode, including resizing and saving under new names and/or a different folder. I've used it to photo enhance hundreds of GoPro time lapse shots before combining them into an MPEG movie.
As for making the same html edits over hundreds of pages, I had suffered through this on a high school yearbook site I've maintained for 15 years (http://mauiholm.org/zagros). When facing a major layout redo, I finally gave in and wrote a reasonably short Python script that used an HTML template engine ( https://chameleon.readthedocs.io/en/latest/). Thus, I could reformat five years of yearbooks, ~1000 pages, by editing 5 or so HTML templates and running one command to crank out the results.
Carl
-
Nit-picks:
- I haven't yet found a comparison of Studebaker 289 and SBC engine dimensions to know exactly why the SBC requires the nose to be shimmed up like that. The oil pan?
- No windshield sprayer. Was that an optional item?
- No rubber strip over the firewall.
-
Bob,
iMac, and more to the point, OSX guy here. I displayed the linked page and looked at the HTML source, and I'm not seeing anything amiss other than that the layout is pretty plain. Did you end up fixing the character problem?
In general, I suspect the issue was that while the Apple TextEdit application supports a fair bit of text formatting, like Wordpad on Windows, you may have been treating it like Notepad on Windows, which saves text without any formatting or weird, non-printing characters (at least not without significant effort).
The easiest way to prevent this problem from recurring in TextEdit is to go to the "Format" menu and select "Make Plain Text". Thereafter, when you save the file, non-printable (and non-web able) characters shouldn't be an issue.
There are a number of OSX applications specifically designed to deal with source code, including HTML and CSS, and don't have much of a learning curve. You could also use Vi or EMACS in a Terminal window, but if you're not already a Vi or EMACS user, I'm not going to try to talk you into it.
If you want something for OSX that's intended as a source code and/or HTML editor, here are my suggestions:
- TextWrangler, free, http://www.barebones.com/products/textwrangler/
- Brackets, free, http://brackets.io/
- Smultron, $10, https://www.peterborgapps.com/smultron/
- BBEdit, $50, http://www.barebones.com/products/bbedit/
- Sublime Text, $70, https://www.sublimetext.com/
Carl


Steering Column Rag Joint: Adjusting to 5/16 vs 3/8 Coupler Bolts
in 1963-64 Avanti
Posted · Edited by cmholm
Resize photos
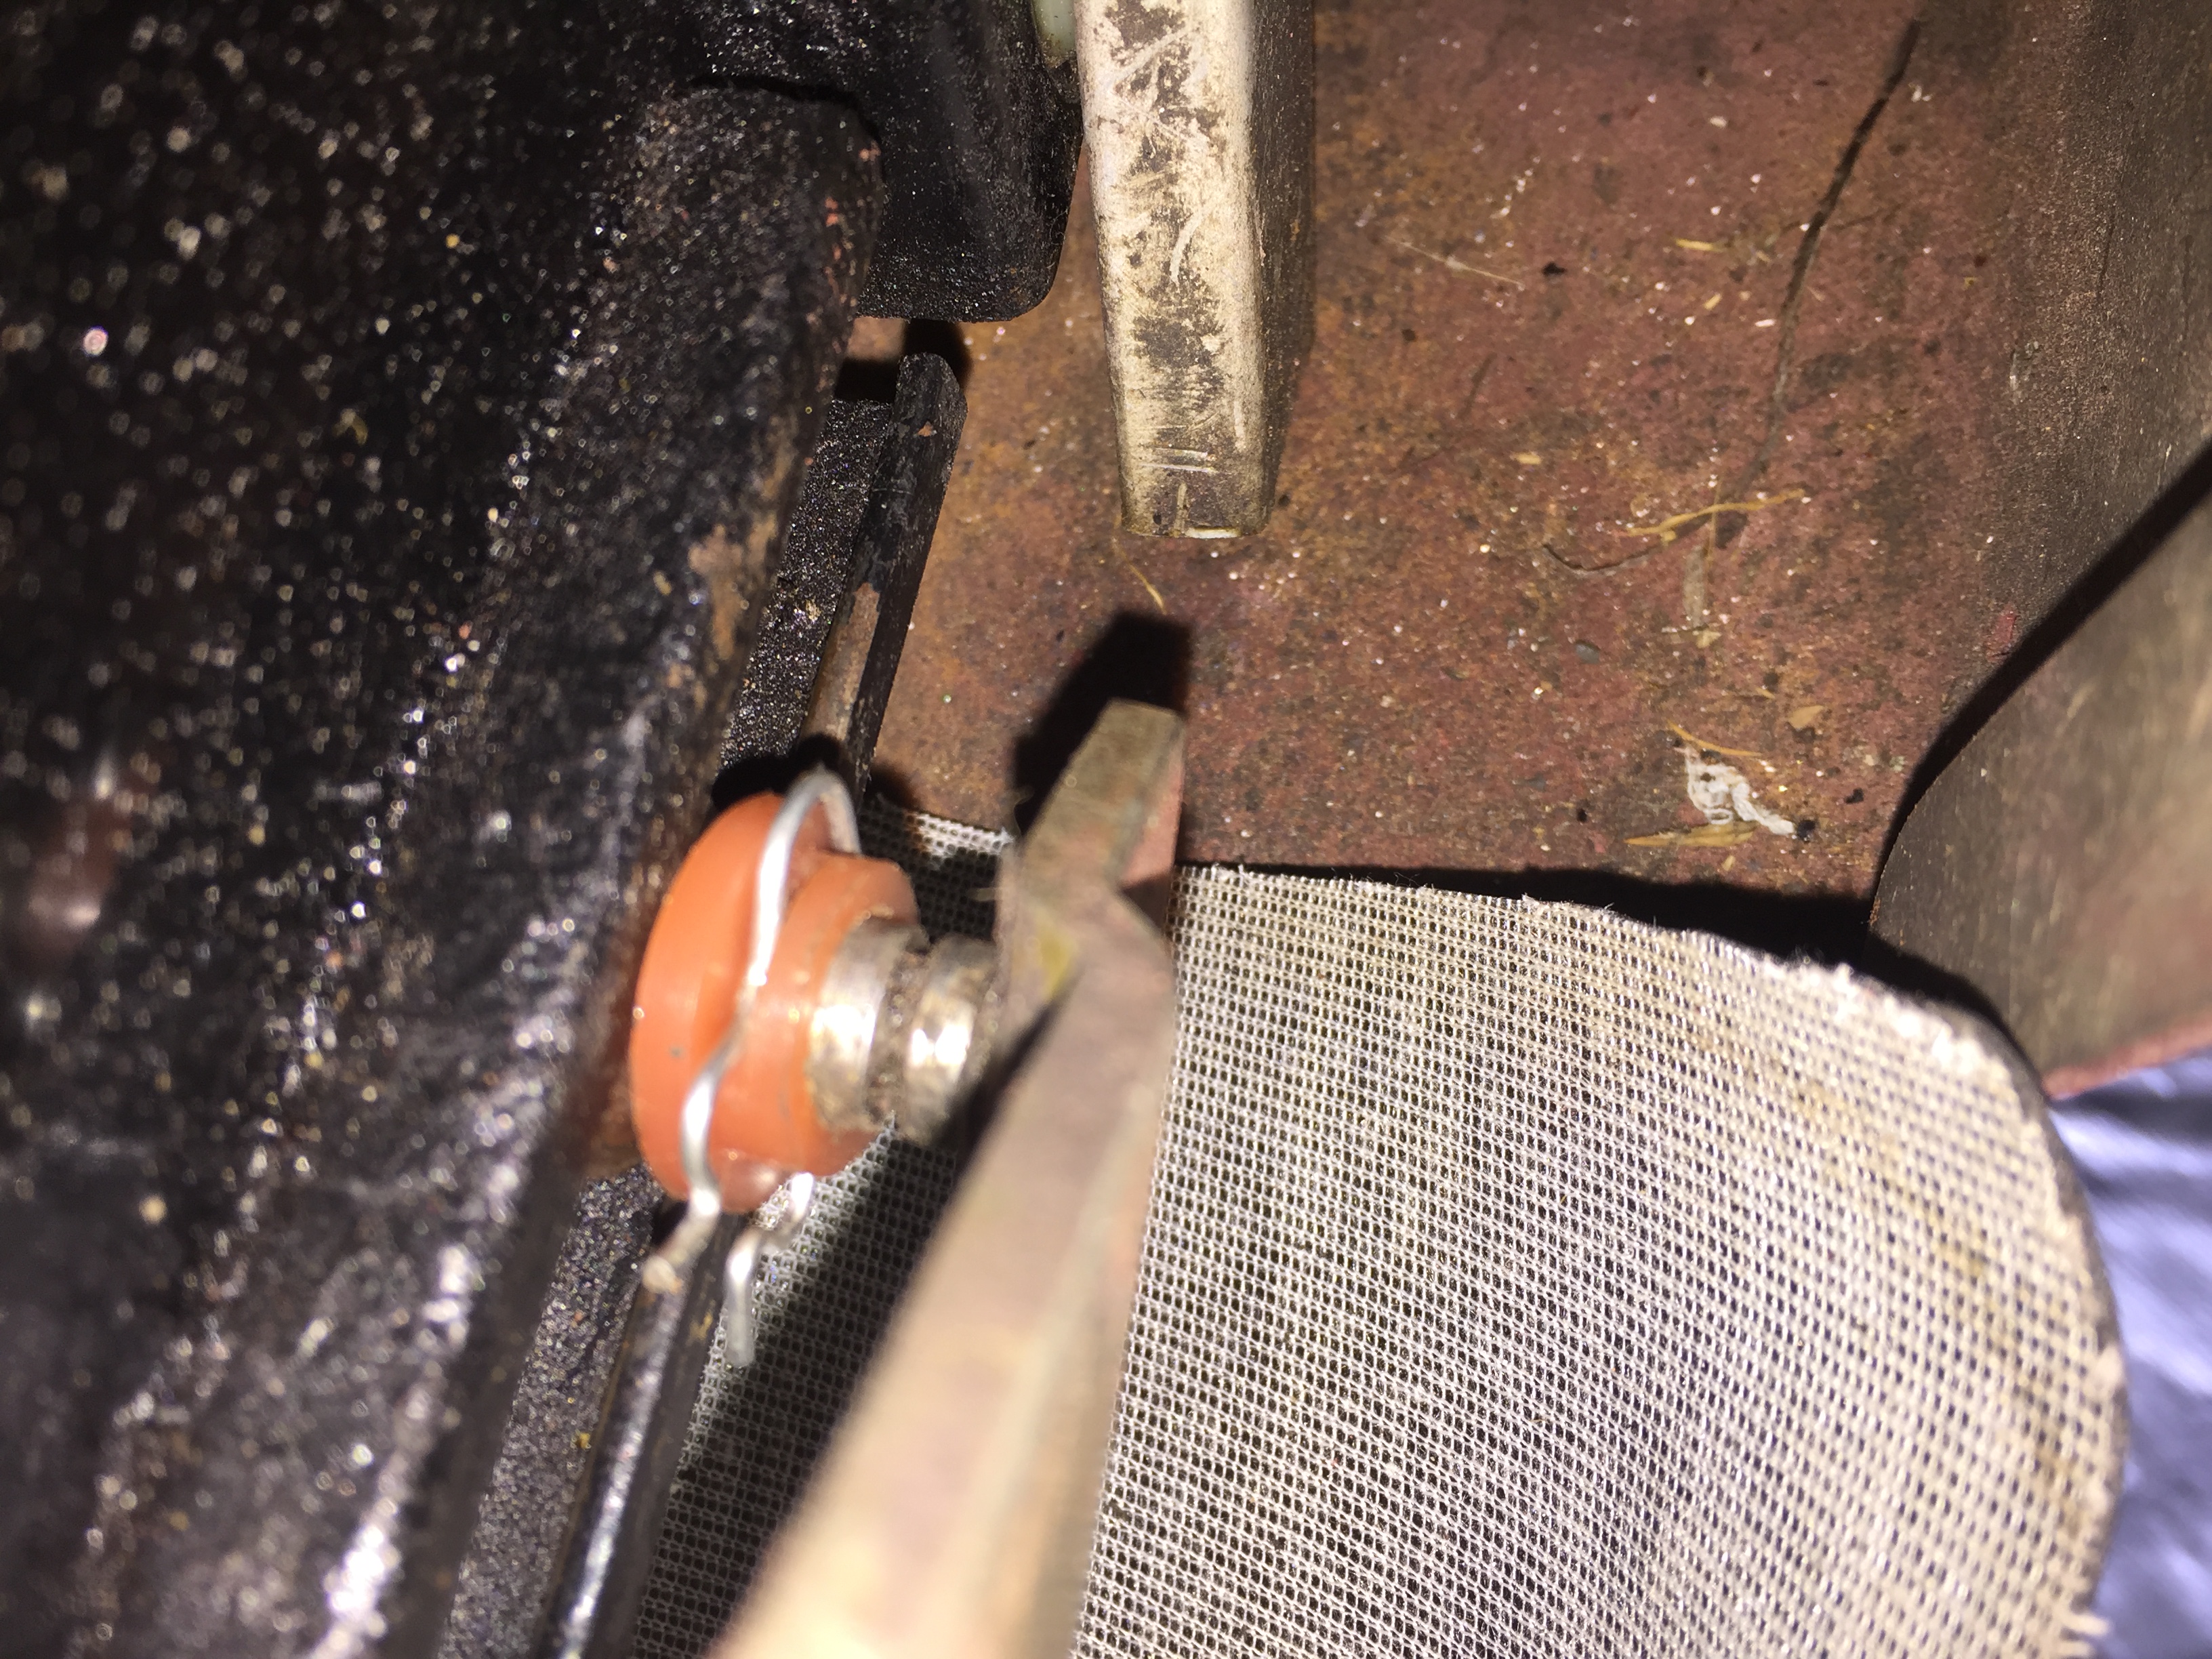
LeoB, encouraged by feedback on the FB Avanti Owners group, I gave drilling out one of the steering shaft holes a go, and it worked a treat. After cleaning up the hole with a Dremel, everything mated up cleanly. Although it doesn't show up in the photo, I added a grounding wire.