


Avanti83
-
Posts
1,282 -
Joined
-
Last visited
Content Type
Profiles
Forums
Events
Posts posted by Avanti83
-
-
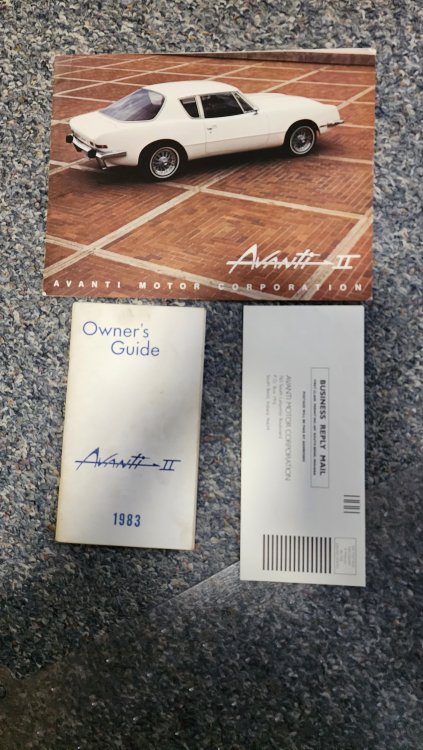
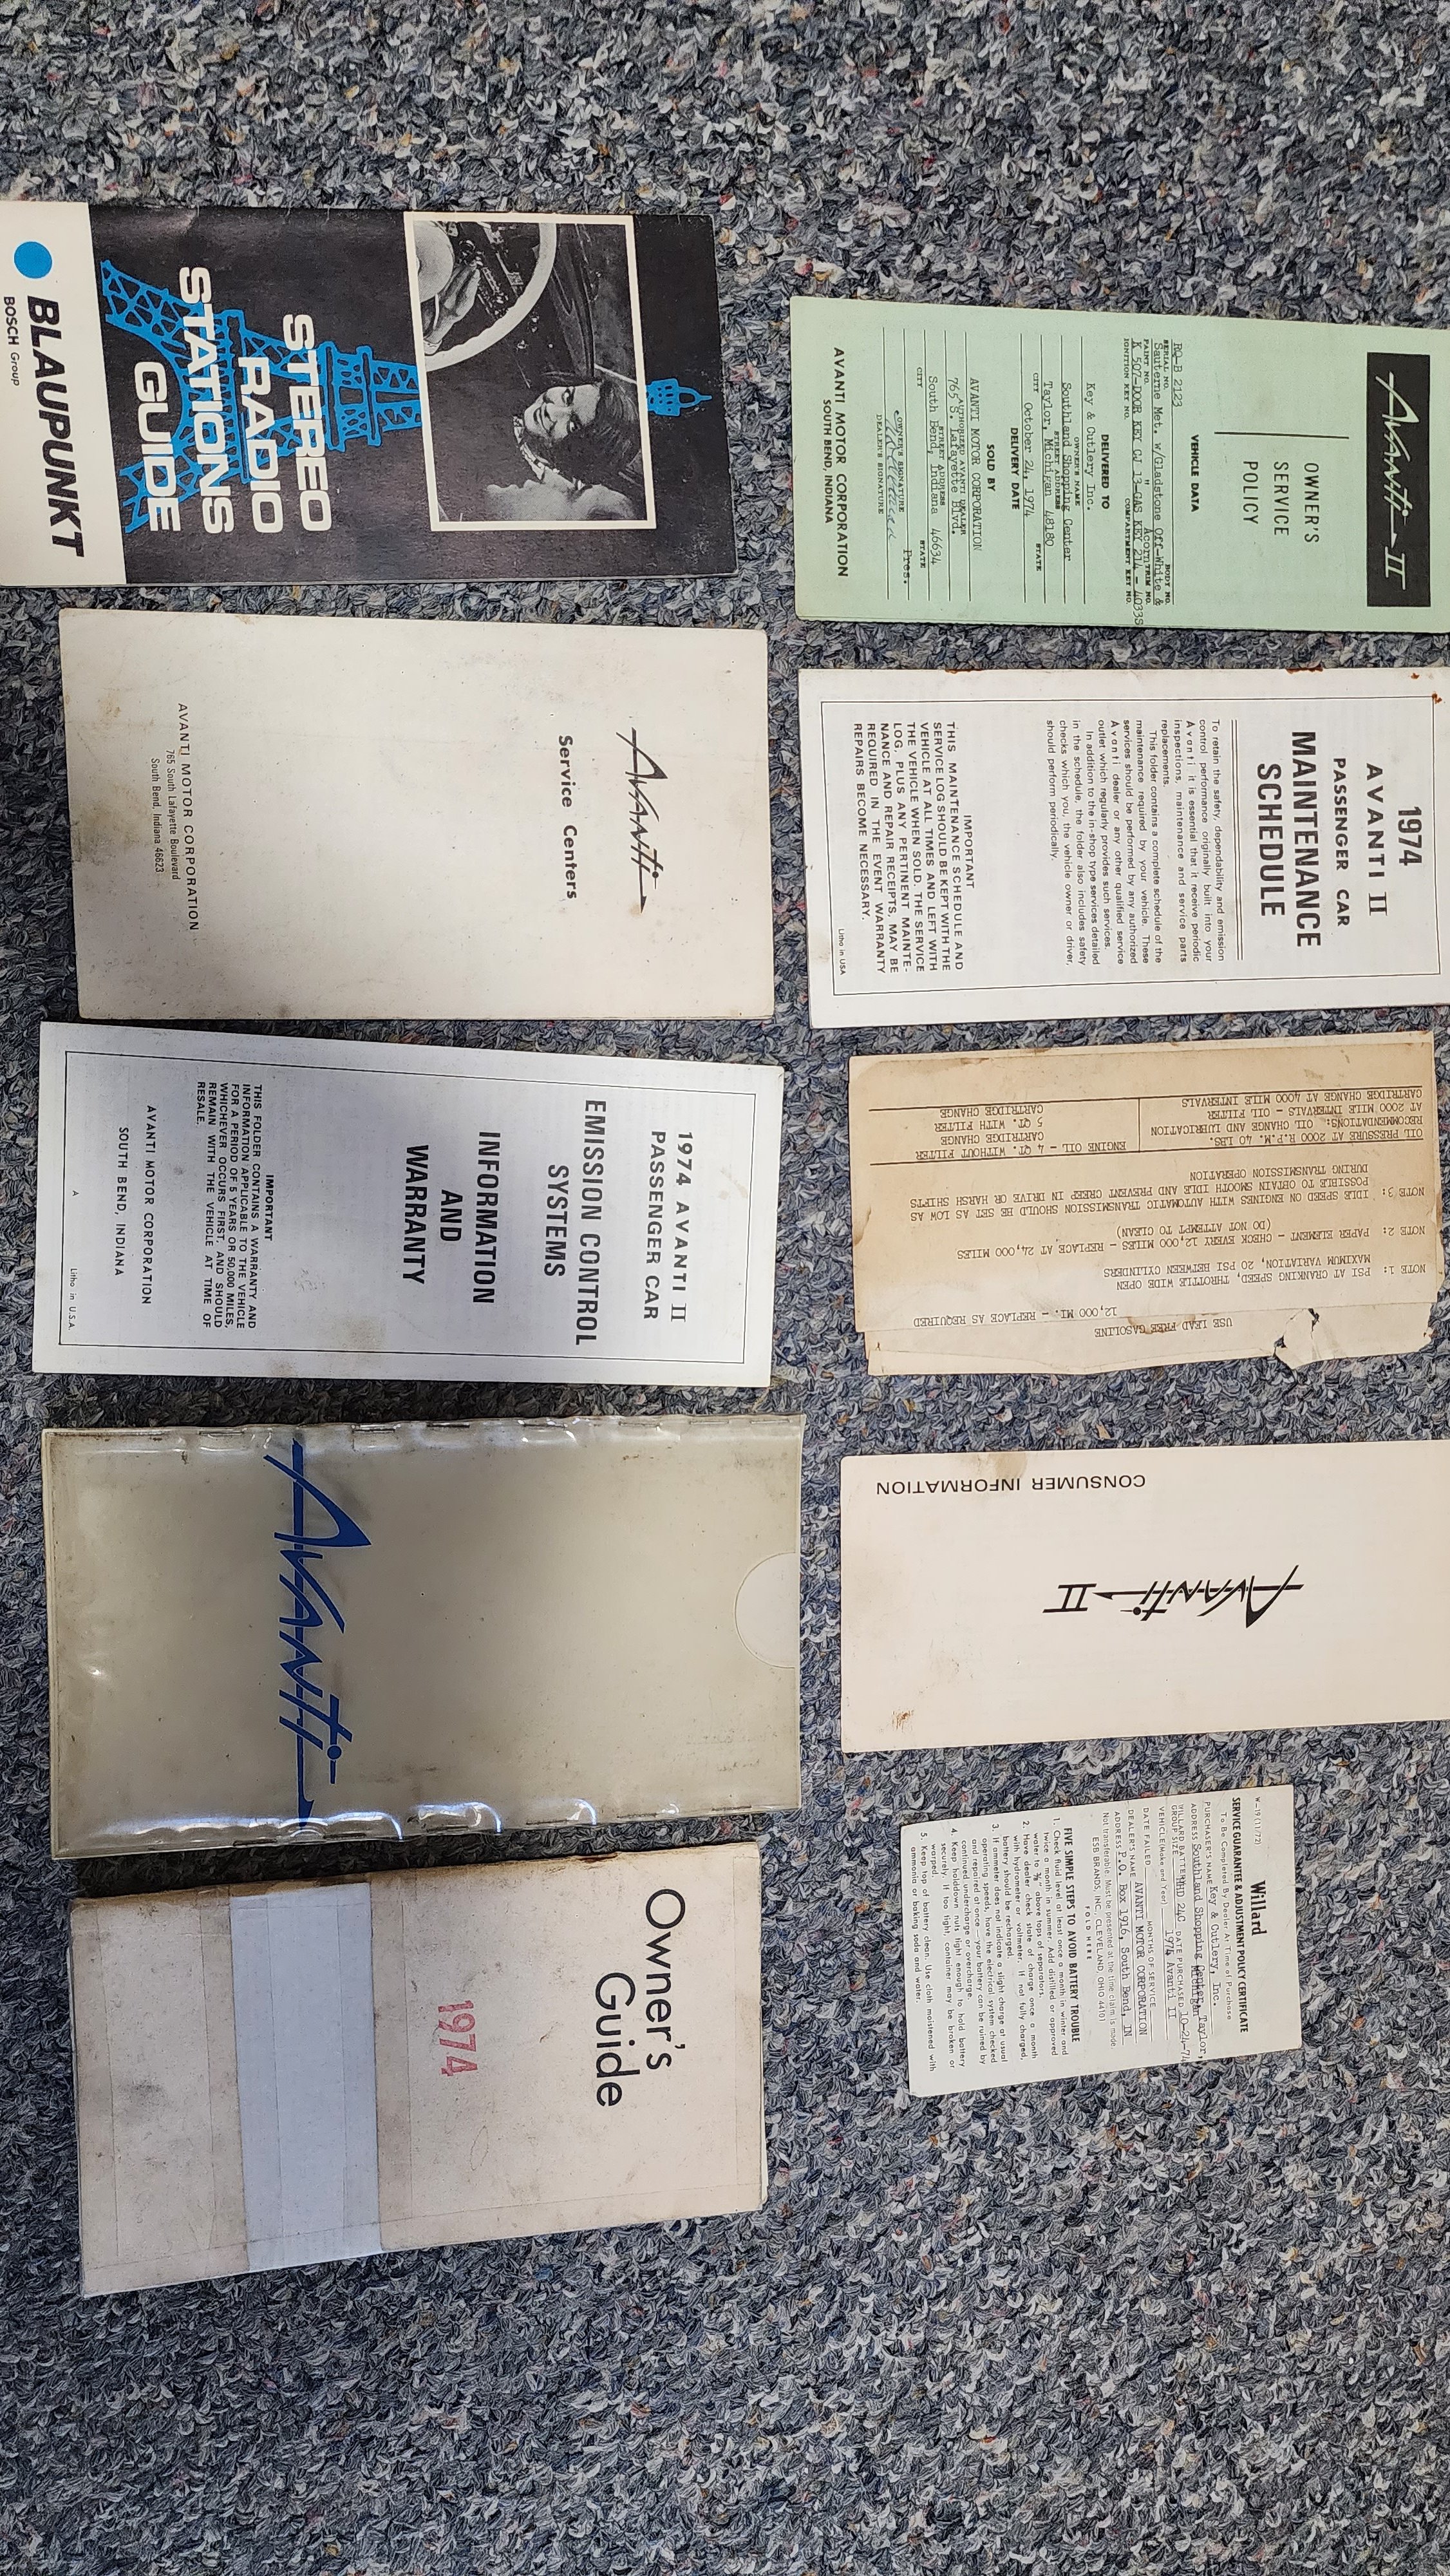
Both my 74 and 83 came with literature much like you posted. What I'm missing is the folder you showed.
I'll add a shot of the owners paperwork I got with my 74 and a second one from my 83.

-
Here's some discussion on the aerodynamics of the Avanti and 53 coupe.
https://aoai.org/forums/topic/544-aerodynamics/
A 2019 Ram 4X2 1500 is .356 for reference.
Carry on
-
It does look good. A nice addition to the original styling.
-
15 minutes ago, mfg said:
The problem with the original system is that the electronic Quadrajet carb can be overhauled perfectly, but if the computer, or a sensor, is out of whack the car still isn't going to run right.
Correct. Be sure he knows the timing both initial and final before he pulls the original distributor. That will give him a starting point when he replaces it. During the 70 and 80's GM did some funny things particularly with initial timing on emissions engines. I suspect he will end up with a bit more initial advance than the computer is running but it's not hard to sort out when he gets the new dissy installed.
Let us know how it turns out.
BTW, welcome back and I also miss Gary on the forum.
-
12 hours ago, mfg said:
A friend who owns a very nice '81 Avanti ll called saying his engine is running poorly due to carb/computer related issues. (His Avanti has the early computer controlled carb & distributor system))
I suggested converting to an Edelbrock square bore carb, using their 'thin' adapter plate on his spread bore manifold...also changing to an aftermarket vacuum advance type distributor.....
Was this good advice?
Yes as it's the most straight forward route. Like Bruce, I'd generally replace the intake and cam but that's not in the cards here. Generally places like Summit Racing have brand name and also lower cost distributors. The brand names can cost a bit but they are usually good quality. I've run a couple lower cost distributors from Summit and others with good results if price is an issue.
-
First thing I would do it to see if the engine turns over by hand with the spark plugs out. Nothing good happen when one rolls an old engine over at cranking speed if it hasn't been turned over by hand first.
If it turns over then you can check the starter relay to see if it has voltage to it and then puts voltage to the starter when the key is turned. If it sends voltage to the starter and the starter doesn't turn, hit the starter a few times with a board or light hammer to see if it will engage. If not, remover the starter and bench test it to see if it turns. Some times starters get a few bad spots and won't turn the engine if the armatures sets on them. If you can't get the starter to turn then you have a bad starter.Before you do any of the above clean all the power and ground connections as that's critical on a glass bodied car.
-
Bill's solution will work very well. What a lot of us do is just drill a couple holes in-line with #5 & #7 plug large enough to get a socket and long extension through. There are various plugs available to fill the holes if you want but most of us just leave the holes open.
-
15 minutes ago, GaryBe said:
Good day everyone. I'd like get a verification, if possible. I'm looking at a 83 and was wondering if it came with a Overdrive transmission? Whether a 700R4 or the 200-4R? It doesn't say on the build sheet, but was wondering, without looking at the actual car, is there a way to know? Is it my understanding that all Avantis came with the Overdrive trans for this run?
Thanks
This should get you started on how to tell the transmissions apart including some visual clues.
https://www.700r4transmissionhq.com/2004r-vs-700r4-differences/
I suspect you have a 700R4 in your 83 as mine also came that way from the factory. Mine now has a 2004R with 4:10 rear gears because I found a killer deal on the 200 a number of years back. If you have a 700R4 and want to switch to a 200 you should also plan on new rear gearing as the ones in the 700 are probably in the 2.7 to 3.0 range.
Remember the 700 was built to get big heavy cars and trucks moving with 2.7 or so rear gearing so they have a low first gear. IMM, that's not a bad deal as long as you know what you are putting together.
A great resource is Bow Tie Transmissions website as they have about all the pertinent info on most GM automatic transmissions over the last 50 years or so. That will let you plan on what you can find and use to put together any combination of drivetrain you may need.
-
In your spam folder you will see a box to the left of the AOAI email. Select (click) the box and above it will appear the wording "not spam". Click on that and the email will be sent to your mail folder and from then on they should show up in the mail folder.
-
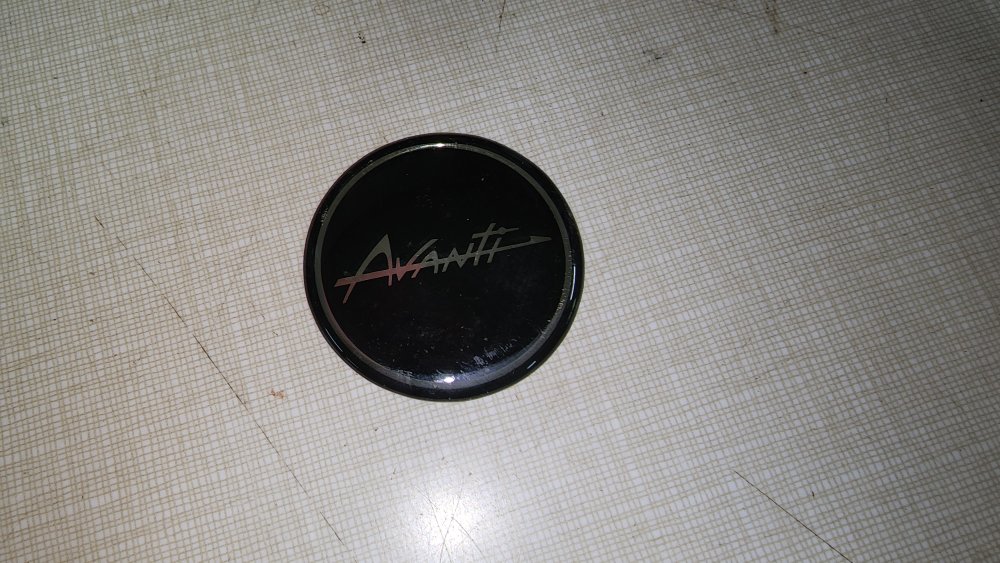
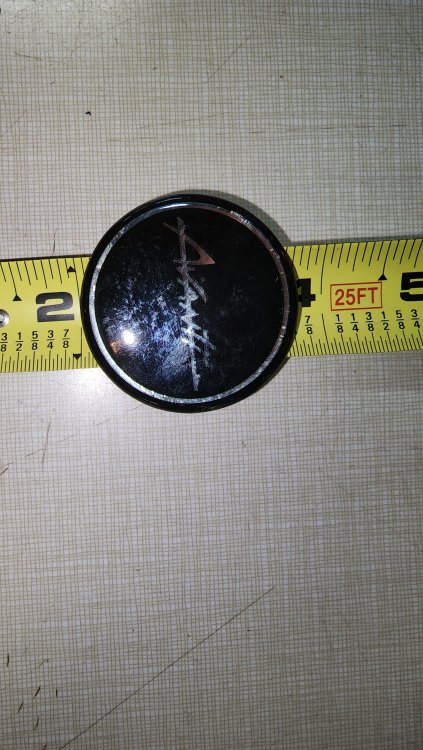
1 hour ago, pantera928 said:
And I would be happy to find that one. All that have that logo are tri-spinner type.
Are the Avanti labels still around?
Summit Racing has a few that will fit but the one that Gunslinger posted is on back order. You could try Jegs and any number of the usual suspects.
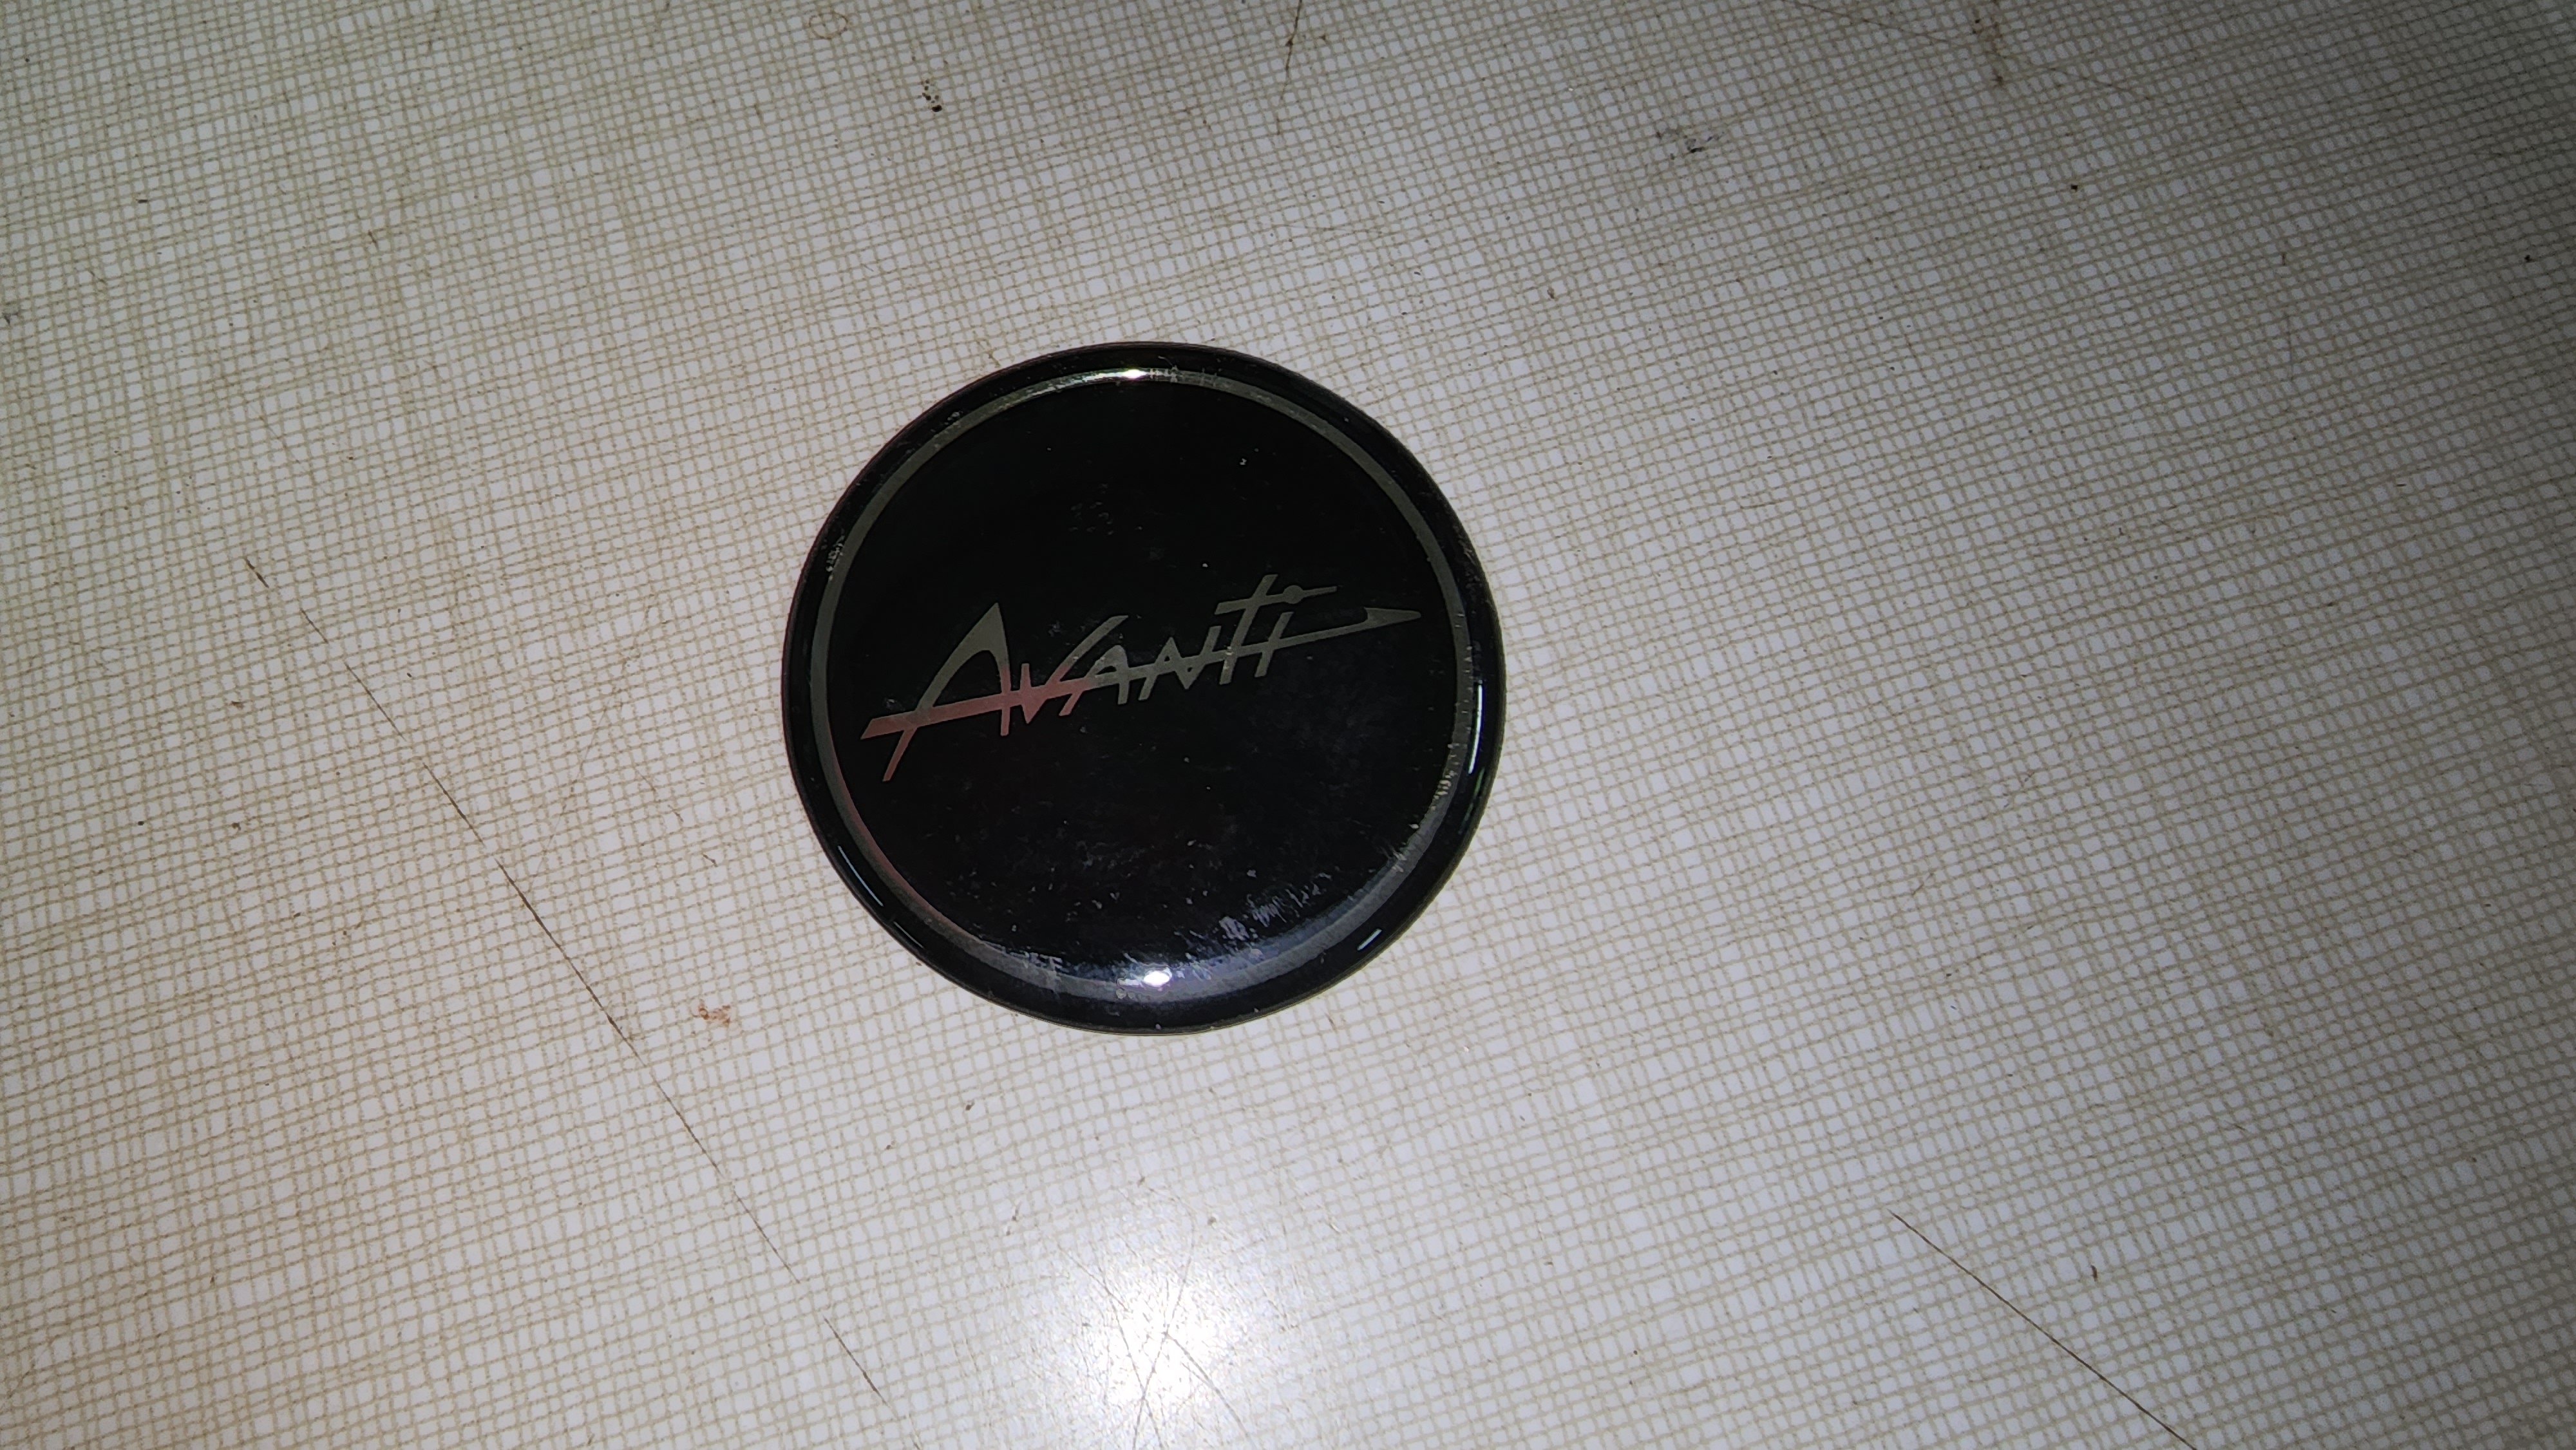
The center Avanti script add-on were available at most of the Studebaker vendors a while back but have become hard to find lately. I found a set on Ebay a while back.
They look like this.
-
Agree with the aftermarket type but also be aware most new pickups come with scissor jacks and are compact enough to fit under the passenger seat as in the newer Rams.
Those should also fit under the Avanti spare assembly also as the crank comes in several pieces. If you don't like prowling wrecking yards, try Ebay.
Bob
-
Most any auto store can supply a universal brake light switch. There are usually the threaded ones I used on mine or a lever action one that can also be used.
-
10 hours ago, pantera928 said:
Okay, so who else is interested? Can we get enough to reduce the cost?
Might be worth posting this over on the SDC forum.
-
My guess is the problem is the 14" wheel but if you have an early Turner conversion, the brake caliper had a nub that could be ground off if that's what's rubbing.
It's pretty easy to start to add washers behind the wheel to see what size spacer is needed but you'll probably need longer studs and also look for tire to body/suspension interference.
-
If it has the coil in the cap distributor there is a tach connector next to the power wire.
Looks like this. https://www.amazon.com/Distributor-1977-1987-1103200-1103203-1103209/dp/B00VV81J6Y
-
Dan's the correct call. The fronts are the usual suspects from the 63/64 cars unless they have been upgraded to Turner or other aftermarket units but the rear are a combination of parts from later model non-Avanti cars. They could be Chrysler drums and Chevy C-10/Caprice shoes as an example.
Also don't forget the master cylinder which could be the cause of most of your issues.
-
Here's a list of Studebaker vendors. Pay particular attention to Studebaker International, Stephen Allen, and Myers. https://www.studebakervendors.com/
That said, the go-to for all things Avanti is Dan Booth at Nostalgic Motors. He bought out all the original Avanti surplus back in the day and has a ton of parts reproduced. He will also spend time on the phone explaining what to do to repair most things Avanti and how to do them. Great resource.
Front brakes are Dunlop, rear are a collage of mostly chevy/chrysler parts IIRC, and the bolt circle is 4.5" or 114.3mm.
I used 17X9 Mustang wheels from a 2000-2004 on my 74. They are close to the max.
Here's my wheel posting from the Studebaker forum a while back. https://forum.studebakerdriversclub.com/forum/your-studebaker-forum/tech-talk/110102-mustang-wheels-become-avanti-wheels
-
7 hours ago, wildfelr said:
RQB3263/81/305 ... i JUST WATCHED THE VIDEO ON THE INSTALLATION OF THE nEW rELICS POWER WINDOW REGULATOR KIT INSTALL.... (Sorry for screaming but I am a happy camper with this info)...does any one else have experience installing/purchasing this kit ?? please jump in here .... thanks ....BILL IN FL 386-466-6424 CELL
This is some comments on how I did mine on my 74. There are a few helpful hints that the earlier install video didn't have.
-
I don't recall the exact replacement numbers but they are common Automobile bearings and seals. NAPA will have them, just buy good quality brands, drive out the races and replace both bearings and the grease seals. Clean everything up, pack with good high temperature grease and drive like you stole it.
Do both sides and check the brake pads for wear while you're in there. Numbers like A6 and A10 bearings come to mind but check for sure.
-
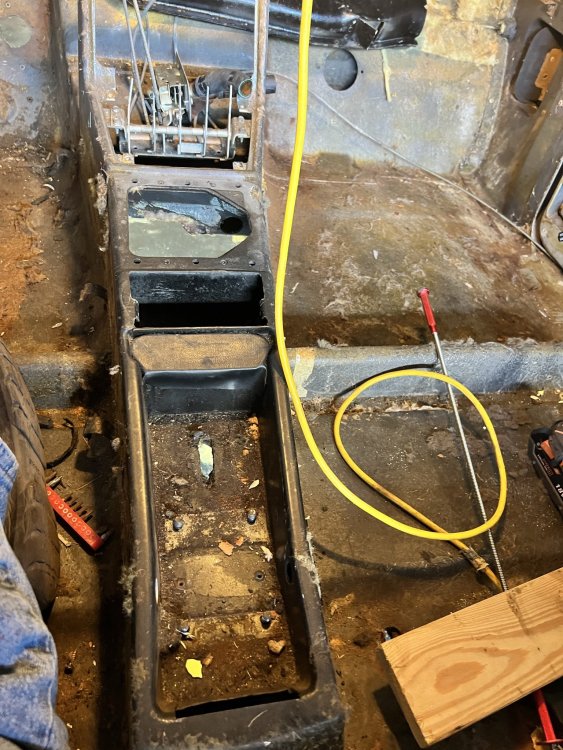
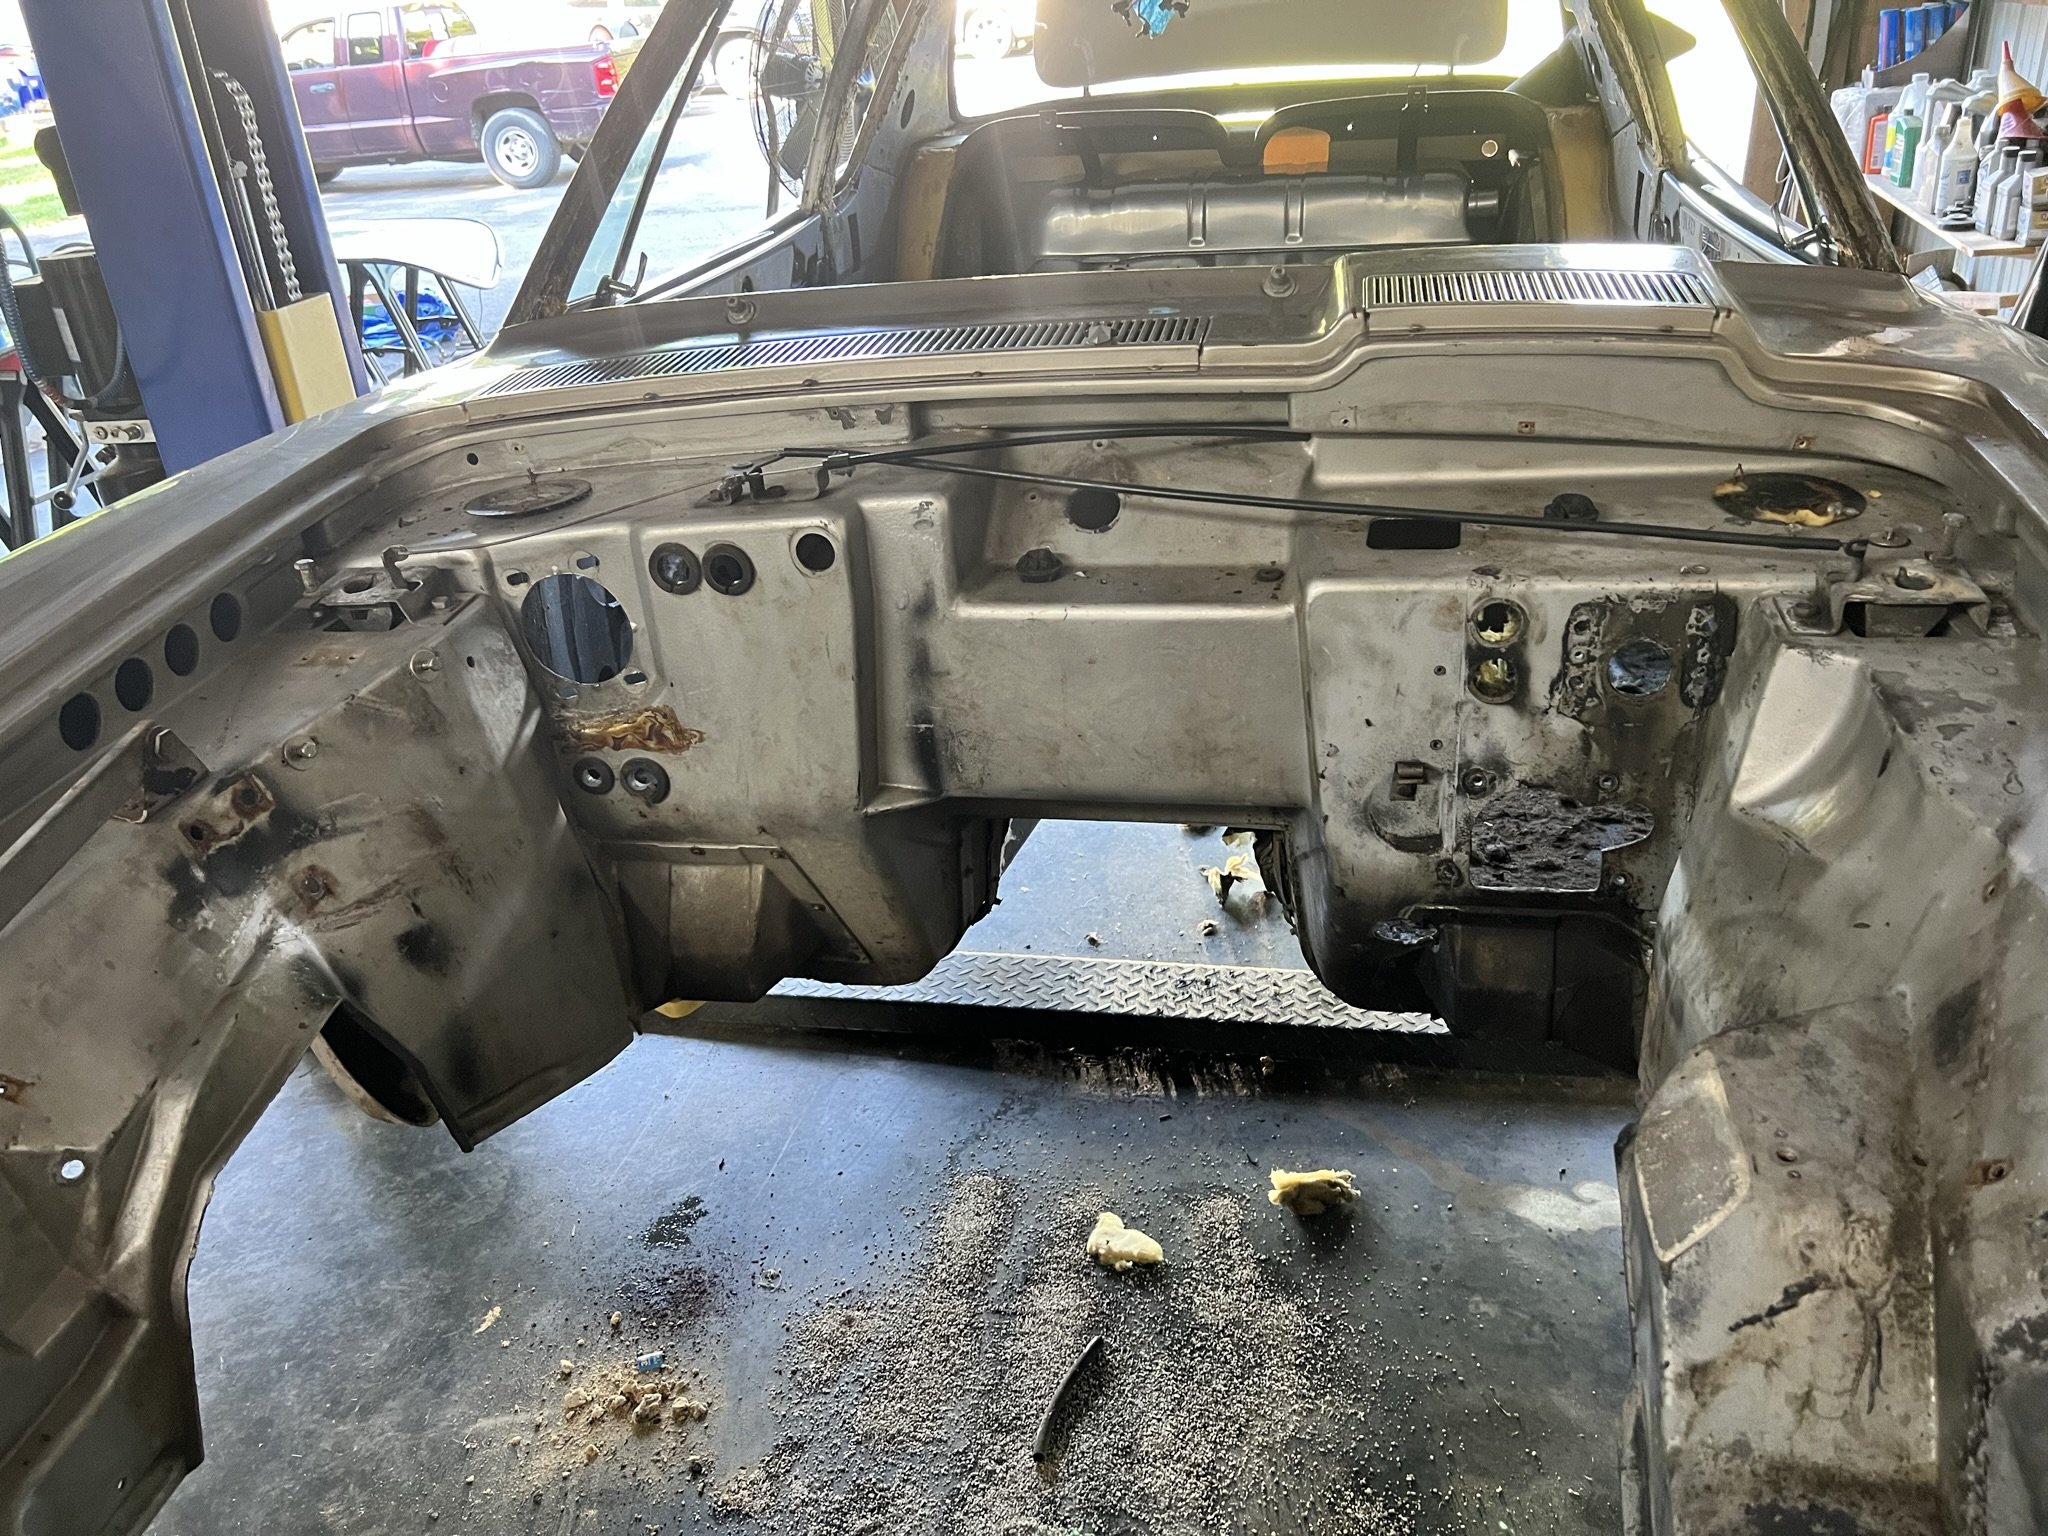
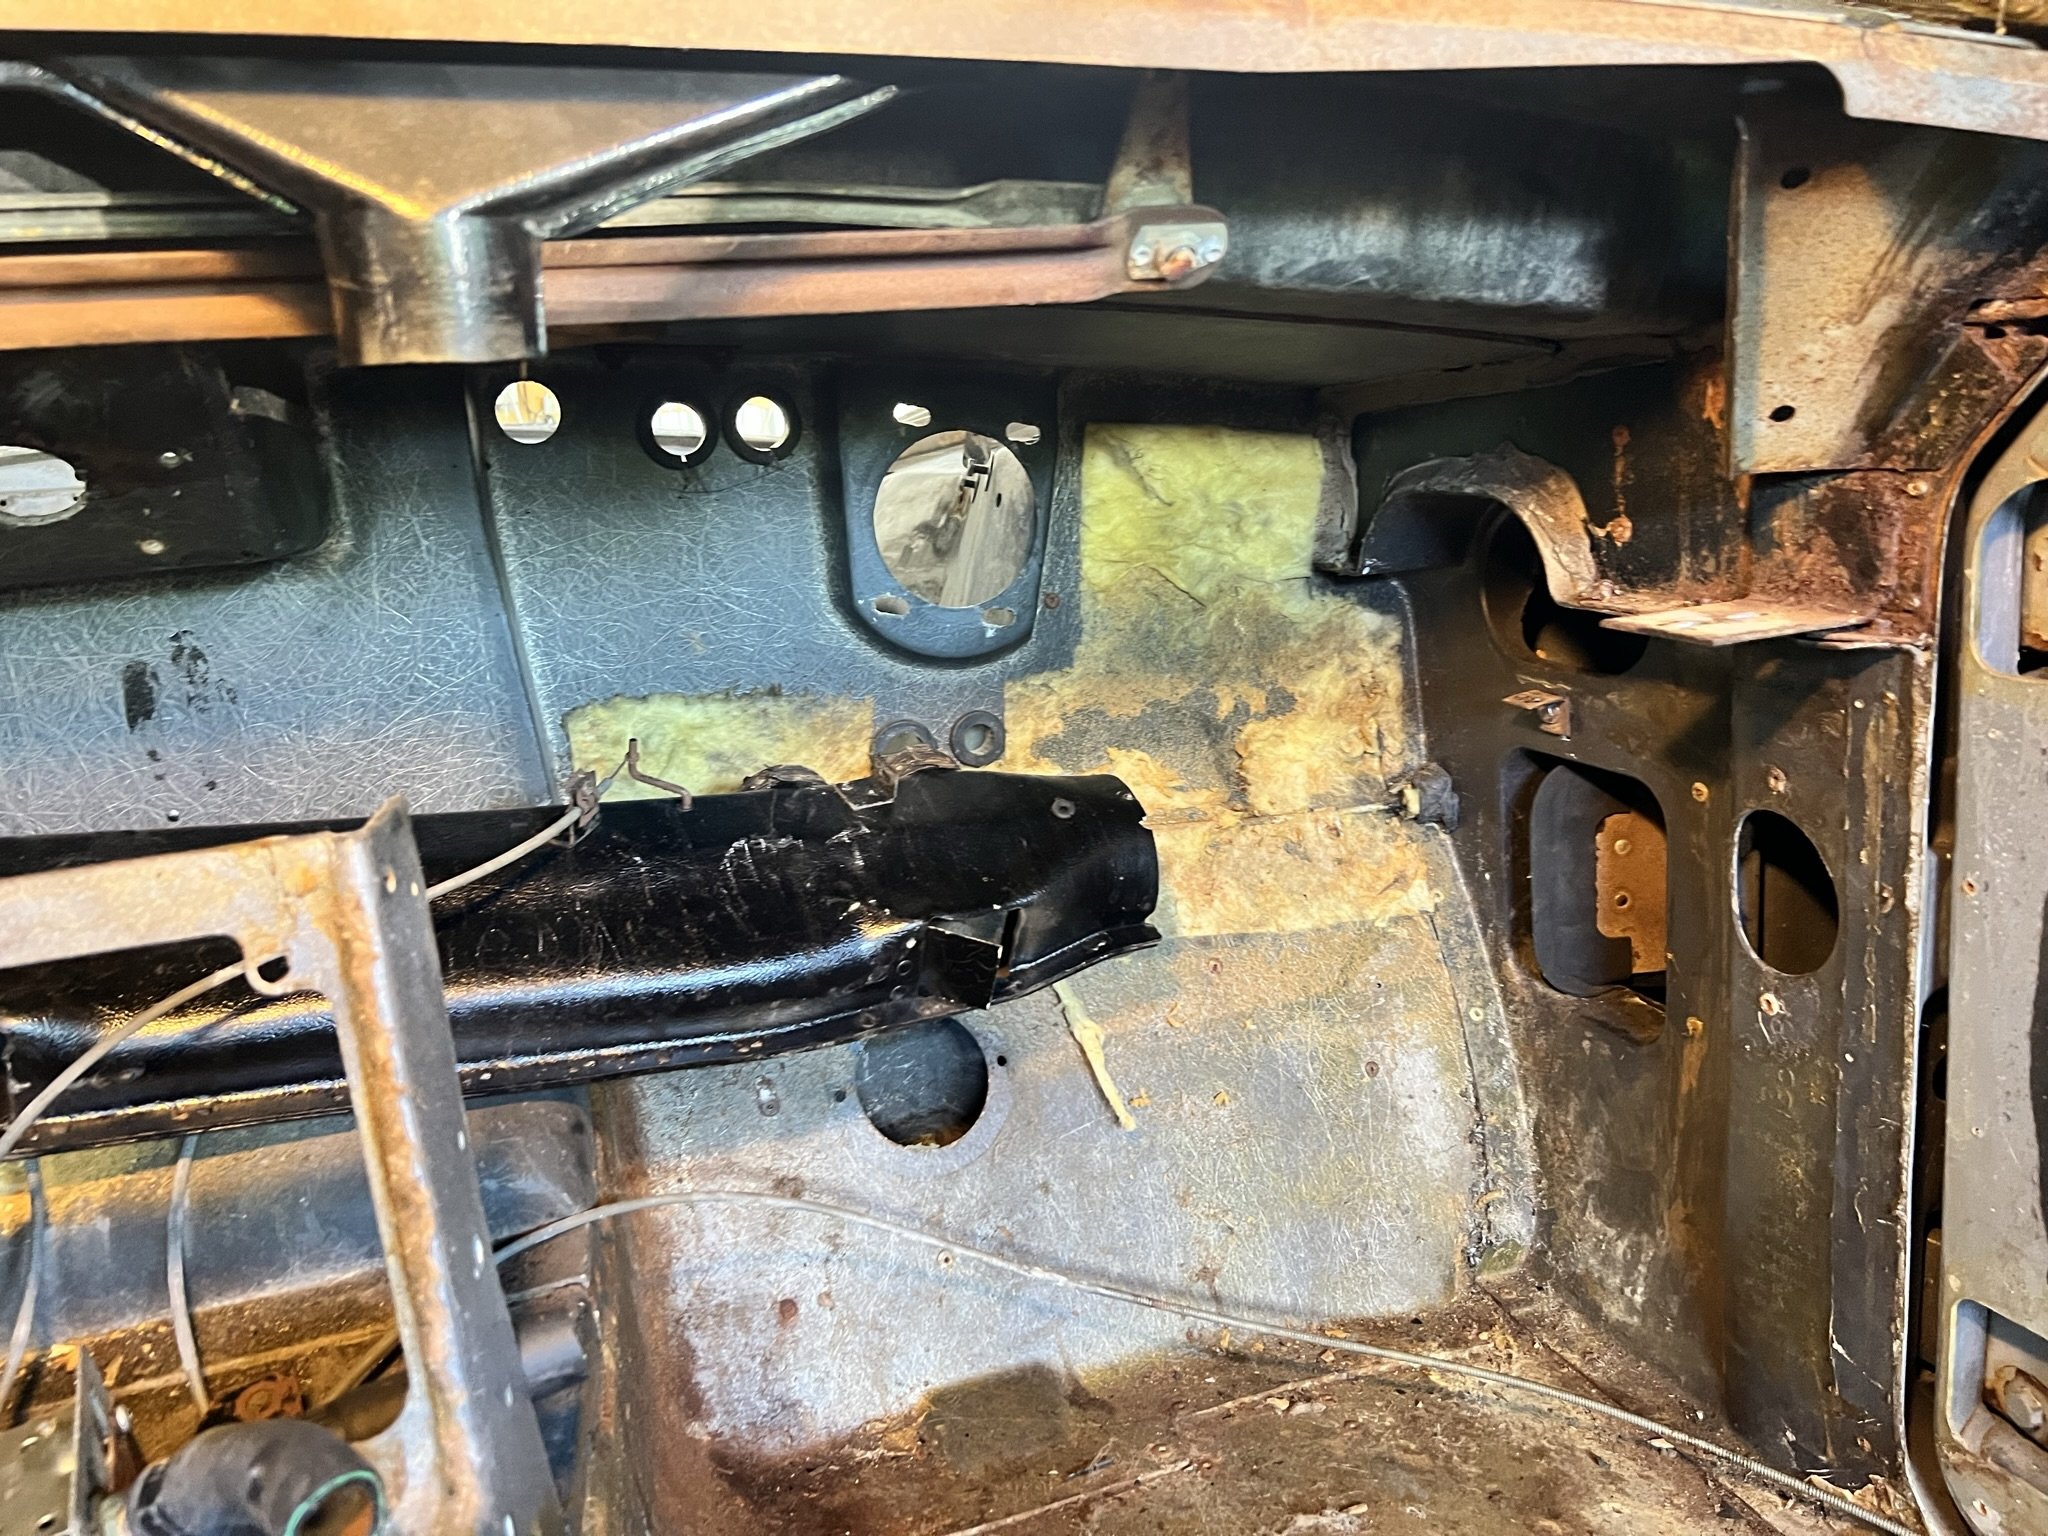
7 hours ago, Gill said:
Soooo….. the frame has been blasted & 2/3s of the exterior…. Some surprises…. 2 small, 1 large crack & a bad weld on the frame…. 2 holes in the body so far…. A lot of bondo on the rear quarters & hood…. Expected repaired right front fender…. Pictures attached…. Weather & schedule seems to be pushing the remainder of blasting to next Friday…. Painting the frame later today..
I’m happy w/ the frame & the bottom of the body…
Looks a lot like my body and frame did when I cleaned them up although yours is a bit more damaged around the front crossmember and mine was more rusty in the rear of the frame and rear crossmember. Keep at it, you'll have a great ride.
Enjoying the pictures please keep posting.
-
14 hours ago, Jred said:
Thanks all.
Another friend suggested checking to see if its a 4 or 2 bolt. He mentioned that the 4 bolts from 1970 are good for building.
Four is better than two but, in reality, the vast majority of SBC's were two bolt and they hold up just fine for the HP levels you were discussing.
-
Agree with Gunslinger unless you are bound and determined to assemble it yourself. A complete engine rebuild kit for the 350 including crank, cam, pistons all gaskets etc is about $1400 from the usual suspects. You would then need to have your engine cleaned and bored as well as the heads and valves redone. If you want a better cam etc then the costs go up.
$3000 will get you started in a crate motor from the same sources.
I suggest that you take a look at Jegs or Summit Racing's site and compare the performance level you want between a parts cost for a rebuild and a similiar crate motor and then decide which way to go. Your machinist should be able to give you a ballpark number for the block and head work.
I have rebuilt several SBC's because I enjoy doing it and I have the tools and other odds and ends to do so.
-
Bill
Have you thought of mocking one up and laying fiberglass on the pattern to make one. Worked for the cowl induction on my 74.
I've watched the folks on Texas Metal do that several times by making a pattern, covering it with flannel and impregnating it with resin. Then using fiberglass for strength and finishing it as they would any body work.
-
23 minutes ago, Gill said:
A Question…. the blastman is coming Friday to do the frame, exterior & interior of the body…. Rust inhibitor goes on the frame immediately afterwards…. I'm using Esatwood’s Platinum Encapsulator after cleaning it w/ After-Blast Metal Prep.
Is the something that I should do to the exterior and interior???
Fibreglast 1041 seems to be something to add to the interior floor & roof to ‘toughen it’ any thoughts…I am/was planning to paint the inside of the firewall & dash area to give it a freshened look…. I’ll do the same to the rest do the interior but then thought there might be something that could ‘toughen it’…. Yes sound/heat proofing materials will go in the interior & underneath it…
Thanks for you input & encouragement…


Look the body over carefully after blasting and locate the cracks and other issues. Repair what you need to address and primer the body. If you prime it immediately you may overlook some issues and they won't repair themselves.


hood support
in Avanti Information
Posted
https://www.studebakervendors.com/ This is a list of Studebaker vendors which you'll possibly need in the future. For your part, I'd try Nostalgic, Myers, SI and possibly Stephen Allen. Nostalgic is all Avanti and the others carry a fair number of Avanti Parts.