


Ntenna
-
Posts
58 -
Joined
-
Last visited
Content Type
Profiles
Forums
Events
Posts posted by Ntenna
-
-
All helpful information. If you want first-hand experience info, speak to Jon Myer at 740-674-4897 USA east-coast afternoons. He has done many of the s-series carbs and can help with special tweaks, jetting, upgrades, ETC.
-
Mfg is right. “When you lose even one ball, replace all”. And the races. Check all sizing for tolerance. Then you can expect a much longer life. It also helps substantially if the oil is cooled externally. Talk to Jon Myer about that. One of ours has made it 20 years and 25,000 miles that way.
-
Easy test is remove gas cap. Watch fuel bowl. Carb is of course under pressure but vent is too - so it is possible to have rising blower pressure reduce fuel flow. Of course, pressure line from blower to Jet-Thrust manual pump is intended to overcome that. It will not help if main fuel line is plugged, or has a pin-hole reducing vacuum.
You may want to consider a close look at all steel line for tiny rust holes especially under coil spring protected areas and rubber hoses by the electric pump and rear filter. Tiny cracks there will do what is happening to your car. And finally check tank output elbow, add fuel screen if not equipped. Fuel will not necessarily be visibly leaking and the line can still fail to allow full suction.
-
Recently took R-1454 down to original firewall padding, heater out. Remnants of solid black carpet matched the original build sheet and born report for this Avanti Gold, fawn and elk car with deluxe, not regal interior; often the last pieces of the original carpet are pinched between the heater and the firewall pad above the accelerator.
-
In our early ‘63, it’s one long cable front to rear but it feeds on the outside of the fiberglass divider behind the rear seat cushions and over the left wheel well. So the rear cushions come out and you have to feed it under the carpet and along the driver’s side of the console.
-
Pepper Knight (if I am remembering correctly) had “variable rate” front springs made which have varied coil spacing narrowed at the top. Since I had to get rid of a set of heated and collapsed springs on R-1454, I looked at HD, NOS and Pepper’s springs. Went with Pepper’s and a 7/8” sway bar. Do not regret it in the slightest. Ride and control are both excellent and stance is good, with very slight over-steer.
In the rear, lowering blocks were removed and a local shop rebuilt and re-arched the springs to offset for the eliminated blocks, and the u-bolts and spacers were replaced. The rear sway bar was upsized as well, the traction rod bushings replaced with urethane, springs with new standard bushings. Result: sits level, stance is good, and rear behaves very well, no hop, no skitter, solid ride without jarring.
There are many approaches to suspension tuning; wishing you results you are pleased with.
-
Glad you got hooked up. I run the AMR VR470 Salt Flats, very similar. With the right tires it’s a good look.
-
Have you tried a vendor, such as Jon Myer or Bob Ziff? They usually have Turner kits in stock.
-
You might consider a vented cap in the meantime. Filling the tank easily might be your main challenge. If this is an R-1 there isn’t a recirculation issue anyway, and with a vented cap you would not have a suction issue with the tank, or getting gas to the carb.
-
You can remove the quarter window, lift the upholstery and look up into the C-pillar area. You will see where the hose has gone. First time I tried this the hose bent forward and went into the area between the channels. I can't see how the sender is leaking much even if the electric feed-thru was slightly loose, but also check that the gasket is fully seated. Best I can offer is the old-school cause and effect. If It didn't vent fumes before look at each change made and see what effect from it could cause the fumes. There is an answer somewhere! Good luck with this....
-
Looking from the bottom the gray wire with black stripe (power from fuse box and ignition switch) is on the bottom terminal. The orange wire to the sender (barely visible) is on the top terminal. The white push-on plugs on the temp gauge studs are for grounds for windshield washer and clock.

-
Pegged gauge usually means shorted circuit on sender side or shorted sender. You can check by just taking sender connection loose, float in mid-air and turn on ignition w/o starting. Gauge should just sit there at zero. Tap sender wire to block, have someone watch and gauge should peg. Can verify connections tomorrow on our 63 though, if someone doesn’t get to it earlier.
Engine really can’t reach 240 in 3 minutes run time. Has to be something shorting after 3 minutes, IMHO.
-
The second pair of holes is about 2” above the lower pair. I could be wrong, but I think the idea was to get the top curve in the vent hose well above the filler neck.
-
If you have not buttoned up the back area, suggest you cap off the fuel vent tube by the sender, find a non-vented gas cap and give it a day at the constant 75 degrees in the warehouse. If no smell, go back to vented gas cap, run the gas vent hose as you did out the quarter window, up to top of roof and back to middle wheel. Let stand for a day again. It's detective work for sure.
Goal is to be certain 1) nothing else is leaking, and 2) you got high enough with that vent hose. There are actually four fiberglass holes that have to be passed through to get that vent hose all the way to the roof.
-
I was told not at this time but maybe within the next two years. J
-
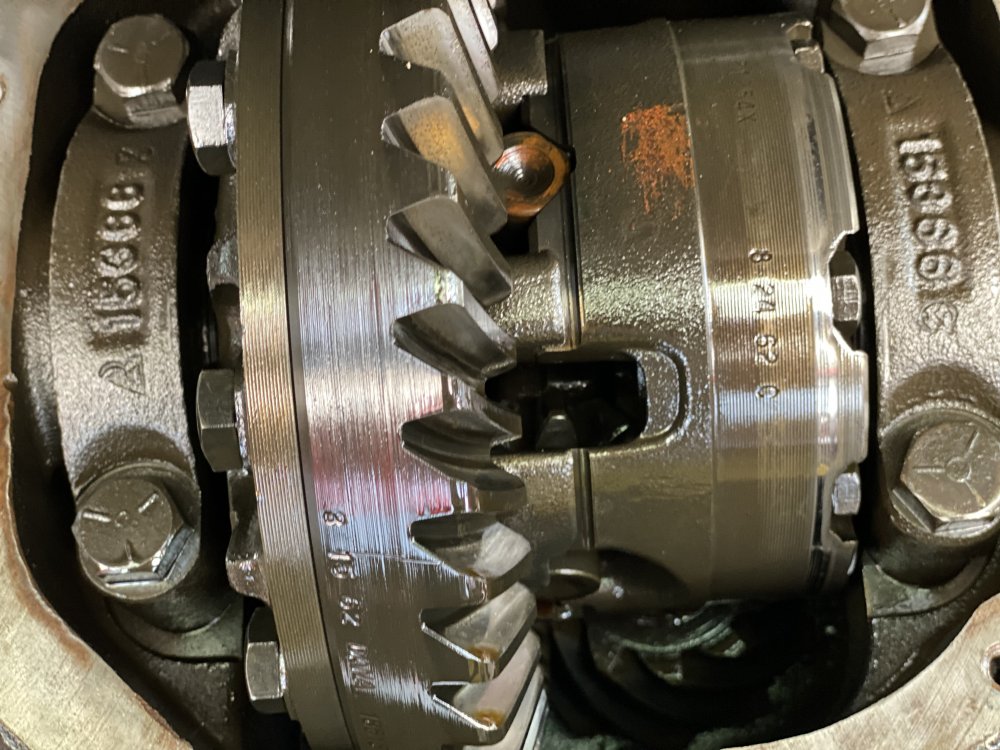
Thanks folks. Appreciate the info and ideas. Im betting on past over-tightening as the cover is otherwise in excellent shape. I do believe I will grind it off some better way than using the clutch pack LOL!
-
Rear axle oil change for the first time. Original T-T car. Unexpected stripe on the T-T clutch pack. Turned out to be the filler plug screwed too far in. On this Stude Dana 44, the clutch pack comes very close to the cover plate. Add a loose-ish plug thread and the plug easily hits the rotating stuff. Was there a deeper-dish cover for Twin-Traction axles and maybe this axle has a non- TT cover? Meanwhile, extra teflon tape has solved the problem for now. Glad I have not driven any before looking at this.
-
Thanks, guys. Had larger Sumis on a '72 Datsun Z I used to autocross back in the 80's. Never knew about the Avanti replacement.
-
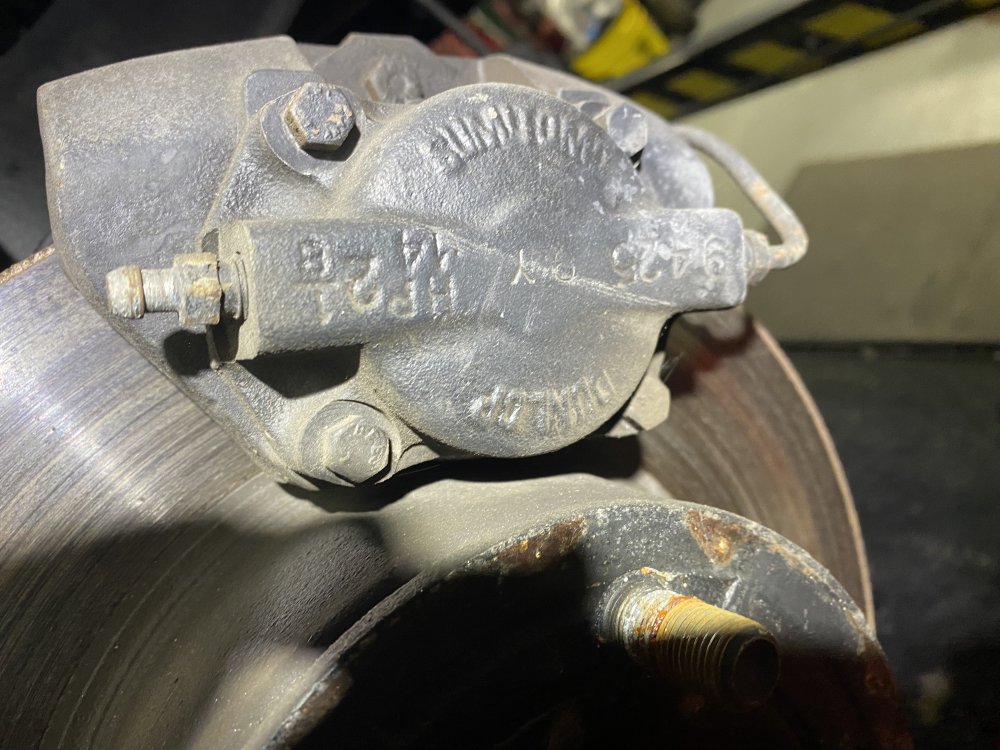
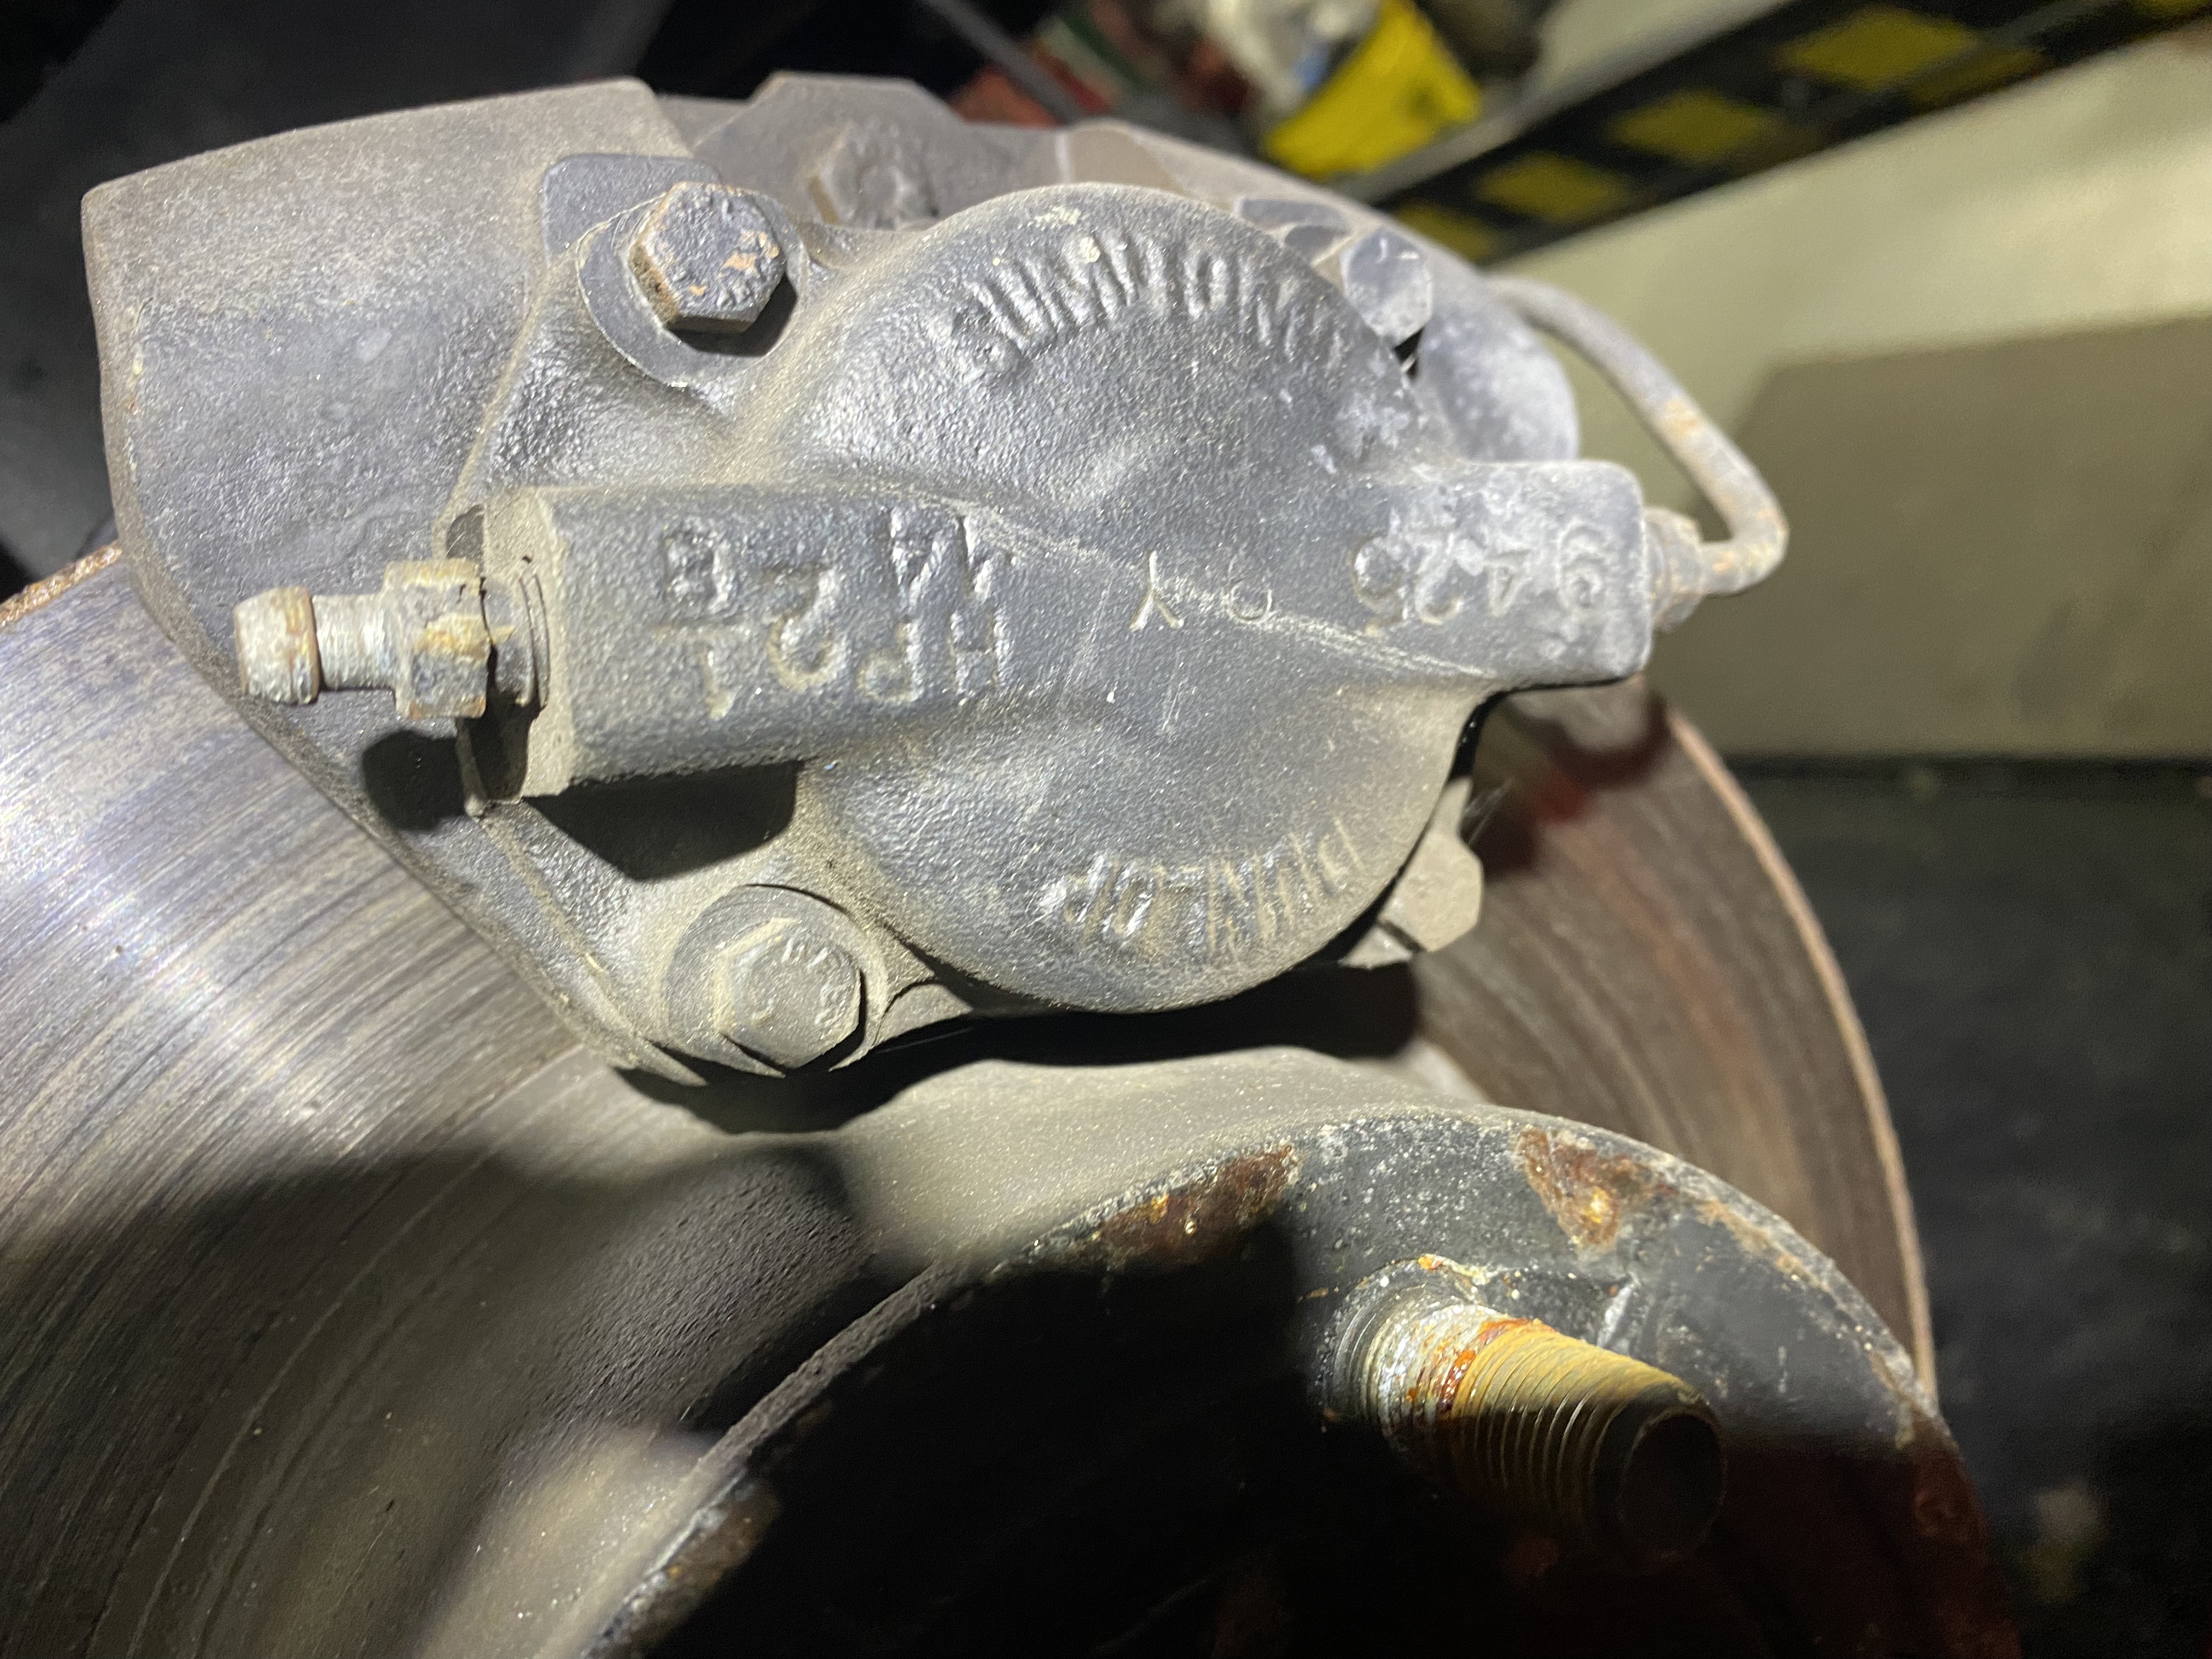
So, no Bendix calipers on 63R1454, instead Sumitomo/Dunlop. What's the story on these? (Bleeder is correctly at top, picture imported 90 degrees counter-clockwise). Was just prepping to convert to a Turner kit, had never pulled the front wheels until now. Surprise.
-
If you remove the right rear window, you can peel back the unpholstery, reach into the C pillar and deal with the 2' loop. It's tight, but doable and with all 2' of new hose up in there, no gas smell. Add rollover vents, etc. under the car as you wish!
-
This is perfect! Exactly what I needed to confirm the hookup. Many thanks. John H.
-
Anybody have or know a location on-line for the schematic for the 5 wire wiper-washer kit harness? This is the one to the foot pedal switch. I get the red and yellow leads, it’s a simple plug in-line deal, and the white push-on ground, no problem. It’s the blue and black wires I’d like to confirm. Research at Bob Johnstone’s site as well as talking with Jon Myer and Dan Booth indicates they probably get piggy-backed on the existing blue and black wires at the switch, but old postings here had differing information. Must have been a schematic in the original kit but mine’s missing. Thanks.
-
While you are finding/fixing the "magic loop" in the intake manifold, you can rig up a heat source for your choke by running a pipe down to the passenger side exhaust manifold, and use a piece of aluminum to shroud the manifold so it collects some heat. bend the pipe back up and use rubber hose at some point to go back to the air cleaner or carb nipple, and you will have a heat source for the choke just like 60's era Fords (!). Should get that choke to open up for now.....
-
Contact Jon Myer at Myers Studebaker


Power steering to Non Power conversion.. need parts
in 1963-64 Avanti
Posted
Ratios are different, 1:22 for manual box and 1:16 for the power box. Just something to be aware of, because the 1:16 with no power assist will be quick but pretty heavy for parking. That said, I have the manual parts. PM if interested.